Tap tap tap…is this thing on? 😉 I feel like it’s kind of been forever since I’ve shared a project with you. If you have kids that have recently gone back to school or will be soon, then you probably understand the craziness that can come with the end of summer. My kids don’t go back to school for another week and a half, but I’m actually not feeling ready for summer to end just yet. It will be nice to get back on a schedule, but I’m really loving the lazy summer days this year. I could live without the fighting between my kids though. 😉 Aaaanyway, I wanted to pop in and share this fun project with you about Weeding Adhesive Foil with the Cricut BrightPad + I get to give one of these fun BrightPads away to one of you, so keep reading to find out how to enter!
This post contains affiliate links. I received a Cricut BrightPad to review and share with you for this post.
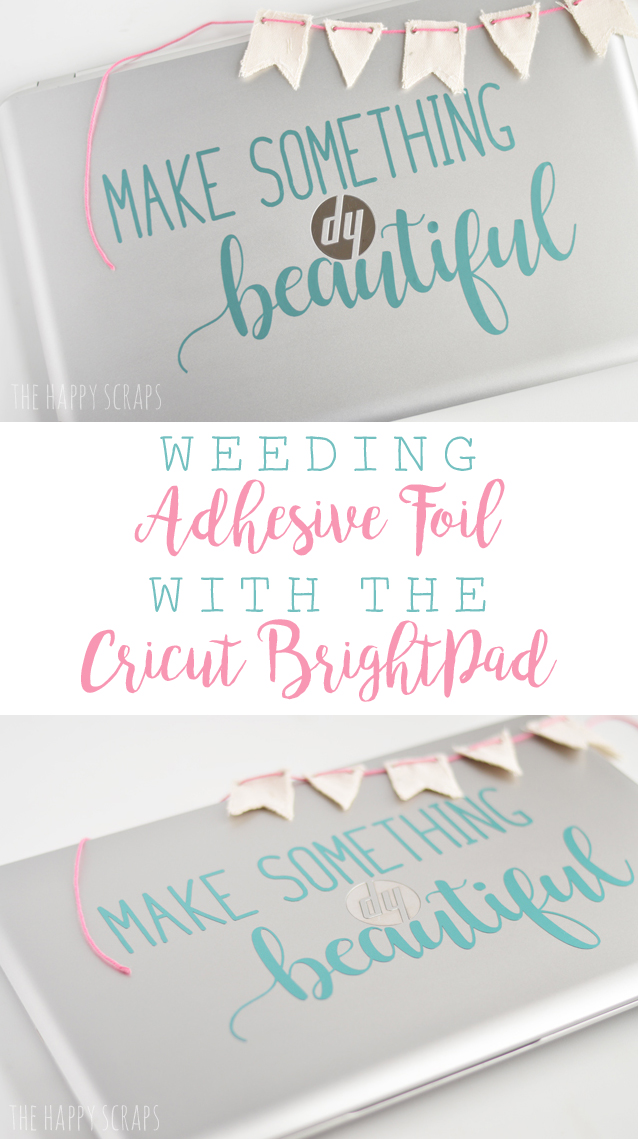
Weeding Adhesive Foil with the Cricut BrightPad
Supplies used:
- Cricut BrightPad
- Cricut Explore Air 2
- Cricut Matte Adhesive Foil
- Cricut Weeding Tool Set
- Transfer Tape
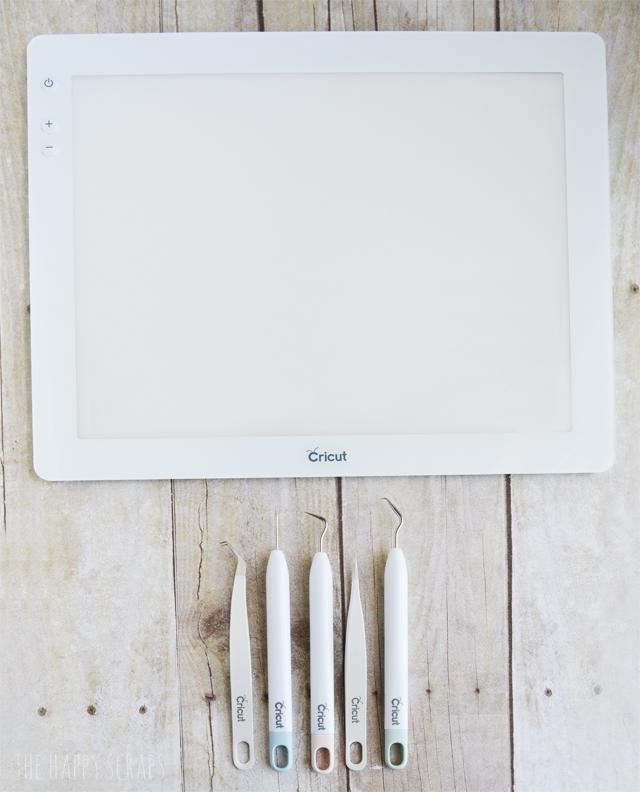
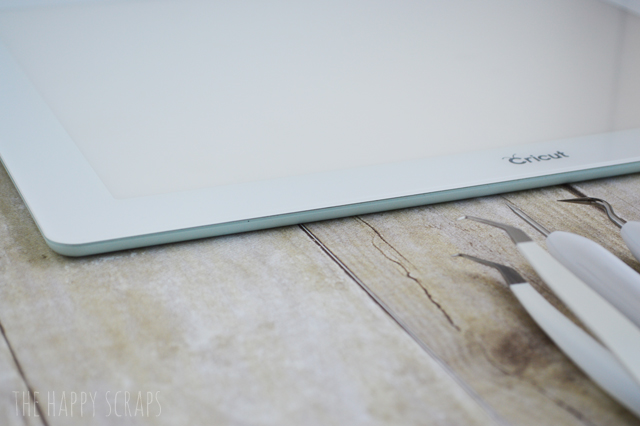
When I received my BrightPad, I was so surprised how thin and light weight it was! It for real, is barely more than 1/4″ thick. I love that mine is Mint colored on the back, so it matches my Mint Cricut Explore Air 2.
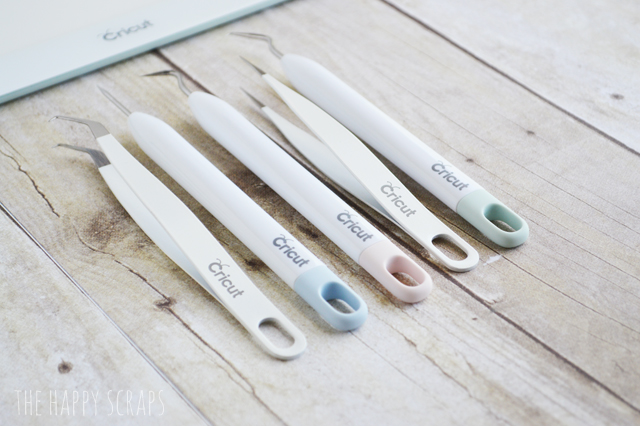
If you do a lot of vinyl projects, then this Weeding Tool Kit is a must. I’ve always loved my weeding hook that you can find in the Essential Tool Set, but these added tools make it even easier to get those pieces that can be hard to get!

Plus, I really love the different colored handles on them. 🙂
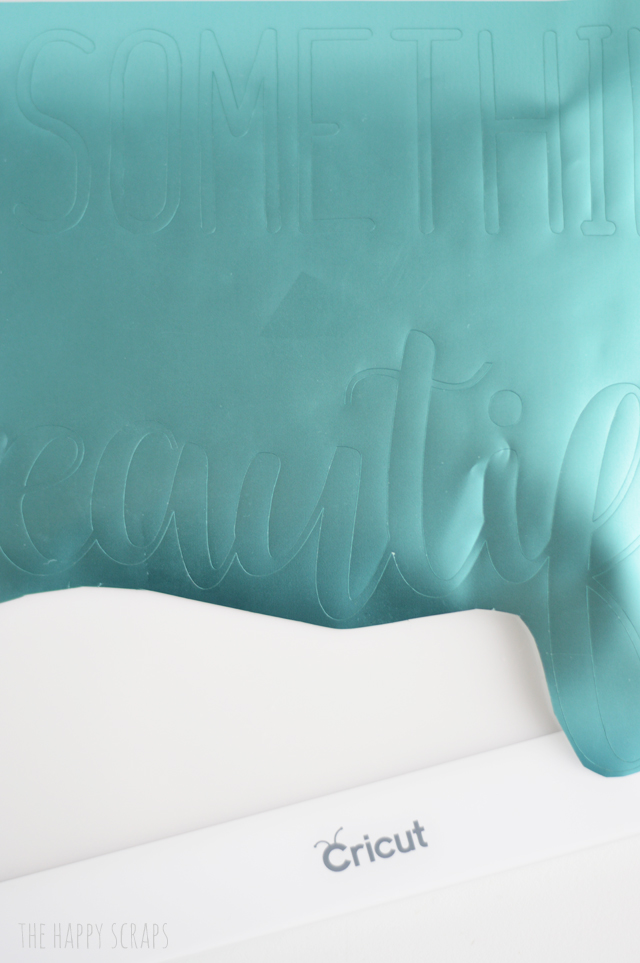
I’ve been cutting vinyl and other materials on my different Cricut machines for years. I remember cutting separate vinyl letters with my very first Cricut machine way back in 2008. I didn’t know how to kiss cut the vinyl, and trying to line the letters up straight once they were cut took forever. I’m so glad I don’t have to do that anymore! Anyway, cutting adhesive foil can be a little different. When cutting this on the Cricut Explore Air 2, I chose my custom setting on the smart dial, and then found Adhesive Foil, Matte, on the list of materials under the vinyl section. I ended up cutting this a couple of times. The first time I cut it, it didn’t quite cut through. It was cut enough that I could work hard to weed the cuts, but it didn’t have clean edges. So I cut it again. The second time I cut it, I left my material in the machine when it was asking to unload the mat, and I just clicked the cut button one more time. So I double cut the vinyl. This was the trick to make weeding the Adhesive Foil WAY easier. Once I had it cut, I placed it on my BrightPad. This is an image of the vinyl without the BrightPad light being turned on.
And this is with the BrightPad being turned on.
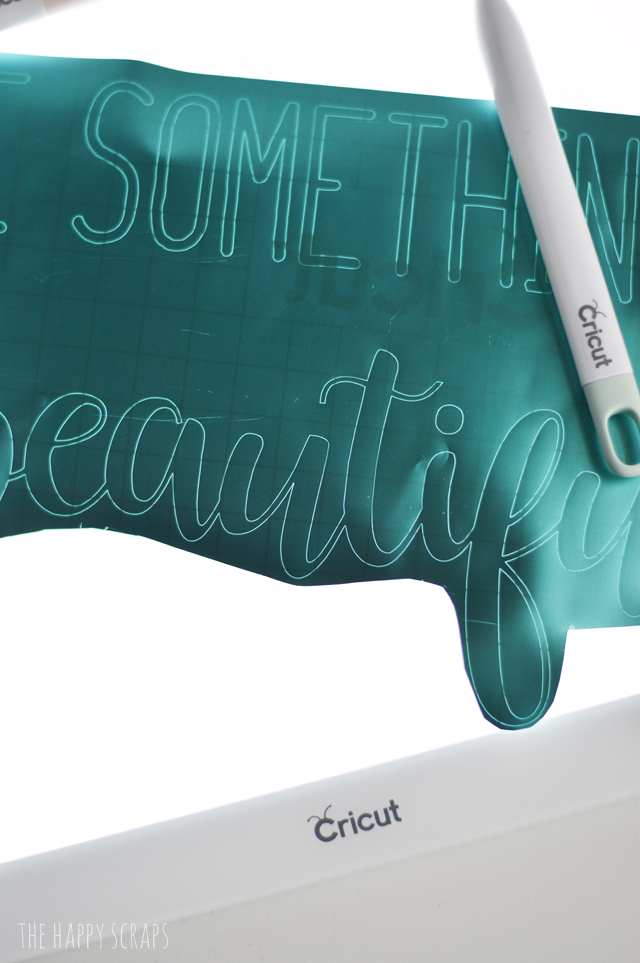
I was able to see every line and detail of exactly where my cuts were. With this material you can see where your cut lines are without the BrightPad, but it does make it easier to see the lines with the light behind it for sure. I’m really looking forward to using the BrightPad with Iron-on Glitter Vinyl. That stuff is hard to weed! Once I had my image all weeded, I used transfer tape and pulled it off the backing.
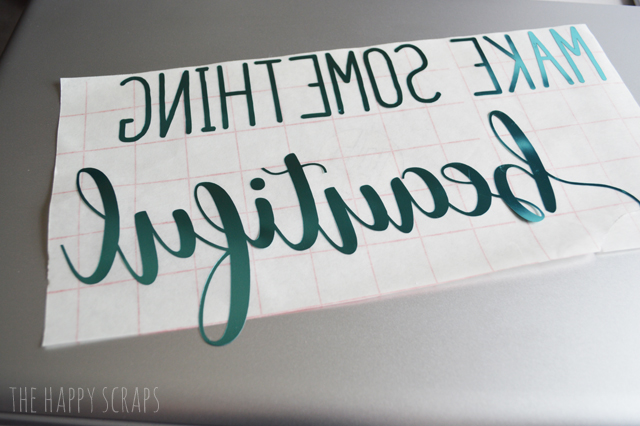
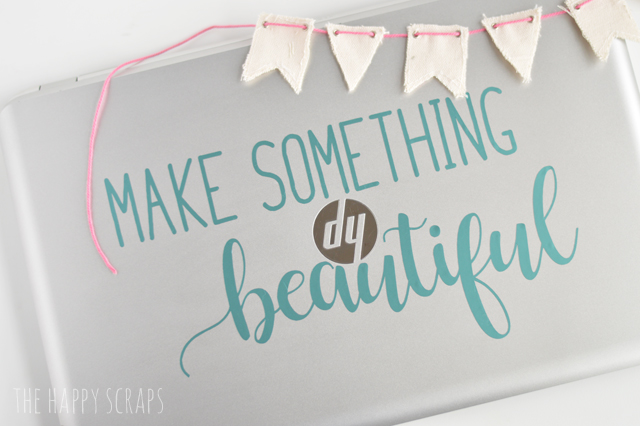
I used a little bit of rubbing alcohol and wiped down the top of my laptop, and then I placed the foil on it. (I’ve wanted to put something on my laptop for years…since I got it in 2014, and it took me all of 10 minutes to make and weed this, and I finally got it done.) 🙂

I love what it adds to the top of my computer, and I love that when I sit down to work, I see this pretty reminder to Make Something Beautiful!

Weeding Adhesive Foil with the Cricut BrightPad and the Weeding Tool Kit was easy.
What kind of material would you use to weed with the BrightPad?

For more project inspiration, check out my Cricut project gallery.
Would you like a BrightPad of your own? I’ve got one to giveaway to one lucky reader! Enter below.
Giveaway open to US residents ages 18 years and up. Giveaway sponsored by Cricut. Giveaway is open until August 13, 2017, 11:59 pm.

Leave a Reply