• Contact
  • Etsy Shop
  • About Me
  • Home

The Happy Scraps

a creative blog

  • DIY Projects
  • Cricut
  • Holidays
    • New Year’s
    • Valentine’s Day
    • St. Patrick’s Day
    • Easter
    • Mother’s Day
    • Father’s Day
    • Independence Day
    • Halloween
    • Thanksgiving
    • Christmas
  • Paper Crafts
    • Banners
    • Cards
    • Mini Albums
    • Printables
    • Scrapbook Layouts
    • Wreaths
  • Sewing
  • Recipes

Fun & Easy Thank You Cards

September 1, 2017 By Amy | The Happy Scraps 3 Comments

53 shares
  • Share
  • Tweet

Have you ever tried card making? Years ago, when I loved to scrapbook, I had never made a card. I had a friend talk me into trying some, and I’ve never looked back. Now I still make cards pretty regularly, but I don’t scrapbook anymore, I just play with paper. 😉 I still love all kinds of paper crafts, but when it comes to scrapbooking, I use Instagram and Chatbooks for that. Anyway, that’s a story for another day. Today I want to share with you these fun & easy thank you cards that I put together to send to a few of my friends at Cricut after the Cricut Mountain Make-a-thon that they were so generous to send me to. They were so fun, that I thought I’d share them with you, just in case you wanted to make some too.

Putting together these Thank you cards is fun & easy. Today I'm sharing these cards along with the cut file so you can make some of your own.

This post contains affiliate links.

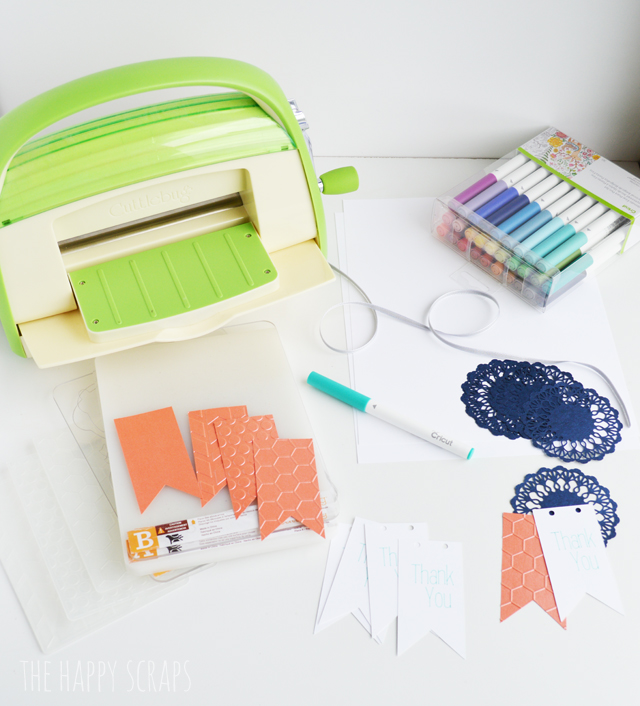
Fun & Easy Thank You Cards Supplies:

  • Cricut Explore Air 2
  • Cricut Cuttlebug
  • Cricut Pens
  • Pearl Paper
  • White Cardstock
  • Gray Ribbon
  • Cut File

Putting together these Thank you cards is fun & easy. Today I'm sharing these cards along with the cut file so you can make some of your own.

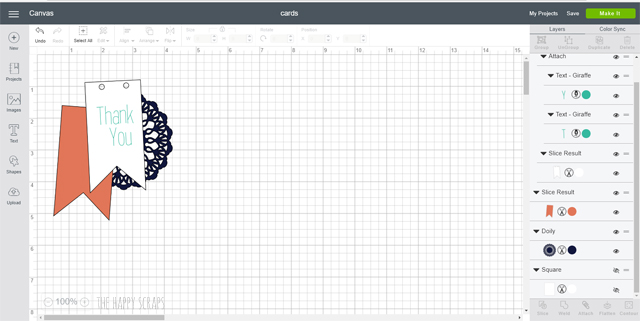
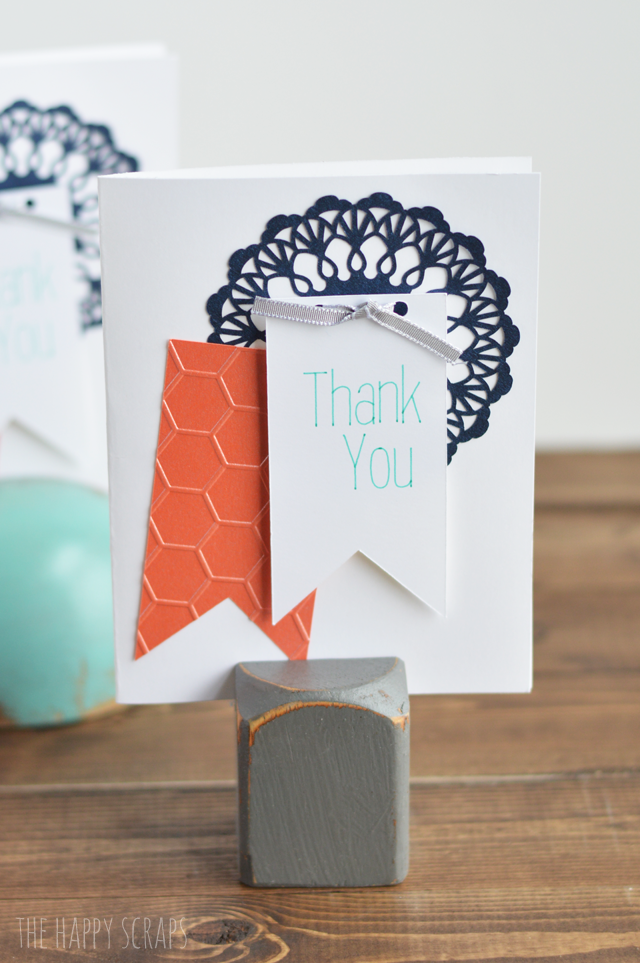
I started by designing my card in Cricut Design Space. I created the tag shapes using the shapes and slice tools, and found a doily that I liked. I also created the Thank You tag, and used the Draw & Cut feature for them. Then I cut everything out on the Cricut Explore Air 2.

Putting together these Thank you cards is fun & easy. Today I'm sharing these cards along with the cut file so you can make some of your own.

I cut a sheet of white cardstock in half, creating the card bases.

Putting together these Thank you cards is fun & easy. Today I'm sharing these cards along with the cut file so you can make some of your own.

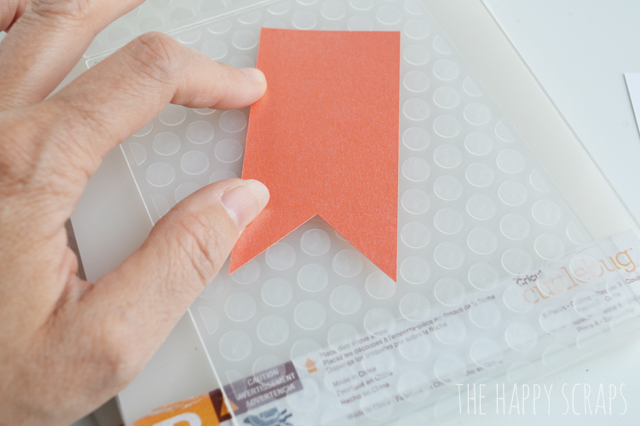
After I cut the pearl paper into the tag shape and doilies, I placed the tags into embossing folders.

Putting together these Thank you cards is fun & easy. Today I'm sharing these cards along with the cut file so you can make some of your own.

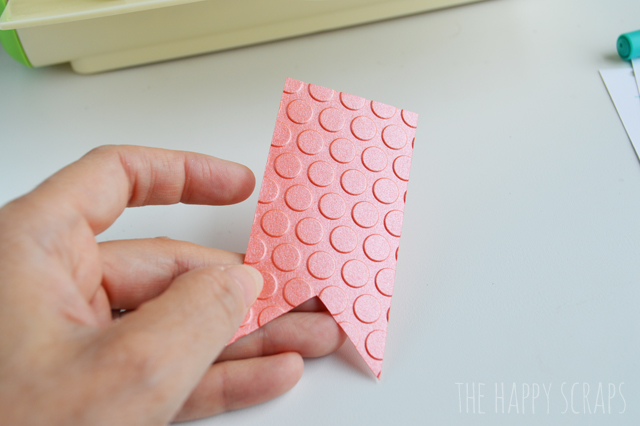
Then I ran them through the Cuttlebug machine.

Putting together these Thank you cards is fun & easy. Today I'm sharing these cards along with the cut file so you can make some of your own.

The embossing adds such fun dimension.

Putting together these Thank you cards is fun & easy. Today I'm sharing these cards along with the cut file so you can make some of your own.

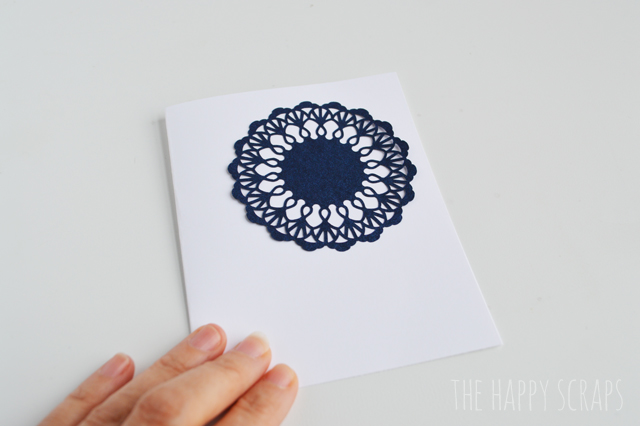
Once I had everything ready, I started assembling my cards. I placed the doily.

Putting together these Thank you cards is fun & easy. Today I'm sharing these cards along with the cut file so you can make some of your own.

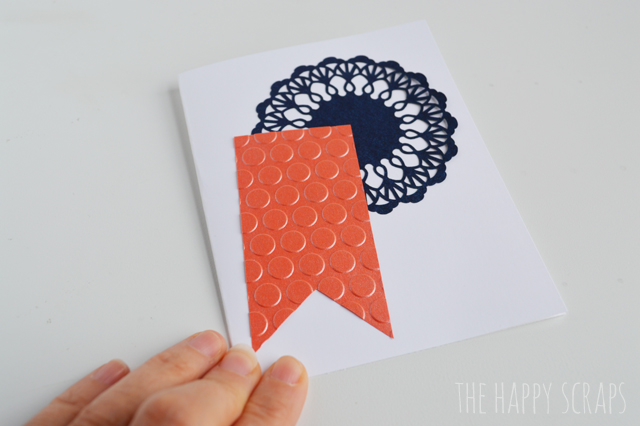
Then I placed the embossed tag.

Putting together these Thank you cards is fun & easy. Today I'm sharing these cards along with the cut file so you can make some of your own.

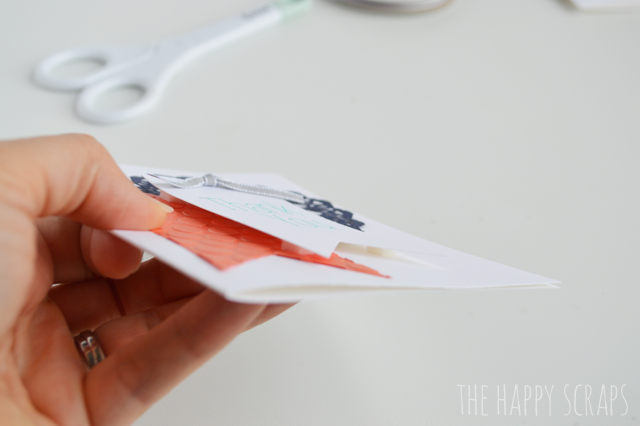
After I tied ribbon through the thank you tag, I attached it using dimensional adhesive.

Putting together these Thank you cards is fun & easy. Today I'm sharing these cards along with the cut file so you can make some of your own.

You can see the dimension here.

Putting together these Thank you cards is fun & easy. Today I'm sharing these cards along with the cut file so you can make some of your own.

These cards were so quick and easy to put together!

Putting together these Thank you cards is fun & easy. Today I'm sharing these cards along with the cut file so you can make some of your own.

I did a little different variation on them as well, because I think it’s fun to make them not all look exactly the same.

Putting together these Thank you cards is fun & easy. Today I'm sharing these cards along with the cut file so you can make some of your own.

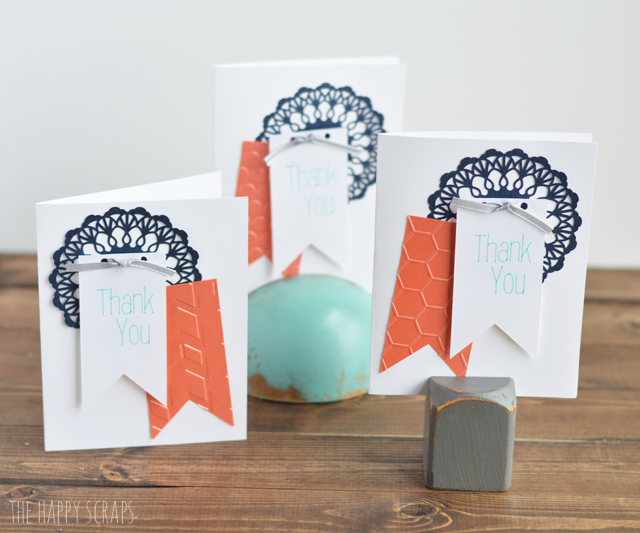
I really love the way the pearl paper looks cut into the doily too! I think I might cut some out of every color! The shimmer on that paper is so pretty, although you really can’t see it well in these pictures.

Putting together these Thank you cards is fun & easy. Today I'm sharing these cards along with the cut file so you can make some of your own.

Do you enjoy making cards?

To see other cards like these Thank You Cards that I’ve created, you can find the gallery here!

Filed Under: Cards, Cricut, DIY Projects, Paper Crafts Tagged With: card, cards, cricut, cricut design space, cuttlebug, paper crafts, ribbon, thank you card

« Farmhouse Inspired Kitchen Decor
Cricut Maker vs. Cricut Explore Air 2 »

Comments

  1. Shirl Lundstrom says

    February 12, 2020 at 5:43 am

    So cute! Just what I needed.

    Reply
    • Amy | The Happy Scraps says

      February 12, 2020 at 6:30 am

      Thank you!

      Reply
  2. Best College paper writing service says

    April 5, 2022 at 9:44 am

    They are so cute and easy to make. Beautiful card

    Reply

Leave a Reply Cancel reply

Your email address will not be published. Required fields are marked *

CommentLuv badgeShow more posts
  • Farm Sweet Farm Front Porch Sign with the Cricut Maker 3
  • Farm Fresh Eggs Kitchen Sign
  • How to Make a Summer Hat with the Cricut Joy
  • Bless Our Farmhouse Kitchen Sign
  • Welcome to the Farm Front Door Decor
  • How to Use Offset in Cricut Design Space

Popular Posts

Page Ranking Tool

Categories

Archives

The images and text on this site are copyright of The Happy Scraps. If you would like to feature a project or image on this site please email [email protected] Thank you! Please read the Privacy Policy and Disclosure here.

Copyright © 2023 · Tasteful theme by Restored 316

Copyright © 2023 · Blog Design by Key Lime Digital Designs · WordPress · Log in

53 shares