I’m so excited to finally be sharing this project with you! I started on these a couple of weeks ago, but didn’t get them finished up. I’m still not quite finished, but I’m so happy to have a jump on these Handmade Christmas Stockings. I’ve been wanting to make stockings for years and years, and I forget until December, and then I don’t have time. Well, the Cricut Maker and the Christmas Stocking pattern in Cricut Design Space was just the push I need to do it. I cut out seven of these, and only two are finished so far, but I can’t wait to get the others done in time for Christmas and I’ve got some time too.

This is a sponsored post written on behalf of Cricut. I received product in exchange for this post. All ideas and opinions are my own. This post contains affiliate links.
Handmade Christmas Stockings Supplies:
- Cricut Design Space Christmas Stocking Pattern for the Cricut Maker
- Cricut Maker Machine & Rotary Blade
- 12 x 24 Fabric Mat
- Cricut Sewing Tool Kit
- Fabric of choice
- Washable Fabric Pen
- Sewing Machine
- Pom Pom Trim
- Ribbon
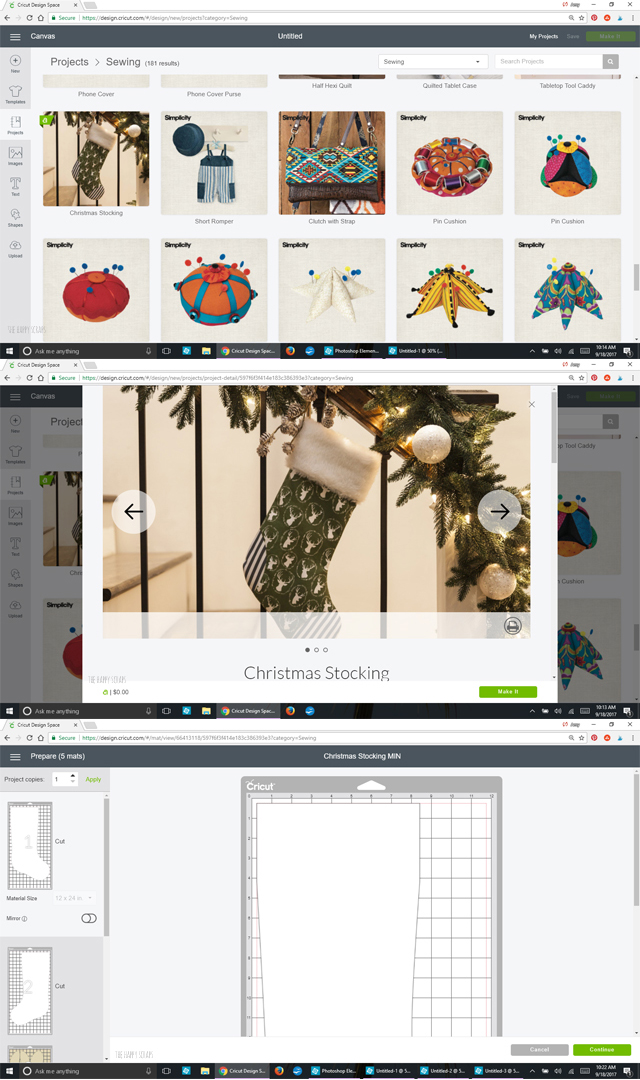
You’ll start by opening Cricut Design Space. Scroll down in the Make it Now projects until you find sewing projects. Click see more. Once that is open, you can click the drop down menu from the top and click on “Free for Cricut Maker.” Then scroll down until you find the stocking pattern. Click on it. Read through the instructions completely before you start. Once you click “Make It” you’ll go straight to the cutting mats.
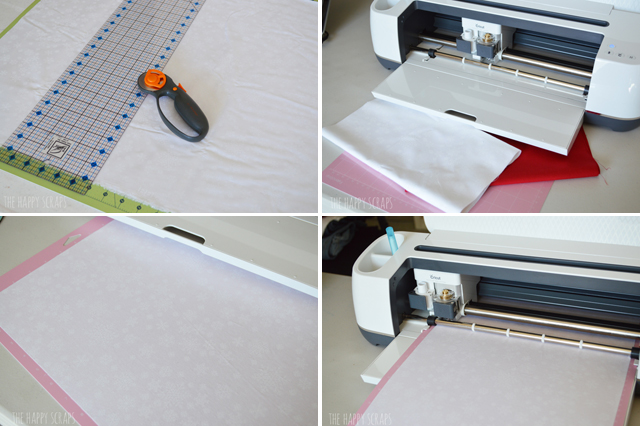
To cut, you’ll need to trim your fabric into the sizes that it calls for in the instructions, so the fabric fits on the mat. I trimmed both my white and red fabric and then started cutting. I love that with the Cricut Maker machine, the fabric doesn’t need to be backed with a stabilizer. This is because it has a little rotary blade that cuts as well as uses the fabric grip mats.
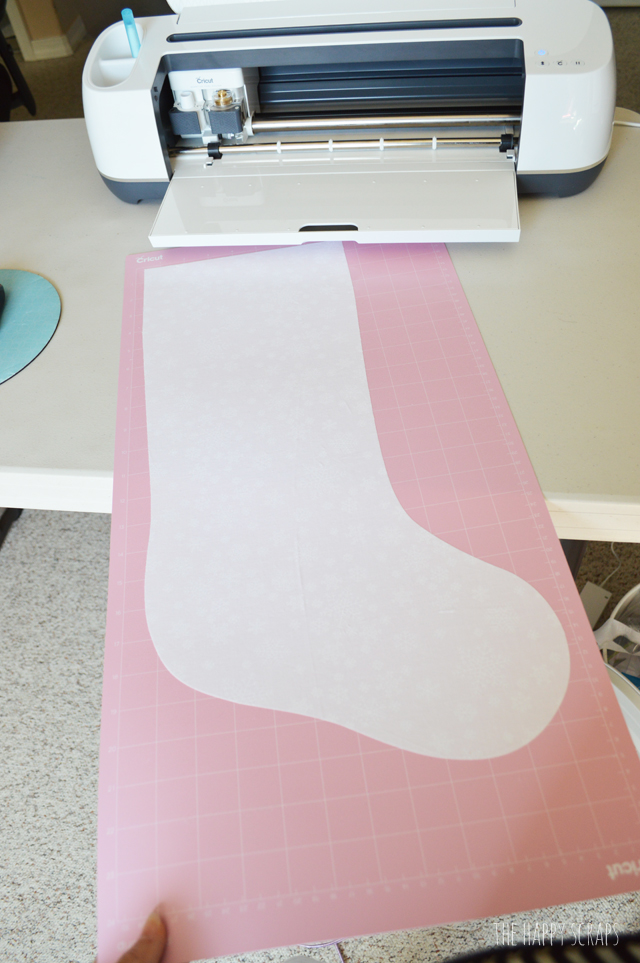
Once the Cricut Maker was finished cutting, I unloaded the mat and pulled up the fabric. It cut SO WELL!! It was so exciting watching this amazing machine cut!
Once I had all the pieces for the stockings cut (I cut seven so I could make one for each of my family members) I was ready to start putting these together.
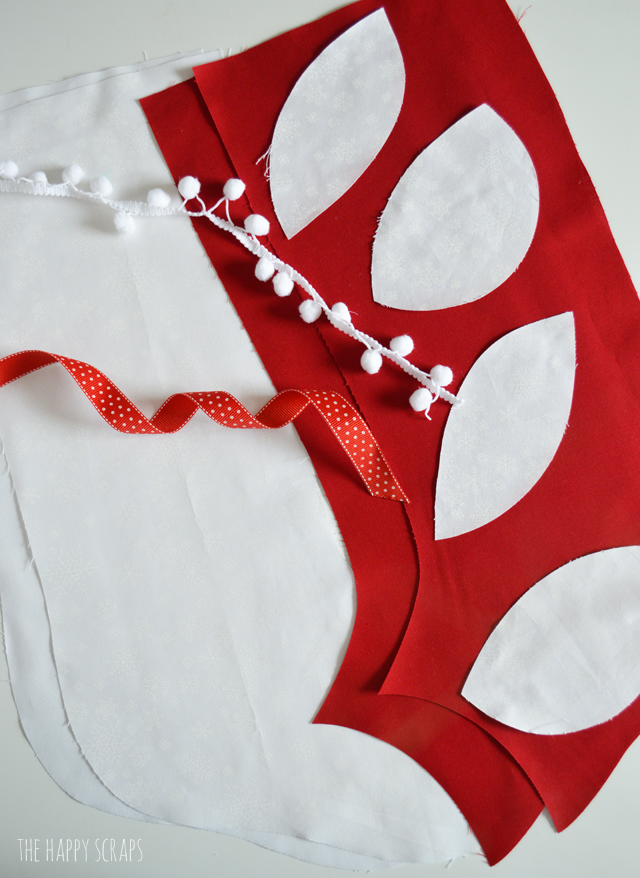
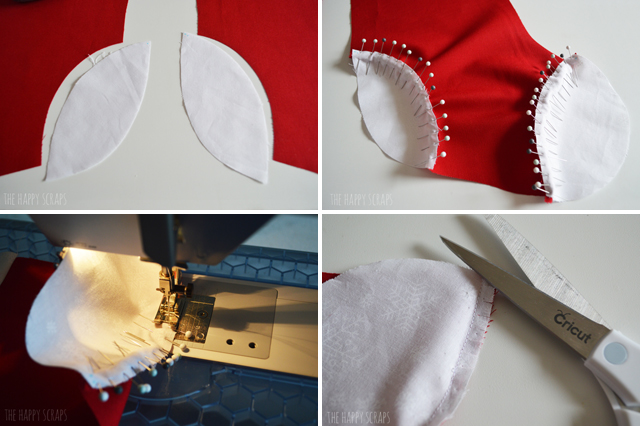
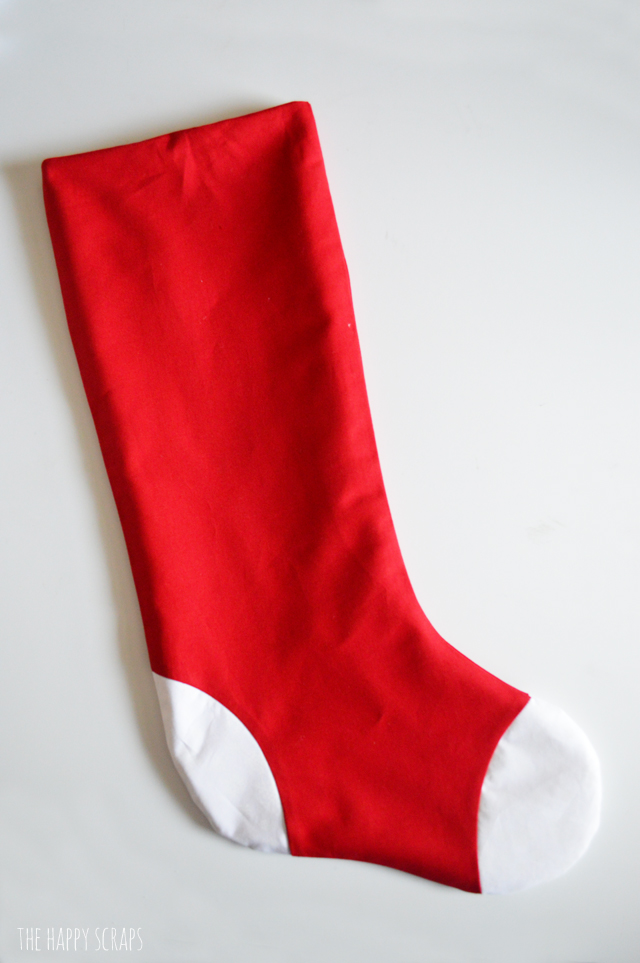
Before I really got started, I marked the ends of the heels and toes so I could keep them all straight. I used the Washable Fabric Pen for this.

I place the heel pieces and toe pieces in place, then started pinning. To pin on curves, it takes a lot of pins as well as time and patience! As long as you don’t rush it, those seams will turn out beautifully! Once they are sewn, you’ll need to clip them, so that they will lay flat. After you clip them, press your seams.
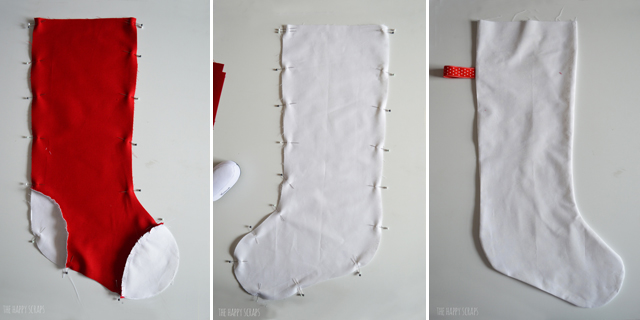
Next, you’ll pin the outsides together with the rights sides together. You’ll do the same for the white stockings. This is when you would add the ribbon if you’d like to. The Cricut Design Space pattern doesn’t call for this, but I wanted hangers on mine. Pin the ribbon inside the white (where the rights sides are facing each other) and then stitch around both the inside and outside. Leave the tops open. For mine, I left a 3-4″ space at the bottom of the foot to use when I turn it. The pattern recommends leaving a space at the seam when you sew these pieces together (the top) but I didn’t want that seam to show, so I did it at the bottom. Once the inside is sewing, you’ll turn it right side out.
Now you’ll slip the inside (right side out) into the outside (right sides together). You can see in the first picture below. Pin round the top, and then stitch around it. Once it’s stitched, Press the seam.
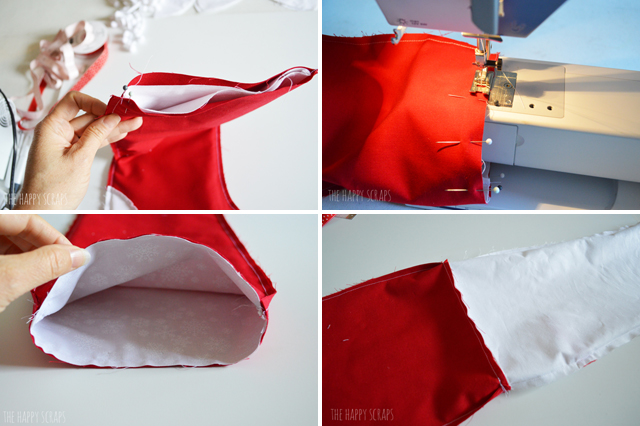
Now, reach into the hole at the bottom of the foot of the lining, and reach all the way down to the toe of the outside of the stocking and pull it all the way through. Once it’s through, pin and stitch along the opening that you used for turning. Then press your stocking.
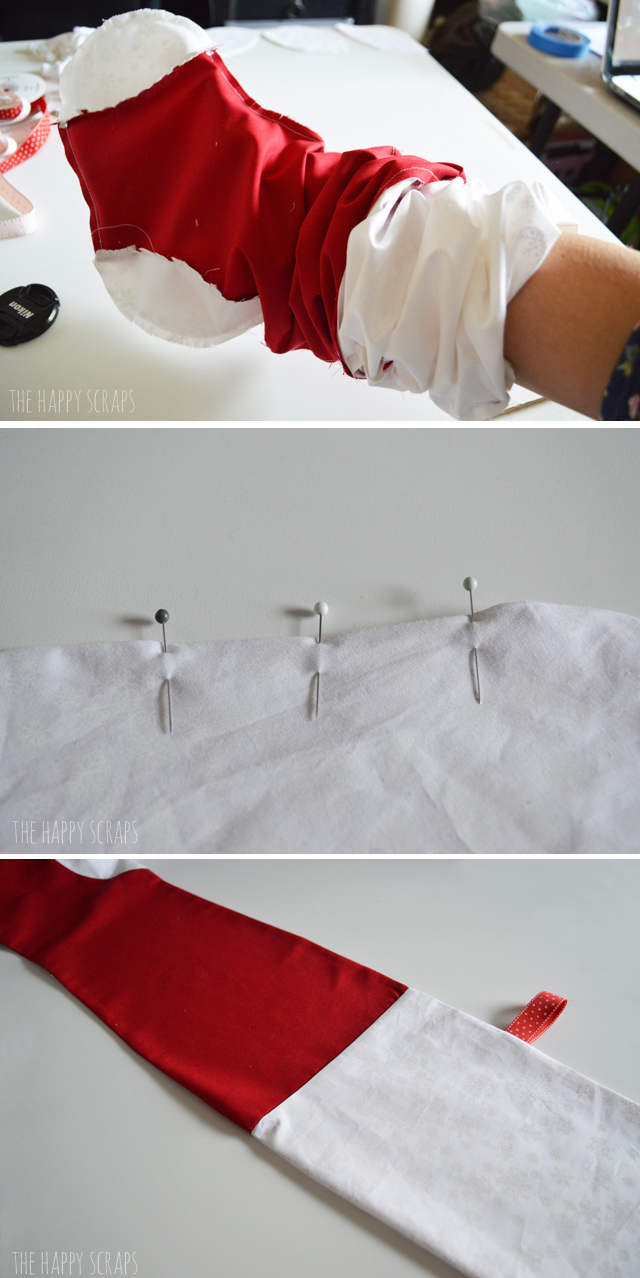
Tuck the inside lining into the stocking.
Then turn the cuff down. Pin your pom pom trim to the edge of the cuff. The sew it on. When sewing pom poms, you need to go slow for that too.
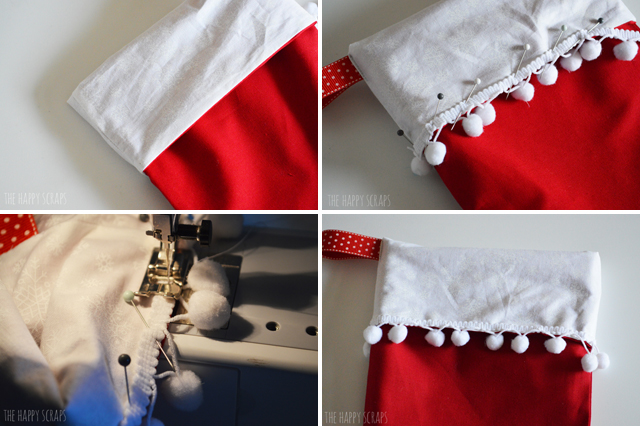
Once those pom poms are on, you are finished!!

I’m still trying to decide if I want to add some iron-on vinyl names to the top of these to personalize them for my family, but I haven’t decided yet.

I love the white fabric that I used for these Handmade Christmas Stockings. Can you see the snowflakes on them?
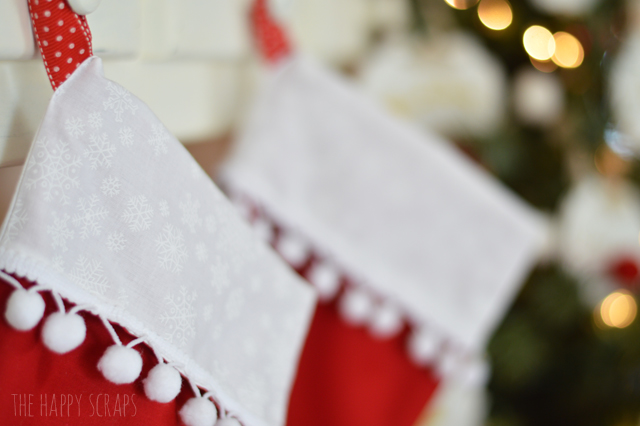
I can’t wait to get all seven of them finished up and get them out this Christmas.
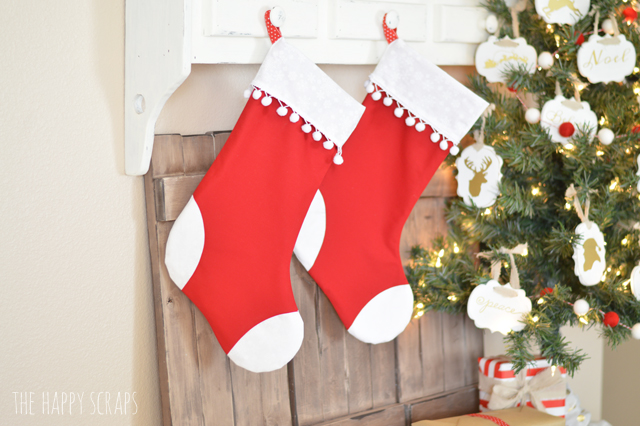
I love the pops of red with some of the things from my Dreamy White Christmas decor.
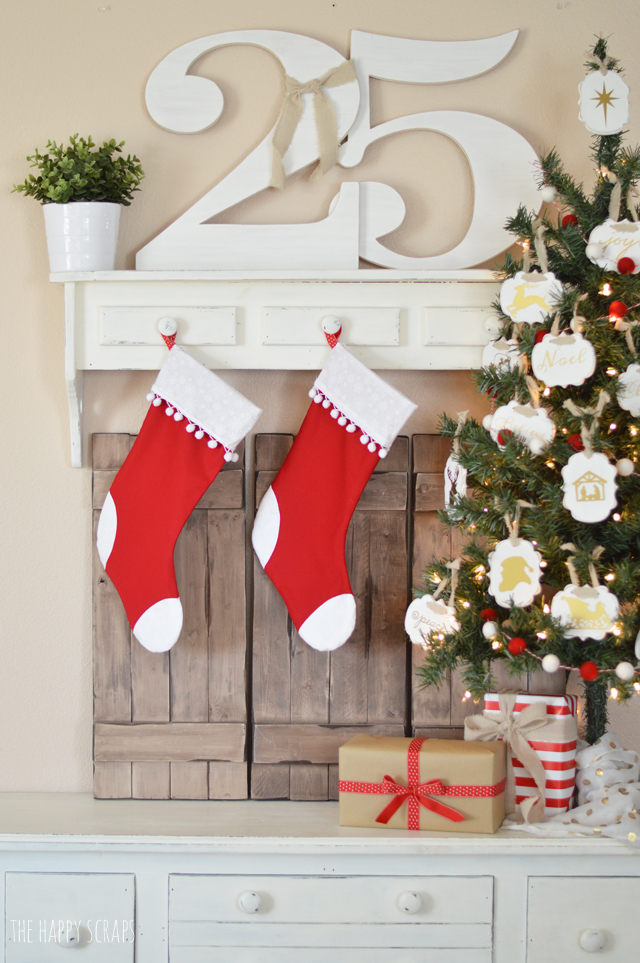
If you’ve been looking for just the perfect Christmas Stockings for your family, maybe you need to try making some. These Handmade Christmas Stockings may not be a really quick project, but they turn out so fun and it’ll be fun to say that you made them!
This is a sponsored conversation written by me on behalf of Cricut. The opinions and text are all mine.

Leave a Reply