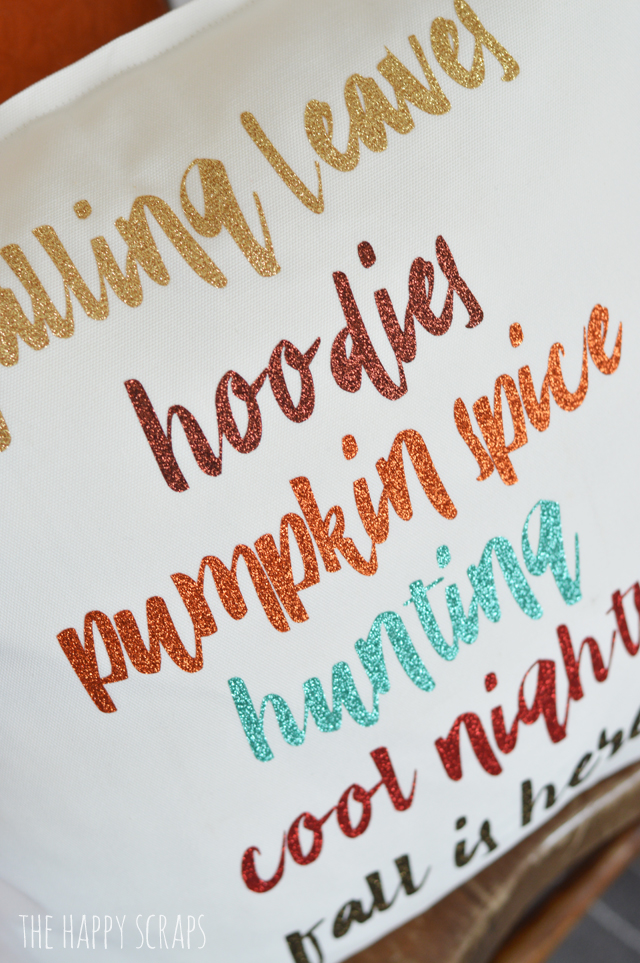
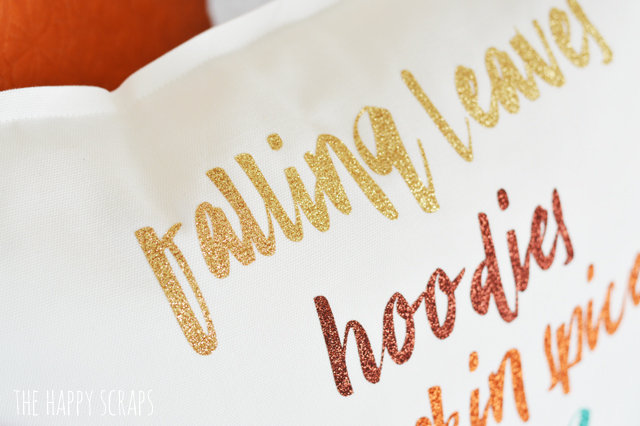
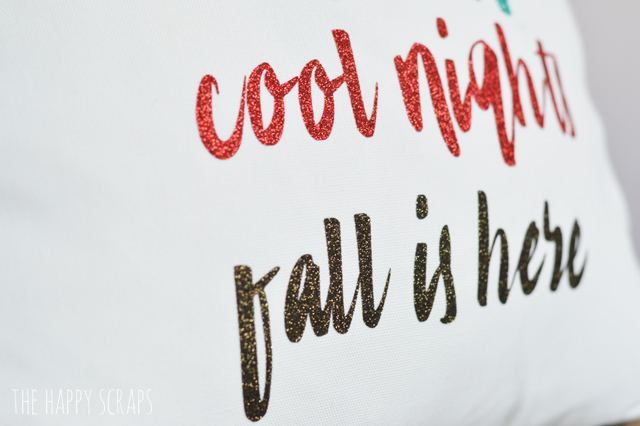
I love fall. I love everything that comes along with fall. Maybe it’s because summer can be a little crazy and hot, and it’s a refreshing time of year. I’m not sure what it is, but I really love it. It seems like for my little family, fall is a time when we make lots of memories as a family, mostly just at home. No big vacations or anything like that, it’s more along the lines of making treats together and just spending time together. So when I saw a sweat shirt with a similar saying to this, I knew I had to change it to fit our family and that a pillow was the perfect place to put it. Today I’m sharing this fun Fall is Here – Fall Pillow with you. I’m also showing you how fun and easy the Cricut EasyPress is to use.

This is a sponsored post written on behalf of Cricut. I received product in exchange for this post. All ideas and opinions are my own. This post contains affiliate links.
Fall is Here – Fall Pillow Supplies:
- Cricut Maker Machine
- Cricut EasyPress
- Glitter HTV (Old Gold, Burgundy, Copper, Jade, Red, Black Gold)
- Pillow Cover (this is cheaper if you can go to an IKEA to purchase)
- Weeding Tool Kit
- Cricut BrightPad

I started by designing my cut file in Photoshop Elements. Once I had all my text, I uploaded my image into Cricut Design Space. After I got it uploaded, I decided that I wanted each line to be a different color, so I needed to separate it. I do this by using the slice tool.
- I insert a square shape.
- I unlock the square, so I can turn it into a rectangle.
- I drag the rectangle over the word that I need separated, making sure that it’s completely covered, but not covering parts of any other word.
- I hold the shift key down, then select the text layer that I’d like to slice.
- Click the slice button (bottom left of the layers panel.)
- After the slicing is done, I have a rectangle with the word cut out, a new word, and my original layer. I delete the top two (gray rectangle and gray word) leaving me with the black word that I can select by itself now.
- I select my new single word, and change the layer color, so it will cut out of it’s own color, and I’ll know what material to put on the mat.
- Get ready to cut. When cutting iron-on material into words, you always want to make sure that mirror image is turned on. I was so glad on this project that Cricut Design Space reminded me, or I would have had to recut some of this.

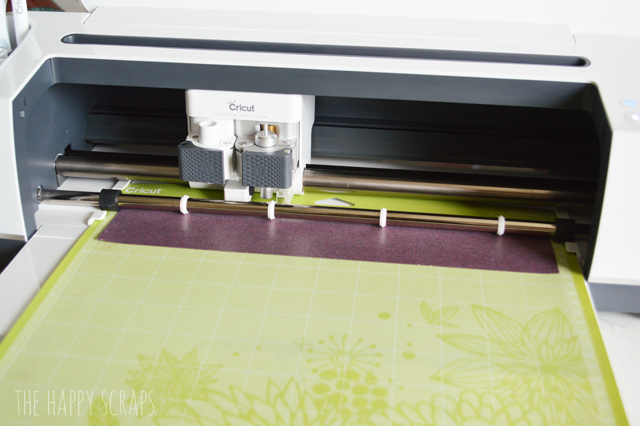
Once I had my file all ready, I started cutting.
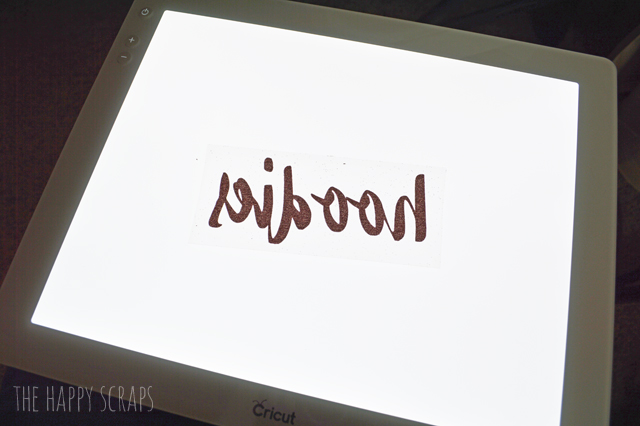
When I had the glitter iron-on cut, I pulled out my Cricut BrightPad to help me see the cut lines so I could weed it.
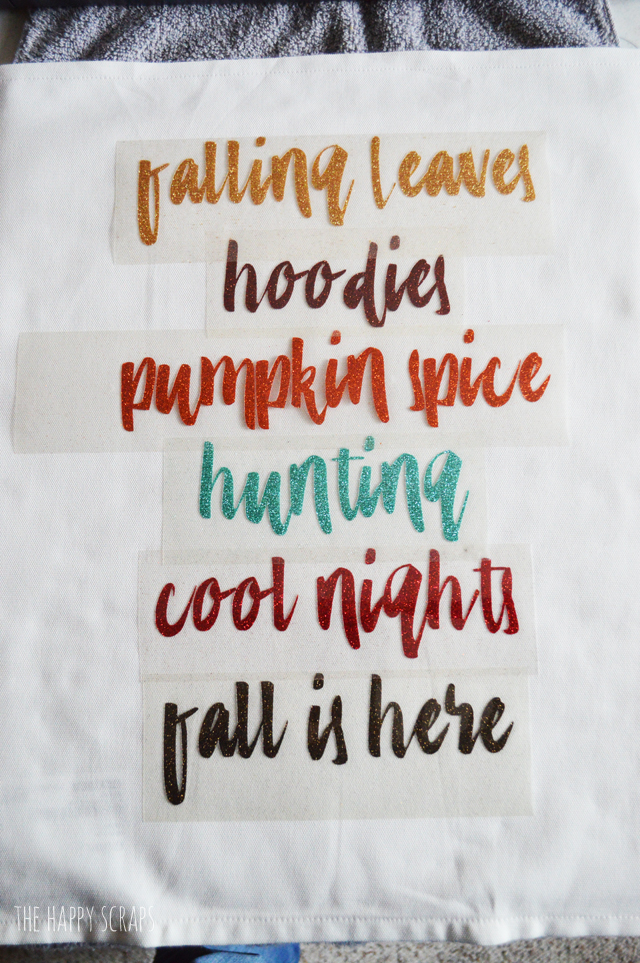
Because I was using six different colors of glitter iron-on, it took me a while to get all the pieces placed where they needed to be. I also had to make sure they were straight. To do this, I measured from the tallest letters at the top “falling leaves” to the top of the pillow and made sure it lined up. For centering, I used my ruler and measured each side to make sure it was the same.
Once I had all my pieces in place, I turned on the Cricut EasyPress and started warming it up. The EasyPress is just that, easy! It has a more consistent heat pattern than an iron as well as a larger area to press at once. The heat plate is 9″ x 9″. If you have questions about the EasyPress, feel free to leave a comment asking, or you can check the answers that Cricut has for us here. Also, I like to put a thin cloth over the top of my iron-on vinyl when I’m pressing it.
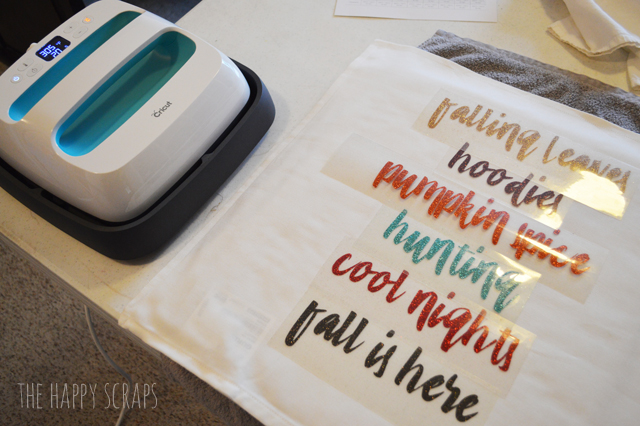
Once the EasyPress was warm, I started pressing it. I love that the EasyPress has a timer. Although, it’s proving to be a hard habit to break, that I don’t need to count how long I’m pressing with it. 🙂 I also love that you can find the temperature and times for pressing here. Once I pressed the entire front, I flipped the pillow cover over and pressed the back for the same amount of time.

Then I turned the pillow cover over again, and peeled the carrier sheets off.
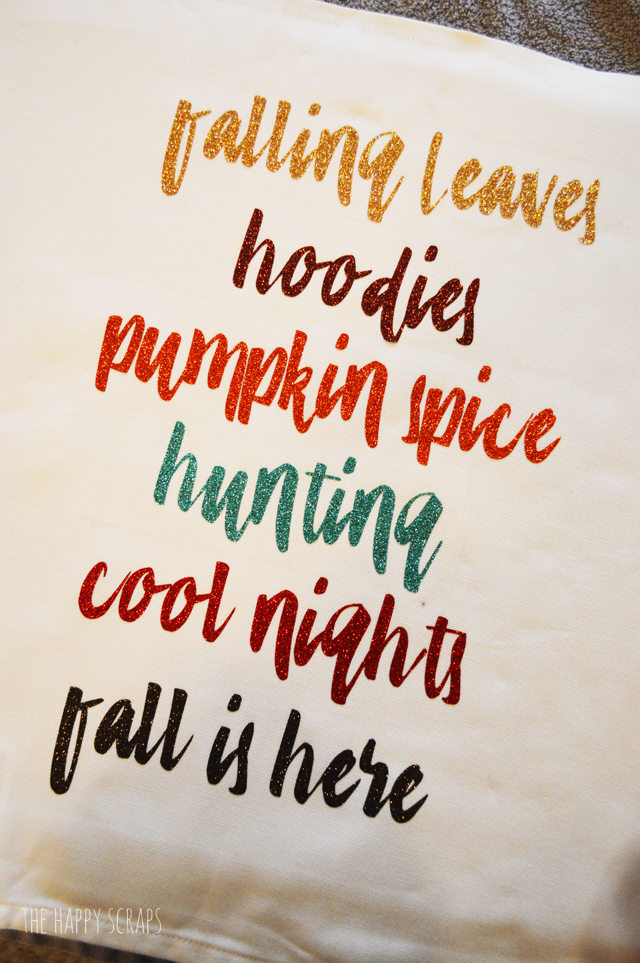
That was it! Pillows are so fun and fast to make! That’s probably why I have so many of them. 🙂
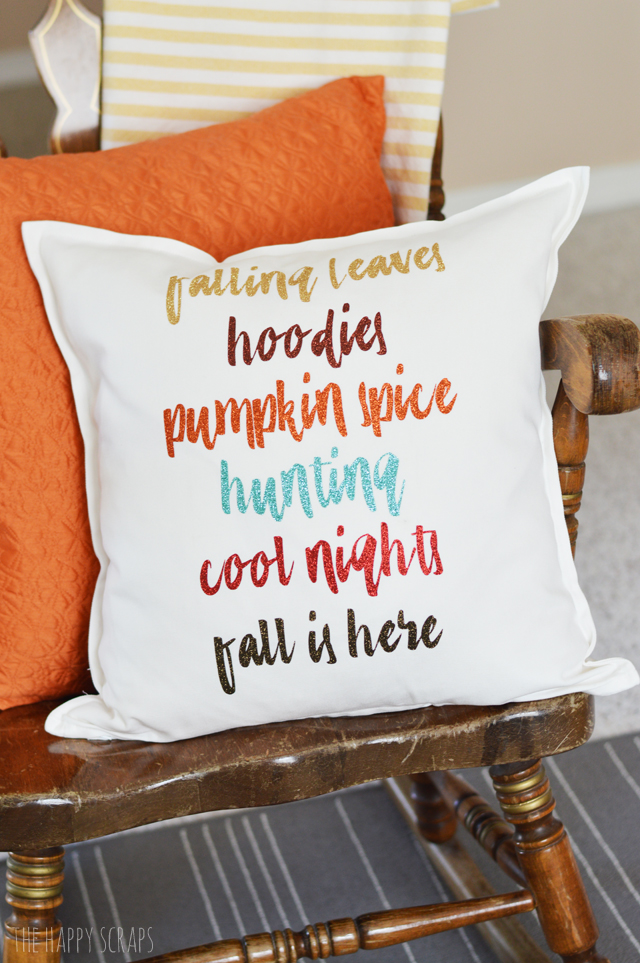
I adore the way this pillow turned out. It explains our family pretty well. I love the falling leaves, and when my kids get the chance, they love to play in them. I’m constantly wearing hoodies this time of year, and pumpkin spice? Well, we love to make pumpkin cookies, pumpkin pancakes, pumpkin waffles, etc. so I guess you could say we enjoy the pumpkin spice. 🙂 Hunting is big for our family. My husband goes every year, and it’s how we get our meat for the year. This year, one of my sons and I along with my husband have deer tags, so I’m excited about that. Last but not least, I really love the cool crisp nights that come with fall.
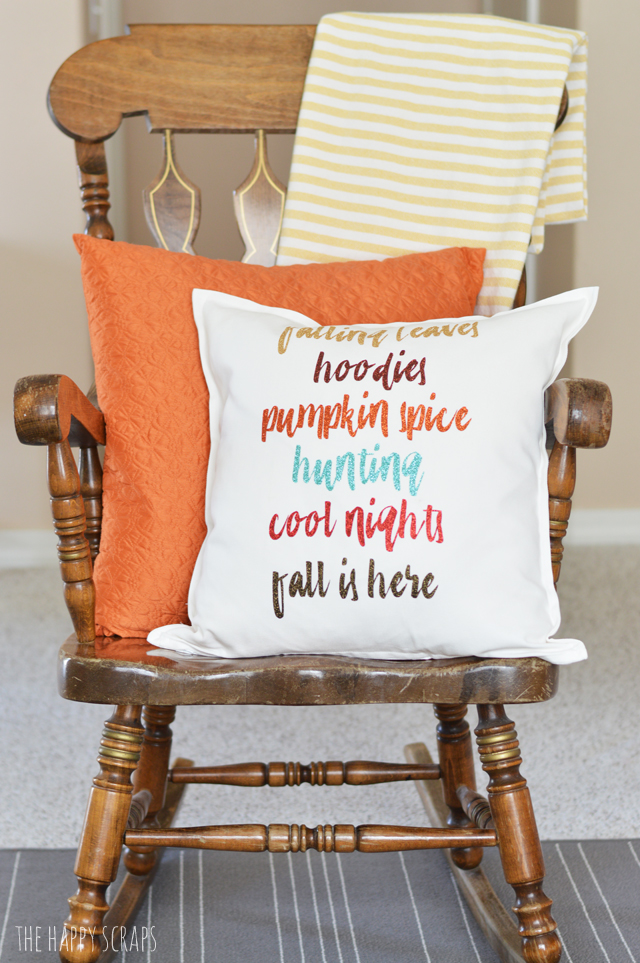
Even if it did snow at our house on the first day of fall, fall is still my favorite. Later this week it’s supposed to be warming back up a little bit, so that will be nice. It will feel like fall instead of winter.
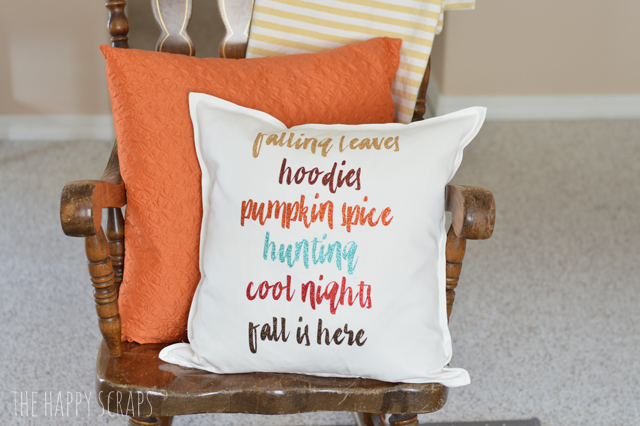
Not only do I love fall, but I also love glitter iron-on vinyl. It goes on so nicely and I’ve never had any trouble with it peeling or anything. It’s amazing stuff and so sparkly!
Do you love this time of year too? I’d love to hear what your favorite things about fall are! Leave a comment below letting me know.

If you liked this Fall is Here – Fall Pillow project, you might want to check out some of the others that I’ve done. See all my pillows here.


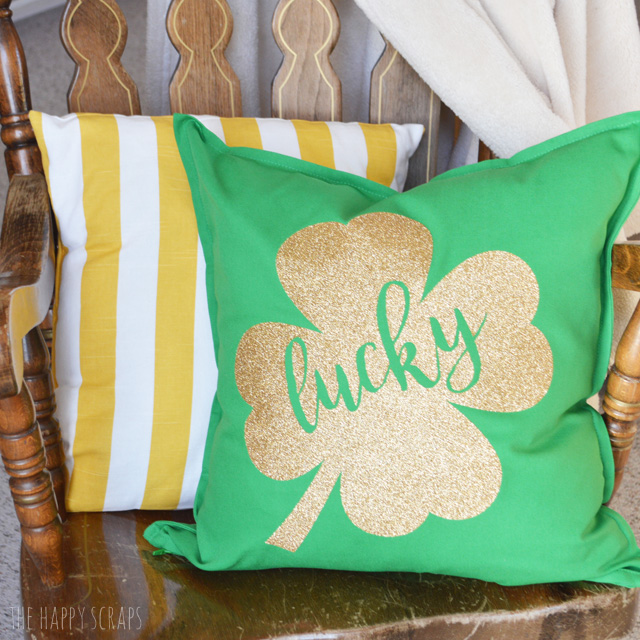
I also have some pillows that I’ll be sharing in the coming weeks too. So keep an eye out!
This is a sponsored conversation written by me on behalf of Cricut. The opinions and text are all mine.

Leave a Reply