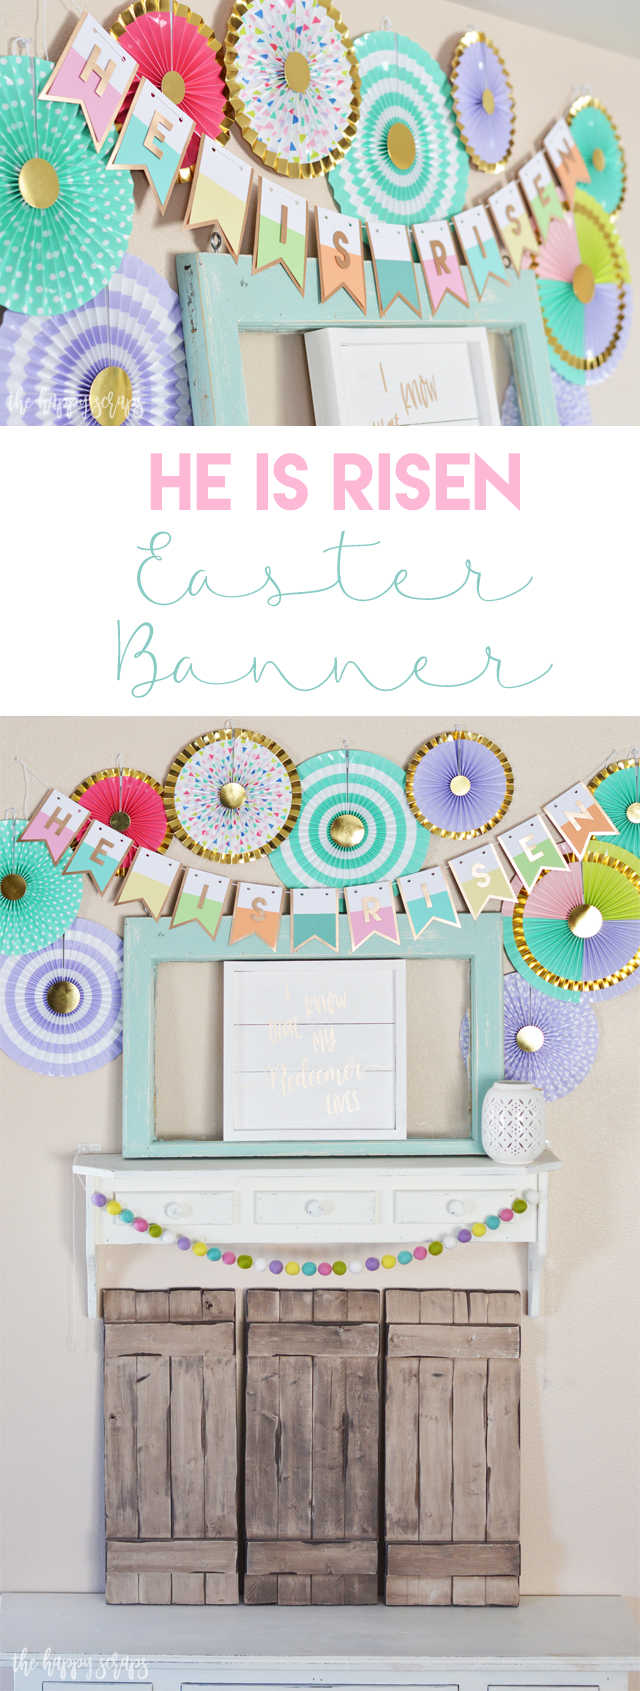
Last weekend, I really had the itch to create. I usually don’t create much on the weekends, as I like to spend that time with my family. But some days, I just really want to. If I’m being honest, my favorite way to create is just to create and not have to worry about taking pictures. Just make pretty things. But I always try to get pictures, although, I don’t always remember. 🙂 Anyway, I recently saw a picture that I fell in love with. I loved the banner in the picture so much, that I decided that I wanted to make one that was similar. I actually made two. I’m sharing this He Is Risen Easter Banner with you today, and I’ll share the other banner with you next week. At first I just made the banner, but then the cuteness of the paper fans got to me. I knew I didn’t have time to order online and wait for them if I was going to enjoy them for Easter, so I headed to Target yesterday to see what paper fans they had. I adore the way this all came together. The Spring colors are all so pretty!
This post contains affiliate links. If you click on an affiliate link and purchase something,
you won’t pay anything extra, but it will help support this blog.
He Is Risen Easter Banner Supplies:
- Cricut Explore Air 2
- Foiled Cardstock
- White Cardstock
- Variety of Colored Cardstock
- Large Baker’s Twine
- Adhesive
- Dimensional Adhesive
- Banner Shape Cut File (I used the font Lemon Milk to cut my letters. Download it to your computer, andit will be available to use in Design Space.)
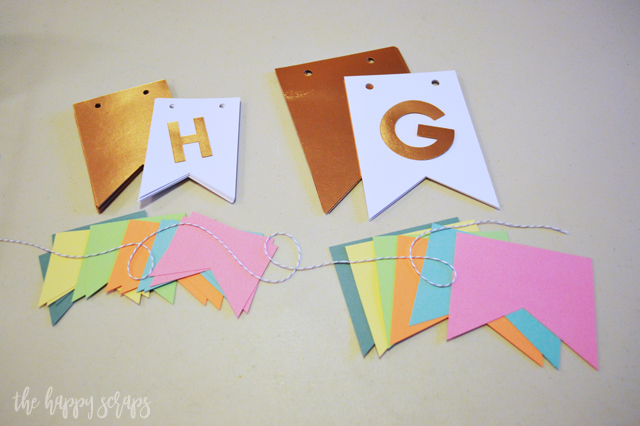
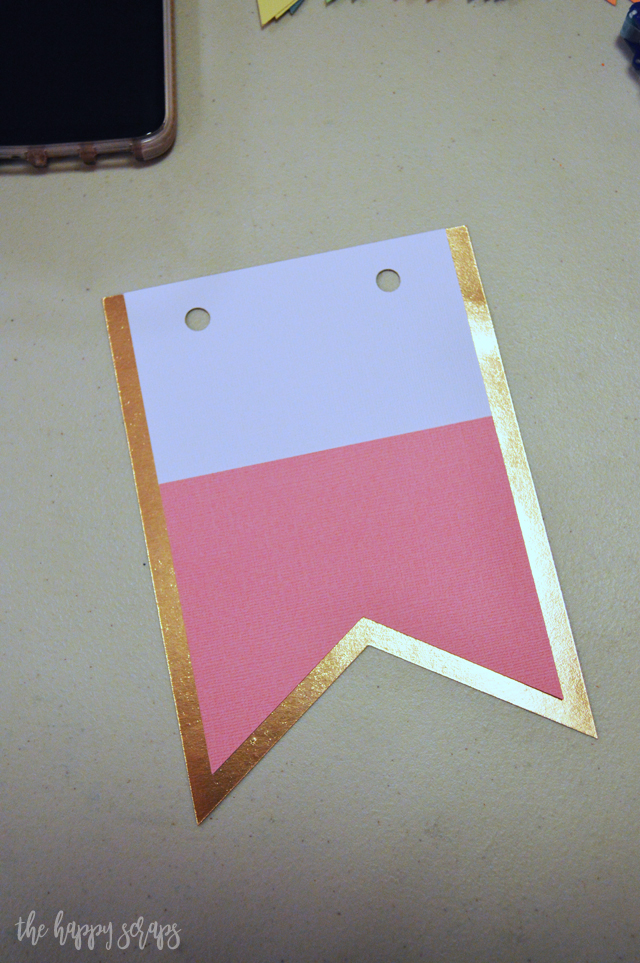
Once I had my banner shapes and letters all cut, I started assembling my banner. I applied adhesive to the back of the colored cardstock.
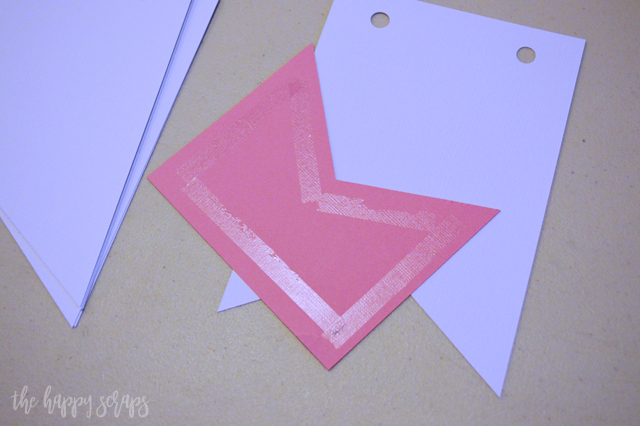
I lined up the cardstock on the front and smoothed it out well, to make sure it was all sticking together well.
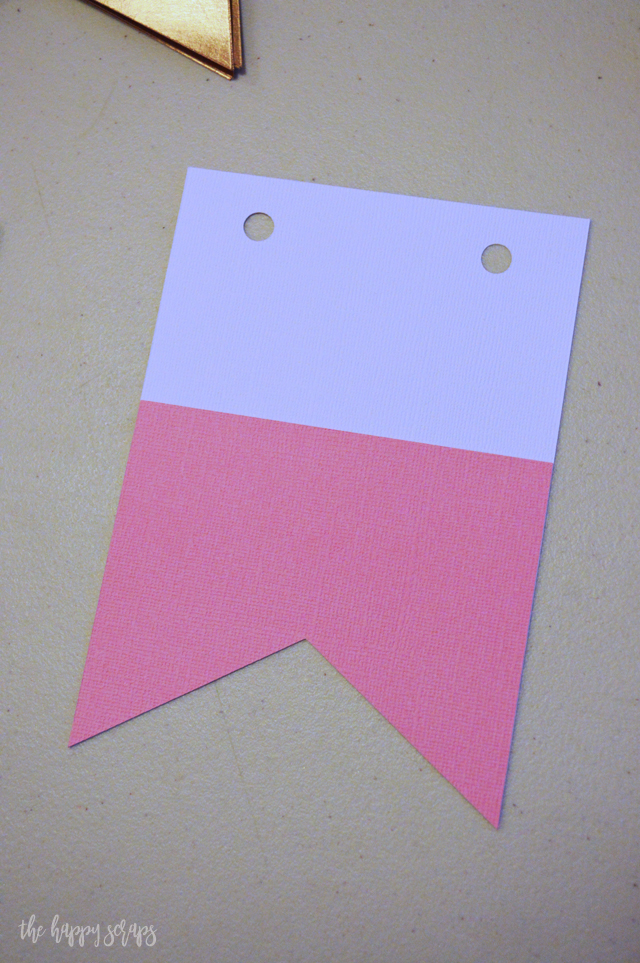
Next, I applied adhesive to the back of the colored + white piece.
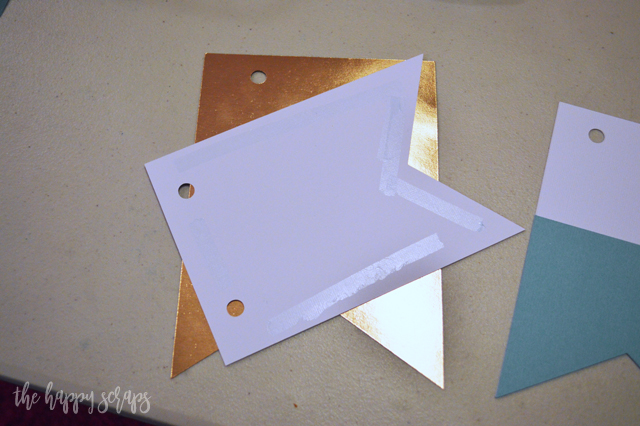
Then I placed it onto the foiled cardstock, lining it up with the holes at the top.
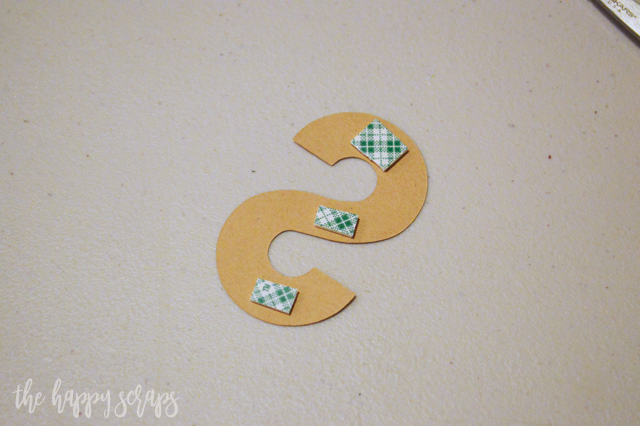
Using dimensional adhesive, I applied it to the back of my letters.
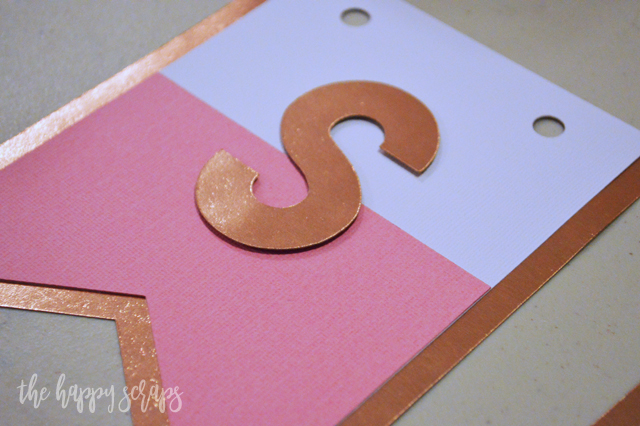
Then I placed my letters on the front of the banner. Once I had all the banner pieces put together, I strung them together with the large white baker’s twine.
I hung up my He Is Risen Easter Banner above my table and shelf in my living room, and knew I needed to add a few more things to it for it to all come together. I had my Happy Easter Sign on the shelf, but didn’t think it went well with the He Is Risen banner, so I made a new sign. You can see a simple tutorial for that sign in the highlights of my Instagram stories.
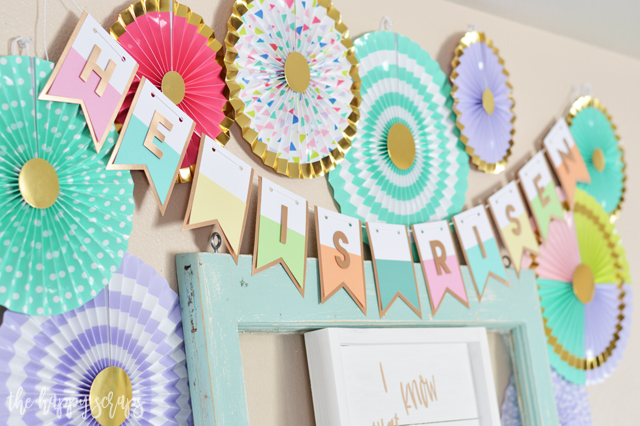
While this display may be pretty simple, I do adore the way it all came together. I love what the foiled cardstock adds to the banner.
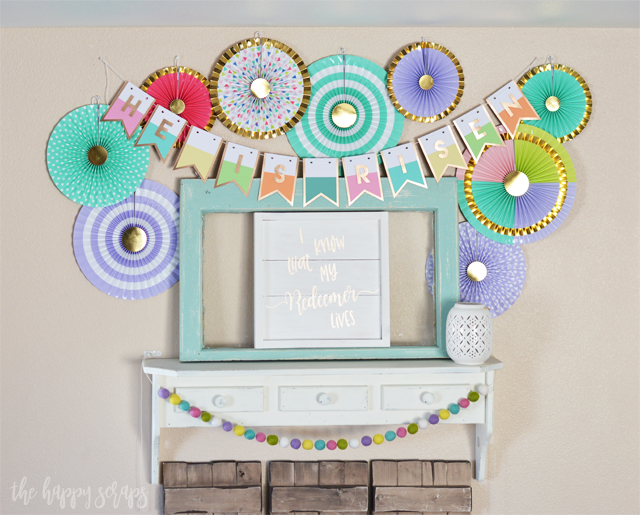
The sign I quickly put together adds just the right touch, and helps us remember the real reason for celebrating Easter.
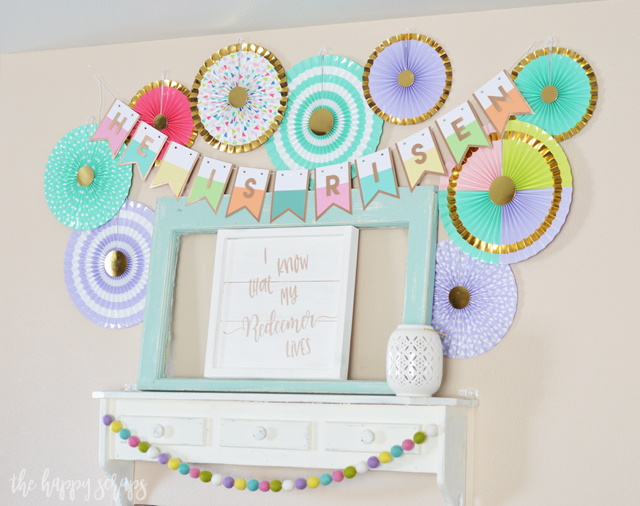
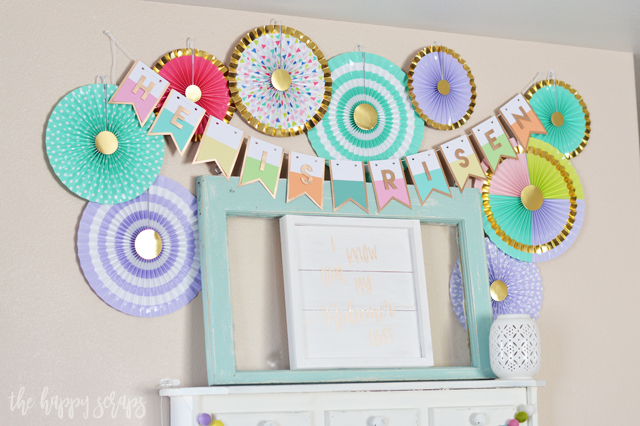
I love having this space, right inside my front door where I can change up the decorations for each holiday and season. I seem to always do it different from year to year, and that is one of my favorite parts about it.

Did you decorate for Easter this year? I kind of wish that I would have decorated for Easter early in March, rather than waiting until after St. Patrick’s Day this year. I’m super late getting my Easter decoration up this year, and I’ll be changing them again next week. I did make another banner that I can use when I take this He Is Risen Easter Banner down though, so I won’t have to change everything out when I decorate for Spring. 🙂
If you’d like to see more Easter projects, you can find them here.

Leave a Reply