I’ve decided that one of my very favorite things to make are shirts with iron-on vinyl. They are a quick and easy project, and it’s so fun to see the project that you have on your computer screen turn into something you can hold in your hands. I also like that you can put what ever I want on shirts. I made another shirt for my little two year old and shared it a little while back, and this Toddler St. Patrick’s Day Shirt is one I made for him this week. I’ll admit that I wish I would have gotten it made a little sooner so he could wear it a few times before St. Patrick’s Day, but oh well. I’m sure I’ll still let him wear it after the holiday. 🙂

This post contains affiliate links. If you click on an affiliate link and purchase something,
you won’t pay anything extra, but it will help support this blog.
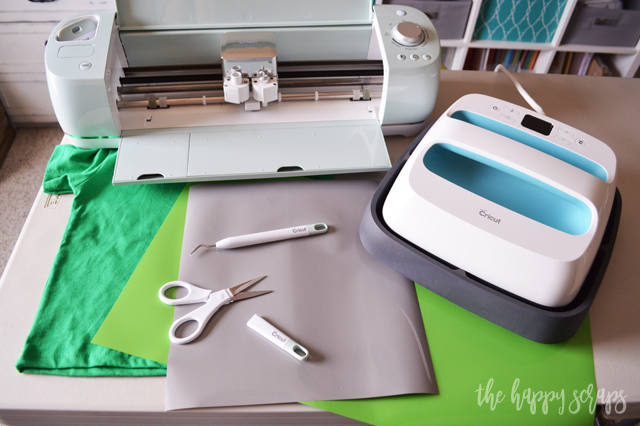
Toddler St. Patrick’s Day Shirt Supplies:
- Cricut Explore Air 2 or Cricut Maker
- Cricut EasyPress
- Gray HTV
- Green Apple HTV
- Weeding Tools
- Blank T-shirt (I picked mine up at Hobby Lobby)
- Text Cut File (for personal use only)
After I got all the supplies together and designed the shirt design, I uploaded my text into Design Space. After I had the text uploaded, I inserted a shamrock. I did it separately because I was using two different colors. Because I was using two different colors of iron-on material, I wanted to cut the shamrock shape so that the vinyl wasn’t layered on the shirt. I used the Slice & Weld features for this. I’ll walk you through how to do it.
Once you have your designs in Design Space, place them how you want them to cut. Select both images, and click the slice button in the bottom right corner. You’ll be able to see that your images were sliced by looking in the layers and also looking at your image. I didn’t want two different layers of the green to be cut, so I selected the portion that I didn’t want cut (by clicking on it in the layers bin) and turned the visibility off, so I could make sure I had the right layer selected. Then I deleted that layer. At this point, my text was cut into two different layers, and they needed to be one, so I turned the visibility off on the shamrock layer, then selected selected both of the text layers. Then I clicked weld in the bottom right hand corner. Doing this left me with the two files I needed to cut, and they would fit together like a puzzle.

Once I had the design ready to go, I clicked on “Make It”. When using iron-on material, you always want to be sure to mirror the image. Once you have it mirrored, click on “Continue”. Select the machine you’ll be using and select the material you’ll be cutting. I was using the Explore Air 2, so I just used my smart dial. If you are using the Maker, you’ll select the material with in Design Space. When the machine is ready, you’ll be prompted to load your mat.
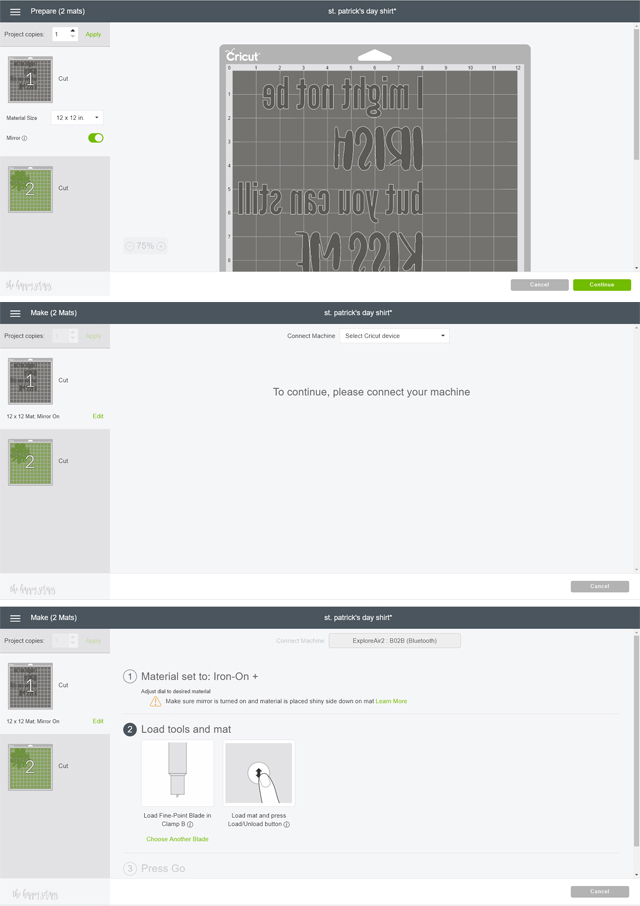
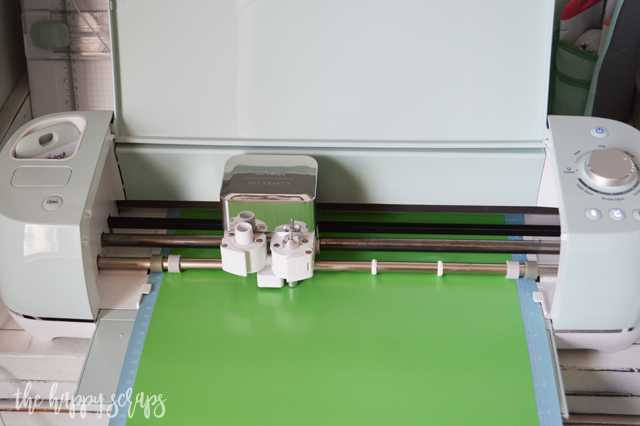
Load your mat and watch the Cricut do it’s magic!
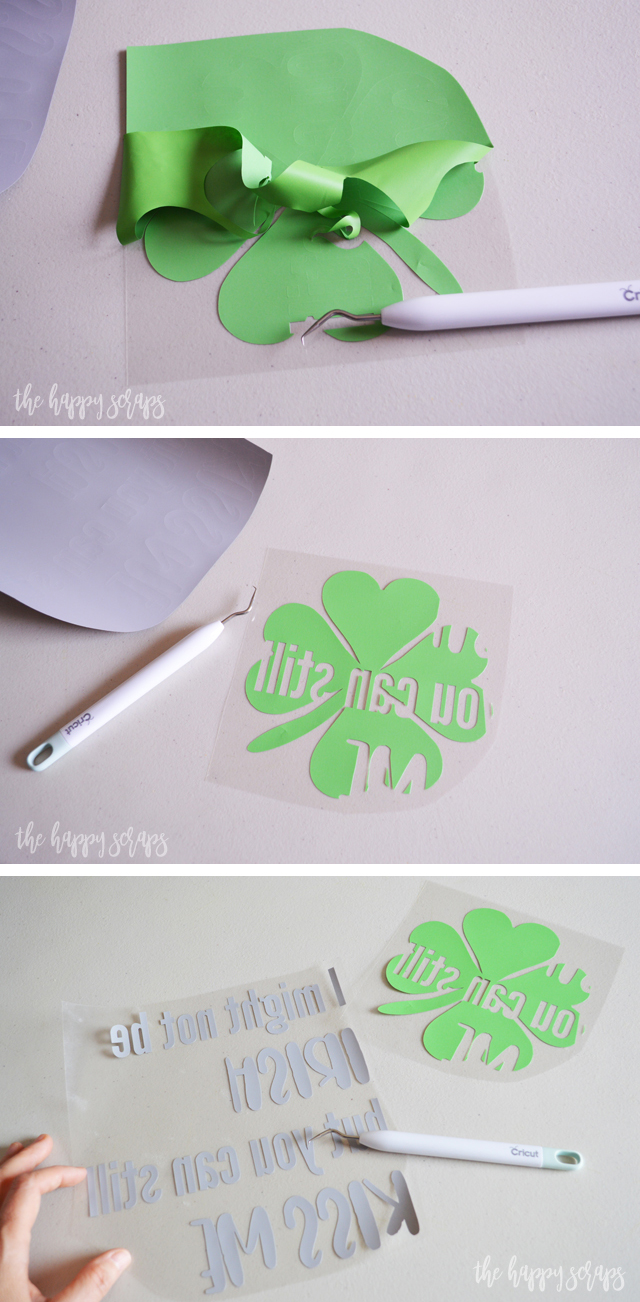
Once your designs are cut, they’ll need to be weeded. I don’t know why, but I really enjoy weeding. 🙂
Get your shirt placed where you’ll be pressing the design onto it. I like to place mine on a wood cutting board with a towel on top of that. Place your design where it needs to be.
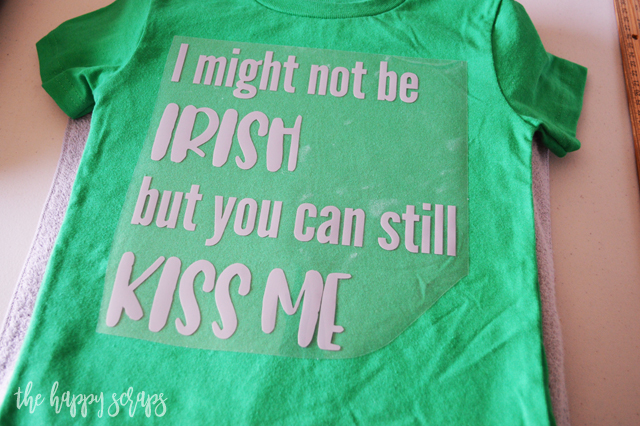
Once your EasyPress is hot, you’re ready to press.

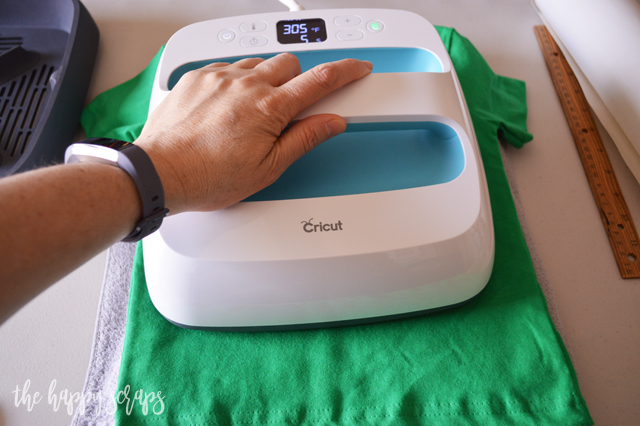
Place the EasyPress on top of the design, and click the green go button so the timer will start. Turn the shirt over and press the back side as well.
Peel off the carrier sheet. TIP: You may want to hang onto the carrier sheet for a minute.

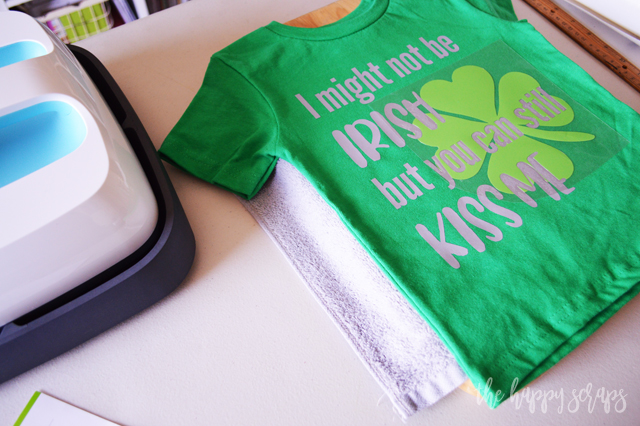
Place your shamrock onto your shirt. If you try to press the shirt like this, it will melt the gray because it’s not covered completely by a carrier sheet. At this point, you can place the carrier sheet you already pulled off, back on to the design, so that it’s covered, or you can use and Iron-on Protective Sheet. I use the protective sheet, and it works great. Press the shamrock the same way that you did the lettering, on both front and back.
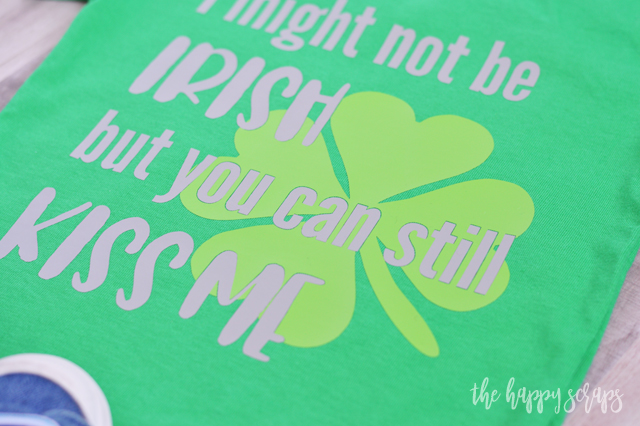
Once you peel off the carrier sheet from the shamrock, you’re all finished.
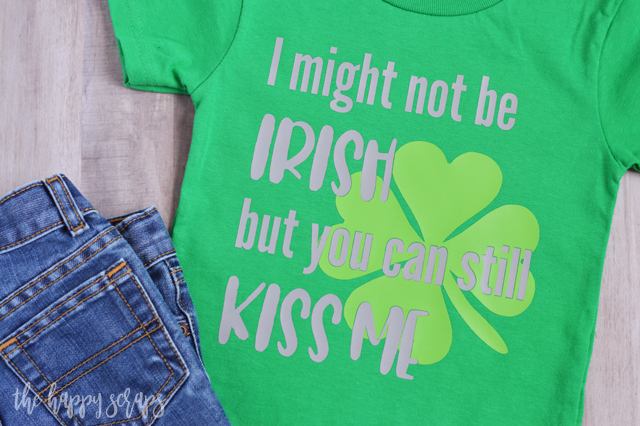
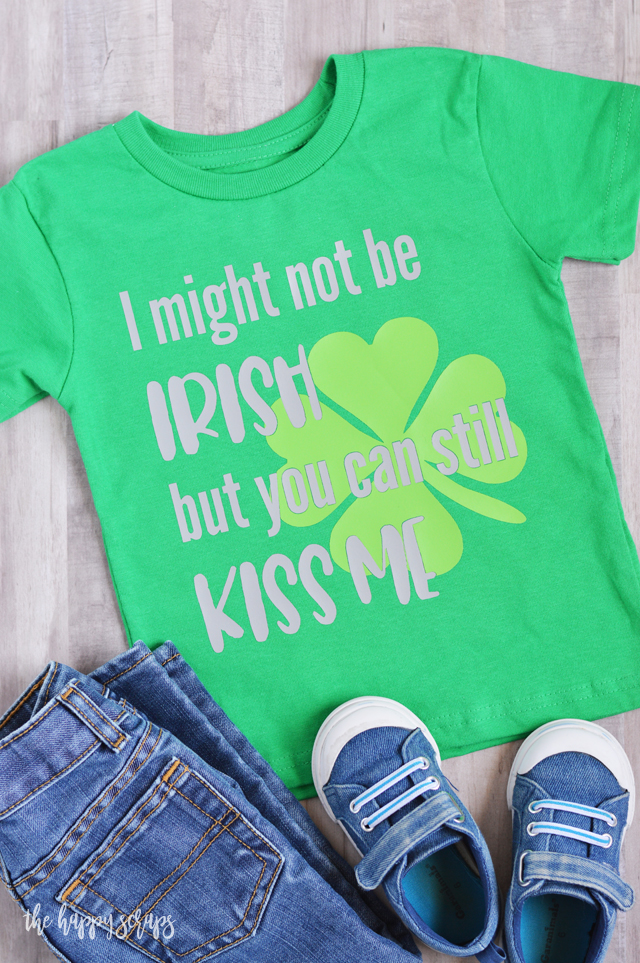
I love having the two different colors!
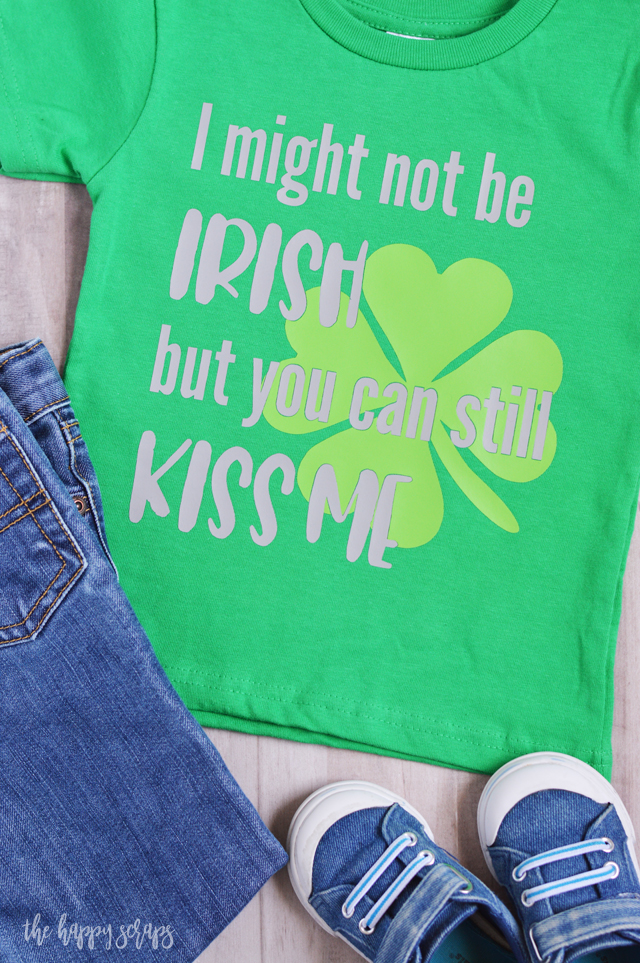
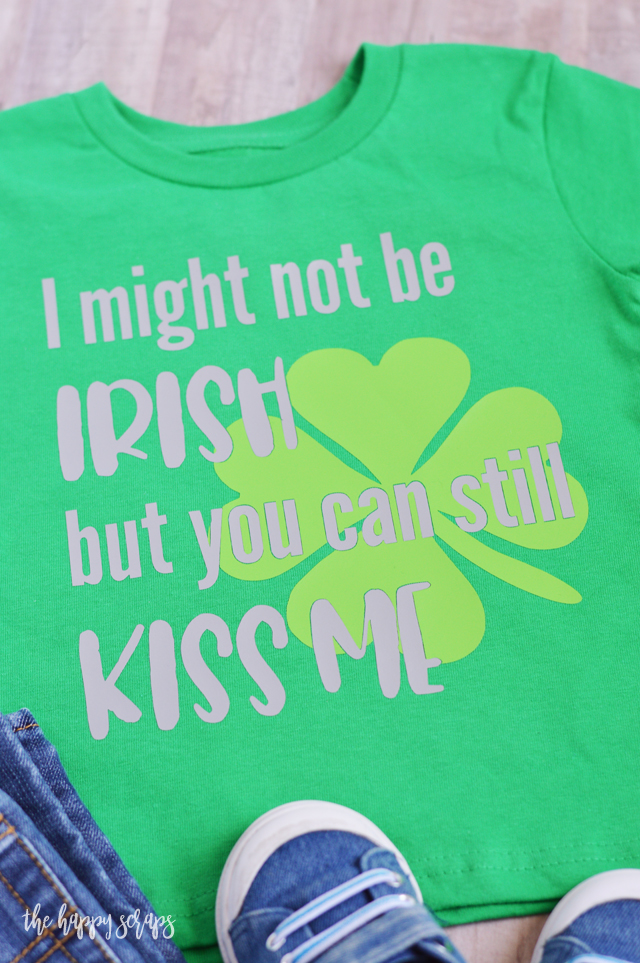
And while it’s not necessary to make a Toddler St. Patrick’s Day Shirt, it sure is fun!
I really like the way it turned out too.
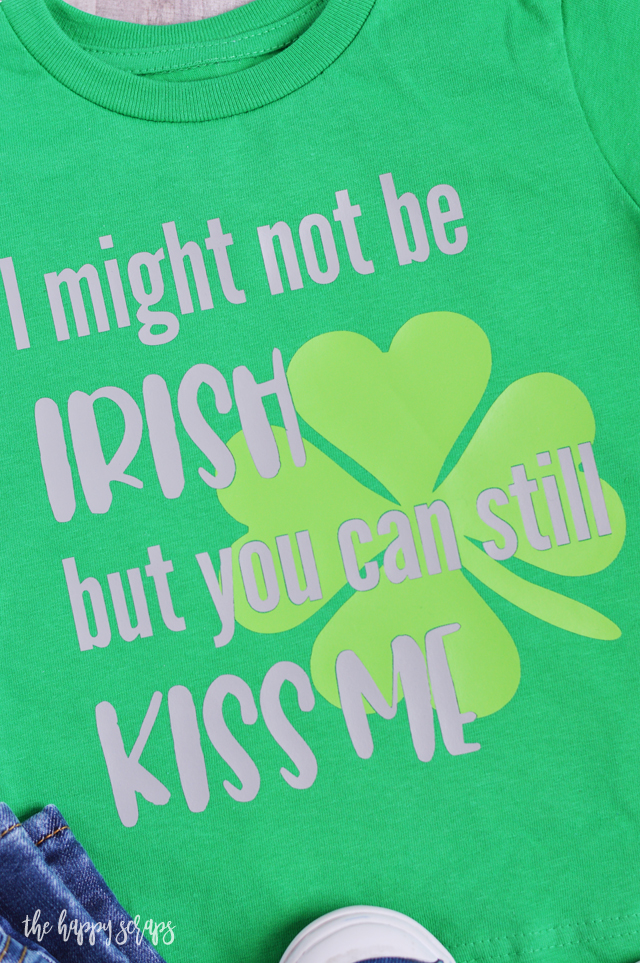
I like that I can slice & weld so that I don’t have to have layers of iron-on vinyl if I don’t want to.
So tell me, do you like to create shirts for your family? I think it’s an easy and fun thing to do!
If you want to see more iron-on designs, then check out the gallery of them here.

Leave a Reply