This Teacher Appreciation Gift Bag with Cricut Iron-on Designs post is a sponsored conversation written by me on behalf of Cricut. The opinions and text are all mine.
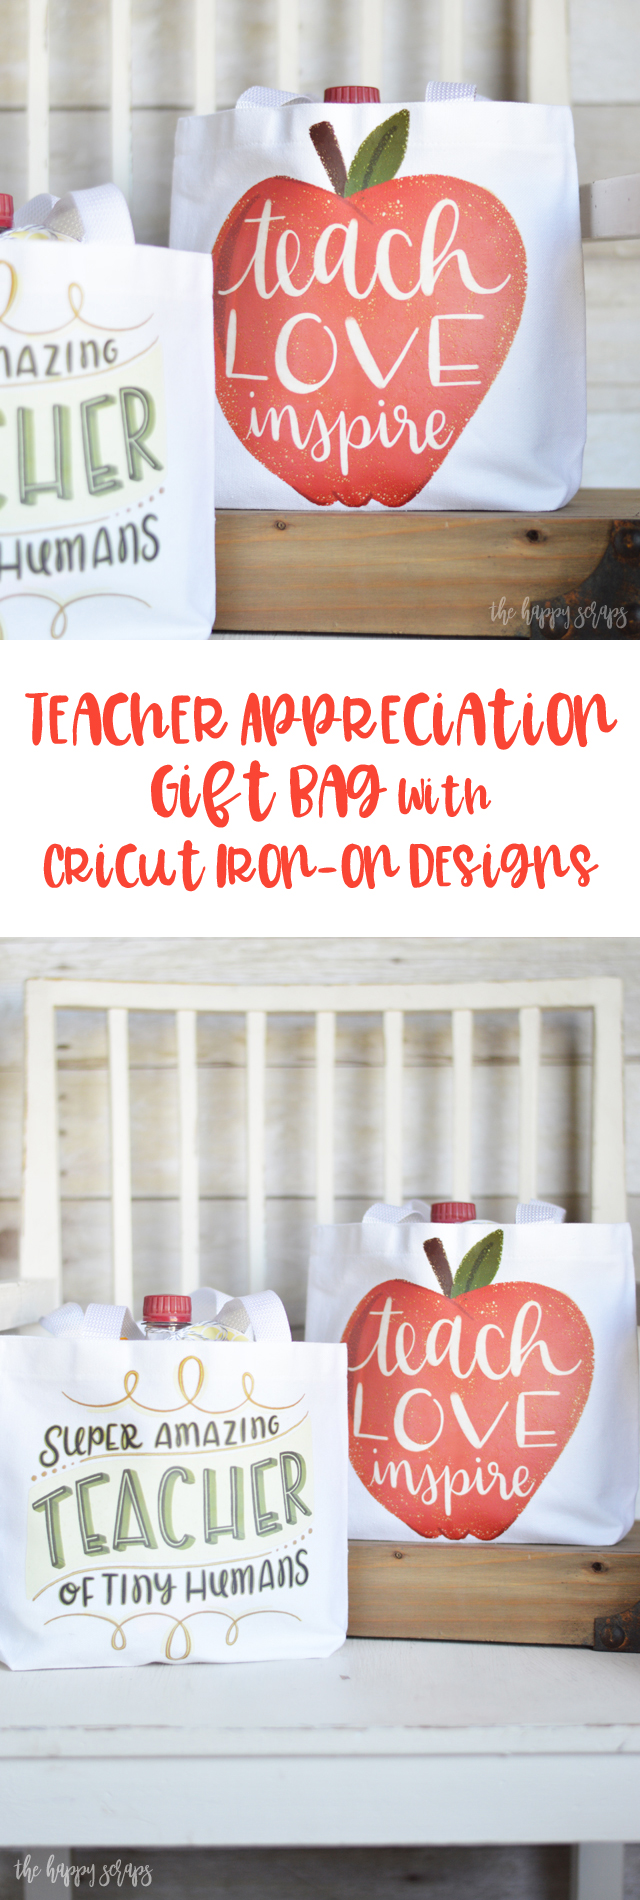
Today I’m sharing another fun Teacher Appreciation Gift with you, and this one is SO fun and EASY to put together! Have you heard about the new Iron-on Designs from Cricut? They are amazing! I love that they are multi colored and they are ready to use when you pull them out of the package. No cutting necessary with your Cricut machine. I decided to use the Teacher Apple and Teacher of Tiny Humans Iron-on Designs to create this Teacher Appreciation Gift Bag with Cricut Iron-on Designs.
This Teacher Appreciation Gift Bag with Cricut Iron-on Designs post contains affiliate links. If you click
on an affiliate link and purchase something, you won’t pay anything extra, but it will help support this blog.
Teacher Appreciation Gift Bag with Cricut Iron-on Designs Supplies:
- Cricut Iron-on Designs, Teacher of Tiny Humans
- Cricut Iron-on Designs, Teacher Apple
- Cricut EasyPress
- Cricut EasyPress Mat
- Small Canvas Totes
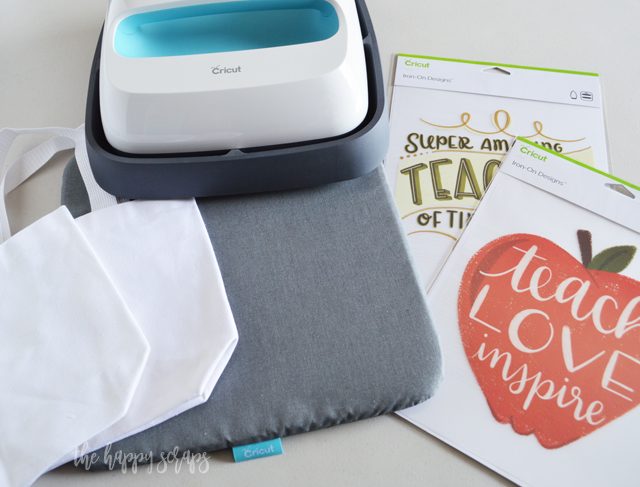
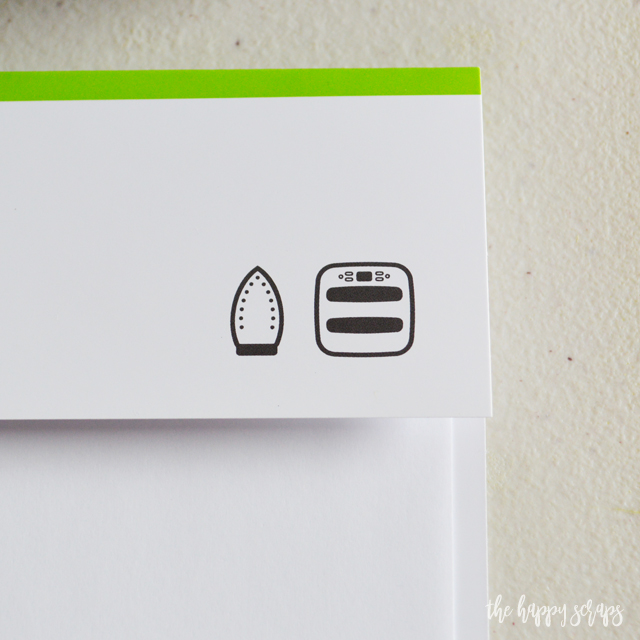
I love these Iron-on Designs because they are ready to be used! You can have a project done in a little more time than it takes for your EasyPress (or iron) to heat up! It works with both, but I highly recommend using the EasyPress with the mat. The EasyPress is so convenient to use because it has even and consistent heat, a large heating area, and it counts for you! The EasyPress Mat protects your surfaces, eliminates moisture, and directs the heat to your project. The heat settings can differ depending on if you are using a mat or a towel and if you are using the EasyPress or iron. You can find all of the recommended settings on the Cricut website.
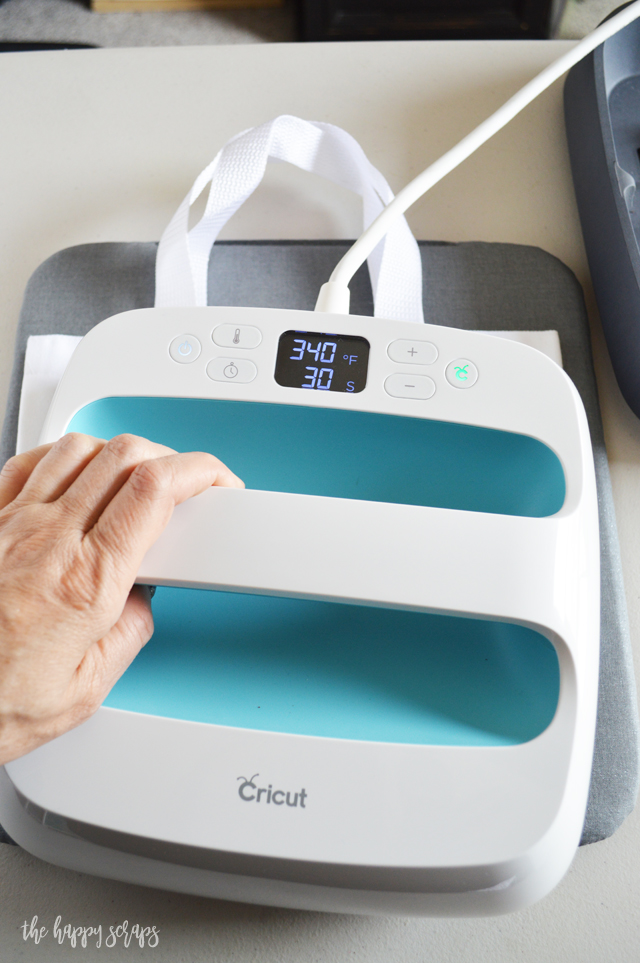
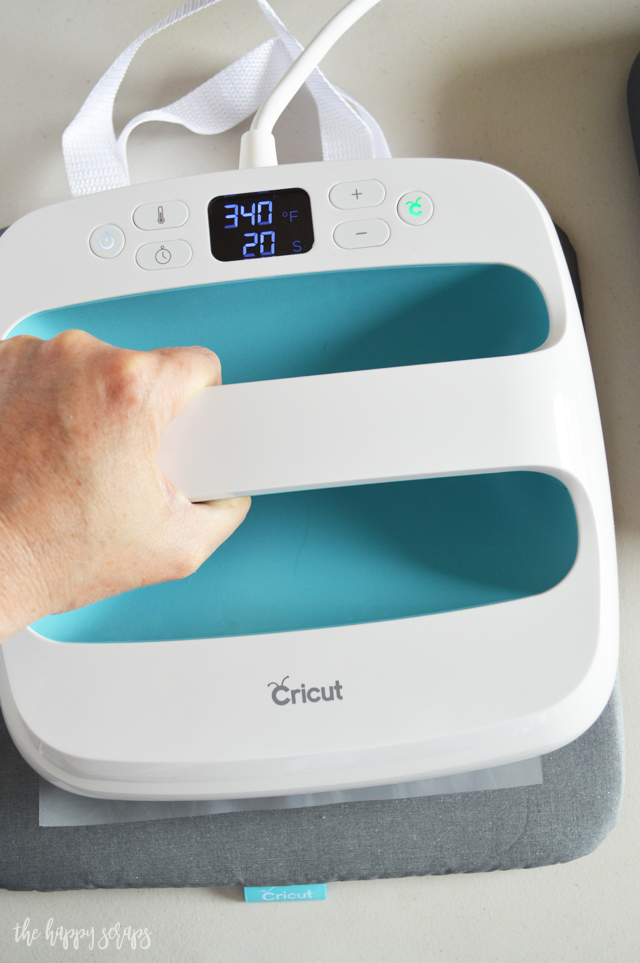
For this project, I set my EasyPress to 340* and 30 seconds. I started out by placing my tote onto my EasyPress Mat. I preheated my bag for about 15 seconds.
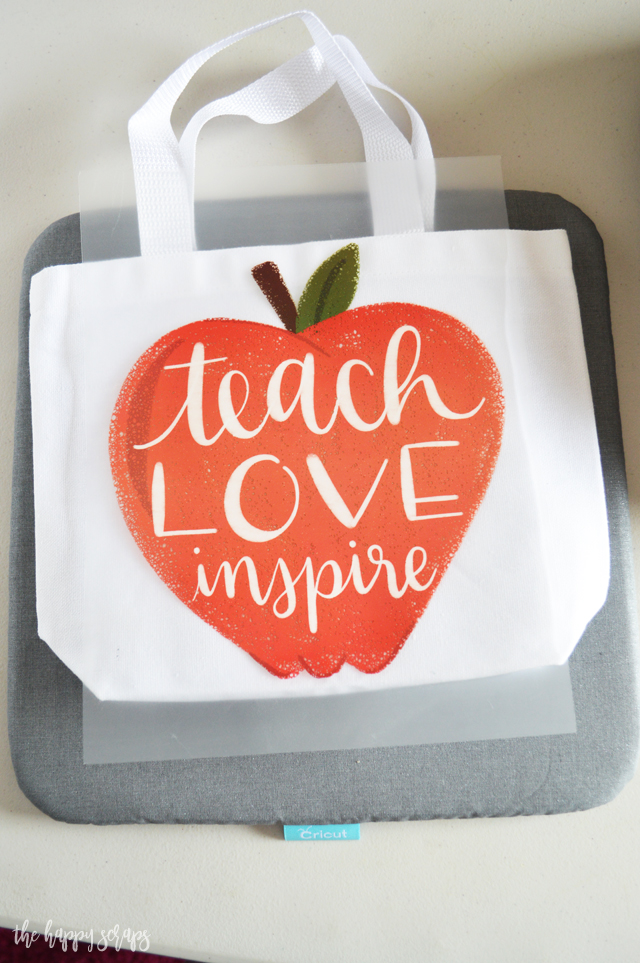
Then I placed my Iron-on Design onto the tote where I wanted it. (Side Note: This size of tote was a little tricky to get the whole thing flat to be able to get the Iron-on Design to adhere completely. A slightly larger tote, that the EasyPress Mat could fit inside of, would probably have worked better. This still worked, it was just a little tricky.)
I placed the EasyPress over the top of the Iron-0n Design and clicked to go button to start the timer, while holding with firm pressure.
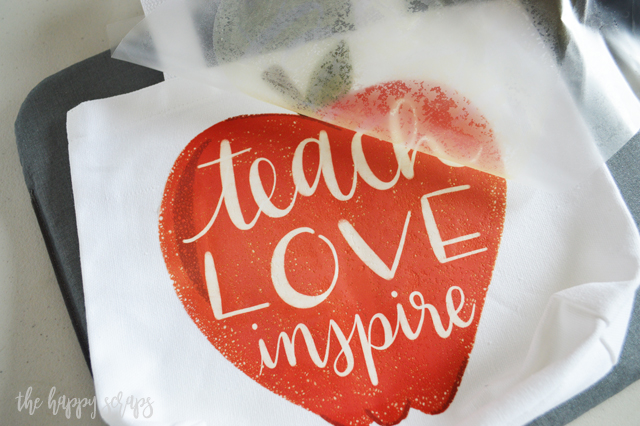
Once the timer was done, I let the design cool, and then cold peeled the carrier sheet off of the top.
You guys! These turned out so amazing!! For real. It was so EASY and fast to get this Teacher Appreciation Gift Bag with Cricut Iron-on Designs put together!
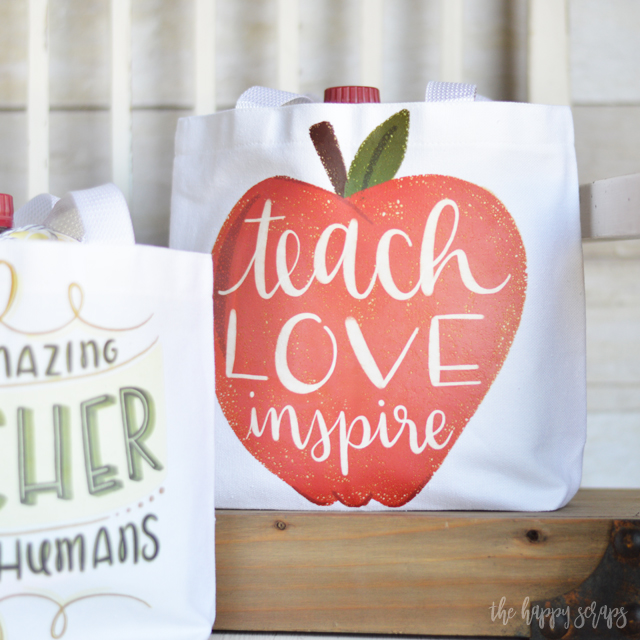
I needed two for the two elementary school teachers that we have, and I had both of them done in about 10 minutes because the Iron-on Designs were so easy to use. You can find over 50 of these amazing iron-on designs (with more coming soon) and there are also two different sizes. All of them are ready to be used. There are so many different ways that you can use these iron-on designs, the possibilities are endless! Shirts, totes, pillows, or hoodies work great for the larger designs and the smaller designs work great for backpacks, baby clothes, kitchen towels, or to embellish other items. Keep in mind that the designs need 24 hours to sit before being washed. Wash and dry inside out and if you need to iron, do so on the back side of the garment. Also, do not use bleach with these Cricut Iron-on Designs.

I adore the way these cute bags turned out and can’t wait to have my boys take them to school and give them to their teachers!
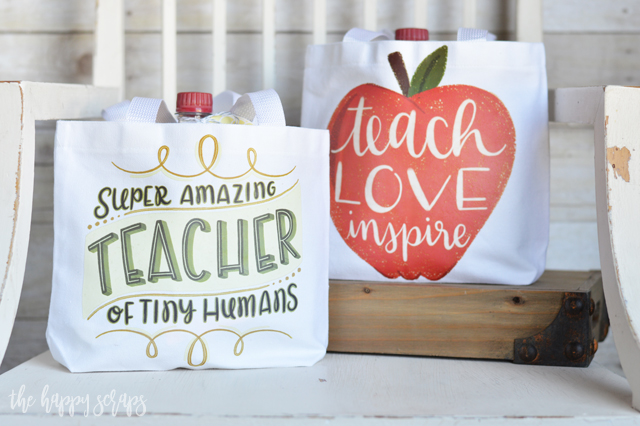
I filled them up with several smaller gifts of things that I hope the teachers can really use and enjoy!

I included Highlighters, Glue Sticks, Paper Clips, Dry Erase Markers, Post-it Notes, and the teachers favorite drink. I used the printable tags to go along with each of them.
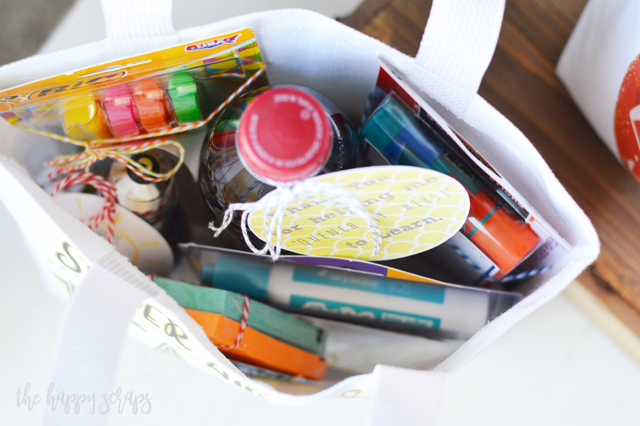
My favorite thing about these Cricut Iron-on Designs is that they are so easy to use! No matter what kind of project you’re working on, these iron-on designs will make it be a quick one! There are so many fun ones to choose from too! I can’t wait to use some for shirts as well as throw pillows!
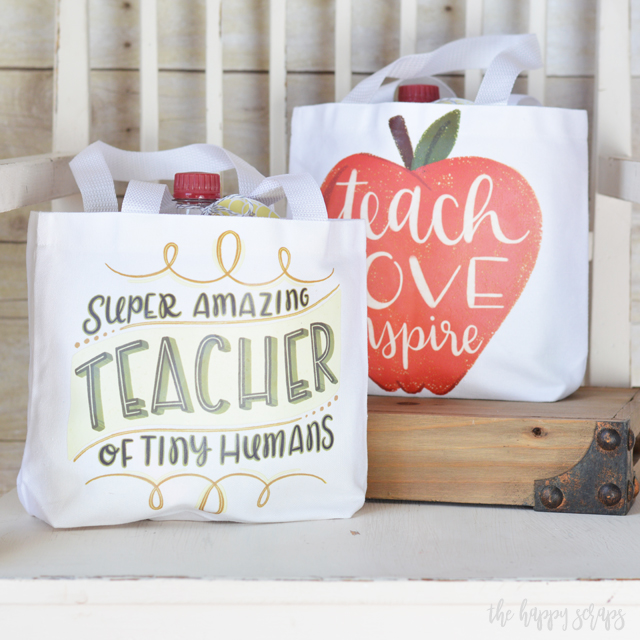
Grab your supplies and make some of these fun totes, whether it’s for a Teacher Appreciation Gift Bag or if it’s for a baby gift, these Cricut Iron-on Designs are perfect for it!
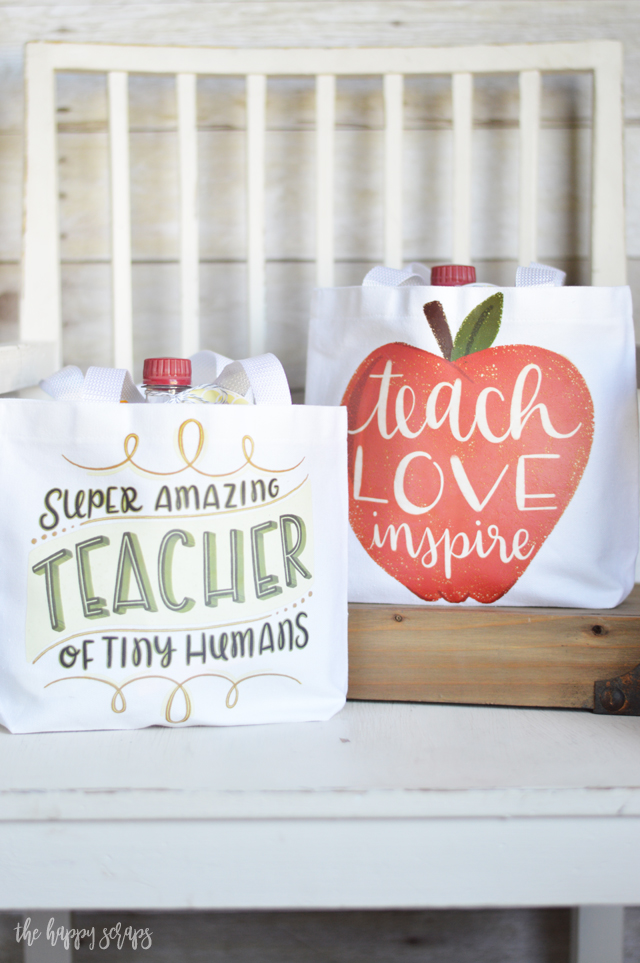
You really can’t beat putting a quick project like this together. If you’ve enjoyed this Teacher Appreciation Gift Bag with Cricut Iron-on Designs, then check out my other EasyPress projects and Teacher Gift Ideas.
This is a sponsored conversation written by me on behalf of Cricut. The opinions and text are all mine.

Leave a Reply