I’ve been so excited to share this project with you! I shared a sneak peek of this on my Instagram stories last week because I wasn’t sure if I should go further down the wall or stop where I was at. I ended up going down one more row from where I had it. Anyway, I decided that I wanted to create an Airplane Accent Wall for my little toddlers bedroom because one of the few things he loves and talks about are airplanes. My dad, who passed away 9.5 years ago, was a pilot. He had his own small plane that we always enjoyed going flying in. Well, my brother now flies my dads airplane, and over the last few months, he’s been working near our home. So to make it so he can spend his evenings with his own family, who lives a couple hours away, my brother has been flying over our home some days. I’ll get a text from him letting me know that he’s coming, so we go outside and stand on the driveway and wave. I’m sure our neighbors probably think we are a little crazy, waving at the airplane in the sky, but every time he flies over, it completely makes my day, and it makes the day of my two year old too. It does my heart good to see my little two year old get so excited about things that I love and remind me of my dad. So, when I decided I wanted to create an accent wall for the nursery, I thought that airplanes would be the perfect thing to use for it. 🙂 Today, I’m going to share with you just how easy this Airplane Accent Wall was to put together!

This Airplane Accent Wall post contains affiliate links. If you click on an affiliate link and purchase something, you won’t pay anything extra, but it will help support this blog. I received vinyl, from Expressions Vinyl, in exchange for this post. All opinions and ideas are my own.
Airplane Accent Wall Supplies:
- Adhesive Vinyl Sample Kit
- Adhesive Vinyl in Dark Blue and Nut Brown
- Cricut Explore Air 2
- Level with Ruler
- Pencil
When we moved into this house, this bedroom was a buttery yellow color. It wasn’t mine or my husbands favorite color, but we left it at the time because it was the guest room and I was super pregnant and sick at the time we moved it, so painting it wasn’t really an option. A little over a year after we moved in, we decided to move our baby, who was almost one, out of our bedroom, and into his own room, which was the guest room. Before we moved him in, we painted those yellow walls with this pretty gray paint. I love it! If it wasn’t so much work, I think I’d want to paint my whole house this color! So, this is my two year olds bedroom, before I started this project. I was trying to decided if I wanted to put these on the wall behind his crib, or by the window. I decided to do it by the window because I was worried that he would play with the airplanes while in his bed.

The first thing I did was pull out the Adhesive Vinyl Sample Kit so I could make sure to order and use the colors that already match his bedroom.
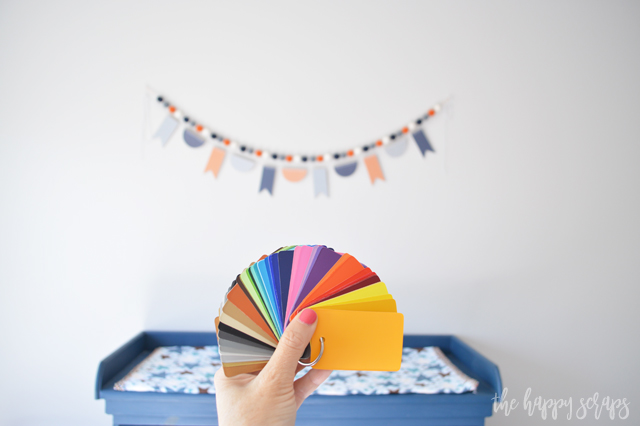
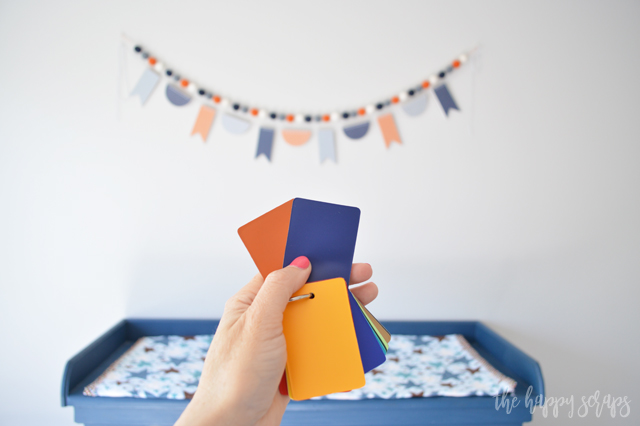
I decided on the dark blue and nut brown. I seriously love these sample kits because you can find the color you need and then jump on and order from Expressions Vinyl. There have been days that I order and I have product in hand the next day. I live in Utah, and they are in Idaho. They are SO super fast at shipping things!
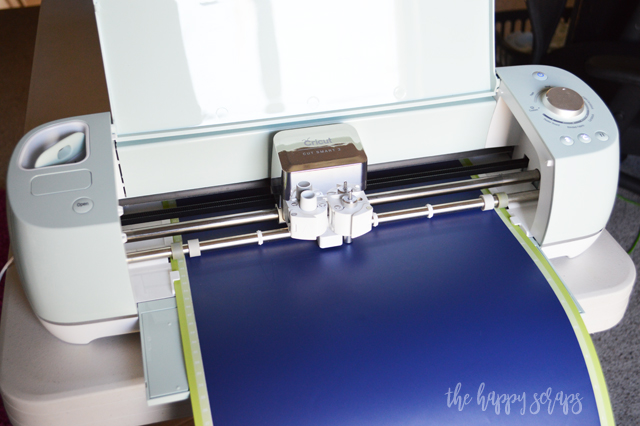
Once I had my vinyl, I got to work getting things cut out. I looked around on Etsy and found some .svg airplane files that were what I was looking for, and that is what I used for this. I uploaded them into Design Space, placed them how I wanted them so I could get the most out of my sheet of vinyl, and then cut them on my Cricut.
Once they were cut, I weeded them. I was thinking that for this project I would need transfer tape, but once I started working on it, I realized that the transfer tape was making things harder, so I wouldn’t recommend using transfer tape for a project like this.

Because I thought I needed to use transfer tape, I had put it on the sheets of planes, cut them apart, and then I realized that transfer tape was making this project harder, so I took the transfer tape off of the cut out airplanes.

ANYWAY, back to the project. I placed the first airplane on the wall, and then I measured 12″ between wings and placed the second one on the wall. I think the hardest part of this project was trying to decide the spacing. I ended up finding the middle (6″ off each wing), then dropping down 12″ to place the next plane. It worked.
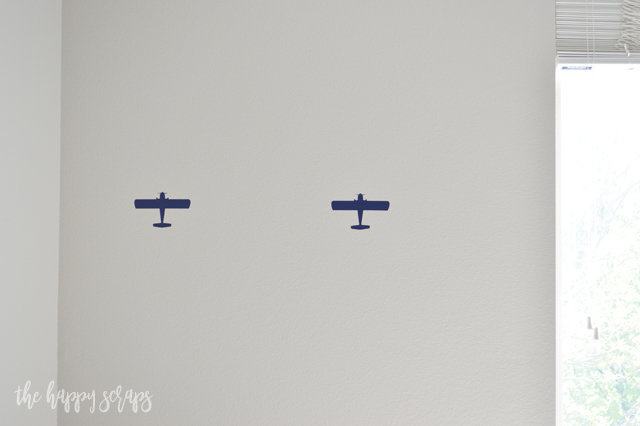
Once I had a few of them on the wall, I was able to use this level to measure down. I made a mark on the level, where the next airplane should go, and then I marked the wall with a pencil. I made sure the level was “level” and then marked it. This made things go SO much faster!
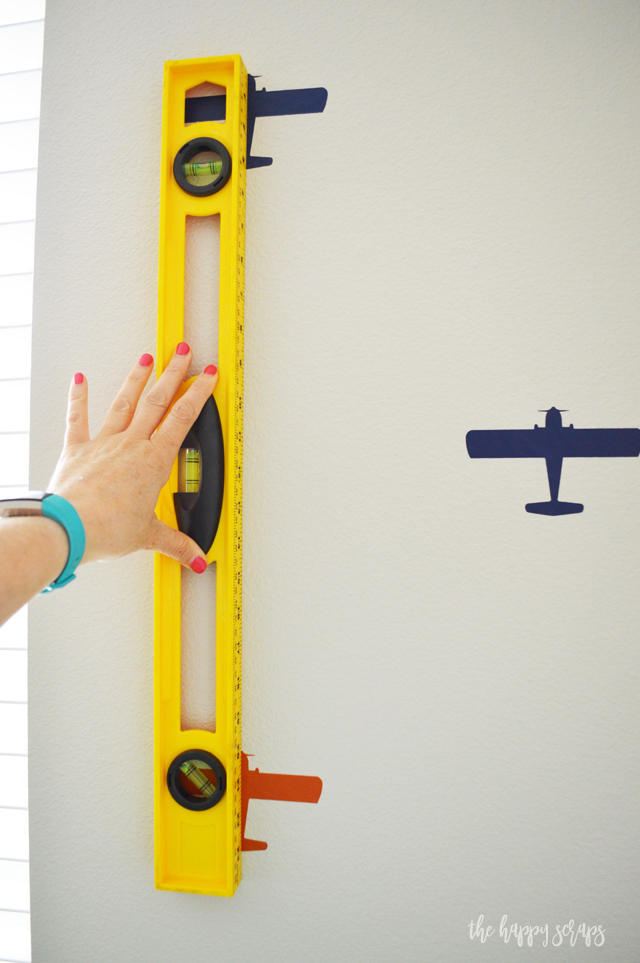
I sporadically placed the orange planes mixed in with the blue. I wanted them to be placed randomly, and it worked well.
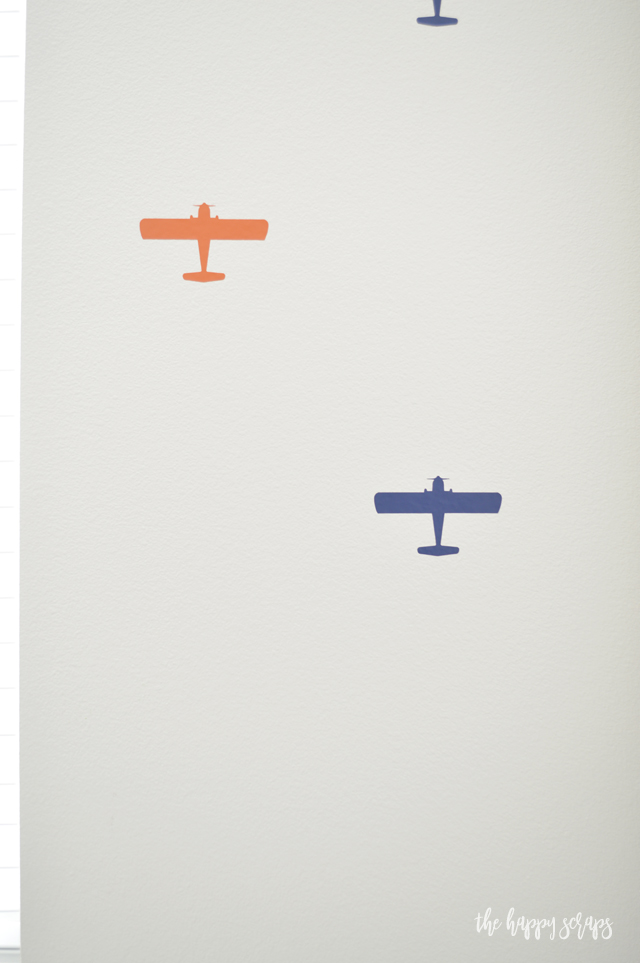
Once I got all the airplanes on the wall, I was so excited. So was my two year old. He loves to look at them and say plane or Scott. (That’s my brother that flies over.)
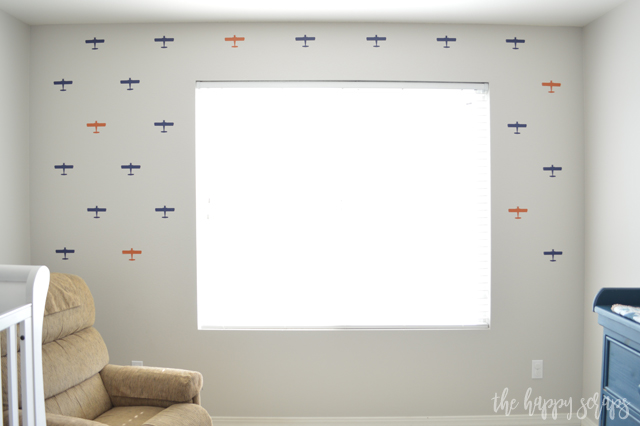
I love that this Airplane Accent Wall adds a new look to the bedroom and it was so easy to do! No painting walls (does anyone else hate doing that?), we didn’t have to build anything either. It was just nice to cut out the airplanes and stick them on the wall.
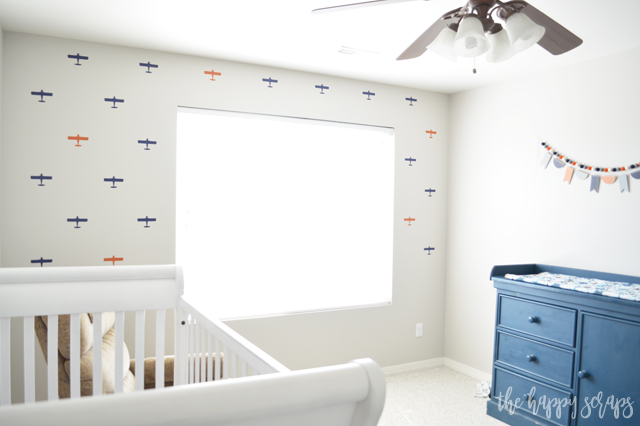
I’m excited that my little boy is excited about it.
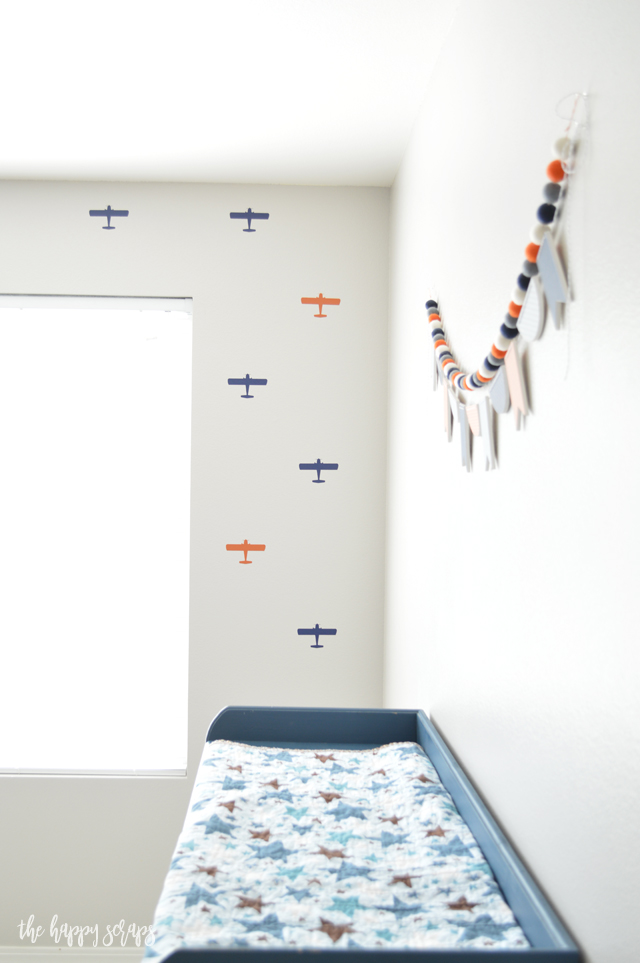
We still have one wall we need to figure out what we are doing with it in this room, but now that the airplanes are one the wall, I can focus on the other wall and hopefully get it done sooner rather than later.
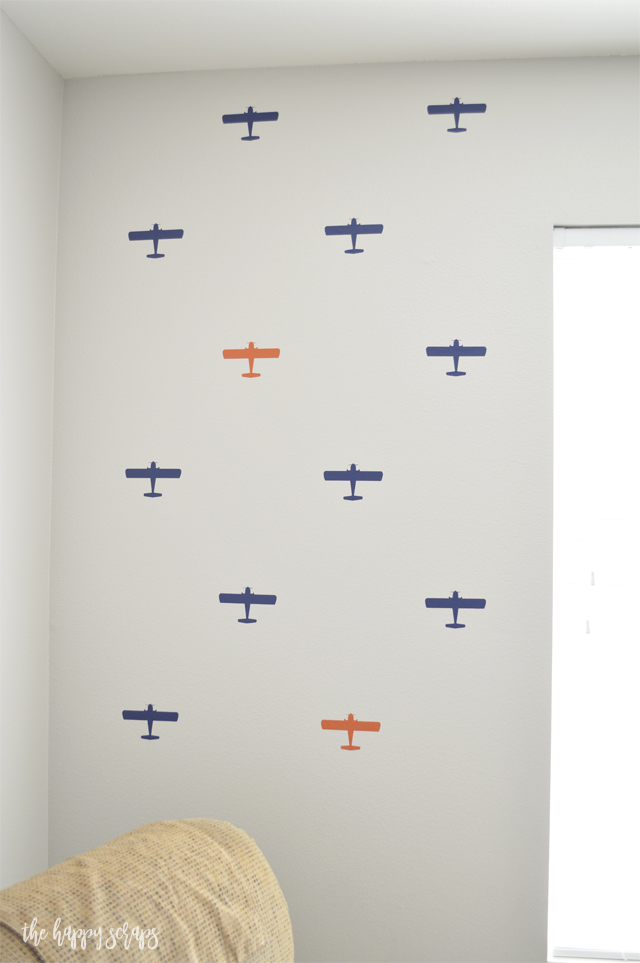
I’m loving this Airplane Accent Wall! What kind of design would you add to a wall? I love how using vinyl makes it easy, it isn’t permanent, and it can make such a statement in a room.
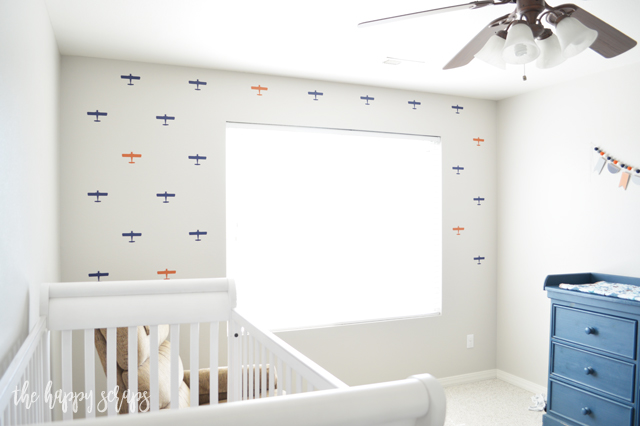
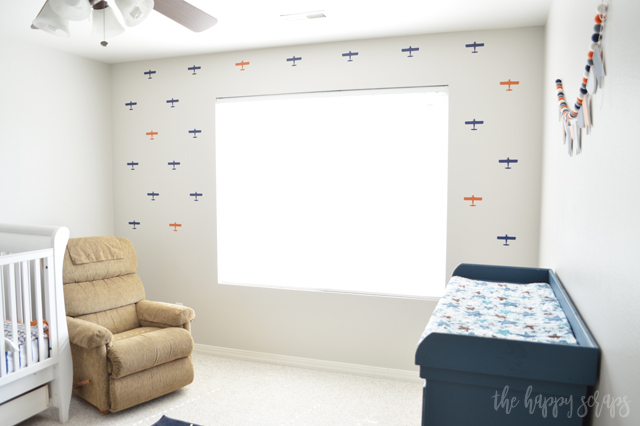
I’ve shared other parts of the nursery before, so if you’re interested then you can find those posts here.

Leave a Reply