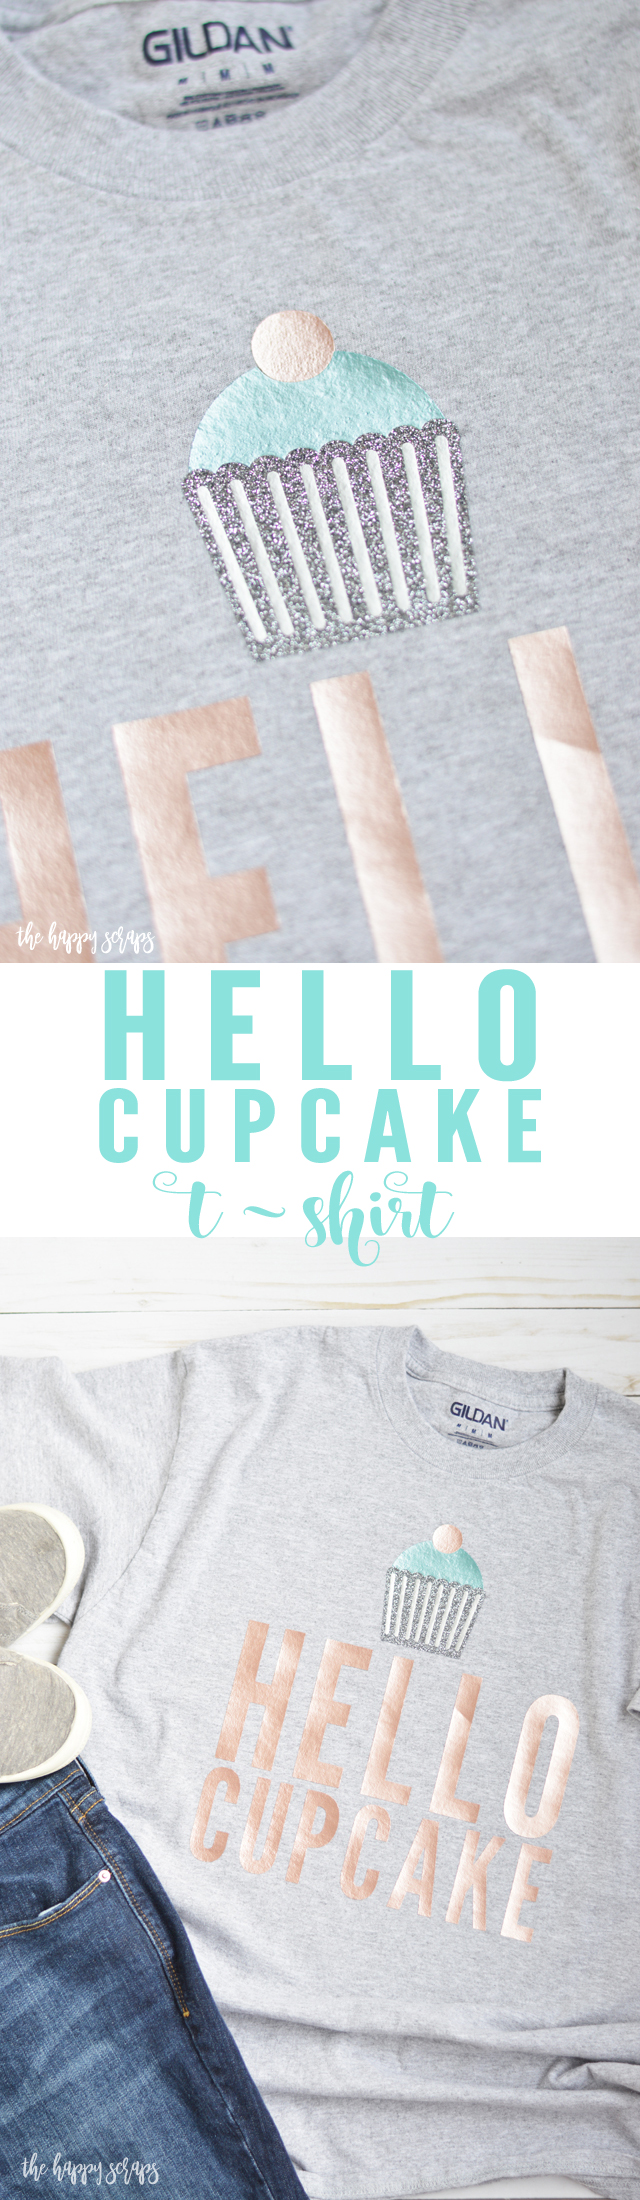
A little more than a month ago, I got to go to Snap Conference. It’s a blogging conference for creative bloggers and it’s my favorite. I’ve been to it for six years (I think) and I always enjoy it and have a good time. One of the fun things they do at this conference is have themed parties. The theme for the opening reception this year was “Eat Dessert First.” I decided that I wanted to make a cupcake shirt to wear for the opening reception, so this Hello Cupcake T-shirt is what I came up with. Today, I’m showing you how I made it!
This Hello Cupcake T-Shirt post contains affiliate links. If you click on an affiliate link and purchase
something,you won’t pay anything extra, but it will help support this blog.
Hello Cupcake T-Shirt Supplies:
- Cricut Maker or Cricut Explore Air 2
- Cricut EasyPress & Mat
- Easyweed Electric HTV in Teal & Rose Gold
- Silver Iron-on Lite
- Black Silver Glitter Iron-on
- Hello Cupcake Design Space File
- Gray T-shirt
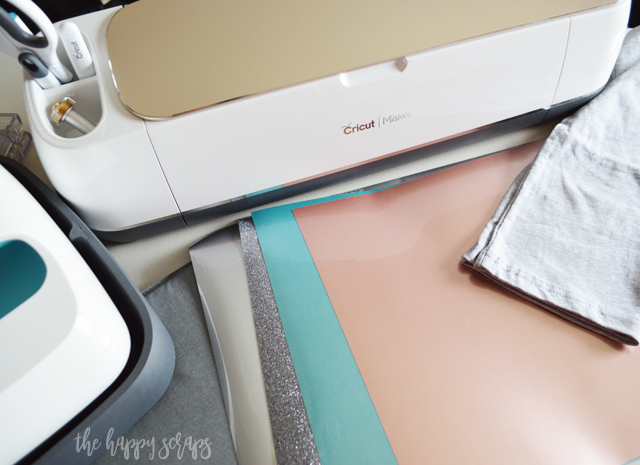
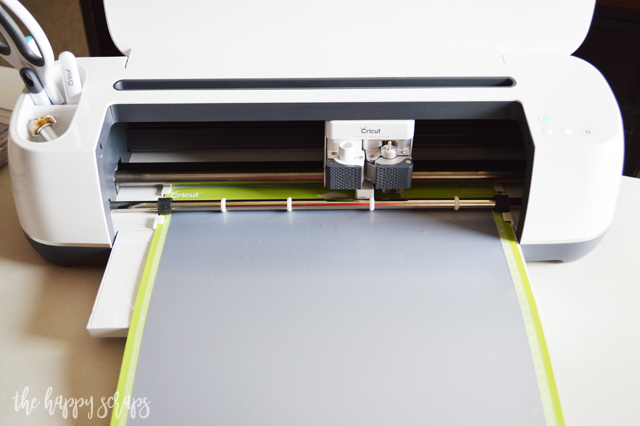
Once I had the design finalized, I got started cutting it out on the Cricut Maker. When cutting Iron-on or Heat Transfer Vinyl, always make sure that you mirror the cut and put the shiny side down on the mat.
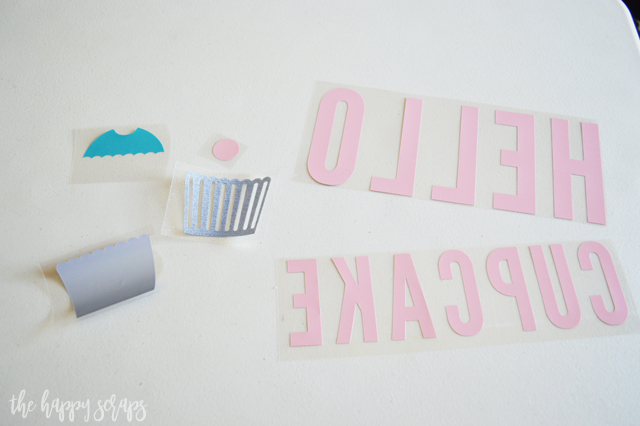
Once everything was cut out, I weeded it.
Because I wanted to make sure that the cupcake was in the center, I folded the shirt in half, and ironed it a little bit to mark the center.
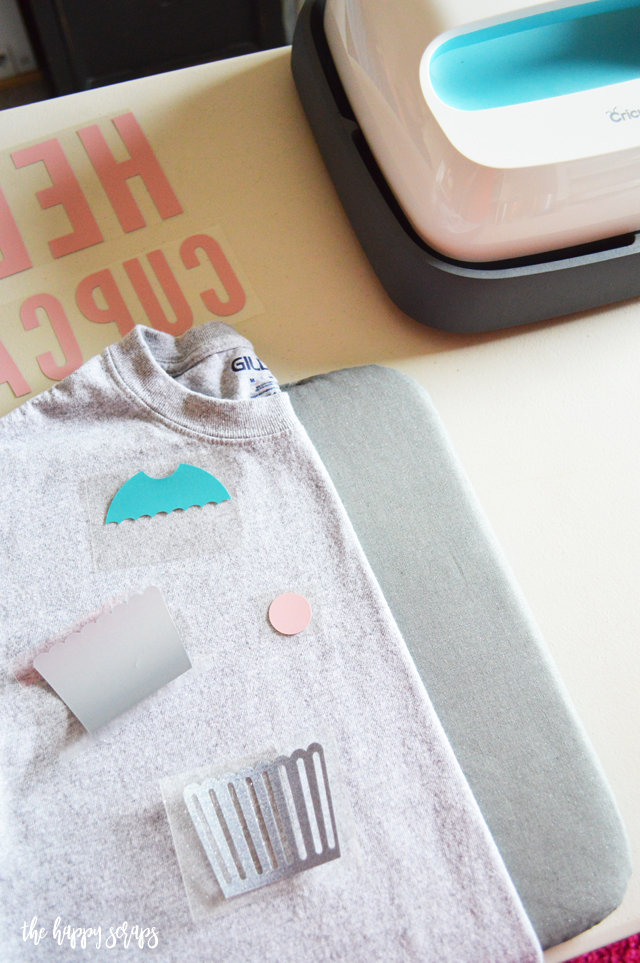
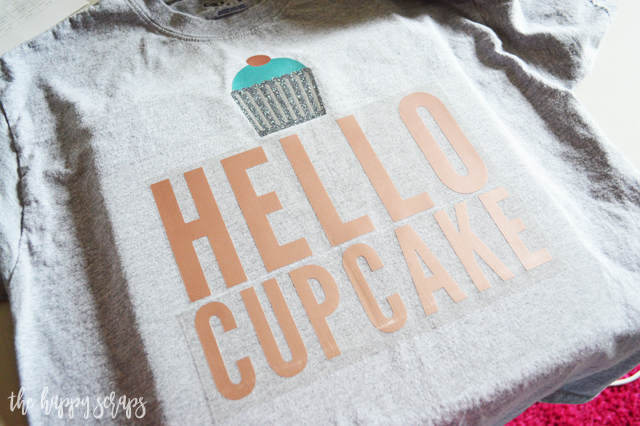
I unfolded it and placed the cupcake where I wanted it. For the Cupcake, I had to iron it on in layers. I started with the cupcake liner. I ironed it for about 1/2 the recommended time because I was layering more on top of it. Then I added the frosting, pressed it for 1/2 the time as well. For each of these layers, I let them cool, and did a cold peel. Also, for each layer, I always made sure that all the vinyl material was completely covered by a carrier sheet or protective layer so I didn’t melt the vinyl. I added the cherry and then the glitter layer. On the final layer, with everything covered, I did the full amount of time recommended. One I had the cupcake on the shirt, I placed the lettering where I wanted it. Then I used the Cricut EasyPress to press the letters on. Again, I made sure that all the vinyl was covered when applying the heat.
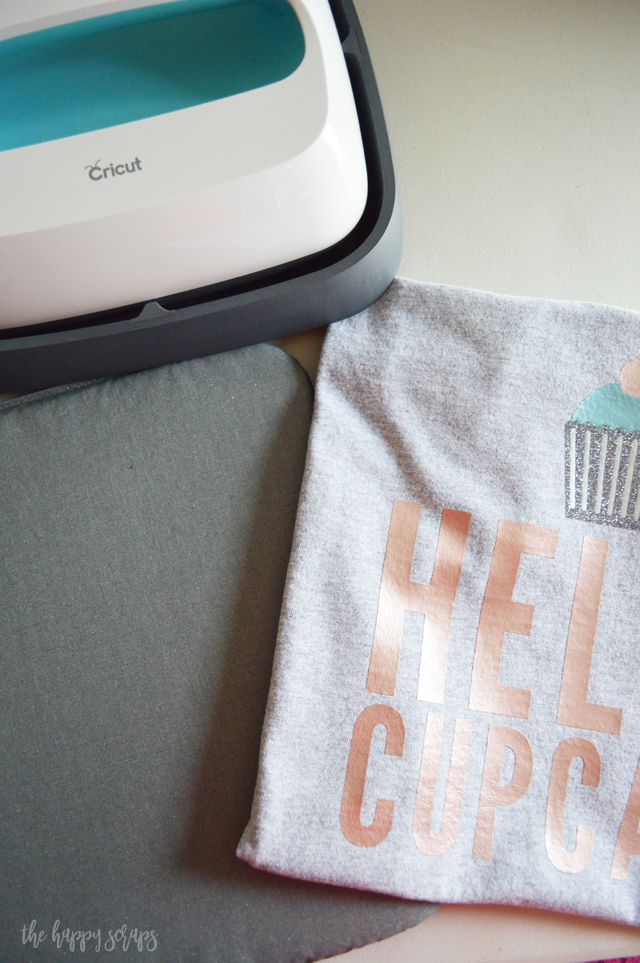
I was so excited with the way it turned out! The Cricut EasyPress and Mat make it so easy to make shirts and it’s fun to see them come together.
Isn’t this cupcake so fun?! This was my first time using the Easyweed Electric HTV and I loved it! So far it seems to be holding up great after washing too.

The rose gold was the perfect color to use for this project and I love that it has a little bit of a shimmer to it.
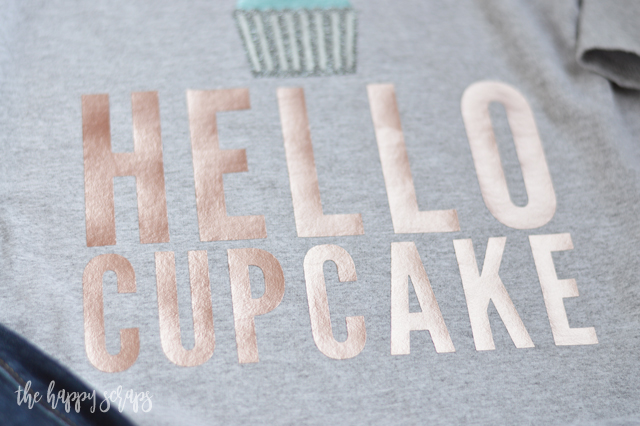
I love the look of the big block lettering too.
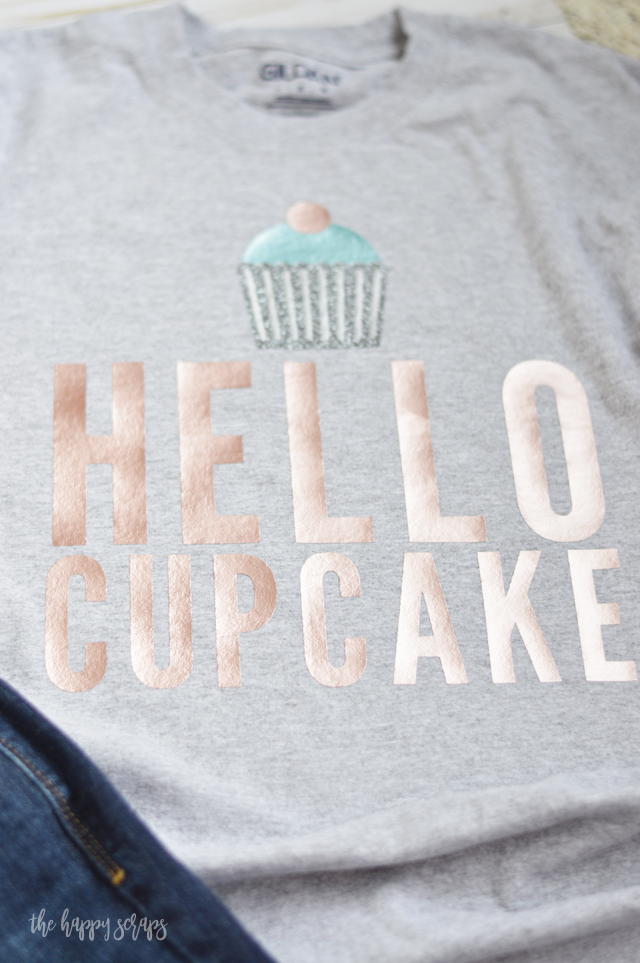
And the cupcake? Didn’t it turn out perfectly? I really adore how it turned out, and the glitter vinyl adds just the right touch to it as well.

So whether you need a Hello Cupcake T-shirt for a party or just because you want one to wear, this is the shirt for you!

Have you ever made a graphic tee for yourself? I’ve been having fun making some lately, if you’d like to see them, check them out here.

Leave a Reply