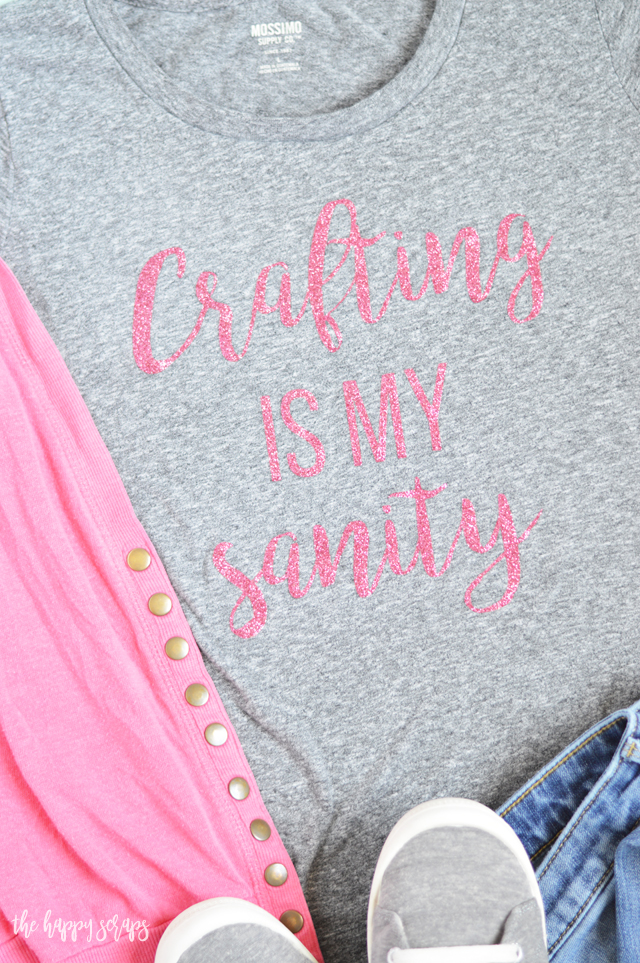
Nearly two years ago, I decided that I wanted to make a glitter tee for myself. It was the first day of school for my boys, and I decided that I wanted to wear a fun new shirt for the first day of school as well. I whipped up a design and got to work making this Crafting is my Sanity Glitter Tee. I’m finally sharing it with you! I’ve been super impressed with how well the glitter iron-on vinyl has held up! I wash and dry this shirt about once a week and I have never had any issues with the vinyl trying to peel or come off of the shirt.

This Crafting is my Sanity Glitter Tee post contains affiliate links. If you click
on an affiliate link and purchase something, you won’t pay anything extra, but it will help support this blog.
Crafting is my Sanity Glitter Tee Supplies:
- Cricut Explore Air 2 or Cricut Maker
- Blush Glitter Heat Transfer Vinyl
- Cut File Design (learn how to upload to Cricut Design Space here)
- Cricut EasyPress and Mat
- Blank T-shirt
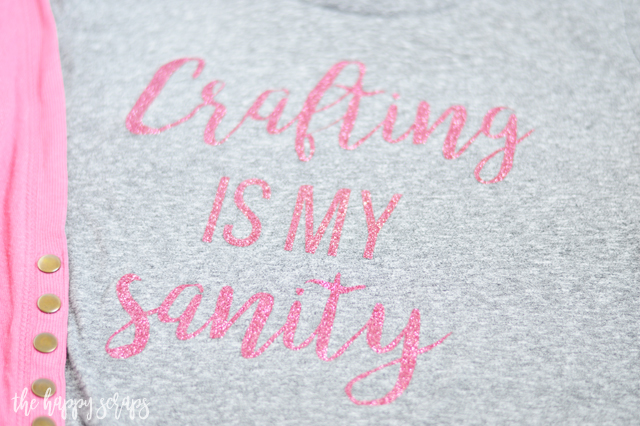
I used my Cricut machine to cut out the lettering. When cutting Heat Transfer Vinyl or Iron-on, you always need to make sure that the shiny side is down on the mat and that you mirror the cut. After it was cut, I weeded out the parts that weren’t needed.

Using and iron or the EasyPress, apply the heat transfer vinyl to the shirt where you want it to be.
I seriously love how easy it is to make one of a kind graphic t-shirts now! If you’d like to see some other fun shirts that you can make with your Cricut, then check out my gallery here. There are so many designs out there that you can find to use for this too! It really is so much fun!

Leave a Reply