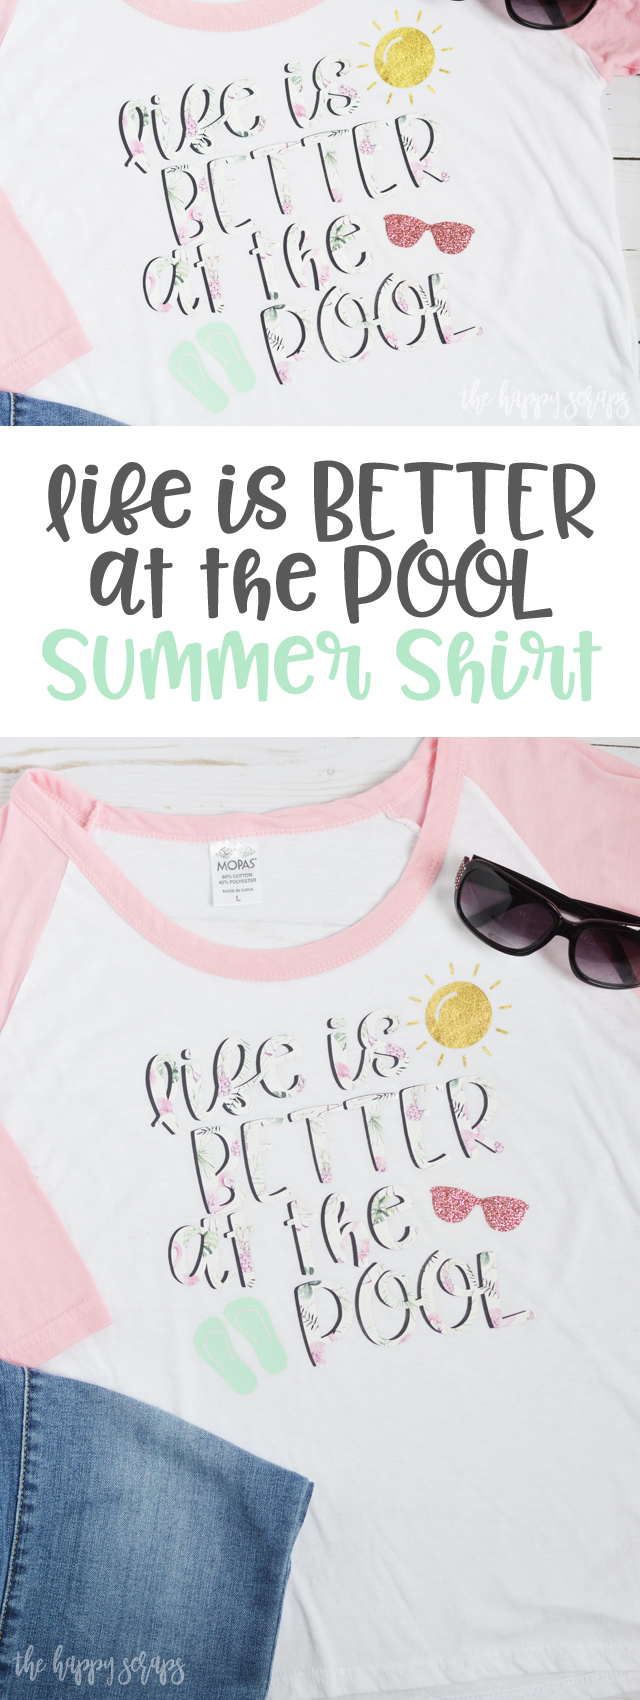
Does it feel like spring just got here to anyone else? I feel like spring time was so short this year, and it went from winter like weather to summer like weather too quickly. Don’t get me wrong, I love summer, but I really enjoy spring and the milder weather that comes with it. The older I get the hotter summer is. Anyone else? Anyway, I’m hoping to spend lots of days at the pool this summer, so I made myself a shirt that I could wear over my swimming suit when I’m headed to the pool! Come along and I’ll show you how you can make a Life is Better at the Pool Summer Shirt too.
My kids get out of school tomorrow, and on Saturday we’re headed to my sister-in-laws house for a pool party and I can’t wait to wear my new shirt!
This Life is Better at the Pool Summer Shirt post contains affiliate links. If you click on an affiliate link and purchase something, you won’t pay anything extra, but it will help support this blog.
Life is Better at the Pool Summer Shirt Supplies:
- Summer Breeze HTV Pack
- Shirt of choice
- Cricut Explore Air 2 or Cricut Maker
- Weeding Tools
- Cricut EasyPress
- Cricut EasyPress Mat
- Cut File
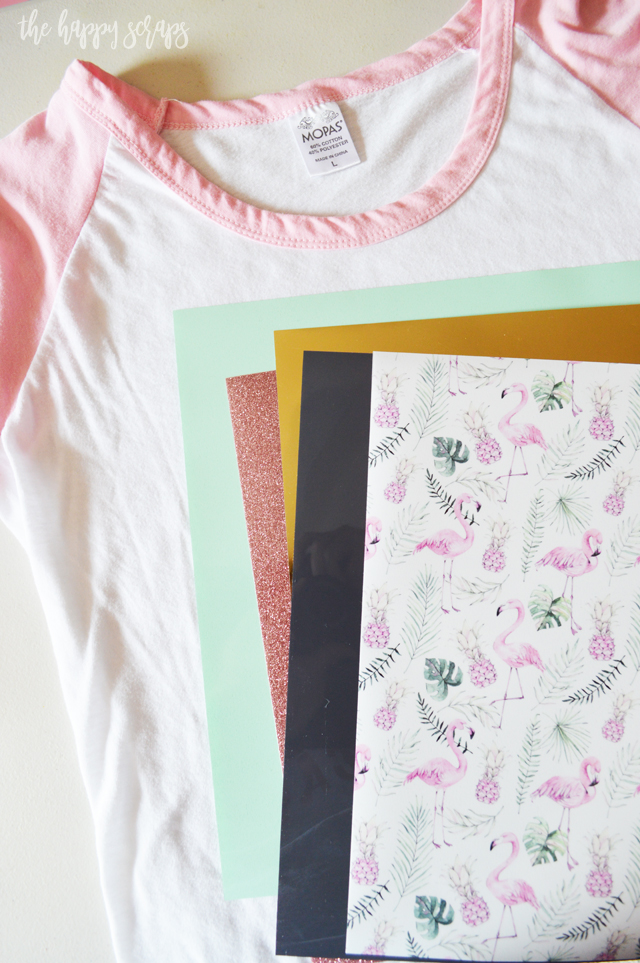
A few weeks ago, I received a surprise package in the mail from Expressions Vinyl. It was this fun Summer Breeze pack of Heat Transfer Vinyl. Since then, I’ve been trying to decide just how I want to use it. I always have a hard time cutting into something I like, and am worried that it won’t turn out like I picture it in my head. Anyone else do that? Anyway, I was slightly hesitant to cut into that pretty flamingo and pineapple HTV, but I did anyway, and I’m so glad I did.
After I decided on the Life is Better at the Pool Summer Shirt design, I uploaded it into Cricut Design Space. I did some slicing so that I could cut different colors for the flip flops, sunglasses, and sun, then I duplicated the text so I could cut it twice. Once I was ready to cut, I set my dial to custom.
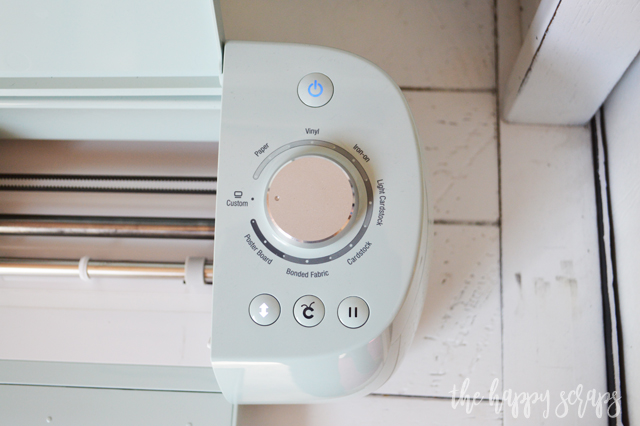
I selected the different kinds of iron-on for each layer. One was glitter, one was patterned, one was foil, and a couple were regular iron-on, which I could change by turning the dial. You can select to see Favorites or Popular when on the custom setting, or you can browse all materials. I chose to browse all materials so I could select what I needed.
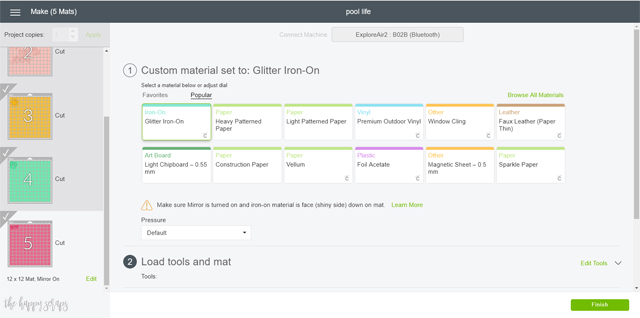
When you browse all materials, you can scroll to the iron-on section and select what you are cutting on that layer.
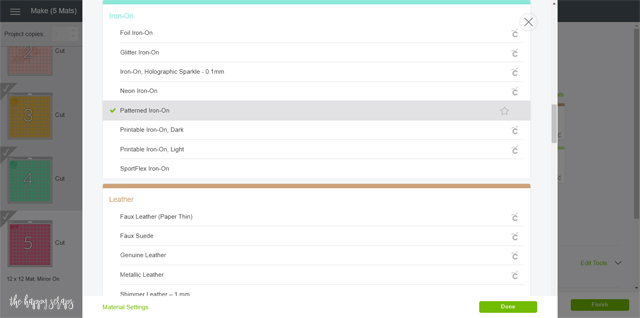
Once you’ve selected your material, you are ready to cut.
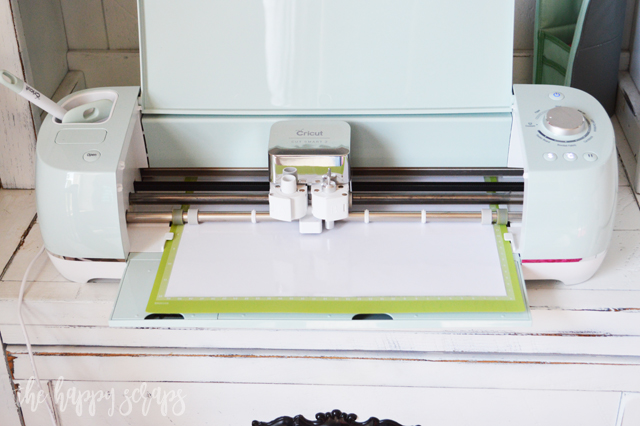
Once it’s all cut, it’s time to weed your designs. I trimmed my lettering pretty close to the edges, so I could place the smaller images on the shirt at the same time without having the carrier sheets overlap.
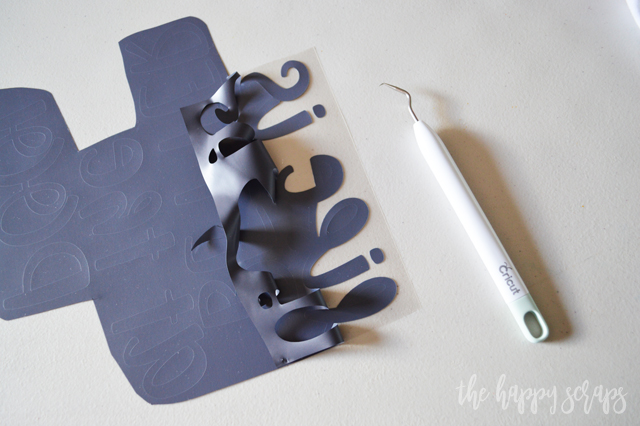
I started placing my designs on the shirt.

Then I was ready to start using the EasyPress. I figured out what settings I needed to use by looking here.
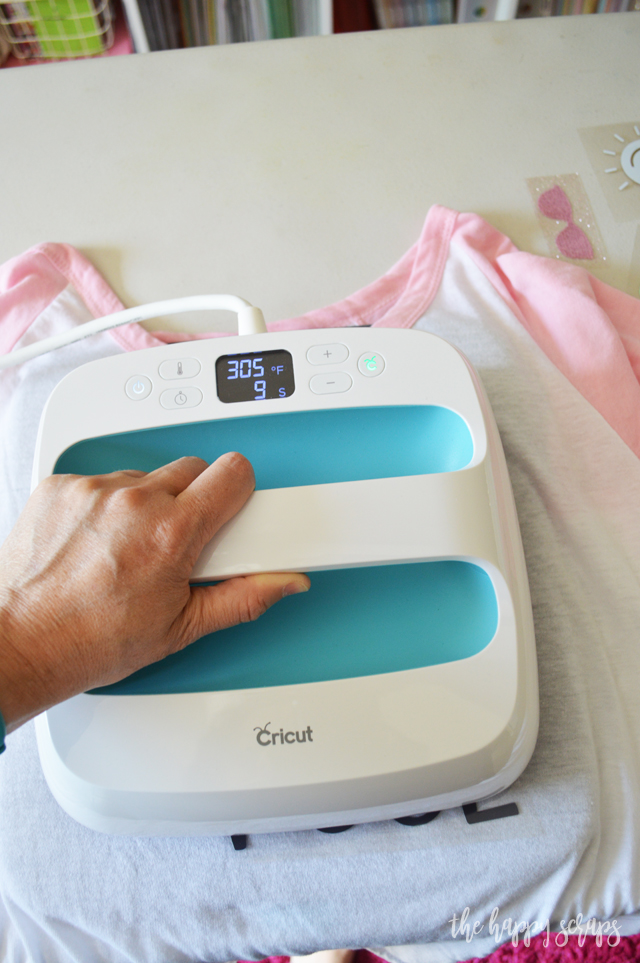
Once I had the first layer done, I placed the top layer onto my shirt. I did cut the lines and some words apart to place them just right, but you wouldn’t have to do that.

I really love the way it turned out, and it is the perfect shirt to wear to the pool this summer, right?!
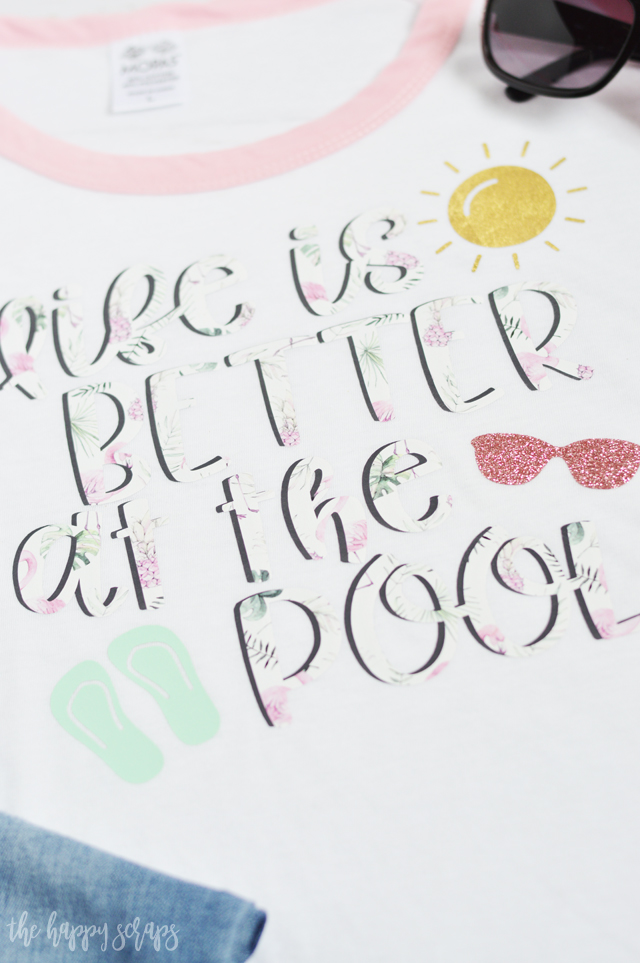
If you are wanting to make a Life is Better at the Pool Summer Shirt for yourself, then be sure to grab one of the Summer Breeze Heat Transfer Vinyl packs. They are limited quantity and are expected to sale out quickly!
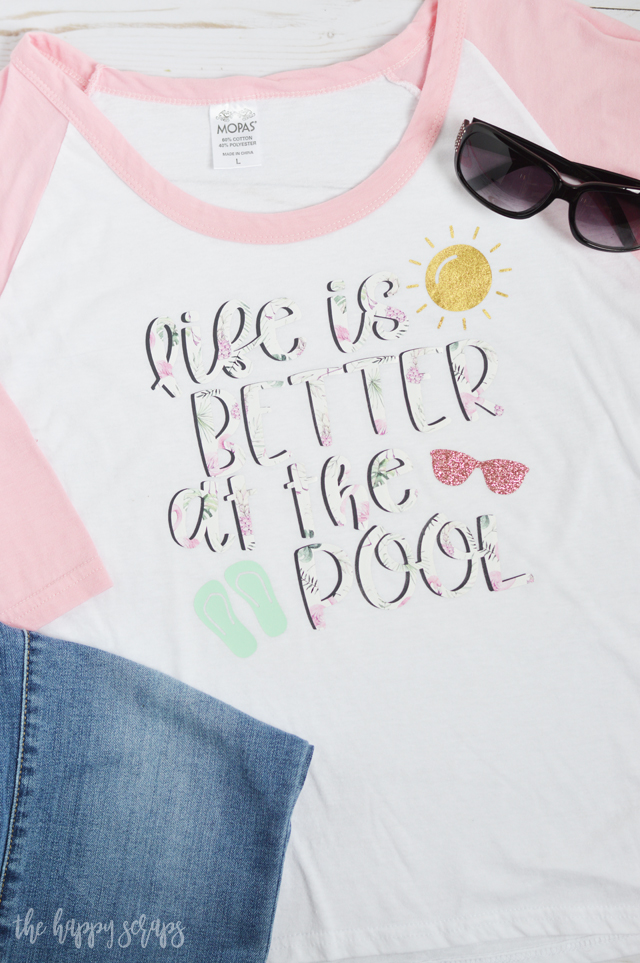
Tell me, do you prefer the pool or beach? If I lived near the beach, I think I’d prefer that, but I live in a land locked state and there really isn’t any beaches close to me, so the pool will have to do!
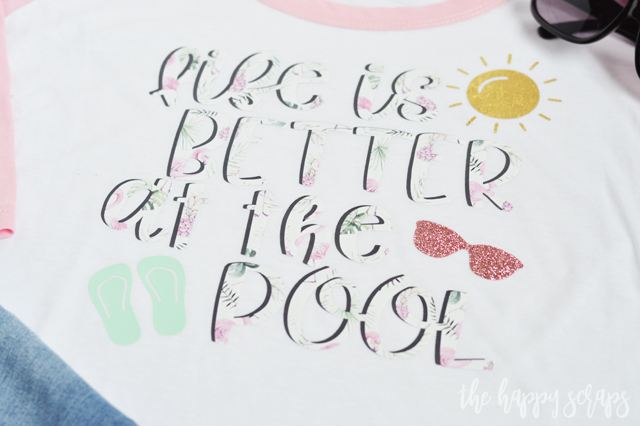
I love how the foil and glitter HTV add to the fun of this shirt, don’t you?

You could even make this shirt without the top layer of heat transfer vinyl if you’d like. I do think the layered iron-on vinyl adds a fun dimension to it.
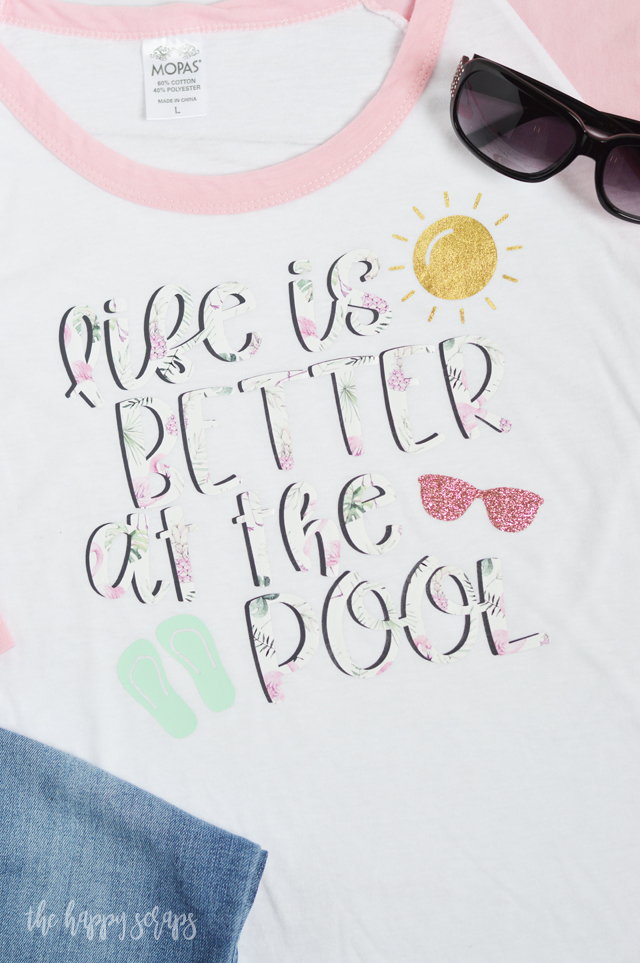
If you think Life is Better at the Pool, then maybe you need to make one of these fun summer shirts for yourself as well. If you are looking for more fun projects similar to this one, check out my gallery here.

Leave a Reply