You know when you have an idea, and you start putting it together, and then it turns out perfectly? That’s not always how it happens with my projects, but sometimes it does, like this fun DIY Painted Citrus Sign. Last year, after I made my Hello Summer Front Porch Sign, I knew I wanted to make more things with citrus. Well, it just didn’t happen last year like I wanted it to, so this year, I’ve been working on them. I’ve shared my DIY Citrus Throw Pillow and my Fresh Squeezed Lemonade DIY Summer Sign with you, and today I’m sharing this fun new DIY Painted Citrus Sign. Maybe it’s the bright colors or maybe it’s the crisp paint lines, but either way, I think this project is currently one of my favorites. Also, I actually had fun taking the pictures of this. Sometimes taking pictures of projects can be challenging for me. I’ll get things all set up, start taking pictures, and they just don’t seem to be turning out how I think they should. Well, this set up was a favorite of mine, and I adore the way the pictures turned out. I hope you enjoy the project and the pictures too. 🙂

This DIY Painted Citrus Sign post contains affiliate links. If you click on an affiliate link and purchase something, you won’t pay anything extra, but it will help support this blog.
DIY Painted Citrus Sign Supplies:
- Wood Board (mine is about 6×16)
- Vinyl for Stencil
- Cricut Explore Air 2
- Weeding Tools
- Transfer Tape
- Paint
- Paint Brush
- Penblade
- Mod Podge Sealer
- Cricut Design Space Cut File (already attached and ready to be cut)
A few weeks ago, I spent one evening cutting out a bunch of vinyl for projects that I was working on. You know, I’ve been at this blogging thing for one month shy of 10 years, and I still haven’t figured out a good blogging schedule. It kind of amazes me that I’m still at it, but I love to create, so I keep going. 😉 One thing that I have figured out though, is that I get more done when I do batch tasks. Like cutting out vinyl for several projects all at once. So, that’s what I’ve been trying to do. My Cricut machine makes this so easy! It also makes it easy if I just want to cut out something for an individual project too, you know, if I don’t plan ahead so I can do it in a batch. 🙂 Anyway, I love using either of my Cricut machines to cut out my projects.

Once I had my vinyl cut for my DIY Painted Citrus Sign, I pulled together the other supplies that I needed. These bright paint colors are just perfect for summer, right? TIP: When prepping your wood for stenciling, make sure you sand it really well. The smoother the wood the less bleeding of paint under the stencils. I like to use this sander for getting my boards smooth.
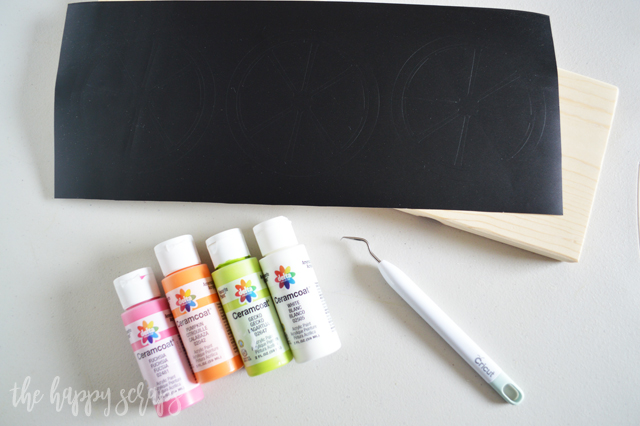
I know I shouldn’t play favorites, but this weeding hook is my favorite. It has the best, thin, sharp little hook, right on the very tip. It works so well for weeding everything! My other hooks work well too, but this one just seems to work even better.
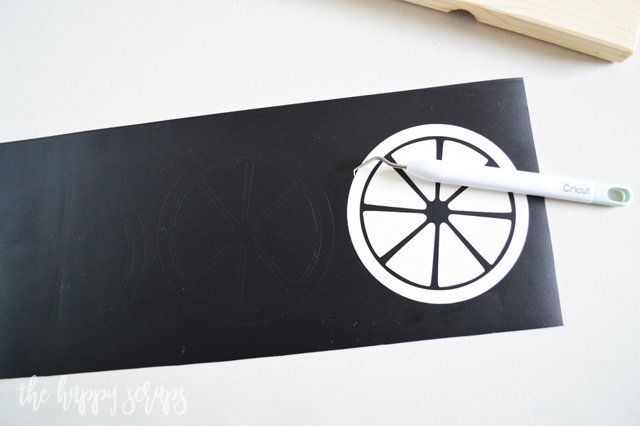
Once the vinyl stencil was weeded, I applied transfer tape to it.
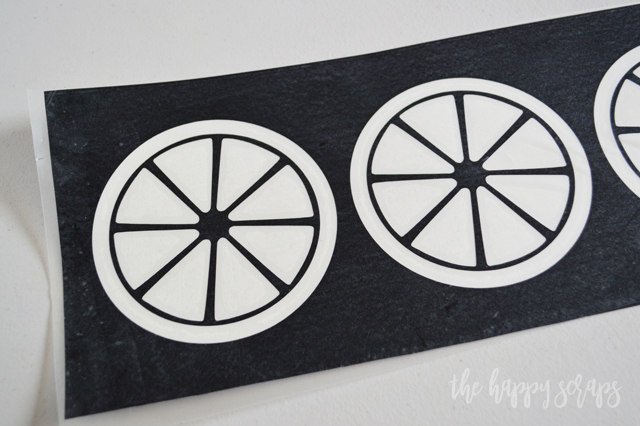
I painted my board white. When I use white paint, it always seems to need a couple of coats. I love that this paint doesn’t take too long to dry.
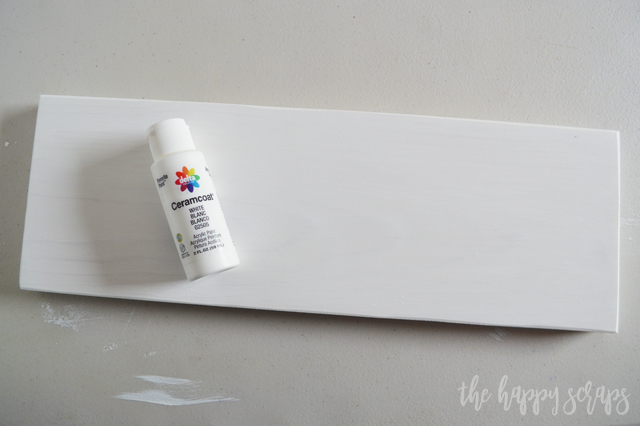
Once my paint was dry, I applied my stencil. I should have trimmed the sides of my stencil, prior to applying it to the wood. It would have made it easier to line it up straight. I did get it on the board straight, but being able to see the sides of the board would have made it easier.
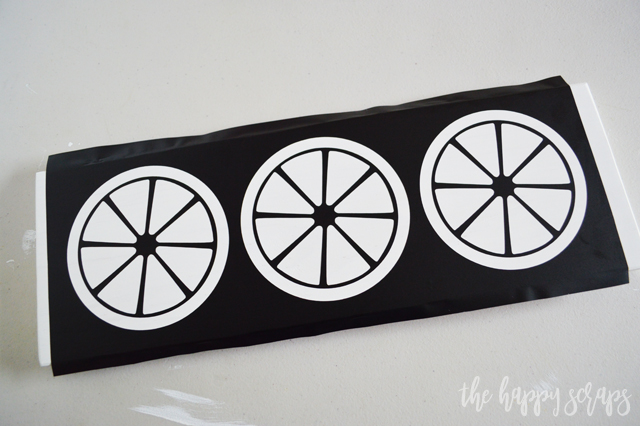
Now you’re ready to paint. I used two or three coats of paint for each one, letting it dry in between coats.
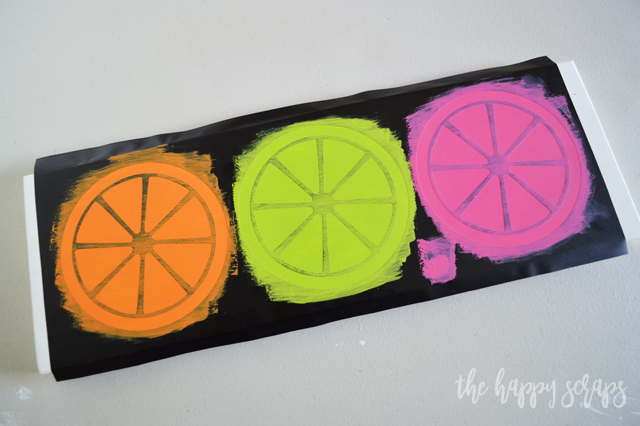
Once it was dry, I pulled the outer edge of the stencil off.
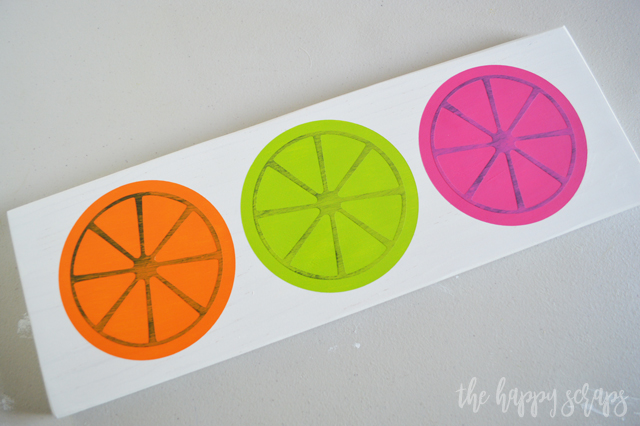
For the smaller/inside pieces, I pulled out my penblade to help me get under the vinyl, without damaging the paint.
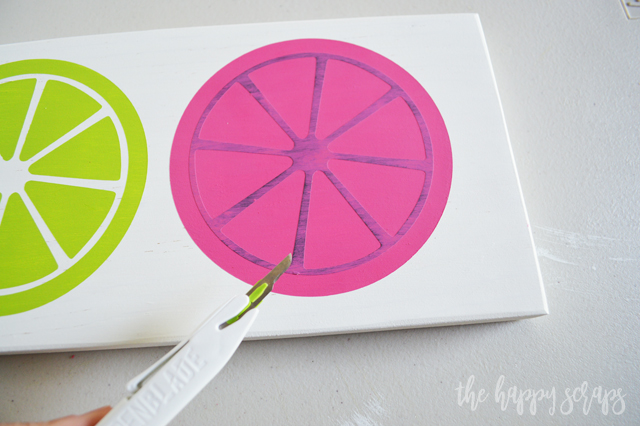
Seriously though, I was so excited with how this looked when I had all the vinyl pulled off!
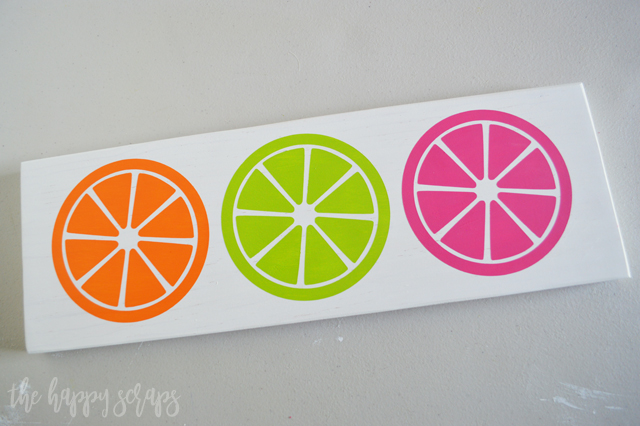
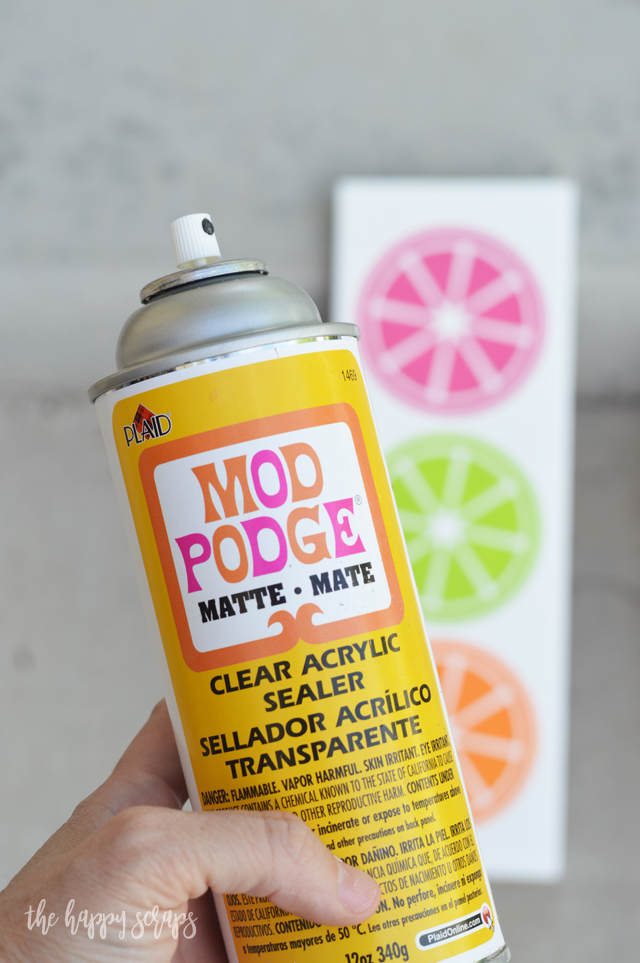
I took it outside and gave it a coat of Mod Podge Sealer to help protect it. I love the finish that this sealer gives. Not too shiny, but not dull either. It’s perfect.
Once the sealer was dry, my sign was all done and ready to be put on my living room shelf with my Fresh Squeezed Lemonade sign. I’ll be sharing the whole shelf with you once I get all the projects done. I will say that It’s coming together nicely though. I’m pretty excited about it.
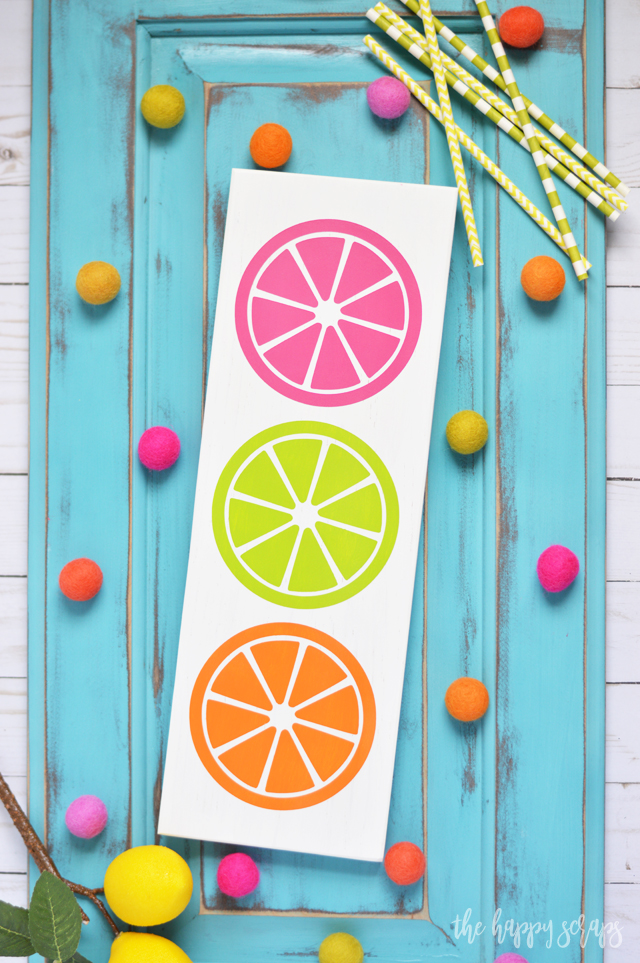
Isn’t this DIY Painted Citrus Sign so fun? I think it’s so perfect for the summertime!
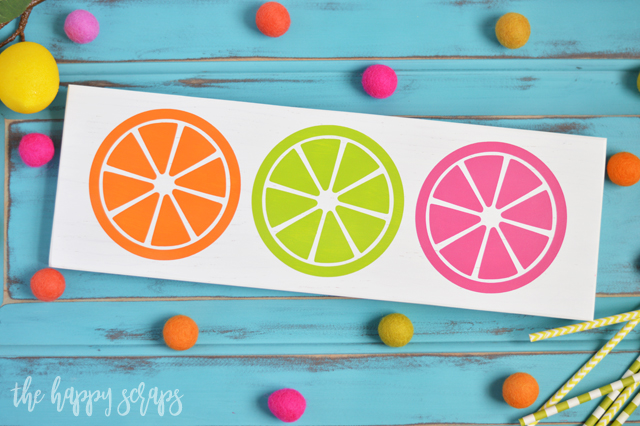
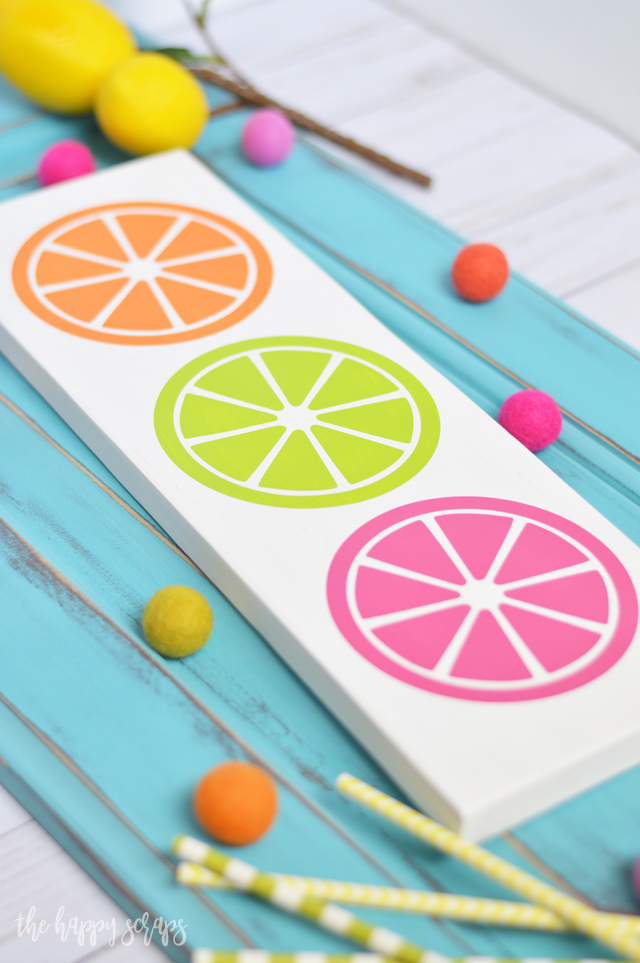
What kind of decor do you use in your home for the Summer? I decorate with bright colors for June, red, white & blue for July, and I’m not sure yet what I’ll be doing in August this year. Probably back to school decor. I’d love for you to share a picture of your summer decor on instagram, and tag me @thehappyscraps so I can see it!
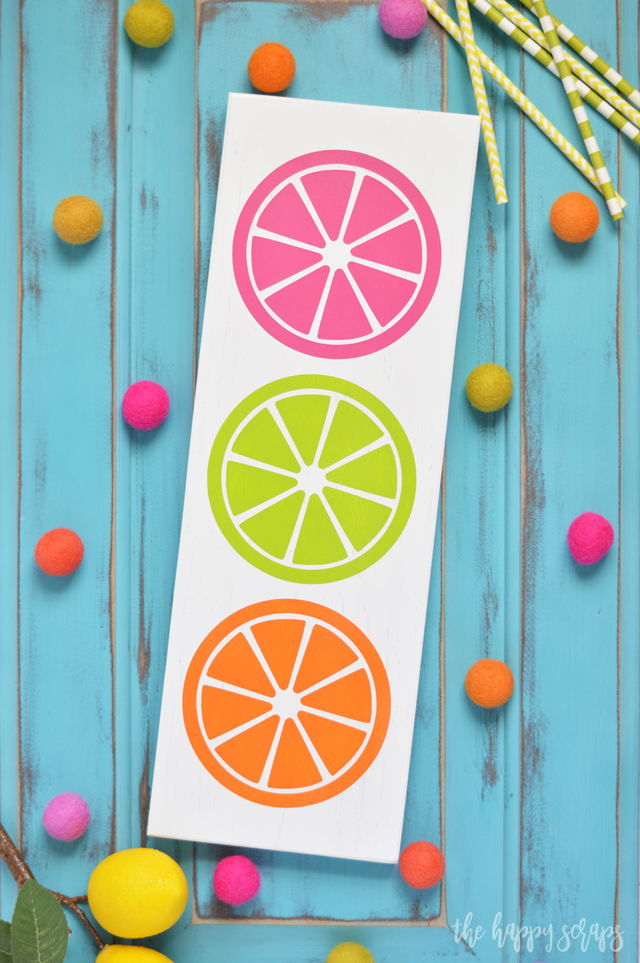
If you’ve enjoyed this fun DIY Painted Citrus Sign, then be sure to check out my other summer decor!

Leave a Reply