This post has been a few days in the making, I was planning to share this yesterday, but I woke up yesterday morning with a really bad headache that lasted all day, and instead of sitting down to write and share with you, I took a nap to try and sleep off the headache. I also took some ibuprofen, but it didn’t help. When I woke up from my nap, I still had the headache. Do you ever get headaches like that? I do occasionally and they are awful! I sympathize with anyone who has headaches regularly. I dare say that the headache I had yesterday was near migraine level. It was bad! Anyway, I worked on this Mother’s Day Gift Box project and had it done the day before, but I just couldn’t get it up and posted yesterday.

This Mother’s Day Gift Box post contains affiliate links. If you click
on an affiliate link and purchase something, you won’t pay anything extra, but it will help support this blog.
Mother’s Day Gift Box Supplies:
- Cricut Maker or Cricut Explore Air 2
- Pearl Paper Sampler
- Gray Cardstock
- White Embossed Cardstock
- Turquoise Cardstock
- Gray Baker’s Twine
- Dimensional Adhesive
- Adhesive
- Hot Glue Gun
- Cricut Tool Set
- Paper Crafting Tool Set
- Design Space Cut File
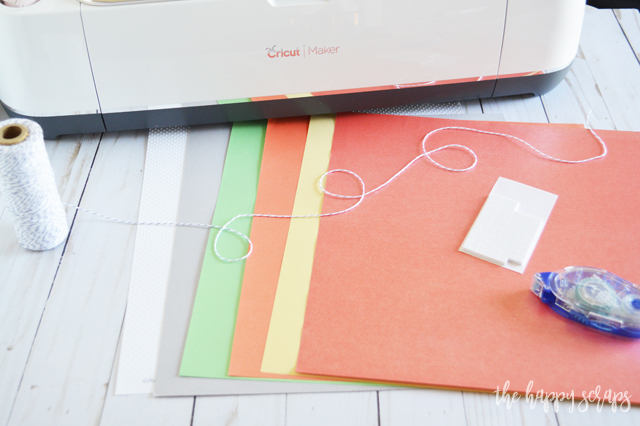
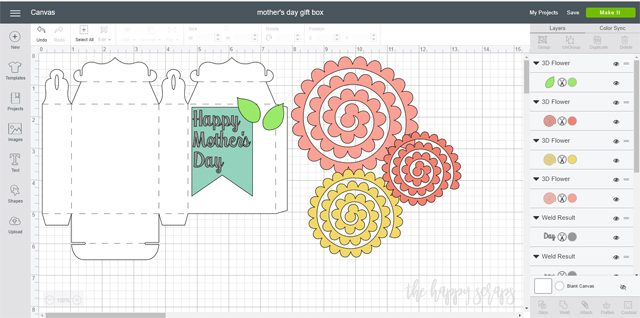
After deciding what supplies I wanted it use for this Mother’s Day Gift Box, I designed what I wanted to have on the box. I knew I wanted to use rolled paper flowers, they are kind of my favorite. You can use the file that I shared above to make your own and if you have Cricut Access, then I believe all of these designs are included.
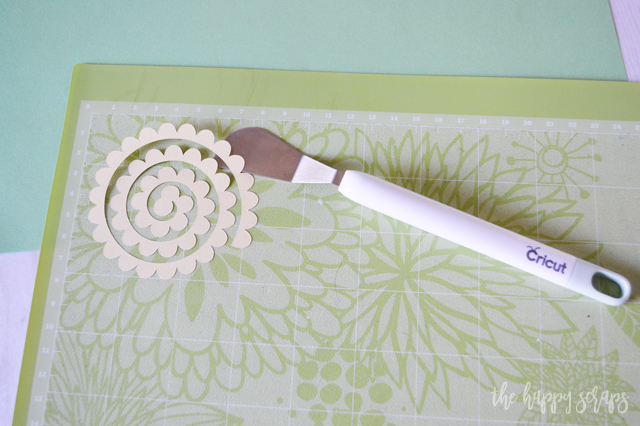
Because I was using pearl paper, I needed to be careful pulling the designs up off the mat. I used my spatula tool, and it worked great!
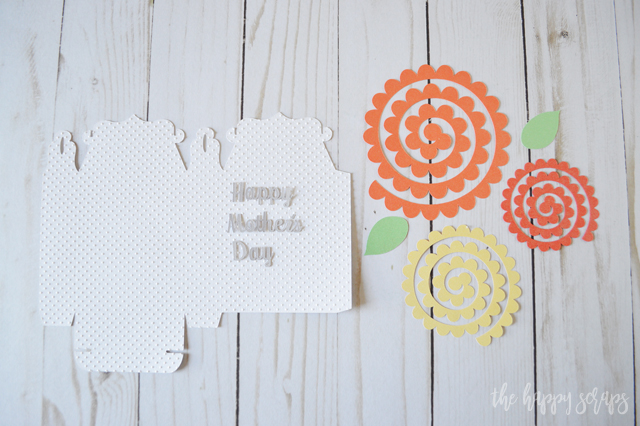
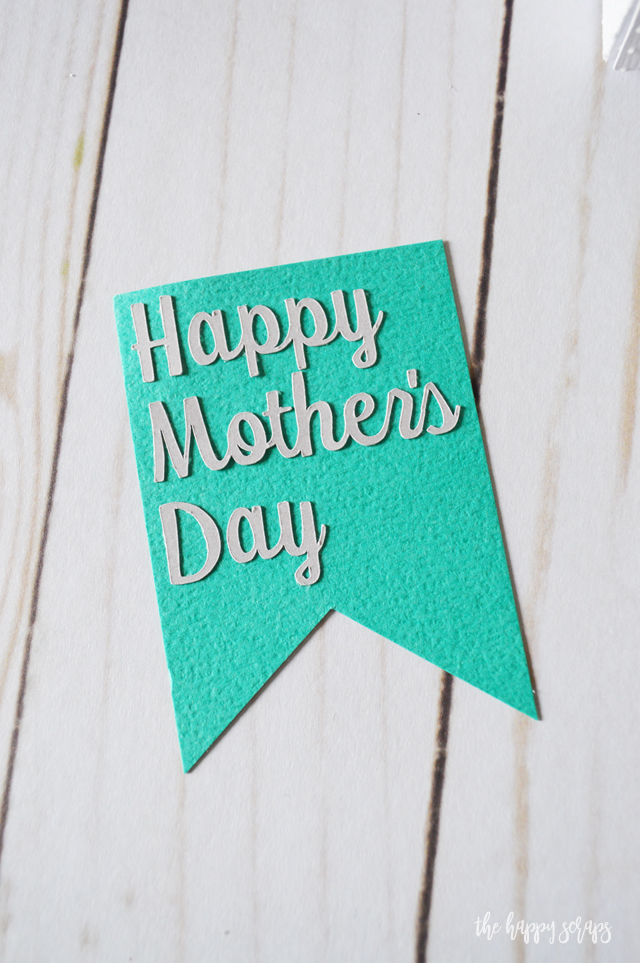
Once I had everything cut, I was ready to assemble. It was at this point that I decided to add the turquoise paper because I didn’t think the gray lettering popped out enough on the white, and I also wanted to have the lettering attached with dimensional adhesive. The lettering was cut too small to use dimensional adhesive, so I cut out a banner/tag shape to put the letters on. Then I could attach it to the box with dimensional adhesive.
To put the box together, I folded the box on the score lines.
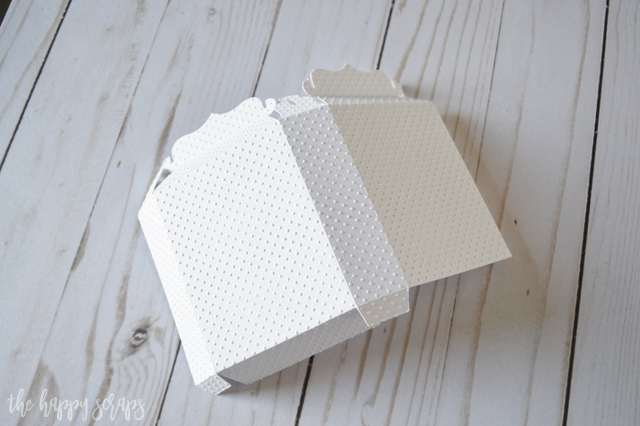
I ran a line of hot glue along the side where it needed to be glued together, then held both pieces together until it was done drying.
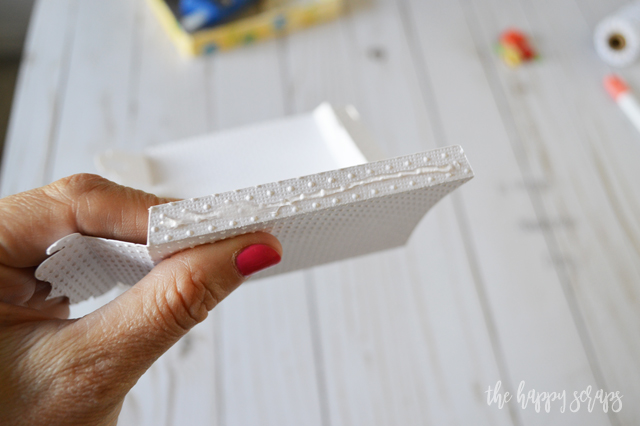
Then I just folded the box the rest of the way. Isn’t this such a cute box design?
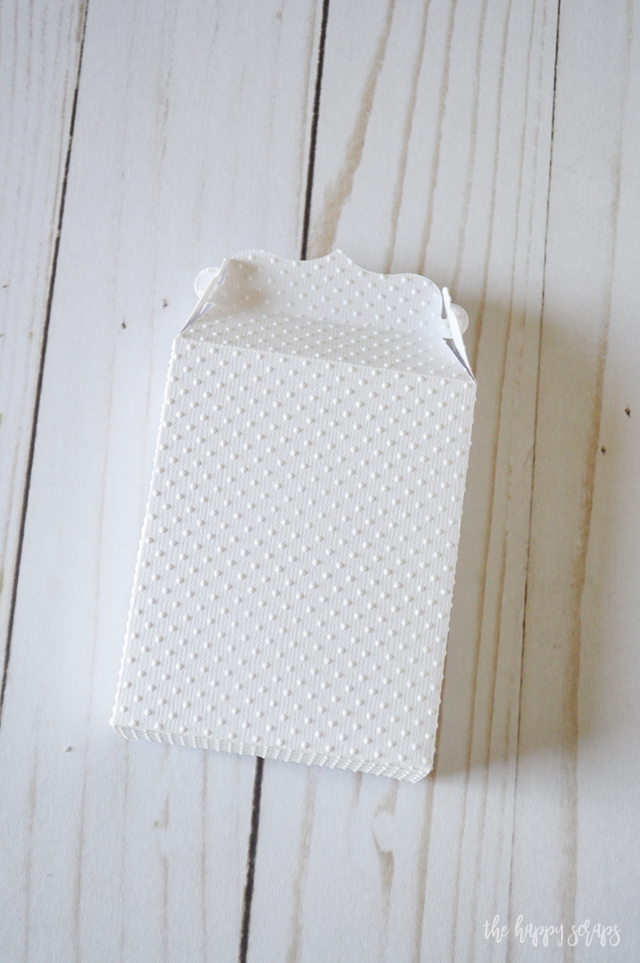
I rolled up the paper flowers. The Paper Crafting Tool Kit makes it so easy to roll the flowers. To see a tutorial for how to roll them, check out my Paper Flower Spring Centerpiece.

I ran my lettering through my Xyron sticker maker so that I’d be able to stick them on to the tag.
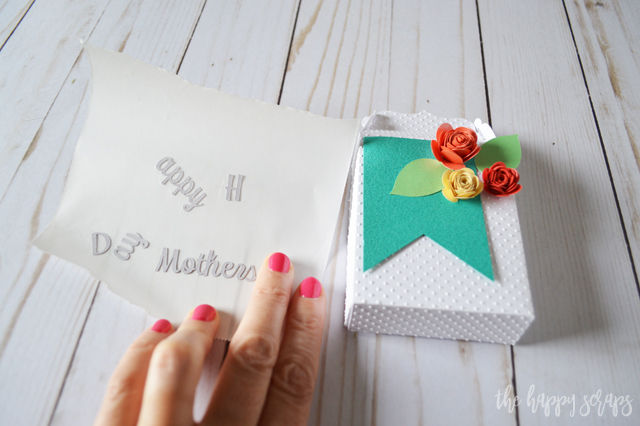
I placed the lettering on the tag.
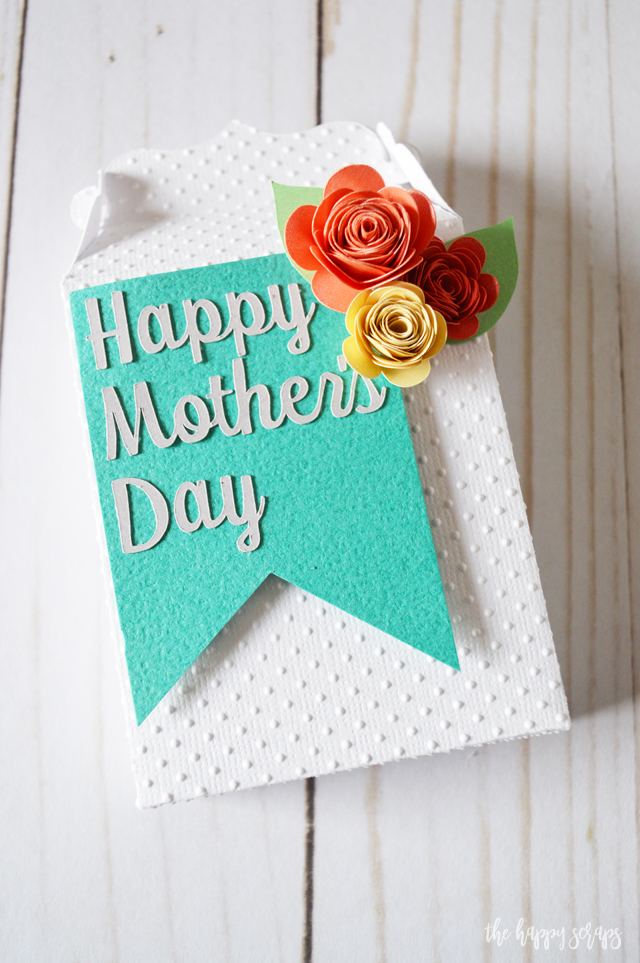
I used dimensional adhesive to attach the tag with lettering. Then I placed the leaves and flowers where they needed to be. I attached them using glue dot adhesive.
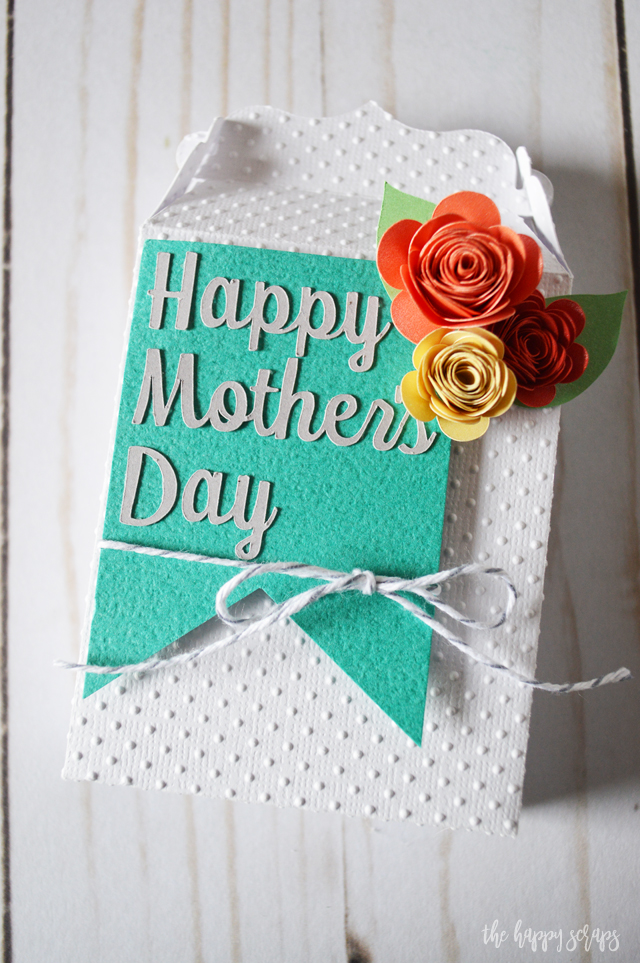
I grabbed the gray baker’s twine and tied a little bow around the bottom of the tag and that finished up the box!
Isn’t it the cutest little gift box? You could use it to gift so many things!
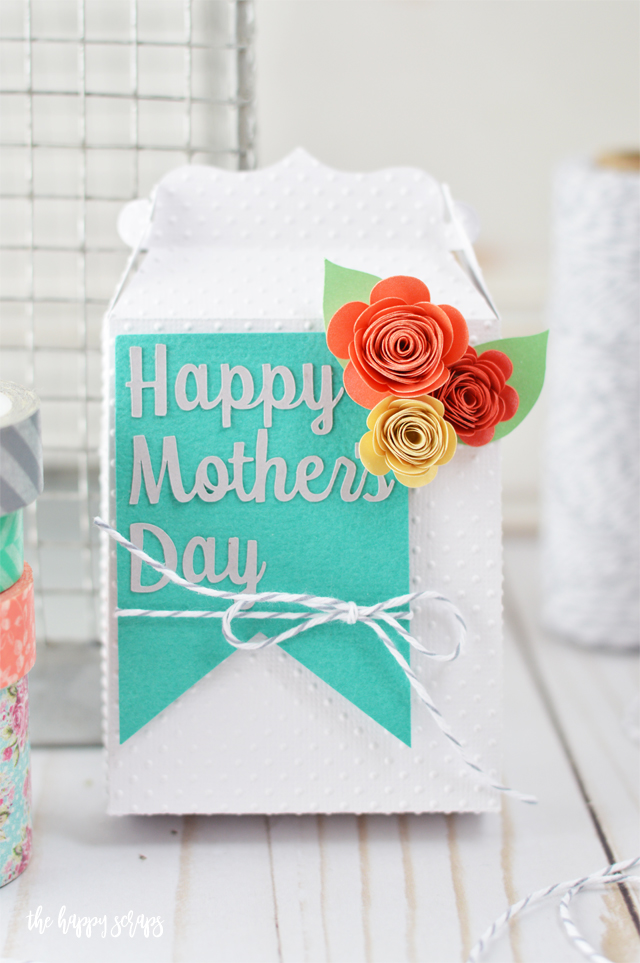
You could put a personalized mother’s necklace in it. I love the one I have. I have each of my boys names on it as well as my husband and I + our wedding date. It’s a favorite necklace of mine and would make a wonderful mother’s day gift!

This box is also just the right size for slipping a gift card into. Whatever gift you give, you could add chocolate to any extra space in the box. Mom’s always seem to like some chocolate!
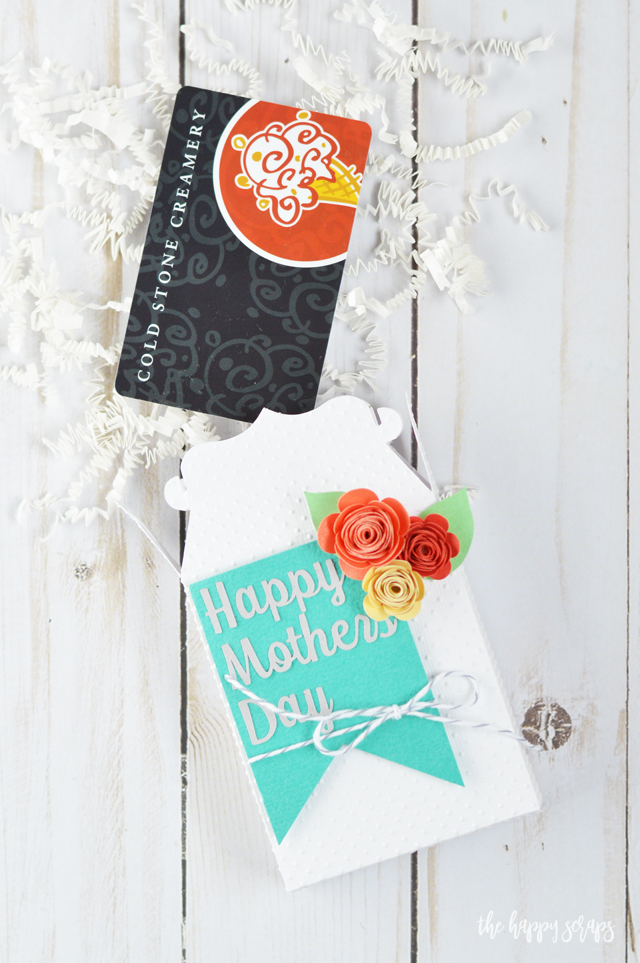
The dimension that the rolled paper flowers add is perfect for this box. I also love the white dot embossed paper!
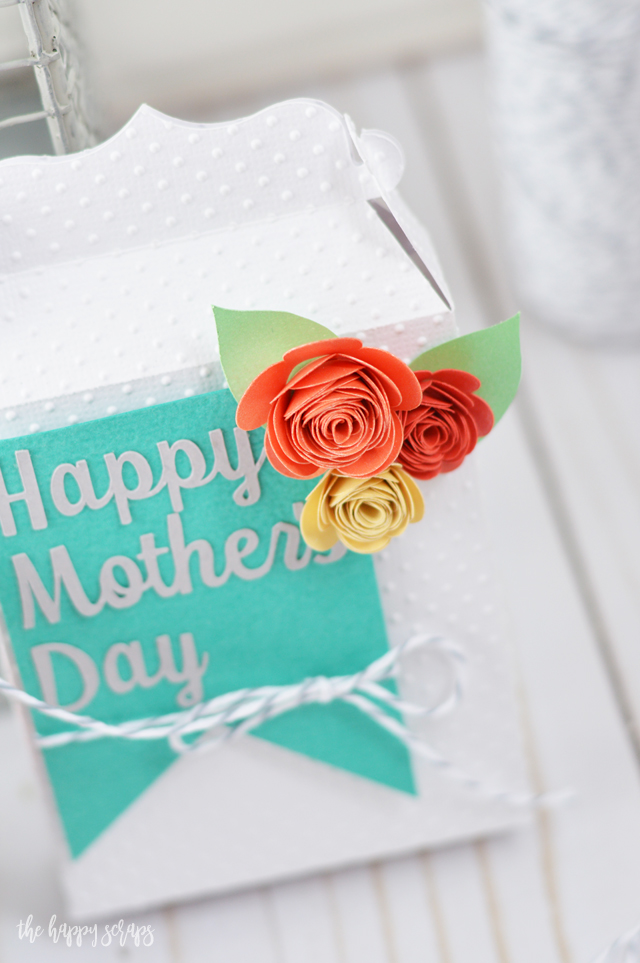
Whatever you’re gifting mom, this box could be the perfect way to wrap it up cute! There are so many small things that mom would love to receive in this pretty little package.
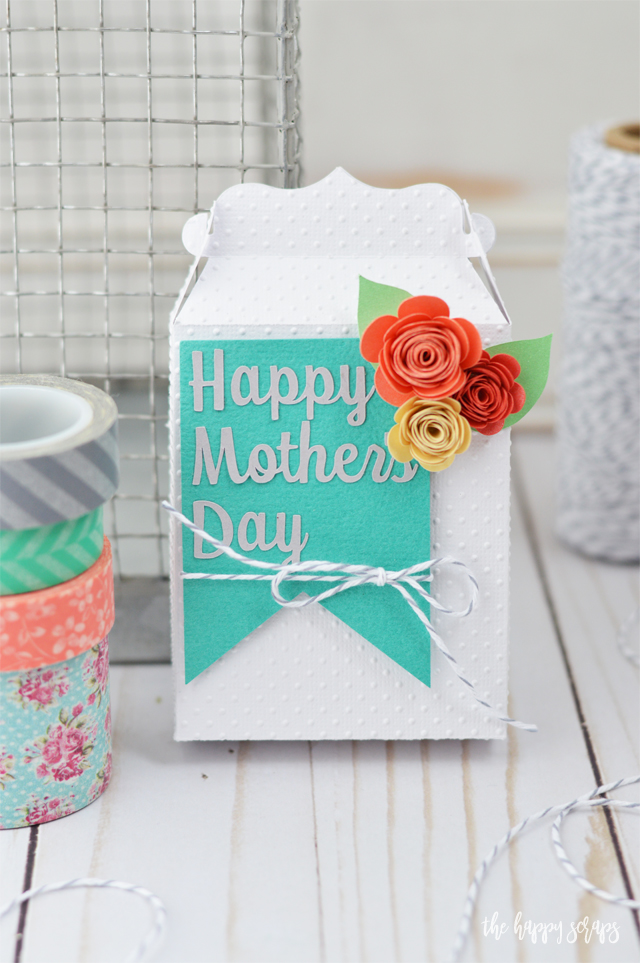

I’d love to hear what gift ideas you have for using this cute Mother’s Day Gift Box. Let me know in the comments!

Leave a Reply