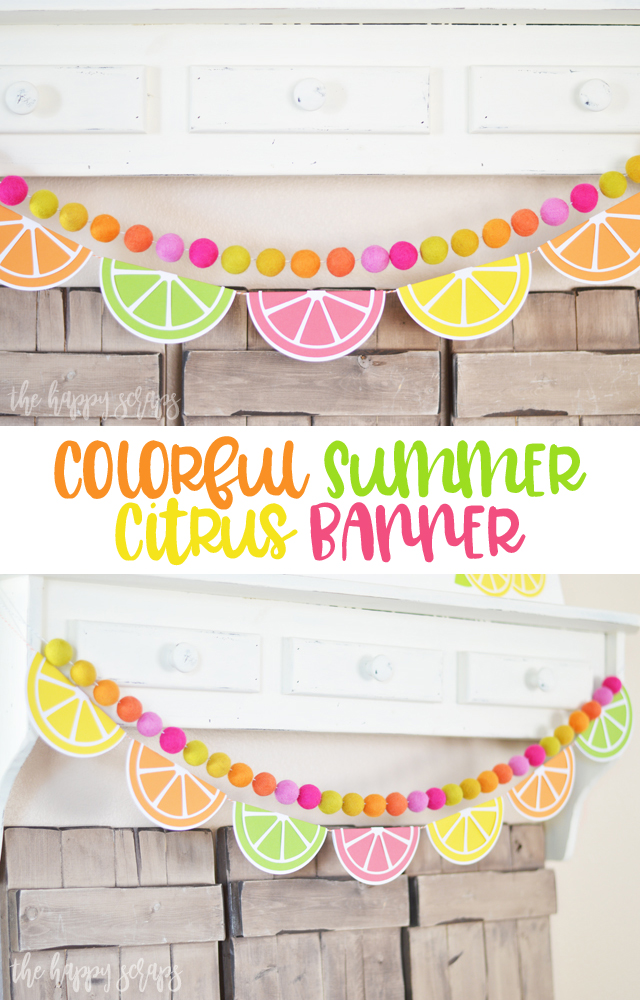
Well, I think the reality of Summer has hit at our house! I can’t seem to get anything done for myself that I need or want to get done. My kids are always needing me and interrupting me. But, I guess that’s just how life goes. Last weekend, we headed out on an impromptu camping trip, and it was just what we needed! Especially me. My favorite part about it all, besides spending time together as a family? My phone didn’t work. I used it for taking pictures and that was it. I couldn’t call or text, and I couldn’t be on social media. I need to find the will power to take a social media break on my own, but I know it’s going to be hard. Does anyone else feel that way? Anyway, I’ve been trying to get these pictures edited since Monday. Monday I was so wiped out from going camping that I couldn’t get it done. It’s now Thursday morning and I’m finally getting this Colorful Summer Citrus Banner post written. That’s just how it is though. And that’s okay. I realized that my life and my family’s life don’t revolve around this blog. 🙂 However, I am so excited to finally be sharing this project with you. I’ve had it done for a couple of weeks, and I adore the way this Colorful Summer Citrus Banner turned out!
This Colorful Summer Citrus Banner post contains affiliate links. If you click on an affiliate link and purchase something, you won’t pay anything extra, but it will help support this blog.
Colorful Summer Citrus Banner Supplies:
- Cardstock in choice of colors
- Cricut Explore Air 2 or Cricut Maker
- Hot Glue Gun
- Adhesive
- Paper Trimmer with Scoring Blade
- Cricut Design Space Cut File
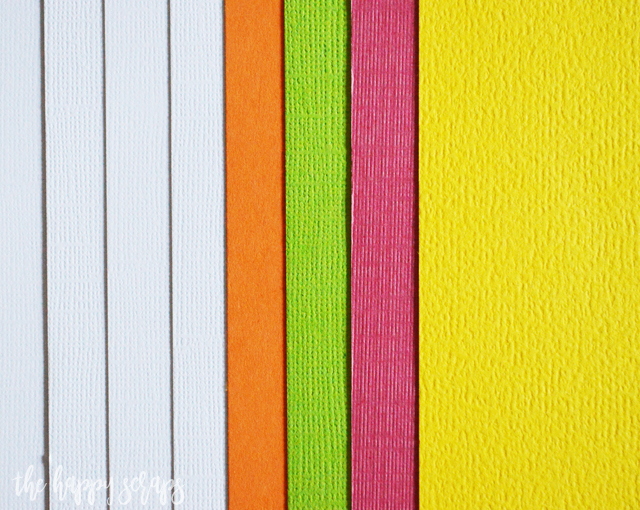
I picked out my cardstock colors. I was matching this banner to the DIY Painted Citrus Sign that I shared a couple of weeks ago. Of all the cardstock that I have in my craftroom, I actually had a hard time finding matches. I had to make a trip to Hobby Lobby for a couple of the colors.
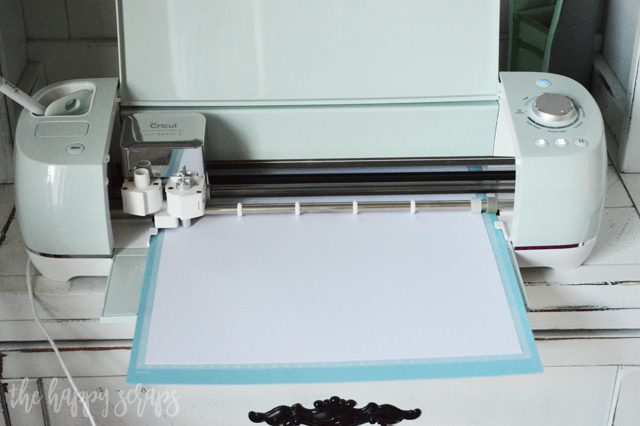
Once I had my cardstock all picked out, I started cutting it using my Cricut Explore Air 2. I find myself using my Cricut Explore Air 2 more than my Cricut Maker. Honestly it all depends on which machine I used last. If I use the Maker for something, then it is on the bottom shelf where I store my Cricut Machines, and already plugged in, so that’s what I use. I’ve been using the Air 2 lately, so that’s what I used for this project. I really love both machines though.
Once my pieces were all cut out and off the mat, I sorted them into each of the banner pieces that I’d be making. Each one had the large white circle (back), the colored circle (middle), and the citrus lines (top).
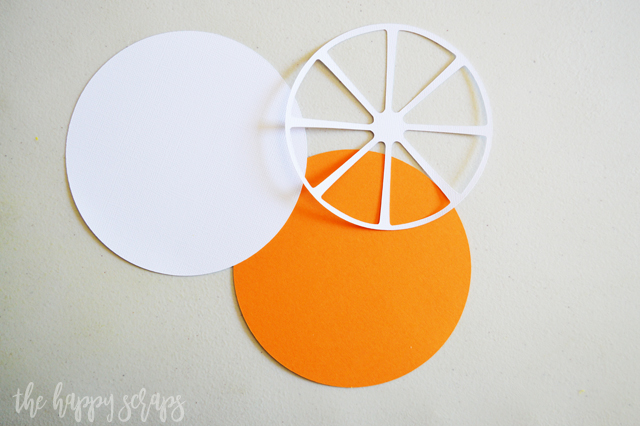
I used my adhesive to adhere the colored circle to the white circle. After I had the banner finished, I did have to go back and use hot glue for this part, because it wasn’t holding due to the fold.
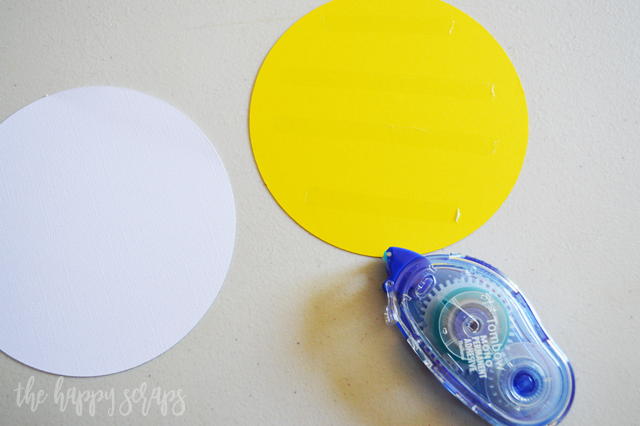
Once the colored layer was on, I added the citrus lines layer. I also used the same adhesive for this layer. It has held up pretty well, but if you have a stronger adhesive, I would suggest maybe using that.
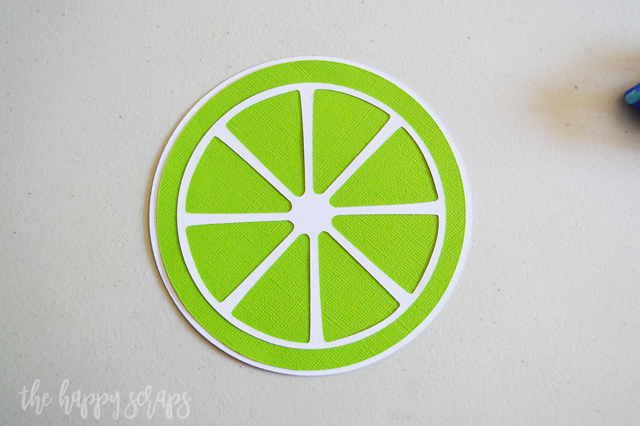
Once you have all of your pieces put together, you are ready to start scoring them.
I scored mine right down the center. I did turn them slightly so each one looked a little different when folded.
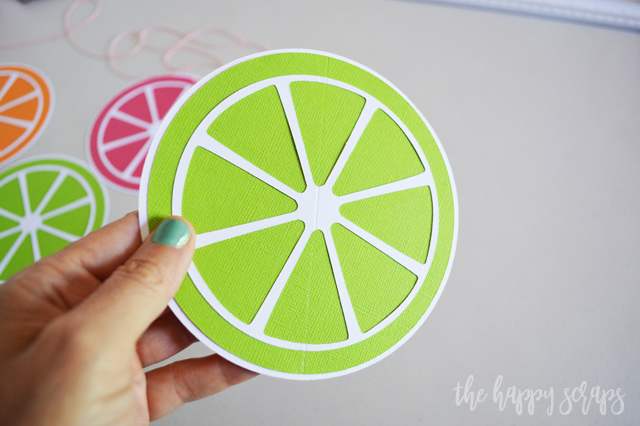
Once scored, I folded them. Because I had up to three layers of cardstock when scoring, I did go over it a few times each, and then it was still a little tricky to get them folded, but they worked.
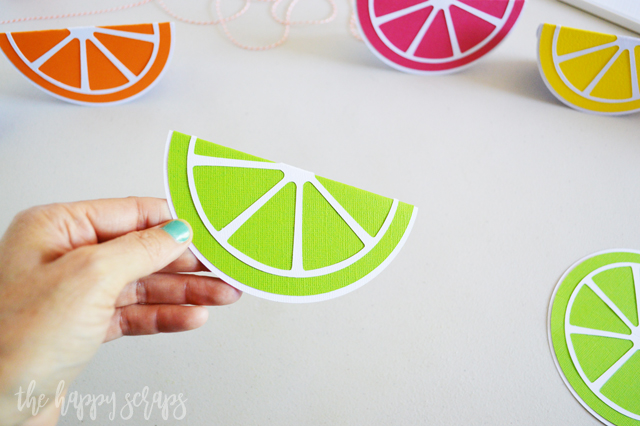
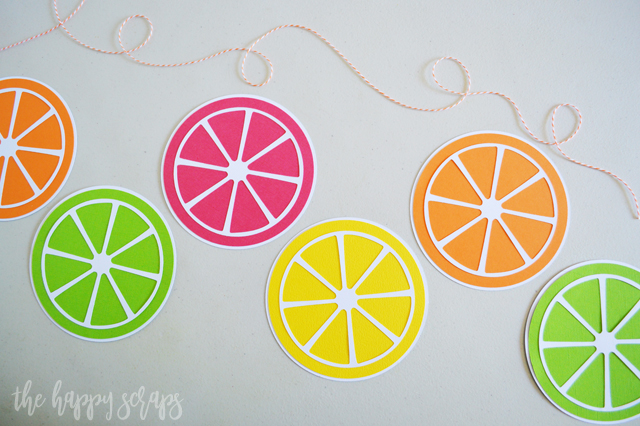
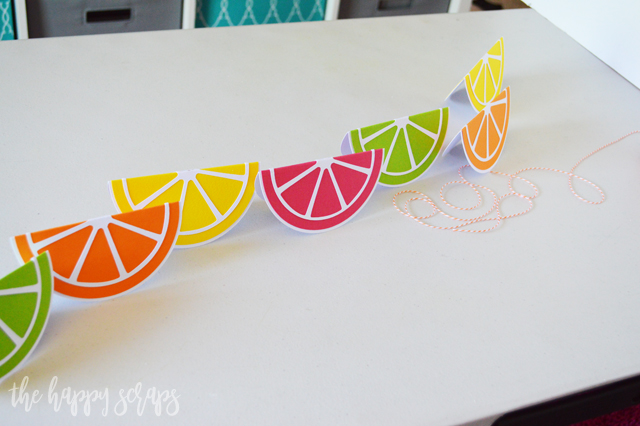
I thought they all looked so cute lined up on my table after I folded them. Wouldn’t it be so fun to have a summer party and use these for name cards, cards that labeled the food, or anything along those lines?
Anyway, once they are folded, they are ready to be put on the twine. I used my hot glue gun for this. I didn’t glue right where the twine would be so I could still adjust where they sit on the twine, but glued close to the twine so that it would hold well.
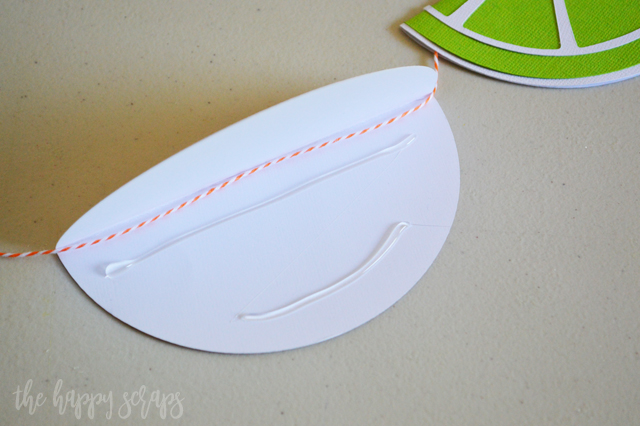
Then just folded the paper shut to it would stick.
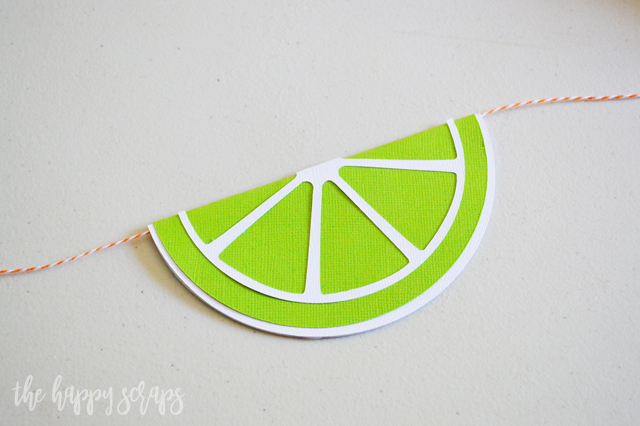
Once I had all of the citrus on the twine, I was SO excited!

It goes perfectly with the felt balls that I purchased! What is funny is that this string of felt balls is what started me on deciding that I needed to create all new summer decor this year!
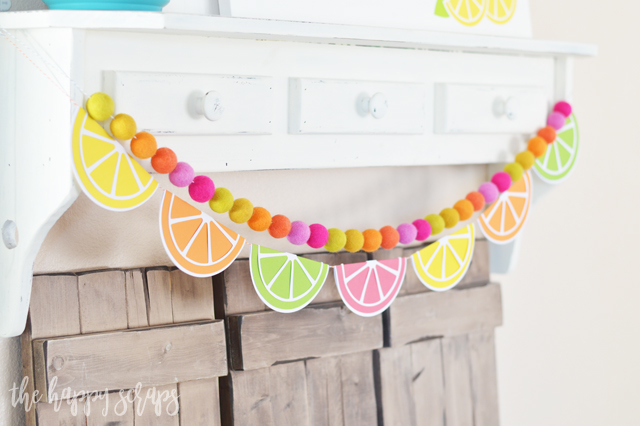
I bought this set and decided that I wanted to make all new summer stuff. 🙂
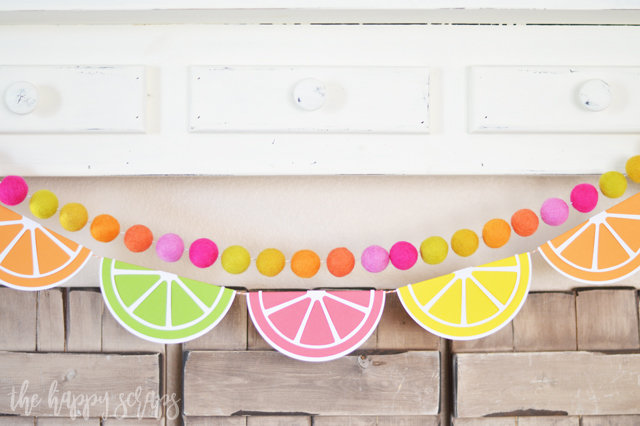
Watch the blog tomorrow, I will be sharing the whole set up of all of my recent projects together. I adore the way they all turned out!
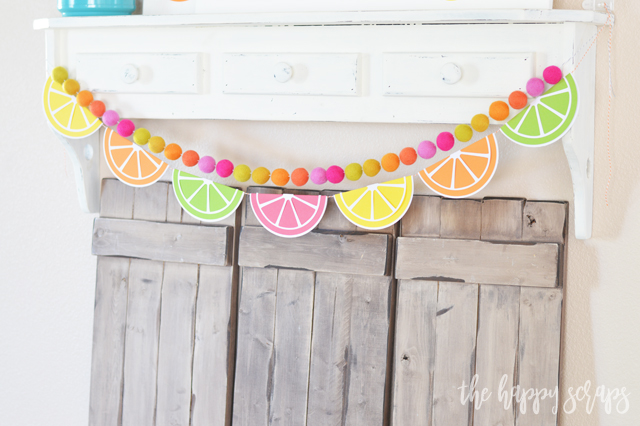
Decorating my shelf and table for each season or holiday has always been a favorite of mine. There are times when I try to decorate them that they just don’t turn out how I think they should. This is not one of those times. Anytime I see this Colorful Summer Citrus Banner, it just makes me smile.
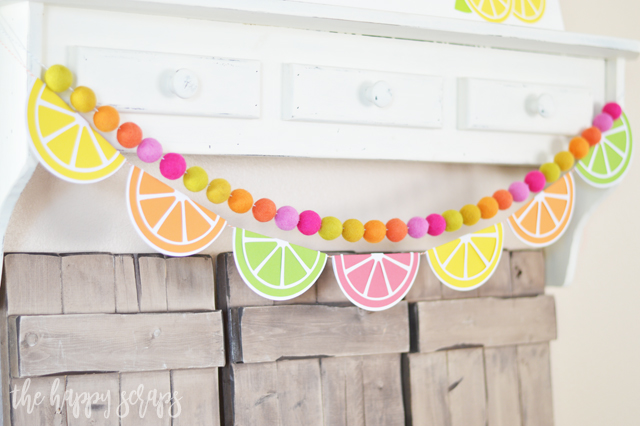
This Colorful Summer Citrus Banner pairs perfectly with the other projects that I’ve been sharing this year and one from last year. If you’re looking for more fun summer projects, you can find some here.

Leave a Reply