You guys! We are barely into summer break and it’s kicking my butt! I can’t seem to figure out a good schedule. Every morning I get up and try and go walking. It’s something I did last year, and I’m excited to be doing it again this year. It is hard to want to get out of bed for it, but I always feel better afterward. It is nice because I can leave all of my boys home sleeping while I go. I do wake my oldest when I leave to let him know. He’s almost 15, so he can take care of things while I’m gone for about an hour on weekday mornings. Anyway, it sure is hard to get out of bed early in the morning when I don’t have other responsibilities like getting kids off to school. 😉 I’m hoping that part gets easier. The other thing that has been so hard is trying to get any work done. The other day I thought I’d jump on the computer and hurry and write up some posts, and I kept getting interrupted. Getting interrupted is fine, I am a mom after all, but it was just hard because I was working on something that I didn’t think would take me all that long and it ended up taking quite sometime. That’s okay though, I still got it done. I’m sure we will all find our groove and have our summer schedule figured out in no time! My boys are doing the summer checklist again this year, and it’s already proving to be a good thing. Most of them get up and going and start working on it right away. Anyway, I’m glad that I was able to get some fun projects made before school got out, so that I had some fun things like this to share with you this summer! Today I’m going to share with you How to Apply Heat Transfer Vinyl to Cardstock. This is the first time that I’ve tried it, and I can’t wait to do more. It was so easy!

This How to Apply Heat Transfer Vinyl to Cardstock post contains affiliate links. If you click on an affiliate link and purchase something, you won’t pay anything extra, but it will help support this blog.
How to Apply Heat Transfer Vinyl to Cardstock Supplies:
- Summer Breeze Heat Transfer Vinyl Pack
- Cricut Explore Air 2
- Cricut EasyPress
- Cricut EasyPress Mat
- Cricut Design Space Cut File
- Cardstock Covered Notebook or Cardstock
Expressions Vinyl recently came out with some fun limited edition vinyl packs. One of them is this HTV Summer Breeze pack. They were so kind to send me a pack to play with, and I’ve had lots of fun with it. I’ve shared a couple of other project that used it, the Flamingo Mini Tote and the Life is Better at the Pool Summer Shirt. Be sure to check those out!
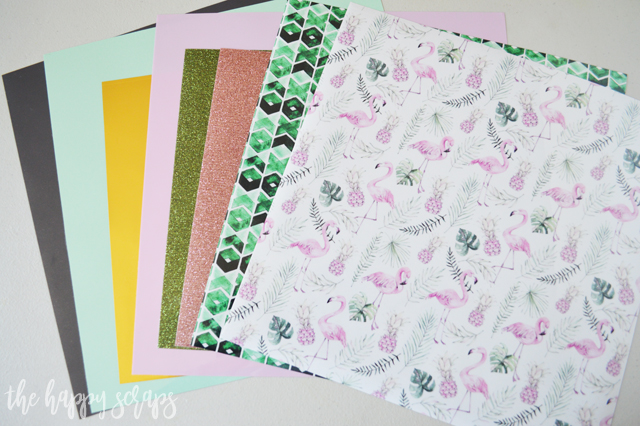
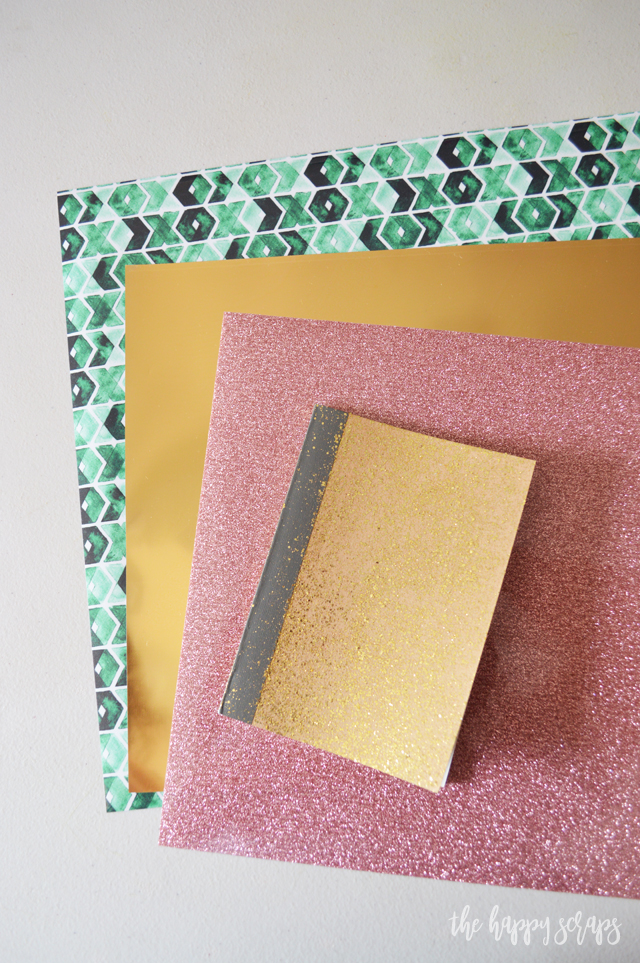
For this project I picked out a few pieces of the vinyl I knew I could use with a pineapple. I was going to use the glitter rose gold for this, but changed my mind and used the pink electric. I also had this cute little notebook that I used some Glitter Mod Podge on, and I thought it would be the perfect notebook to add this vinyl to.
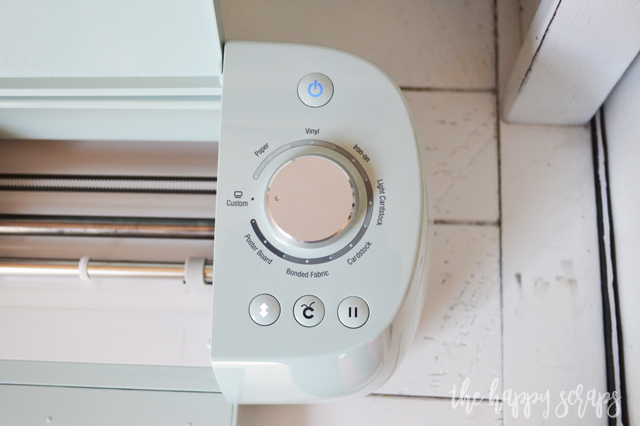
I used my Cricut to cut out the heat transfer vinyl. Because I was cutting patterned and glitter for this project, I set it to custom for those two, and then used the iron-on+ setting for the easyweed electric.
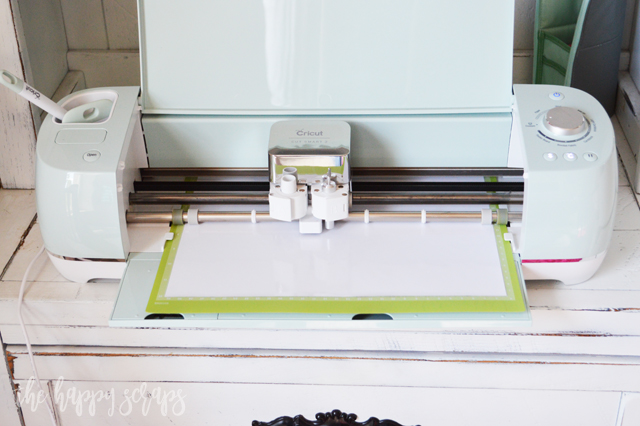
Once I had my material selected, I started cutting.
I placed my pieces where I wanted them. I used the EasyPress (heat settings found here) and pressed the electric pink on first. Then I pulled the carrier sheet off of the pink.
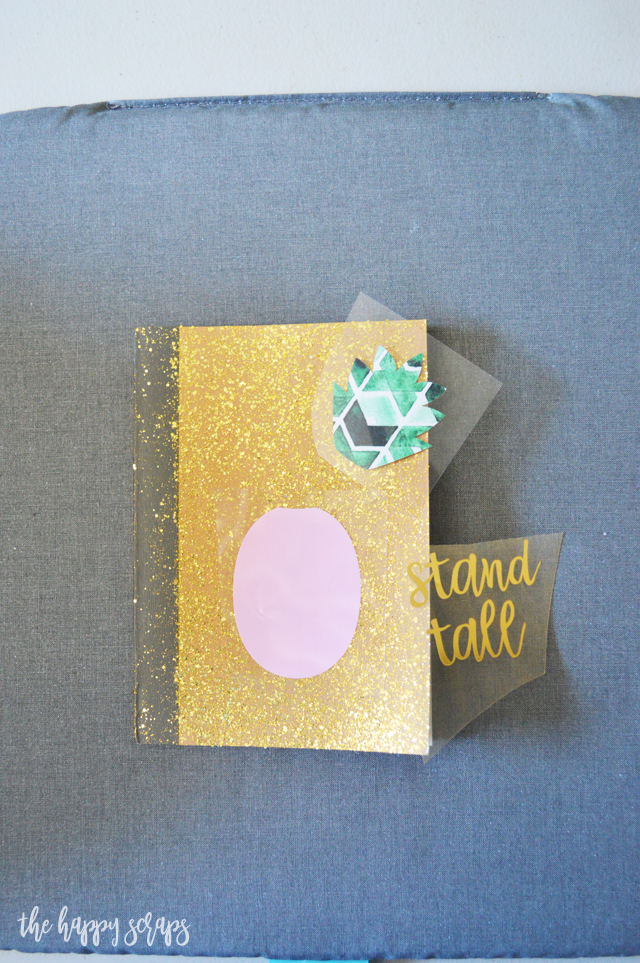
l placed the words and pineapple top where they needed to be. I covered it with an Iron-on Protective Sheet and pressed it.

Once I pressed the other layers I pulled up the carrier sheets and I was done! I was amazed at just how easy it was to press this heat transfer vinyl onto the cardstock! It worked so well!
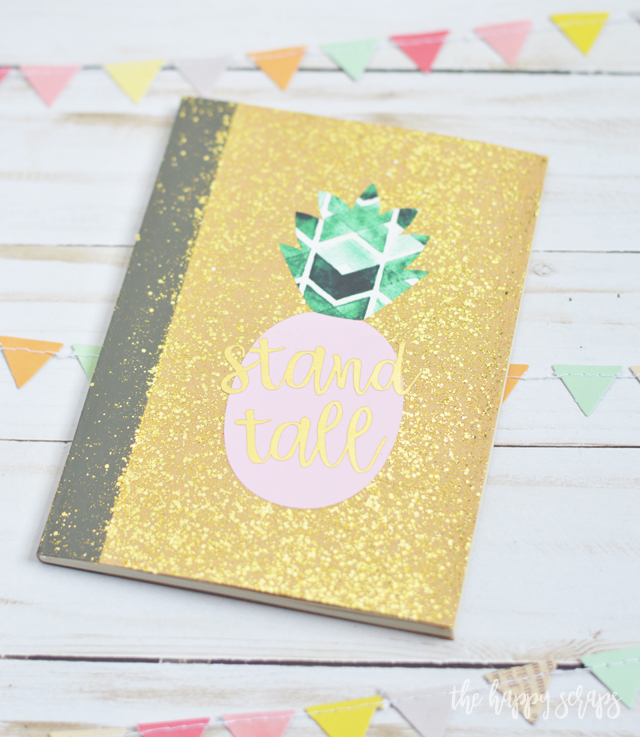
I think I’m hooked to adding heat transfer vinyl designs onto cardstock. What fun things can you think of to put on cardstock?
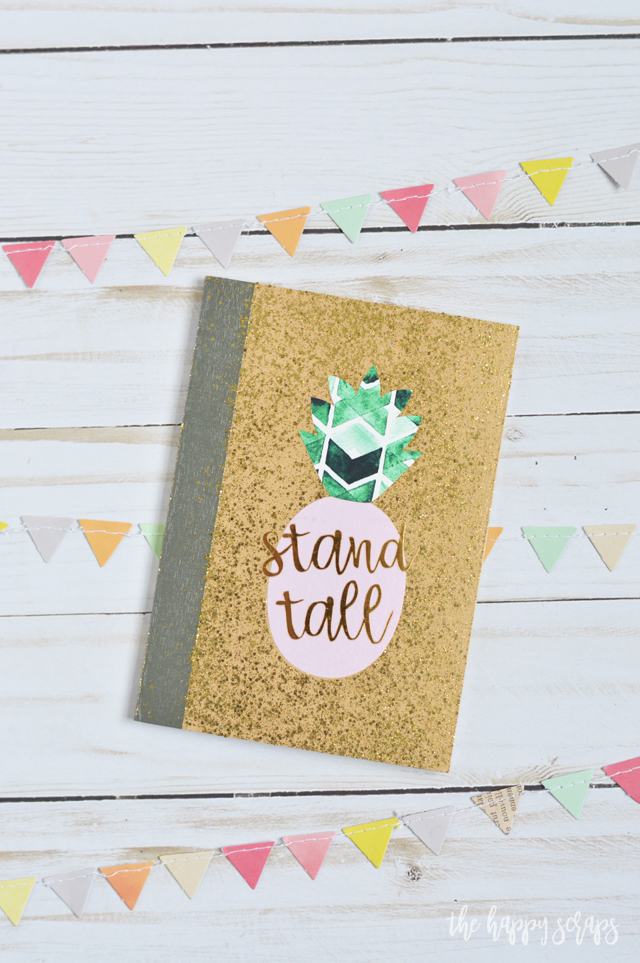
I did wonder how well you’d be able to read the words up against the gold glitter, but it worked out well, don’t you think?
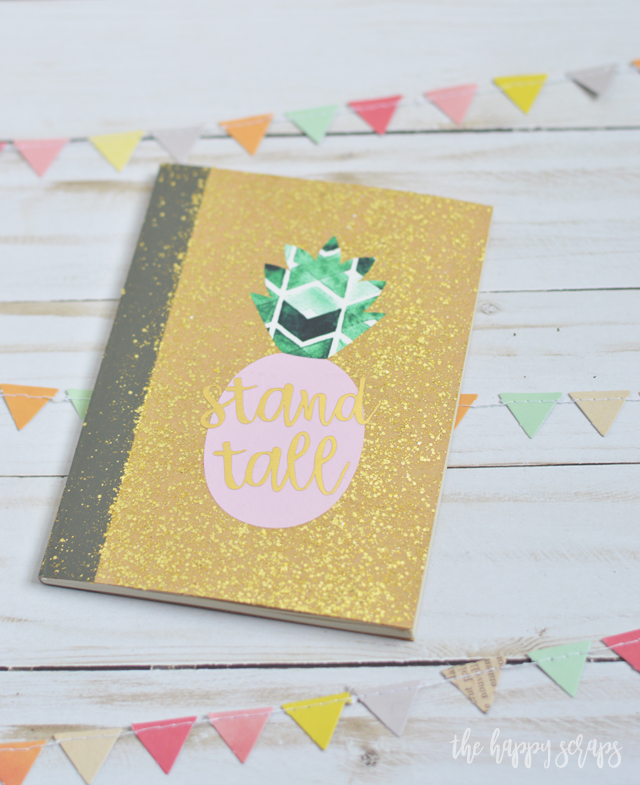
If you enjoyed this post of How to Apply Heat Transfer Vinyl to Cardstock, and you’re looking for more fun heat transfer vinyl or iron-on projects, then check out my gallery here.

Leave a Reply