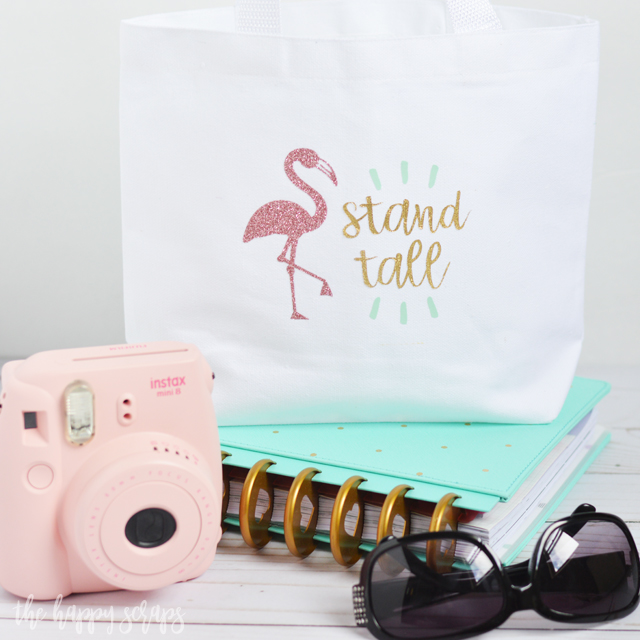
The other day I was working on some projects, and maybe I got carried away. But really, when you’re crafting, is there really such thing as getting carried away? I ended up making four different projects (three that worked) that day, all using one pack of heat transfer vinyl! It was kind of fabulous that I got that many projects done almost at the same time! Do you craft in batches, or do you do one project at a time? I’m usually a one craft at a time kind of girl, but the batch crafting really is awesome, if it works! Anyway, one of the projects I got done that day was this cut Stand Tall Flamingo Mini Tote. This tote isn’t really big, but it would be perfect to carry a planner, book, wallet, sunglasses, or even scriptures.

This Flamingo Mini Tote post contains affiliate links. If you click on an affiliate link and purchase something, you won’t pay anything extra, but it will help support this blog.
Flamingo Mini Tote Supplies:
- Summer Breeze Heat Transfer Vinyl Pack
- Mini Tote (I found mine at Hobby Lobby)
- Cricut Explore Air 2
- Cricut EasyPress
- Cricut EasyPress Mat
- Cricut Design Space Cut File
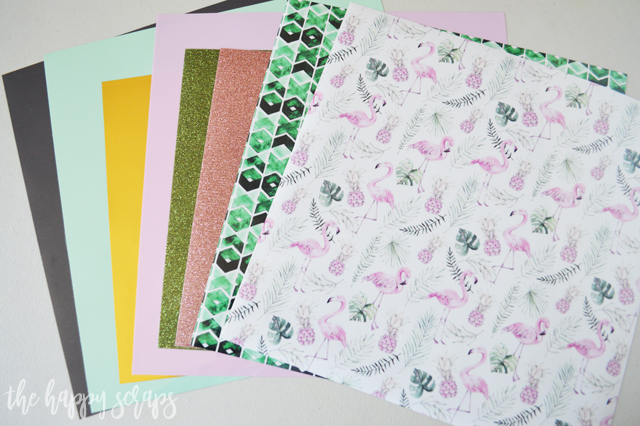
I pulled out the pack of heat transfer vinyl, and worked on picking out my colors. I had my design figured out in Cricut Design Space already, so I knew what colors I needed.
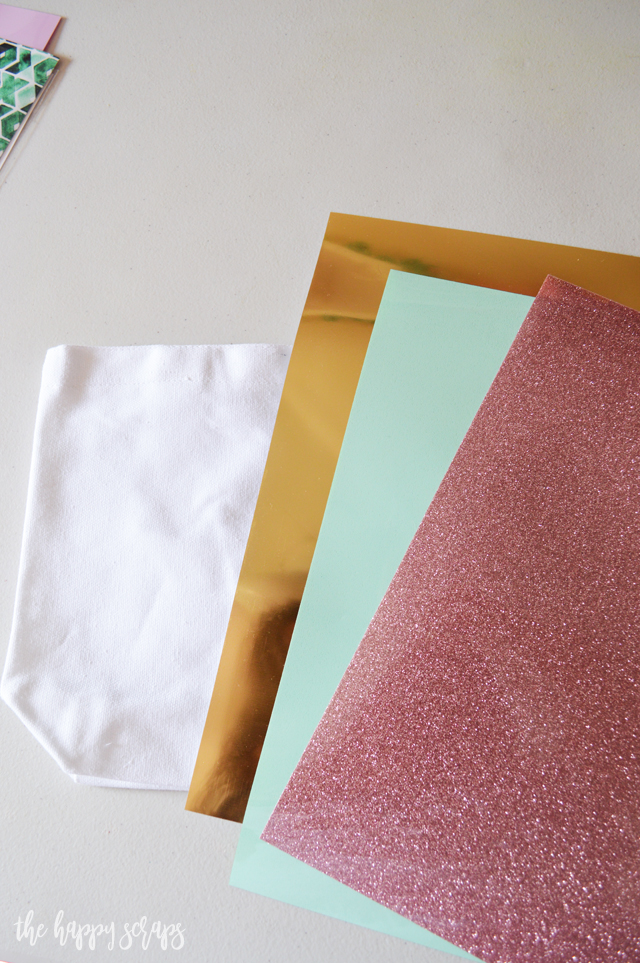
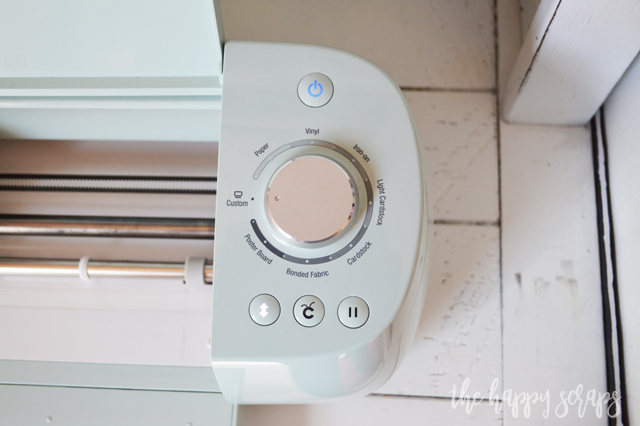
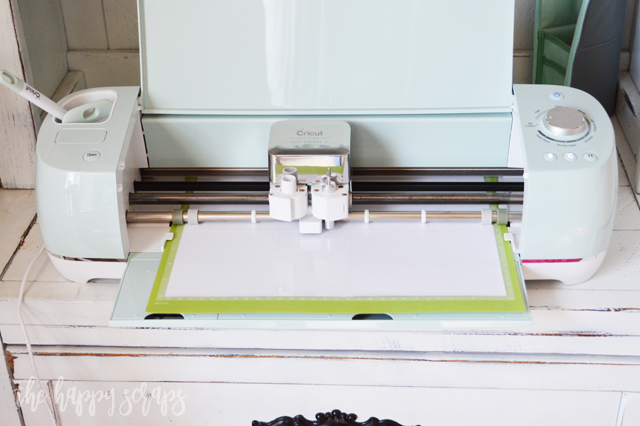
I got my Cricut ready to cut. Because I was cutting foil, glitter, and regular heat transfer vinyl, I used the custom setting for the first two.
When you select custom, select your machine, and then you’ll see this on your computer screen. You can select what you’re cutting from the popular ones that pop up, or you can click “browse all materials”.
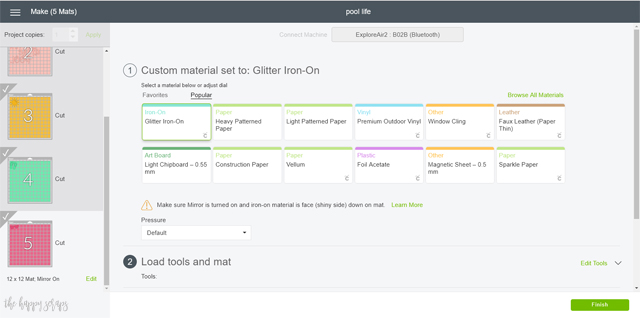
If you brows all materials, it will open up a long list of items, and you can select what you need to.
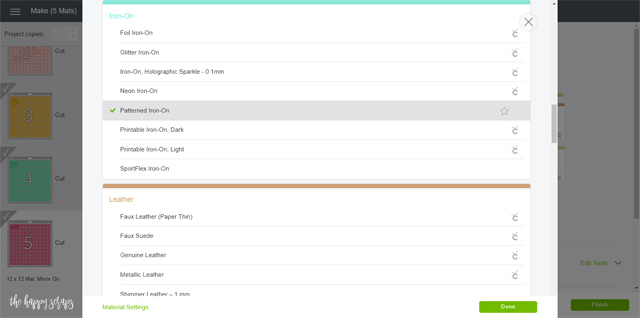
Once you have it set, you’re machine will let you know when it is ready to be loaded.
After I had my images cut and weeded, I was ready to put them on the mini tote. I got my EasyPress ready to use and I preheated my tote. I found the heat settings that I needed to use here.
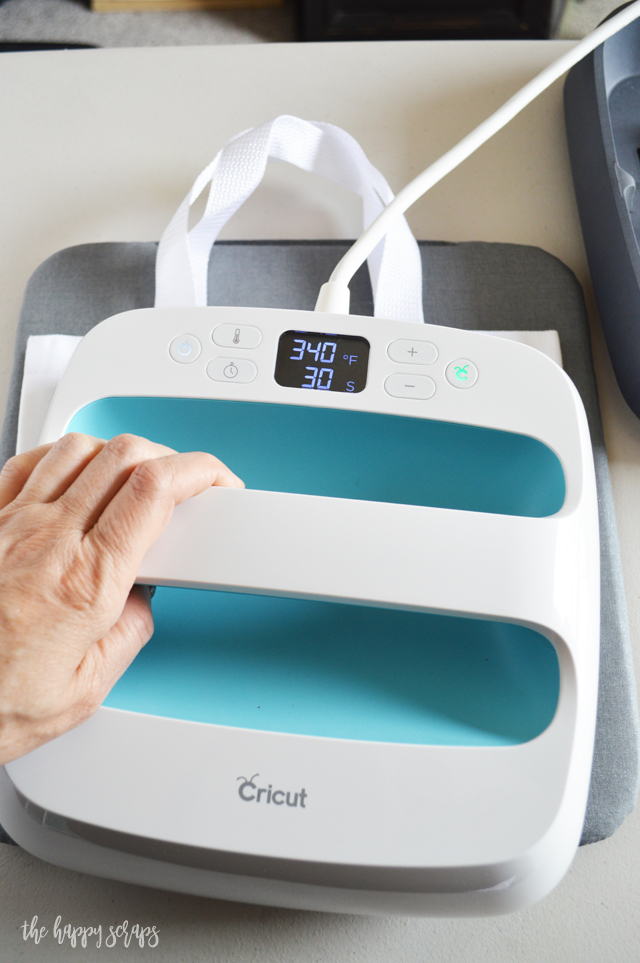
I placed my images/decals on the bag where I wanted them and then used the EasyPress to put them on the bag. I was able to put them on all at the same time because I had trimmed the carrier sheets to not overlap. It worked well!

This Flamingo Mini Tote was super quick to make and it’s perfect for summer.

It would also be perfect for a little girl to carry around some things for herself.
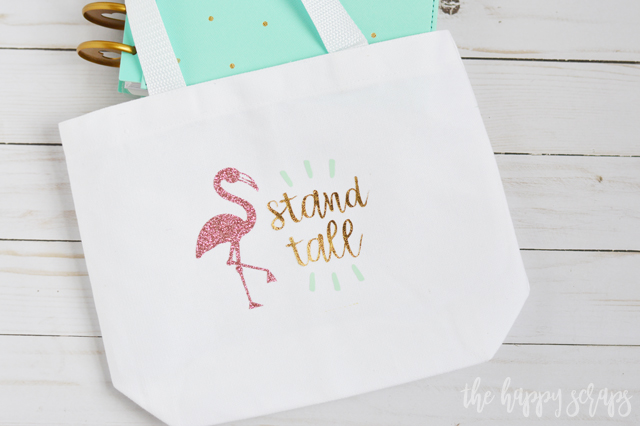
I might just give this cute little Flamingo Mini Tote to one of our nieces. I’m not sure yet, but I think they’d love it!

What will you put in your Flamingo Mini Tote? It could be fun to use as a gift bag as well!
If you enjoyed this Flamingo Mini Tote, then you might also enjoy some of my other heat transfer vinyl or iron-on projects.

Leave a Reply