My kids will be headed back to school in a week and a half and I’m part sad and part totally ready for it! I do enjoy the lazy days of summer with my kids home, as well as not having to get them up and going early each day. I am looking forward to having more of a schedule and more structure in our lives once school starts. I’m also hoping that I will be able to figure out a good work schedule for me! Anyway, since the kids are headed back to school soon, I wanted to put together a fun Back to School Teacher Gift Bag with Cricut, so that is what I’m sharing here with you today! I create all kinds of different projects, but any time I get the chance to create with paper, I enjoy it so much! It’s my favorite to create with, and this project uses a different kind that I’ve never used before. Come and check it out with me!

This Back to School Teacher Gift Bag with Cricut post contains affiliate links. If you click on an affiliate link and purchase something, you won’t pay anything extra, but it will help support this blog. I received compensation and product in exchange for this post.
Back to School Teacher Gift Bag with Cricut Supplies:
- Cricut Maker or Cricut Explore Air 2
- Cricut Scoring Stylus
- Cricut Cuttlebug
- Cricut Honeycomb Embossing Folder
- Cricut Candy Shop 12 x 24 Cardstock
- Cricut Candy Shop 12 x 12 Cardstock
- Cricut Gray, Black, & White 12 x 12 Cardstock
- Cricut Pens (Red)
- 12 x 24 Standard Grip Mat
- Design Space Cut File
- Baker’s Twine
- Scissors
- Hot Glue Gun
- Adhesive
- Dimensional Adhesive

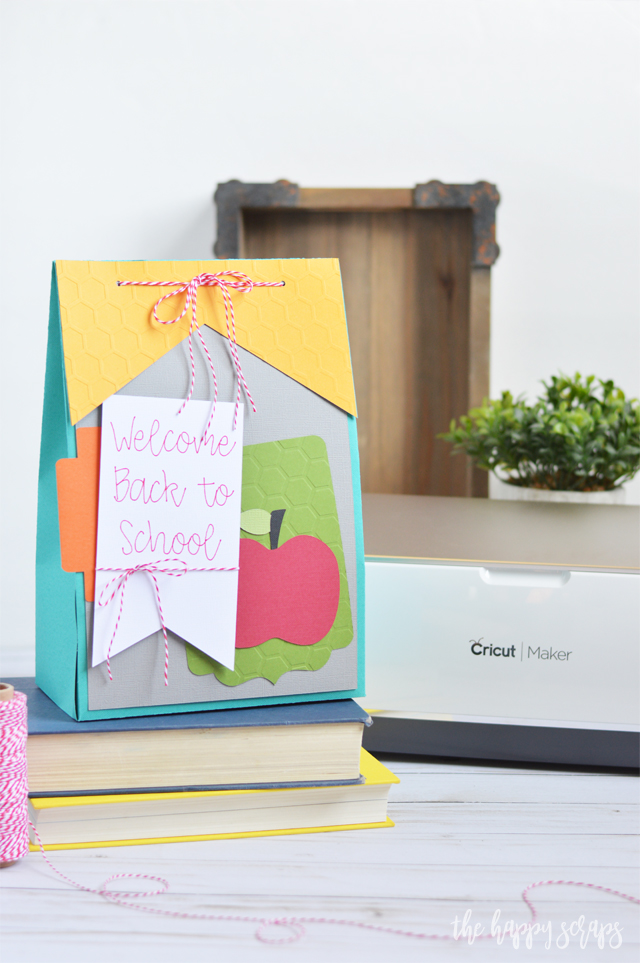
When I was deciding what kind of Back to School Teacher Gift Bag I wanted to create, I knew I wanted it to be big enough to put several items inside, not just a few pieces of chocolate. I also knew I wanted to use my Cricut Maker to create it! I opened up Cricut Design Space and did a search for boxes. I found the perfect box and found the other elements that I wanted to use for this project as well! Because I wanted this to be a big gift bag, I sized it quite large. I had to do a little bit of slicing to get the bag image to fit on my mat.
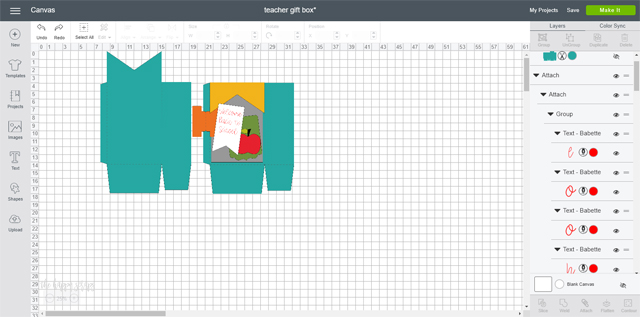
Once I had the Back to School Teacher Gift Bag designed, I got my Cricut Maker turned on a ready to go. I selected the material I was cutting then cut everything out. I really love that I can cut designs via Bluetooth with the Cricut Maker. It also has a fast mode when it’s cutting out cardstock, iron-on and vinyl, which is awesome when you are trying to get something put together quickly. I love having the option to use the adaptive tool system as well. I need to get me some of the other fun tools that can be used it with the Cricut Maker, but it really can cut some amazing things!

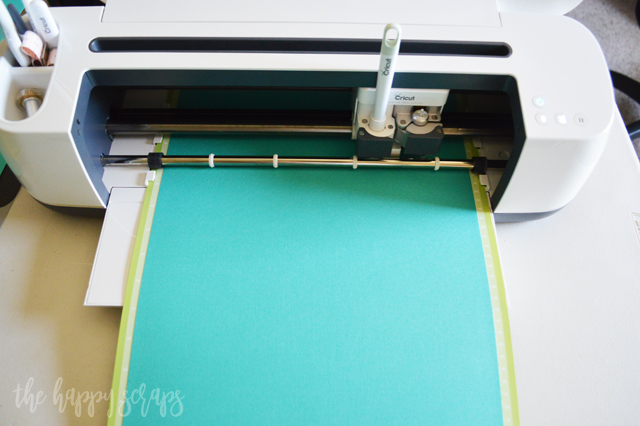
For this larger scale project, I used the 12 x 24 Cricut Cardstock. You guys! This stuff is a game changer! Let me just say that I know they’ve had this stuff for years! Like probably more than 10 years, and I’ve never used it, and now I’m wondering how I survived so long with out this amazing large cardstock! I put it on my 12 x 24 mat and cut out my box.
I got the rest of the pieces all cut out and was ready to start assembling it.
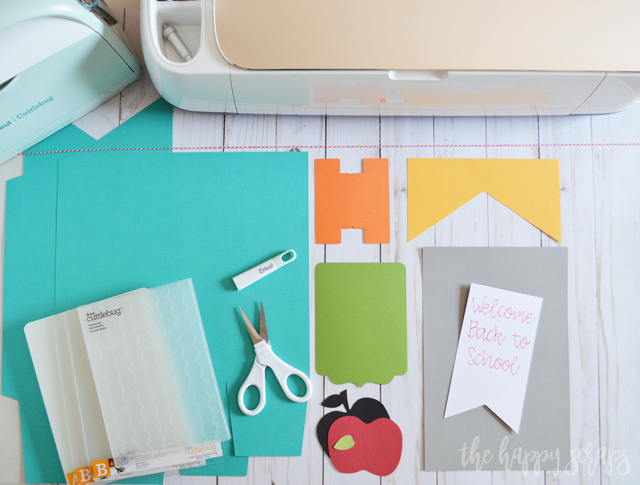
I folded the box on all the score lines. I put hot glue along the edge where the pieces were to connect, and then glued them together.

I folded the bottom of the box next. I folded the sides in first, then folded one of the larger flaps, put glue on top of it, and folded the second flap down on top of it. Then the box was finished.

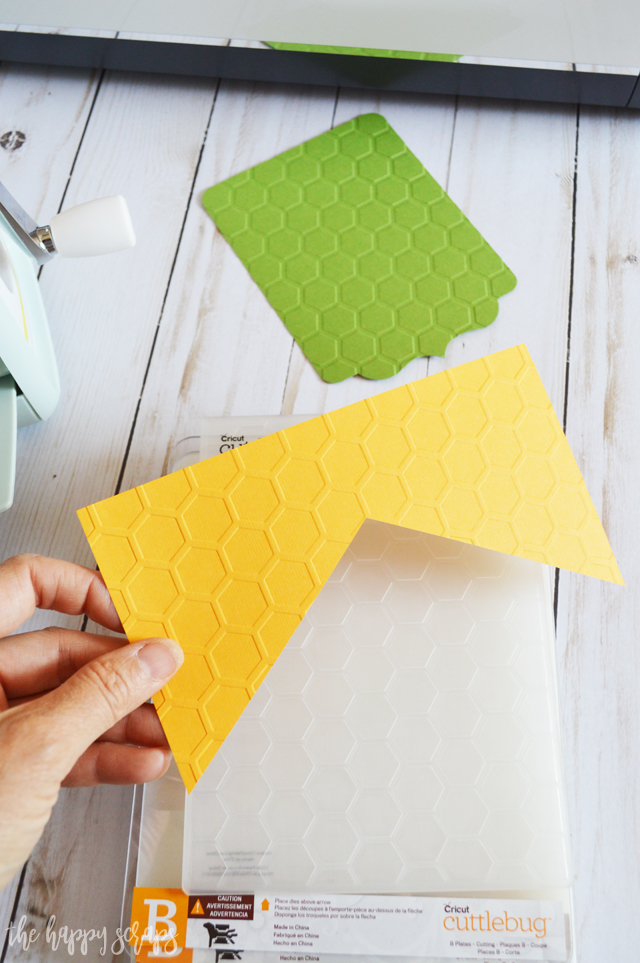
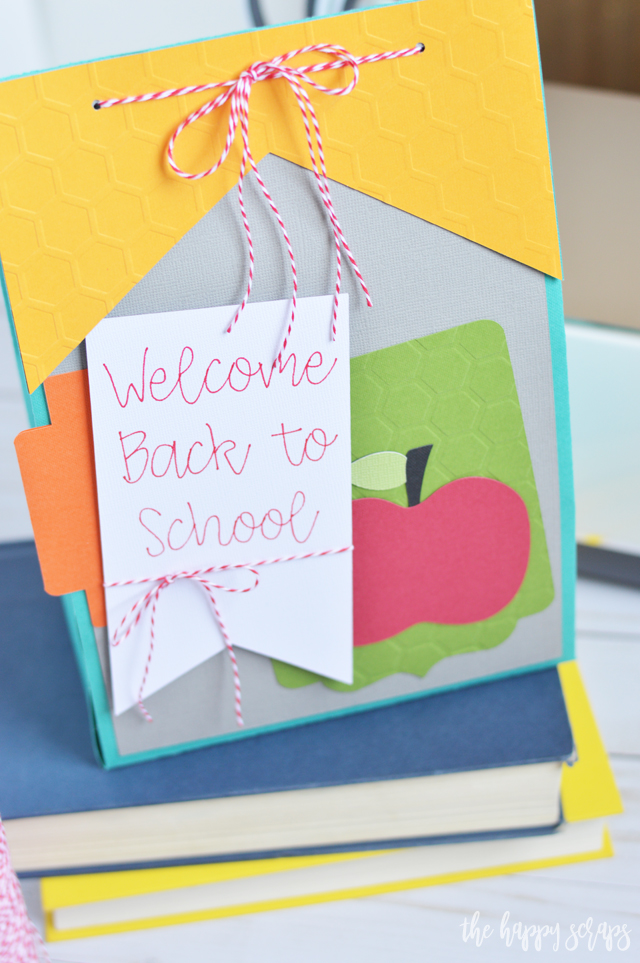
Next, I pulled out the Cricut Cuttlebug and embossing folder. I placed the green tag in the folder. Created my Cuttlebug embossing folder sandwich to get ready to put it through the machine. A on bottom, B, then the embossing folder, then the second B plate. I put it through the Cuttlebug and pulled it out when it was all the way through.
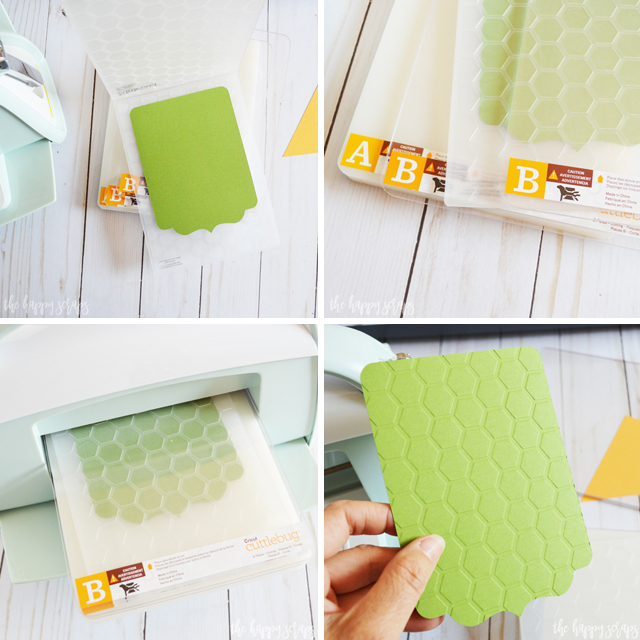
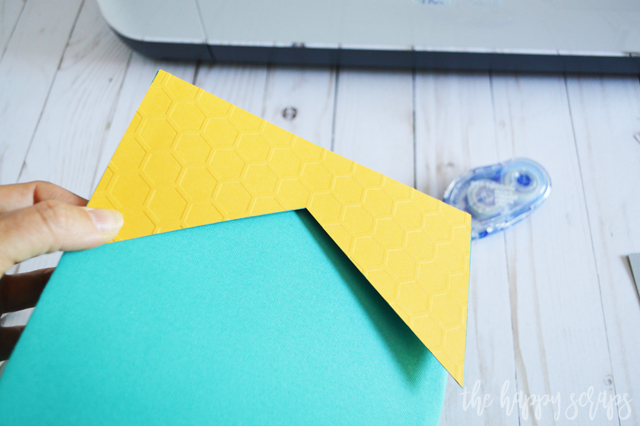
I also embossed the bag topper the same way.
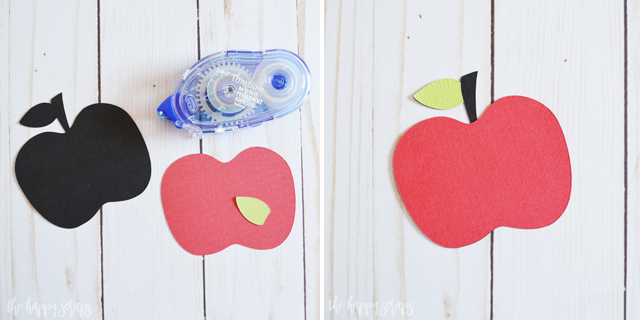
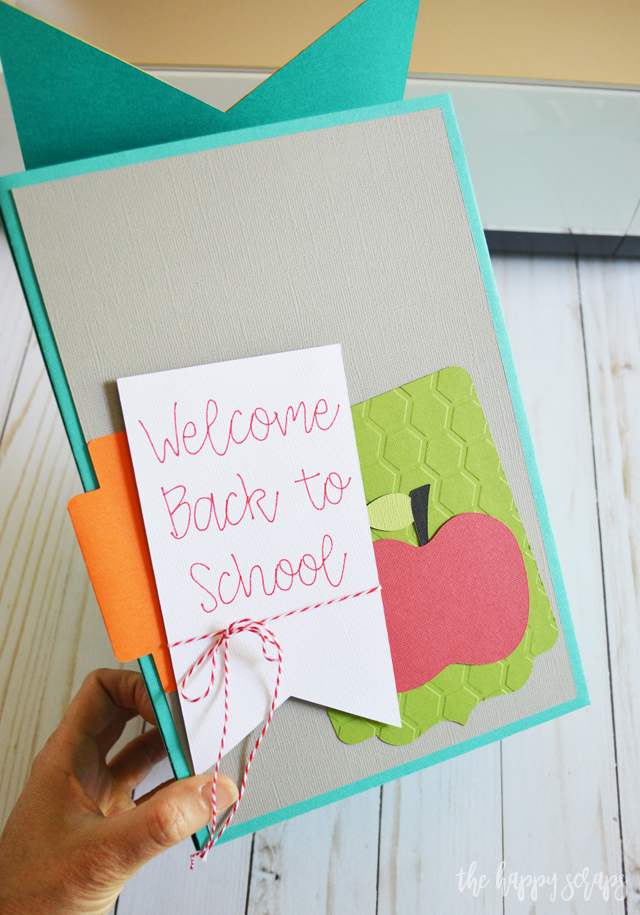
With all the pieces for the apple, I grabbed my adhesive and put it together.
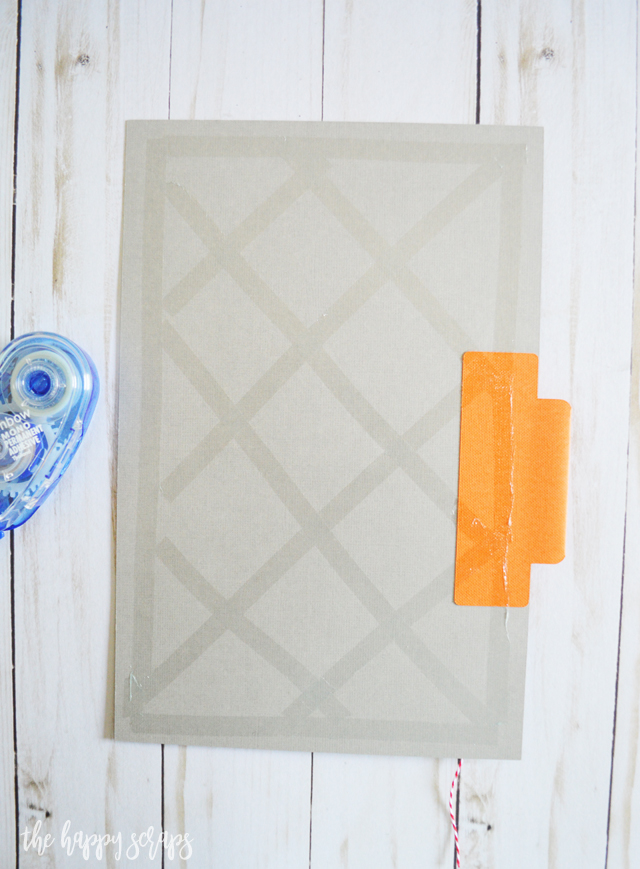
Now I was ready to assemble the front of the gift bag. I put everything on the gray piece before I put it onto the bag.
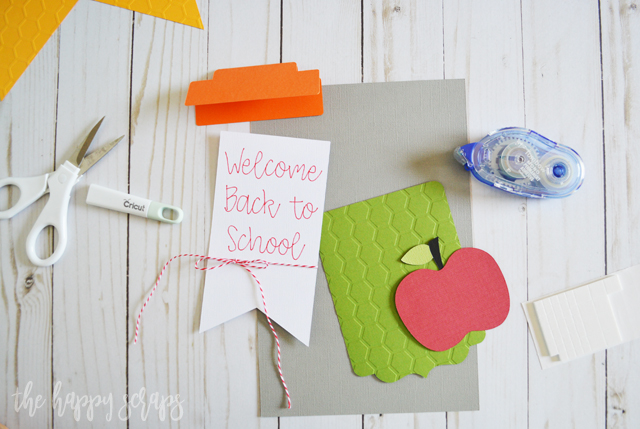
I attached the bag topper to the bag, right over the top of the existing teal piece on the bag.
Then I was ready to put the bag front on. I put adhesive all over the back of the bag front.
Then I put it on the bag.
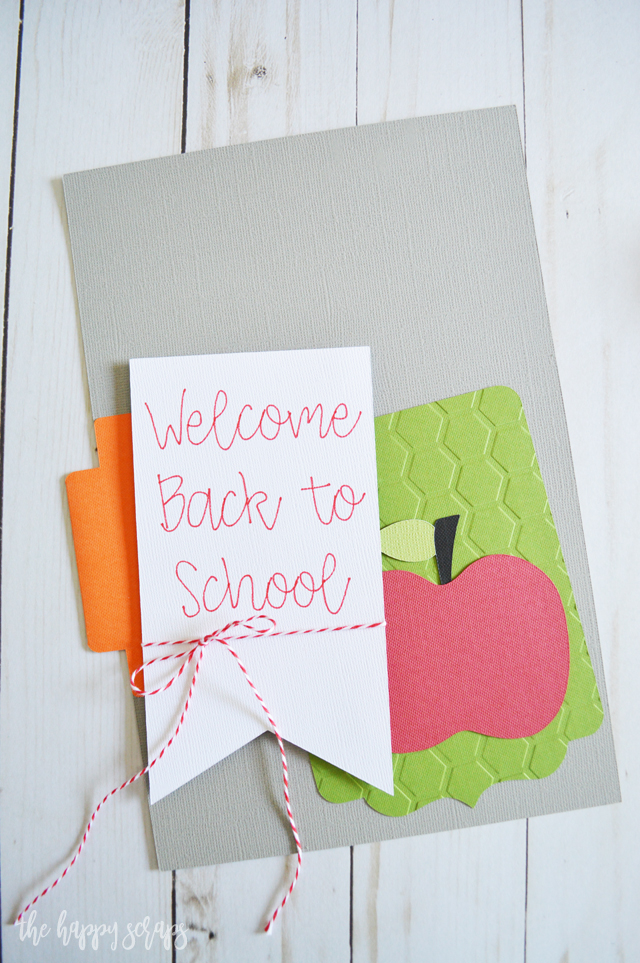
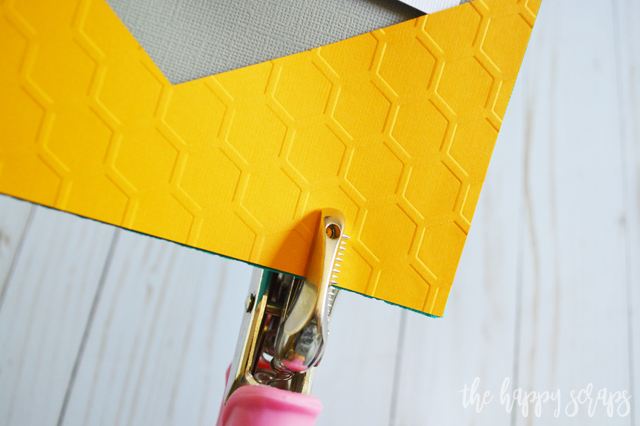
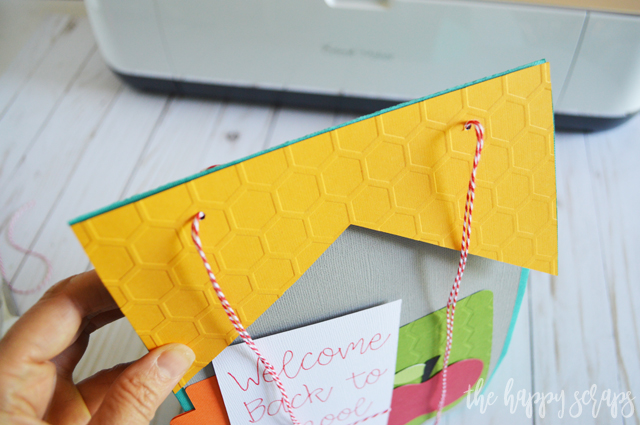
I folded the top over and punched holes in the top so I could tie it shut.
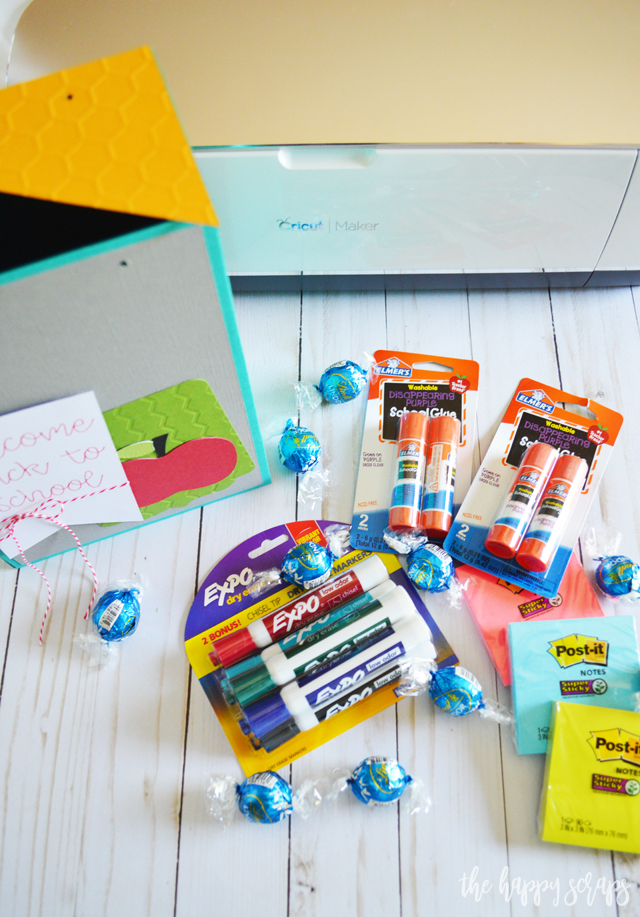
I pulled out some fun goodies and supplies to put in the Back to School Teacher Gift Bag and filled it up!
I put baker’s twine through the holes and then tied it up.
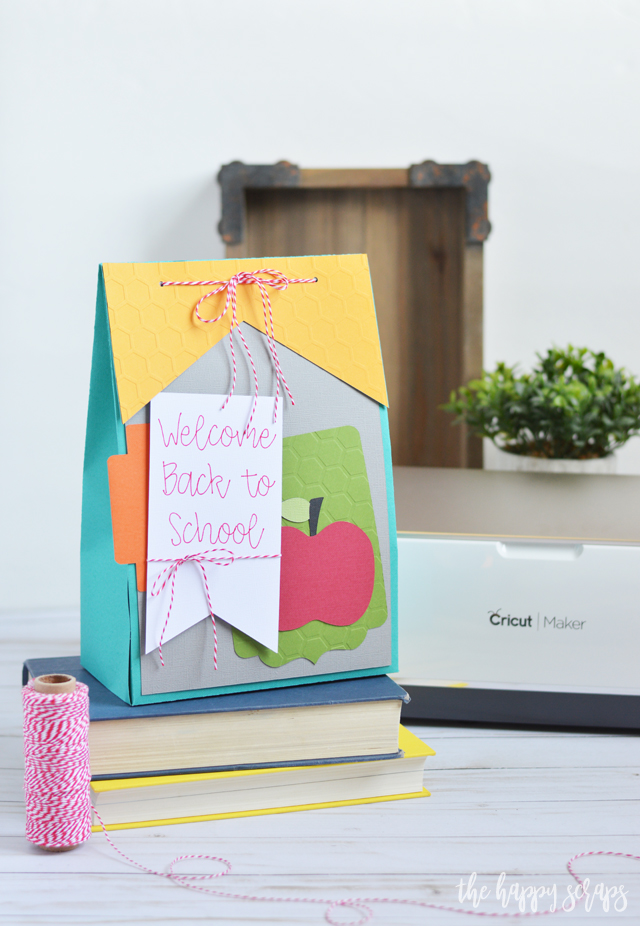
I had so much fun making this gift bag and using the 12 x 24 Cricut Cardstock! These bright colors in the Candy Shop pack are perfect for Back to School
After I got this made, my kids asked me a if it was a lunch sack. It’s about the size of one, but that got me thinking. Wouldn’t his be SO fun to make some for Teacher Appreciation and have a special lunch for each of the teachers inside?!
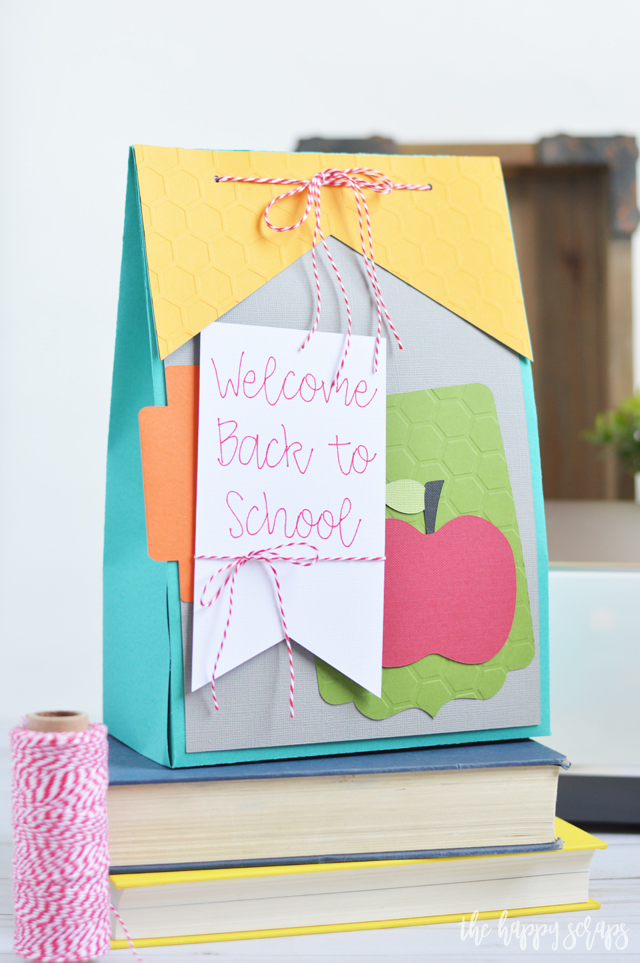
I love what the embossed paper and dimensional adhesive on the white tag added to this project! I thought it would even be fun to write the teachers name on the orange tag as well.
If you haven’t used the 12 x 24 Cricut Cardstock with your Cricut machine yet, then you need to! It’s amazing! Seriously! Grab some and put together one of these fun Back to School Teacher Gift Bags with Cricut!
Using my Cricut is one of my favorite things to do. If you don’t have one and are wondering what other fun things you can make with one, then check out all of my Cricut projects here.
This is a sponsored conversation written by me on behalf of Cricut. The opinions and text are all mine.

Leave a Reply