Hi friends! Did you have a good weekend + Monday? Last week, my husband took apart our closet that had wire shelving throughout. We are replacing the wire shelving with wood shelving and creating a custom master closet. On Saturday, we made some good progress on the closet, in between a birthday party and taking care of our kids. Yesterday, we made more progress. I’ve shared a couple of sneak peeks on my Instagram stories, if you’re interested in seeing it. I’m pretty excited with the way it’s all coming together! We are going to have so much more storage space for everything that we keep in the closet. Anyway, we are hoping to finish up building it tonight, then we have to get it ready for paint. We have to patch all the nail holes, caulk the seams and edges, prime and paint. I’m hoping it will go quickly once we start. It has turned into a little more of a project than we initially thought it would be. But it is going to be awesome when it’s finished. I’ll be sure to share the details for it here with you. Anyway, today, I’m excited to be sharing this The Book Was Better Library Tote with you. I still love our old library tote that I made a few years back, but the older my boys get, the bigger their books get, and it was time to get a larger bag to start taking to the library with us. So I put this one together.

This The Book Was Better Library Tote post contains affiliate links. If you click on an affiliate link and purchase something, you won’t pay anything extra, but it will help support this blog.
The Book Was Better Library Tote Supplies:
- Cricut Maker or Cricut Explore Air 2
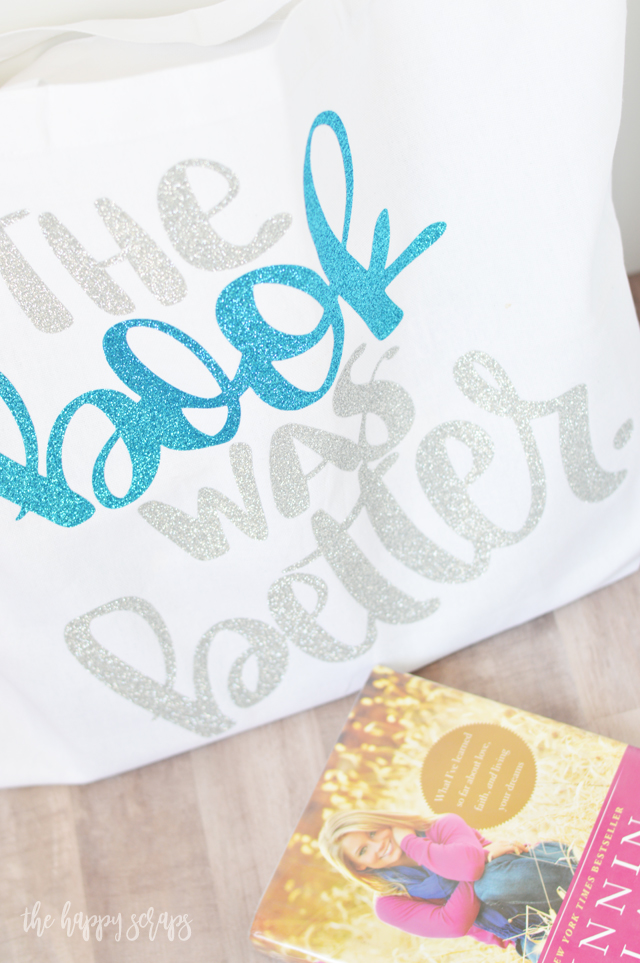
- Aqua Glitter Heat Transfer Vinyl
- Silver Glitter Heat Transfer Vinyl
- Blank Tote (I got mine at JoAnn)
- Cricut EasyPress
- Cut File (AGAAGG has so many cute cut files!)
I pulled out my heat transfer vinyl and my tote and got ready to get this new library tote made!

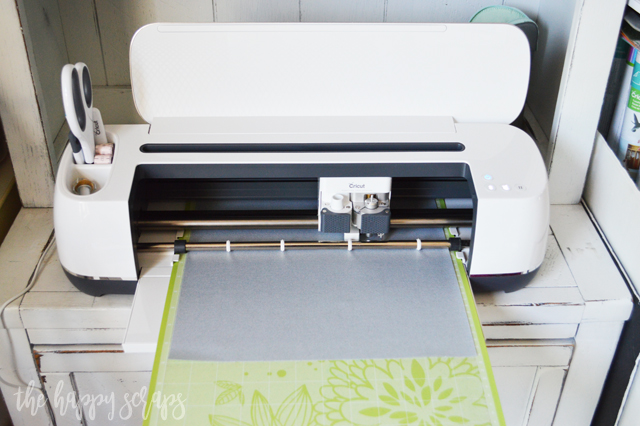
I got my heat transfer vinyl placed on my cutting mat with the shiny side down.

I uploaded the cut file to Design Space and sized it to what I needed. Make sure when cutting on heat transfer vinyl that you always mirror your image.
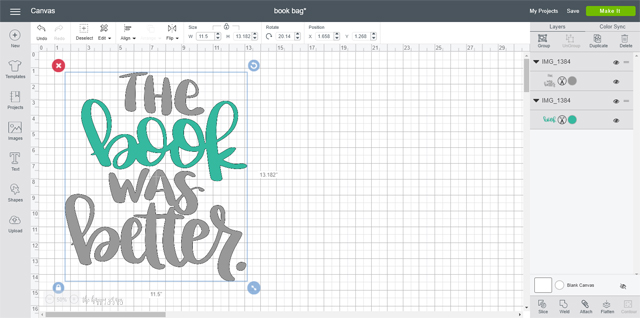
Once I had the cut file all ready, I sent it over to my Cricut Maker to be cut.
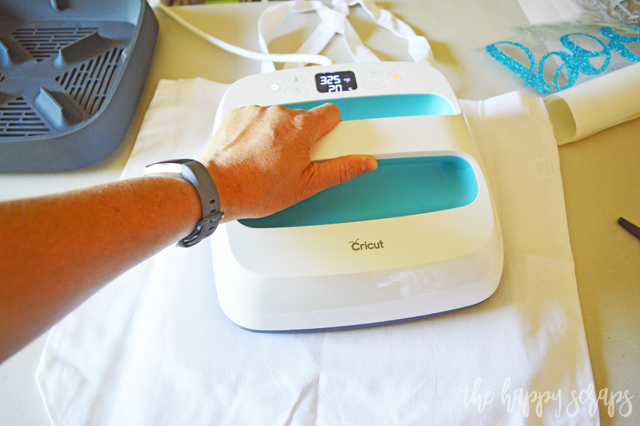
I weeded the designs and then turned on the EasyPress to the settings for glitter iron-on.

I preheated my tote using the EasyPress.
I placed the design on the tote where I wanted it and then used the EasyPress again to adhere the glitter heat transfer vinyl.
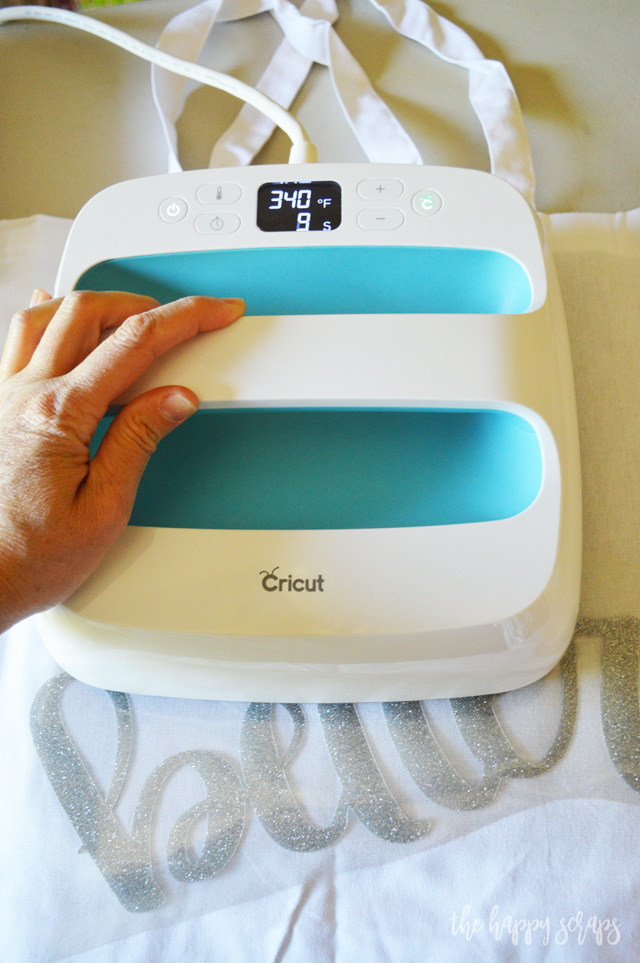
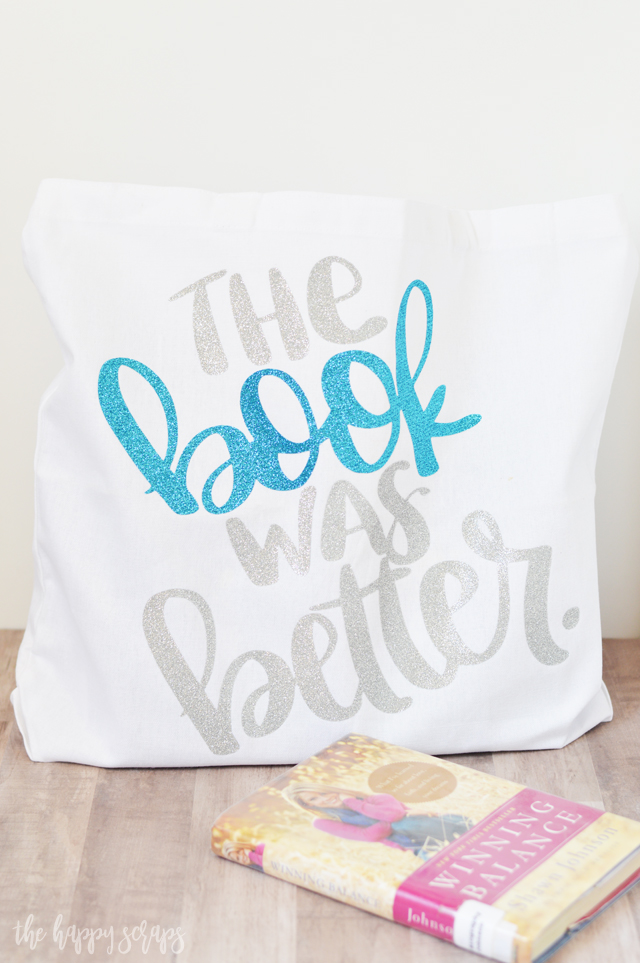
Once I used the EasyPress over the entire design, I peeled up the carrier sheet, and my new The Book Was Better Library Tote was finished.

I’m so excited to have a new library tote that fits all of our books in it, without being squished.
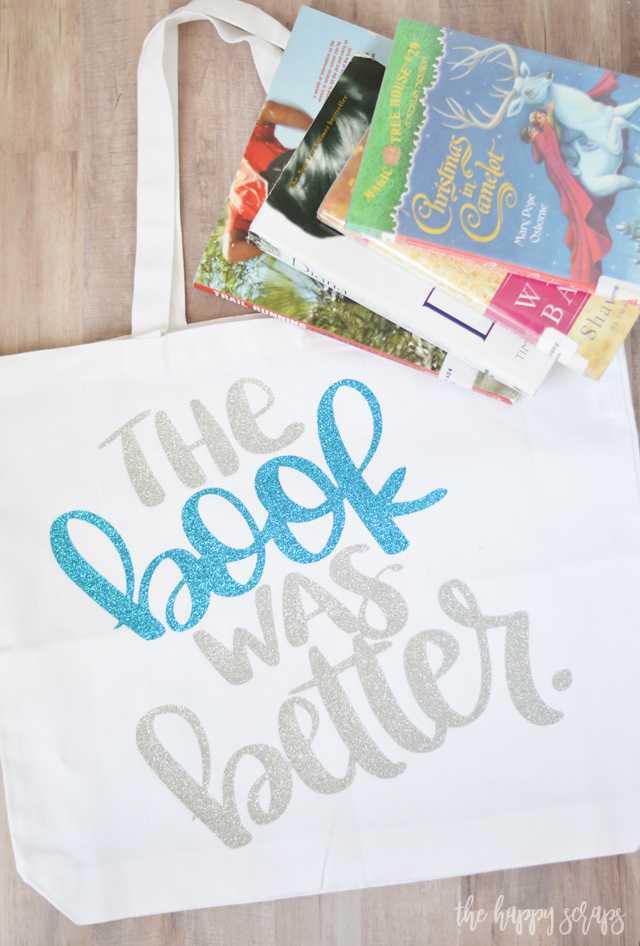
Don’t you think this saying, The Book Was Better, is perfect for a library tote? When I saw it, I knew that I needed it. My boys would completely agree with this! I’ve got several bookworms at my house. 🙂
There are so many fun things that you could put onto a library tote. What would your tote say if you made one?
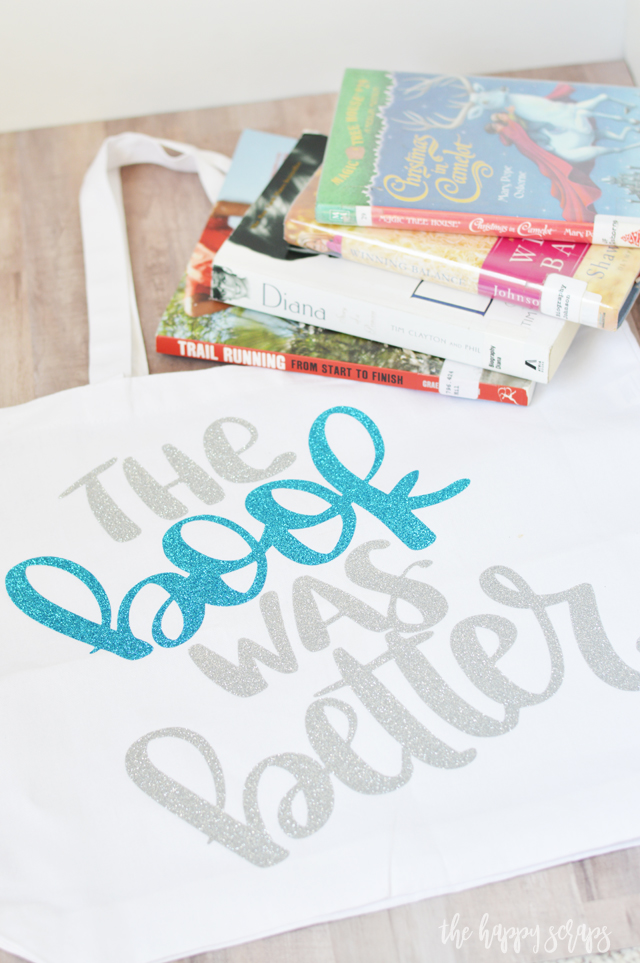
My boys love going to the library, and we try to go every couple of weeks, but it doesn’t always happen. Do you enjoy reading? What are you favorite kind of books to read? Lately, I’ve really been enjoying reading biography type books. It is so interesting to read about other people!
Whether you’re needing a library tote or a tote for something else, they are easy to make! Heat transfer vinyl can be so fun and can be used for so many different project. You can check out my other iron-on projects here.

Leave a Reply