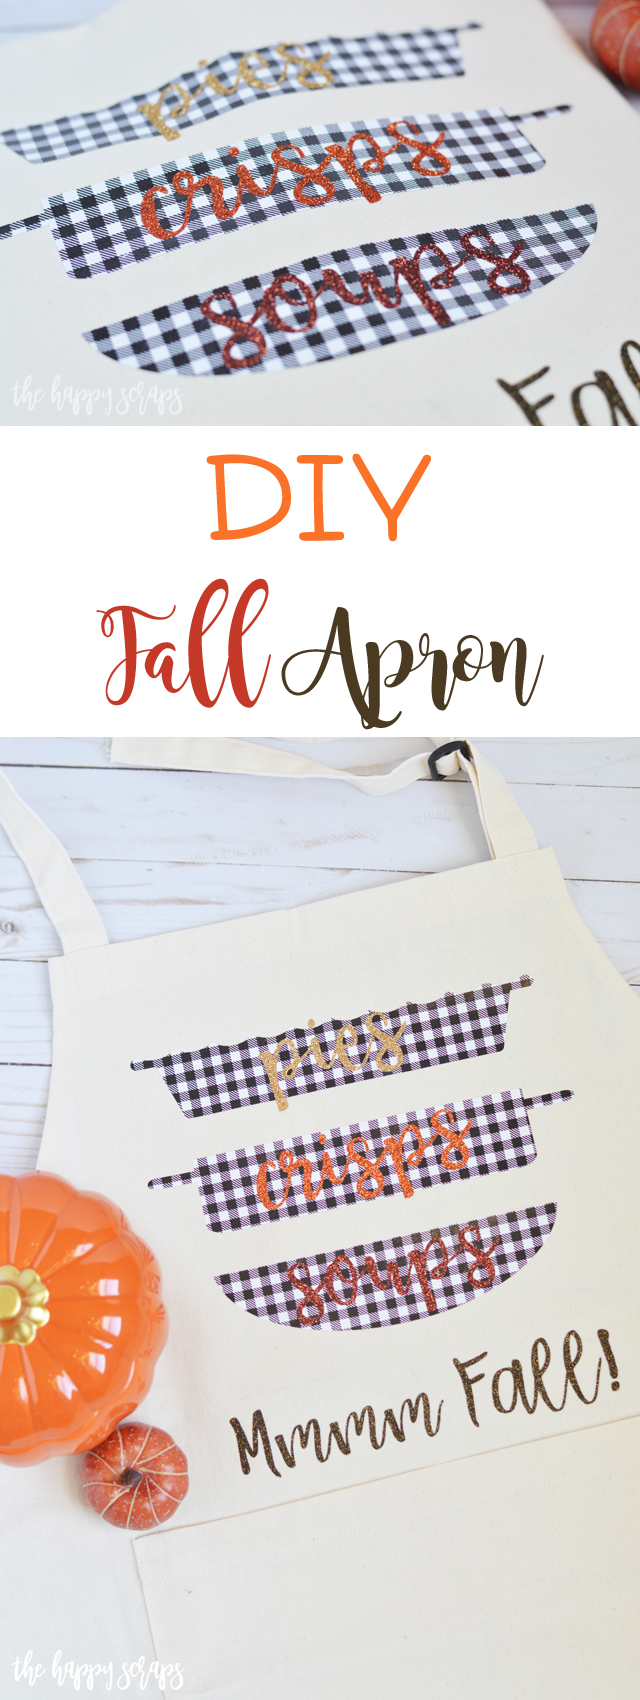
Last weekend we celebrated our 17th wedding anniversary. We went out to dinner and got each other a couple of simple gifts. I picked up a couple of CD’s for my husband of some music I knew he would like to have in his truck and he got me some beautiful roses and a large mum plant for my front porch. We are also headed out on a little get away next week. We are headed to the Oregon Coast, and I couldn’t be more excited! I’ve never been there, but have wanted to go, so I can’t wait! With the mum on the front porch, it prompted me to put away the summer decor (which I’ve been thinking about since school started) and pull out some of the fall front porch decor. I still need to get a few more things out, but for now, I’m excited for the change from summer to fall on my porch! I haven’t been feeling like fall is that close, but the last few mornings as I’ve been driving my son to school, there is a definite chill in the air, and fall is coming. It makes me so excited!! When I think of fall, I think of baking and and enjoying comfort foods. Last weekend we decided to make a peach crisp and it was divine! Crisp dishes are one of my favorite things to make during fall, along with pies, and soups. All the fall foods are just delicious, so I decided to put this DIY Fall Apron together with a few of my favorite things on it!
This DIY Fall Apron post contains affiliate links. If you click on an affiliate link and purchase something, you won’t pay anything extra, but it will help support this blog. Some of the product used in this post was sent to me to use. All ideas and opinions are my own.
DIY Fall Apron Supplies:
- Cricut Maker or Cricut Explore Air 2
- StandardGrip Cutting Mat
- Buffalo Plaid Patterned Vinyl
- Glitter HTV in Old Gold, Copper, Bronze and Black Gold
- Weeding Tools
- Cricut EasyPress 2
- Cricut EasyPress Mat
- Blank Apron
- Design Space Cut File

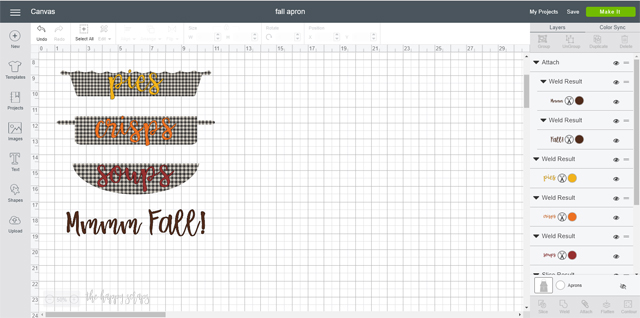
After I collected my supplies, I started creating the design I wanted on the apron in Design Space. Because I wanted to visualize better what it would look like with the buffalo plaid, I changed those shapes to prints and found a buffalo plaid pattern for them. I selected the colors of text and was ready to get this apron made!
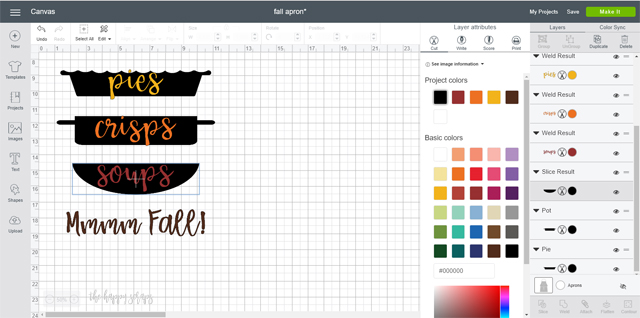
I turned the shapes back to cut designs, making them black, and then clicked make it! I was sure to mirror my designs on each mat so that they cut properly.
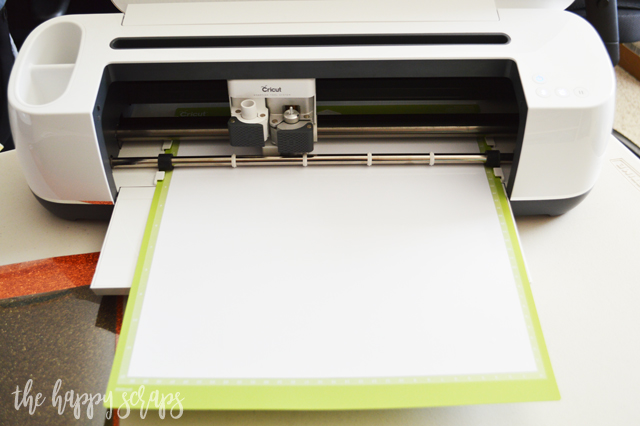
I sent them to the Cricut Maker to cut.
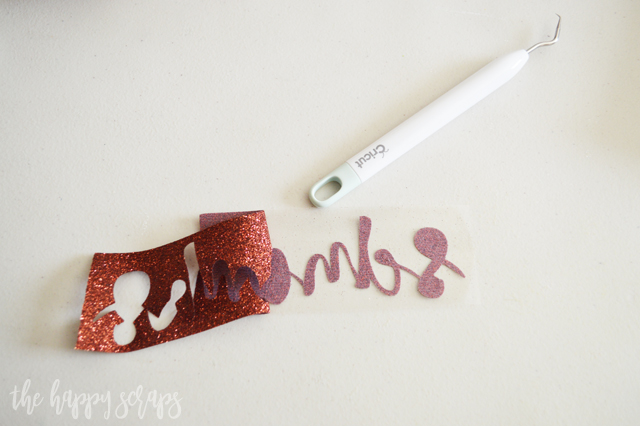
Once Cut, I weeded the heat transfer vinyl for my DIY Fall Apron.
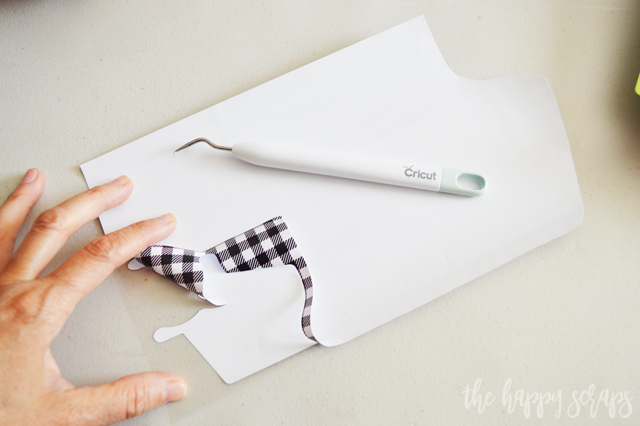
Glitter HTV is always fun to weed. It comes apart so well, although at times it is hard to see the cut lines. In that case the BrightPad can come in handy.
Assembling your DIY Fall Apron
Once you have all of your heat transfer vinyl cut and weeded, you’re ready to assemble. Turn on your EasyPress 2 to the recommended heat settings for the material you’re using.

I quickly preheated my apron, then placed the “dishes” onto the apron.
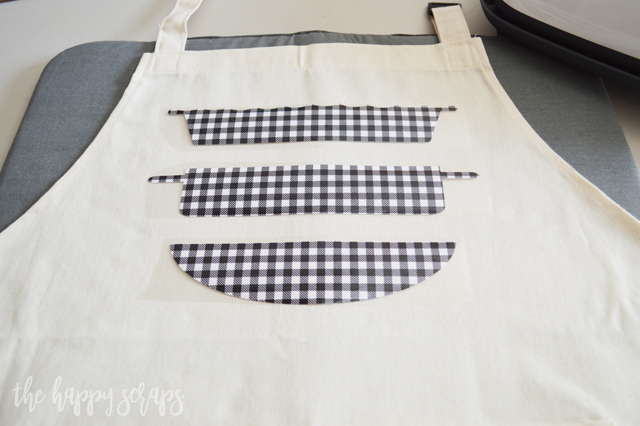
Because I was pressing more than one layer, I started with only pressing the patterned buffalo plaid for 15 seconds. I let it cool and then cold peeled the carrier sheets.

Once the carrier sheet was off the patterned HTV, I placed my words where they needed to be. Then I used the carrier sheets I had previously used for the “dishes” and placed them back over the top, making sure that all of the HTV was covered.
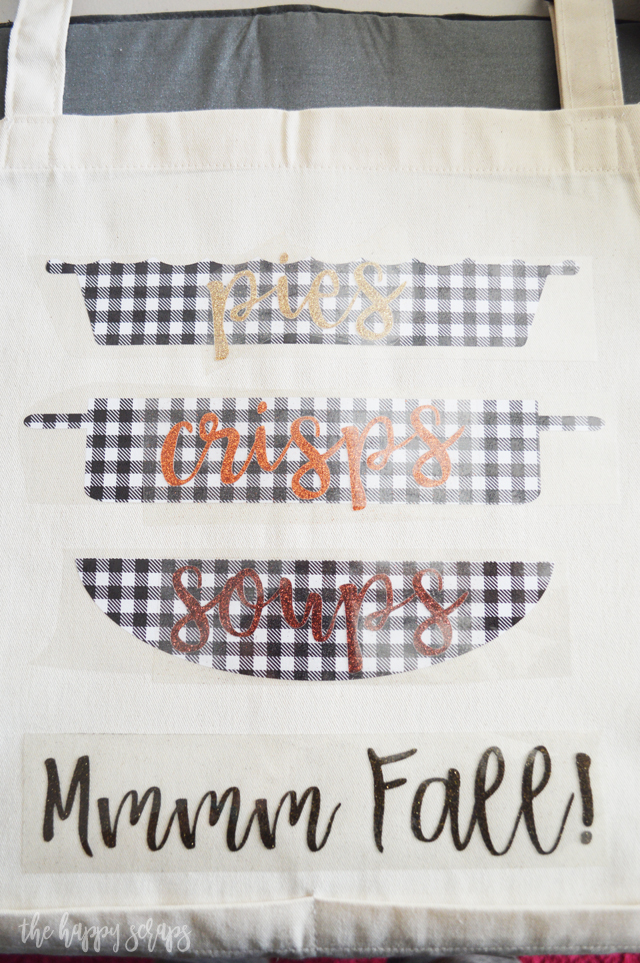
Using the EasyPress 2 I pressed my lettering onto the apron. Once I had the front pressed, I also pressed the back for 15 seconds as well.
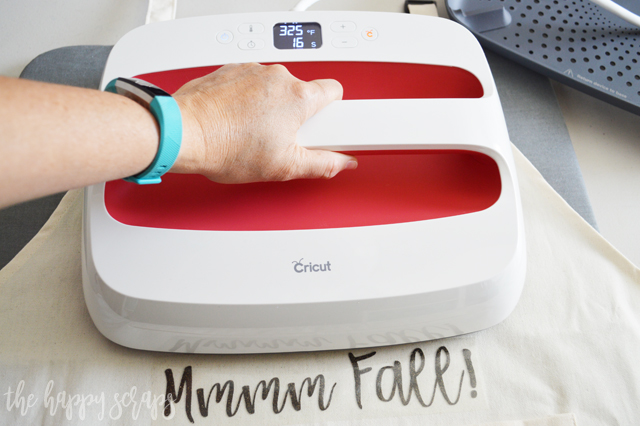
After letting it cool, I peeled the carrier sheets off of the designs.
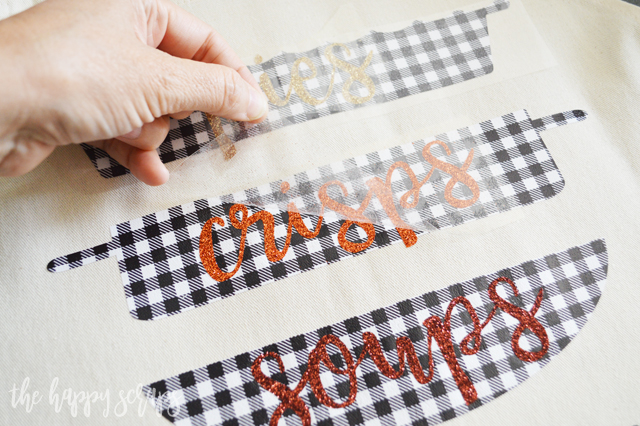
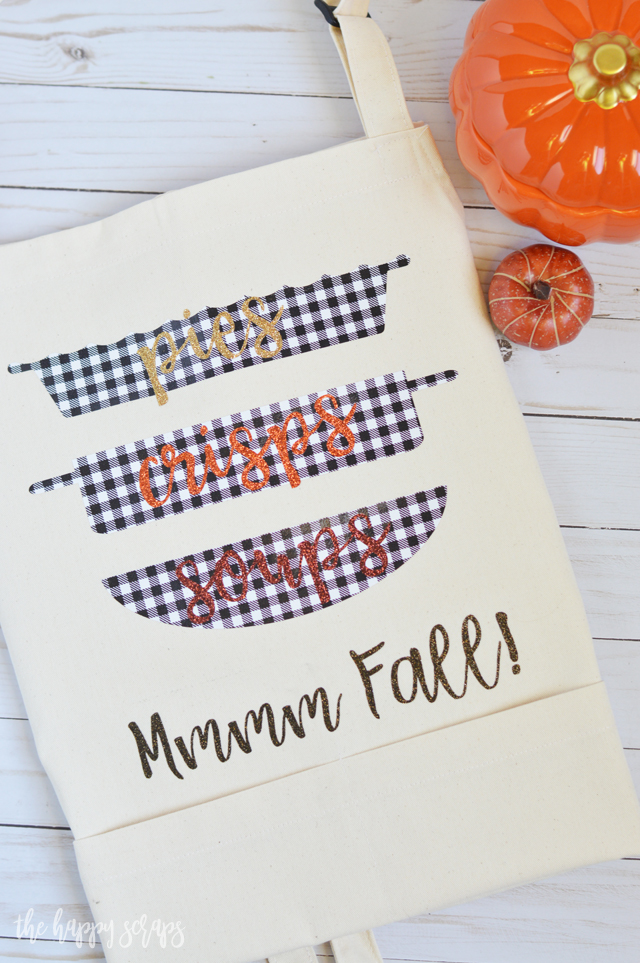
I’m so excited with how this fun DIY Fall Apron turned out! I can’t say I needed another apron, because I already have quite a few, but I love wearing them when I’m cooking or baking! I also love me a good pie, crisp, or soup!
It might be a little bit hard to tell in the pictures, but the buffalo plaid HTV + the glitter HTV are a perfect combination!
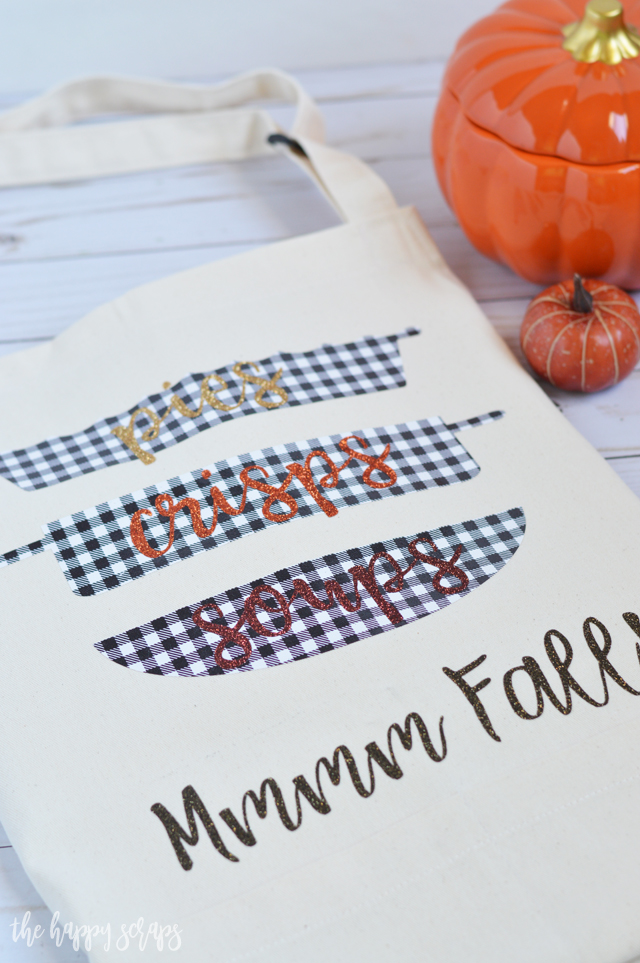
And really, glitter just makes everything better, right?!
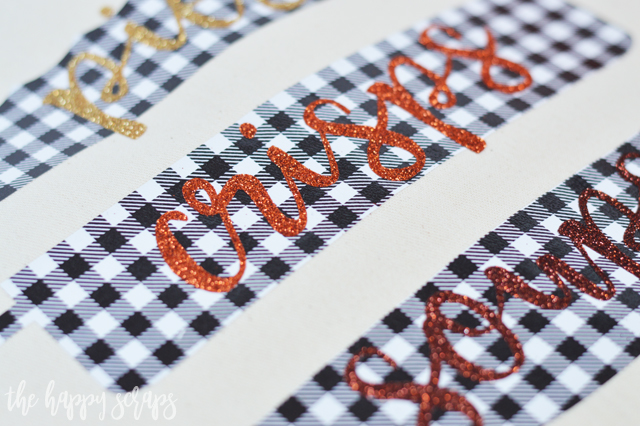
What are some of your favorite fall foods that make you want to say Mmmm, Fall?!
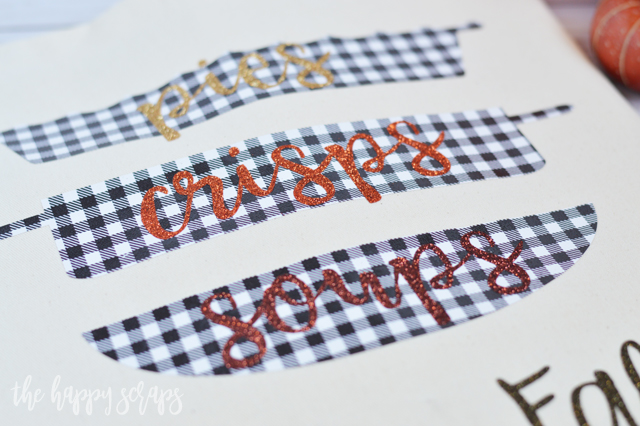
I’m pretty excited to wear my new DIY Fall Apron for cooking up some yummy dishes this fall!

If you enjoyed this DIY Fall Apron post, you will want to check out my other fun projects using iron on! See the gallery here!

Leave a Reply