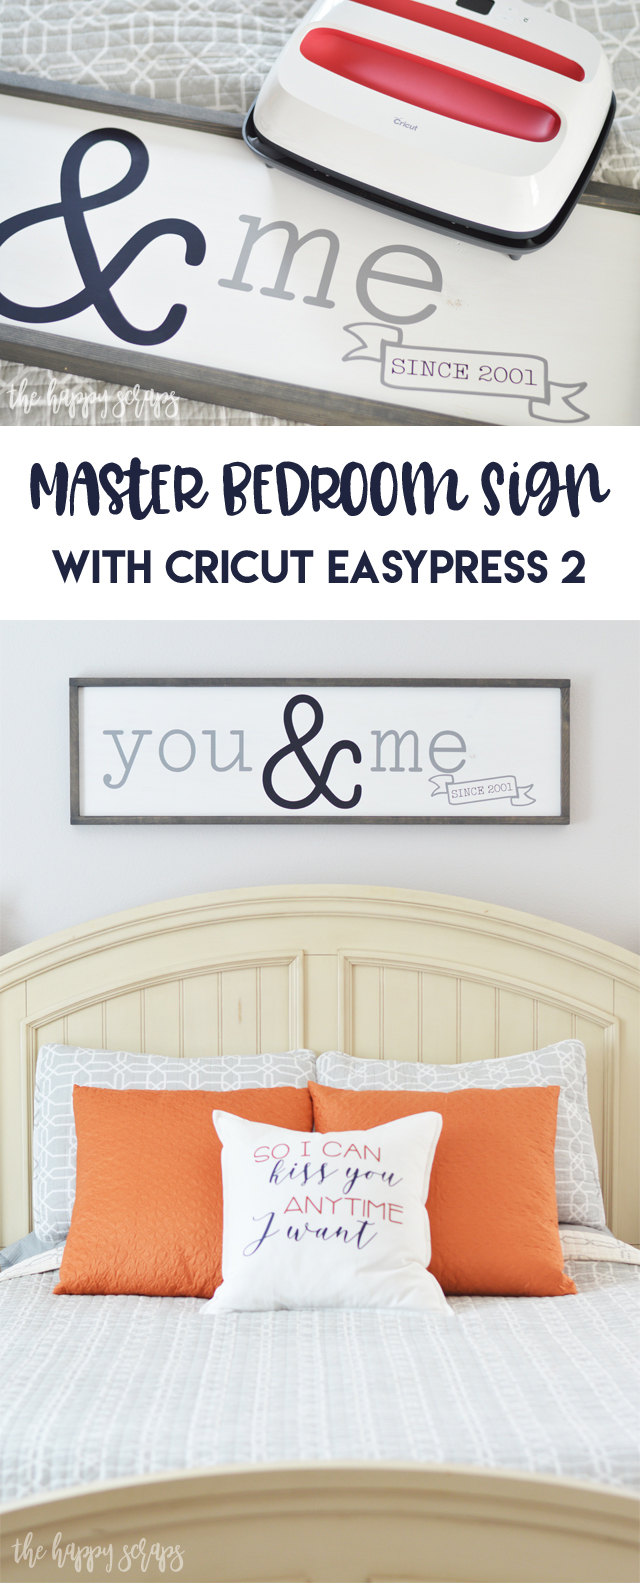
Ever since we got a new bed, I’ve been wanting to create a new sign to hang above it. Our new bed is taller than what we had before so the decor I had on the wall had to change. I’ve been wanting to try using iron-on vinyl on wood and decided that this was the perfect project for that. I did have a couple of snags along the way, and I’ll share those with you so you hopefully don’t have the same snags. Anyway, I’m so excited with out this Master Bedroom Sign with Cricut EasyPress 2 turned out!
This Master Bedroom Sign with Cricut EasyPress 2 post contains affiliate links. If you click on an affiliate link and purchase something, you won’t pay anything extra, but it will help support this blog. I received product and compensation from Cricut for this post.
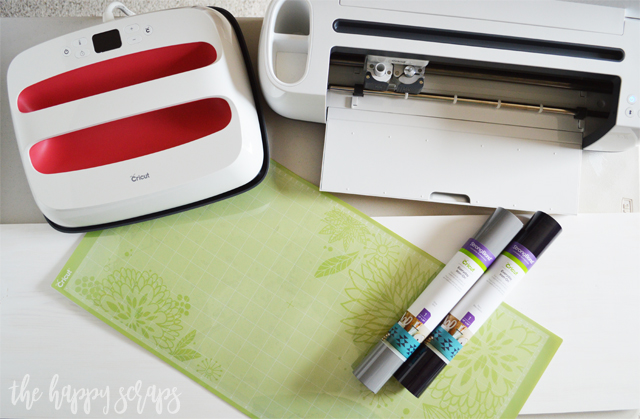
Master Bedroom Sign with Cricut EasyPress 2 Supplies:
- Cricut Maker
- Cricut EasyPress 2 (12 x 10)
- 12 x 24 StandardGrip Cutting Mat
- Everyday Iron-on in Gray & Navy
- Weeding Tool Set
- Boards for Sign and Frame
- Design Space Cut File
I got my supplies all pulled together and was ready to go with this fun Master Bedroom Sign with Cricut EasyPress 2. I was excited to be trying the StrongBond Everyday Iron-on, but when I started reading about it, I was surprised about some of the things that I learned. Cricut now has a StrongBond Guarantee with many of their iron-on materials. When the iron-on is used as directed, you’ll be satisfied or Cricut will replace it for free. Watch for Cricut StrongBond in stores and online! Also, Everyday, SportFlex and Glitter Iron-on are made to last more that 50+ washes! That’s amazing!
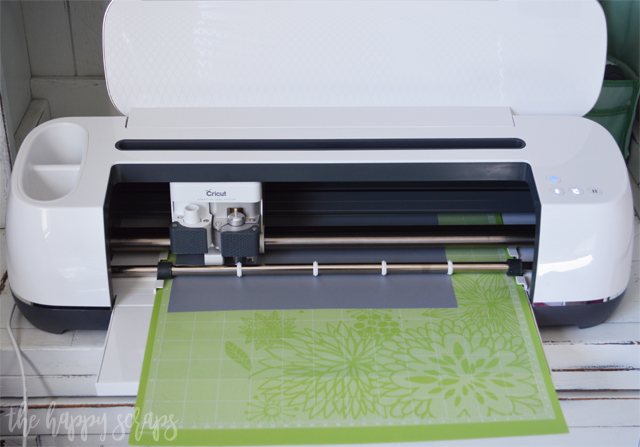
I opened up Cricut Design Space and started designing what I wanted on my sign. It took me a little while to pick out the font that I wanted. There are so many different fonts to choose from as part of Cricut Access! I love it! I finally settled on Typewriter Standard Regular. I think it was the perfect font for this design. While creating the design, I placed a rectangle to help me visualize the size of my sign. I also spaced my letters for visualization. Once I knew what I wanted to cut, I hid the layer with the rectangle, and I deleted the extra spaces between my letters. I clicked on “Make It” to send it to the machine. Once I was seeing my mats on the screen, I clicked the slider by “mirror”. I clicked continue, selected my machine, and then selected the material that I was cutting. Then I started cutting!

The fine point blade works great for cutting Everyday Iron-on with the Cricut Maker.
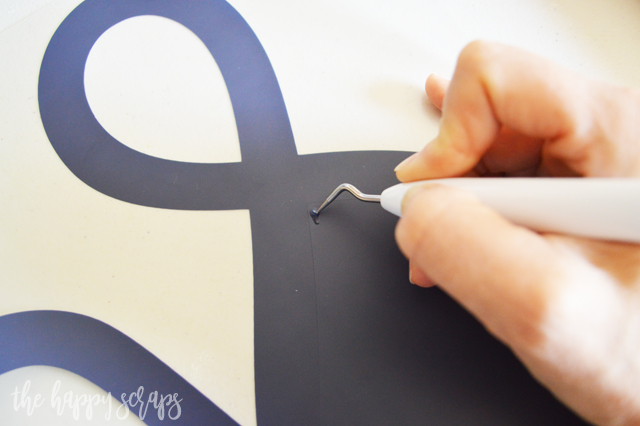
Once I had all my iron-on cut, I weeded the designs.
Assembling the Sign
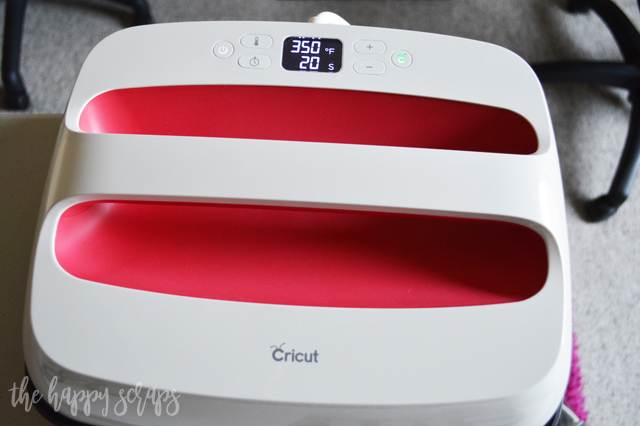
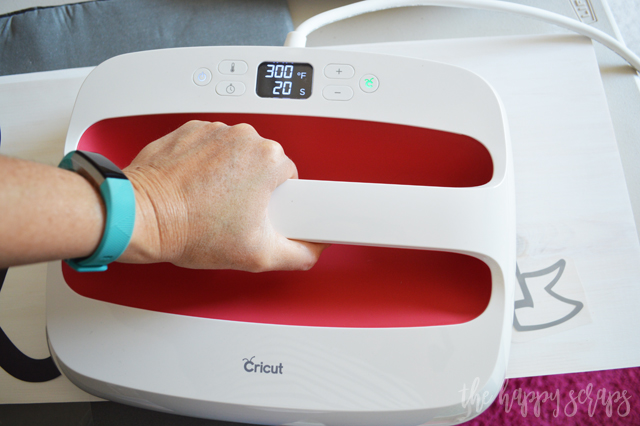
I got the Cricut EasyPress 2 turned on and set the temperature and timer settings. The EasyPress 2 heats up so fast! One of the snags I ran into was that the recommended heat settings didn’t seem to be working for me on this project. My first try with this sign, I had the iron-on melt and slide around on the board. I sanded it down and started over. I did a little research and decided to try a higher temperature with less time (than I had tried at first) and it worked much better for me! However, if you are using iron-on with wood, painted or otherwise) I would test a small piece on a scrap of wood to see what settings will work best for you. That is what I did. I set my EasyPress to 350 degrees and 20 seconds. The EasyPress 2 does go up to 400 degrees when needed.
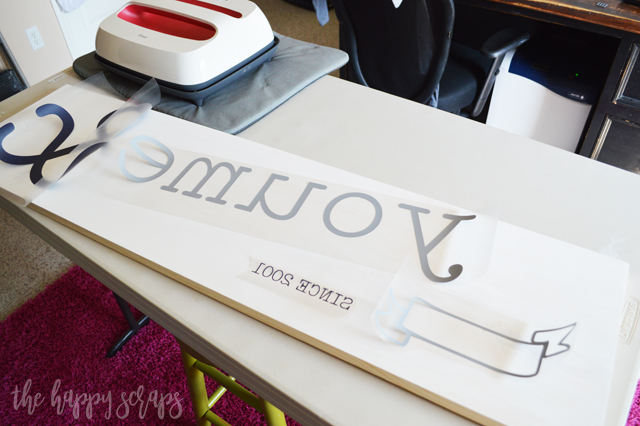
I placed the iron-on on the board where I knew I wanted it, and made sure it was lined up level.
The first time I tried applying heat to my board, I had my designs slide around. My second try I decided to use some painters tape to keep it in place. I would highly recommend this! I made a world of difference.

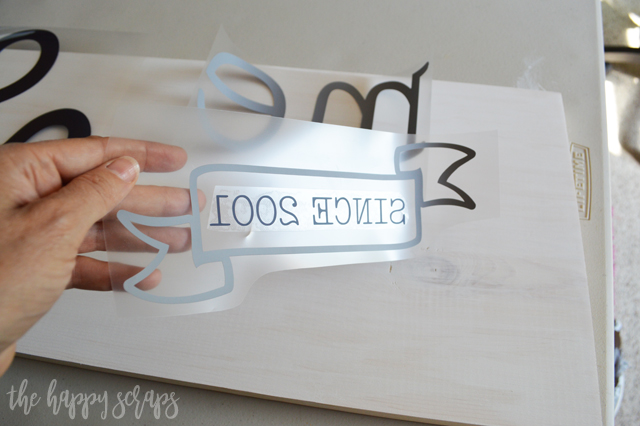
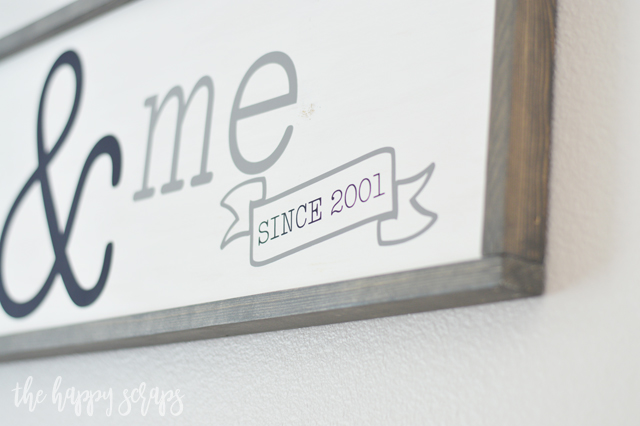
When I placed the little banner with the text in it, I put them together. Normally I wouldn’t recommend putting two layers together, but because I didn’t want to over heat the iron-on, I placed the layers together.
Once I had all the vinyl in place, I applied heat. I also used a piece of parchment paper between the EasyPress 2 and the carrier sheet. I’m not sure it is necessary though. I love the new EasyPress 2 in Raspberry and love that there are three different sizes (6 x 7, 9 x 9, and 12 x 10)! With the ceramic-coated, evenly heated plate, the EasyPress 2 makes it easy to create large and small projects in no time at all! With the large display, you always know what your temperature is and what the timer is set for as well. One of the changes with the EasyPress 2 over the original EasyPress is that it keeps your heat settings from the previous use, as well as having a USB port for firmware updates.
Immediately after I applied heat, I returned the EasyPress 2 to it’s insulated safety base that keeps surfaces protected. I used my scraper to put a little more pressure onto the design, until it started cooling off.

Once the iron-on had cooled, I carefully peeled the carrier sheet up.
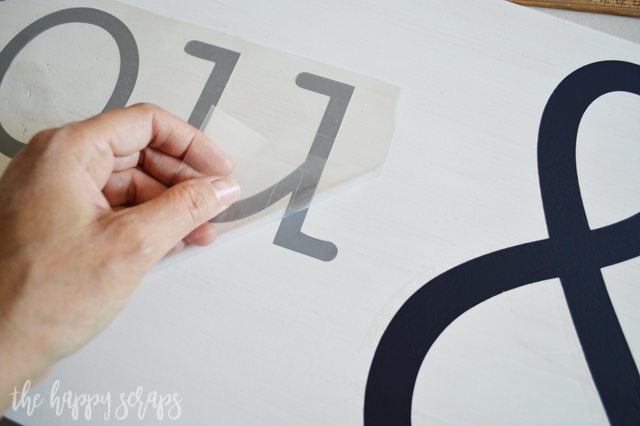
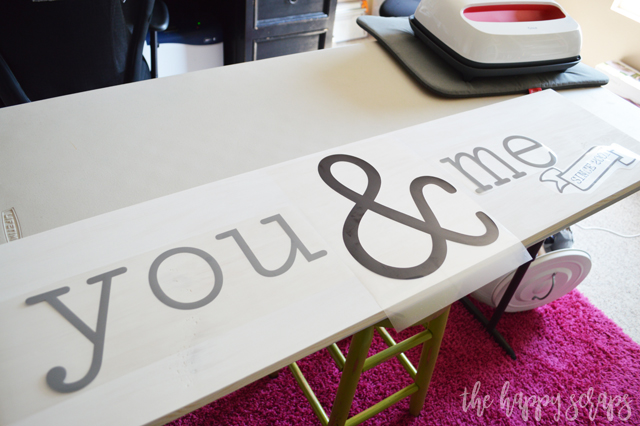
After I removed all of the carrier sheets, I added my frame and I was ready to hang this pretty sign up on the wall.
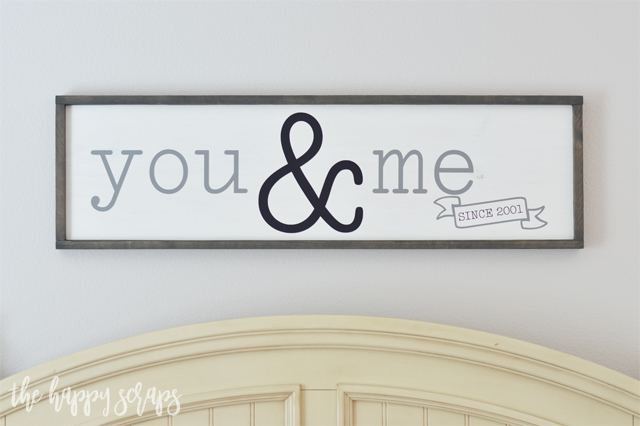
I adore the way it came together. I thought the “Since 2001” was a fun addition to it as well.
I wanted to make it large enough to take up the space above our bed and I think it does just that!

The ampersand is the same color of navy as the navy on my throw pillow. I love that they match!

Every master bedroom needs a statement piece in their bedroom, right? I think this Master Bedroom Sign with Cricut EasyPress 2 is perfect for it too!

You might be wondering why I would use iron-on rather than adhesive vinyl. I like that the iron-on is matte and it adheres really well because it is applied with heat.

I would love to hear what kind of sign you’d make to have in your master bedroom. If you have one, share with me what it says, and if you don’t have one, why not grab the supplies and create this Master Bedroom Sign with Cricut EasyPress 2 for your bedroom! If you’re looking for more fun ways to use the EasyPress 2, check out my gallery here.
This is a sponsored conversation written by me on behalf of Cricut. The opinions and text are all mine.

Leave a Reply