This DIY Christmas Village with the Cricut Maker post is a sponsored conversation written by me on behalf of Cricut. The opinions and text are all mine.
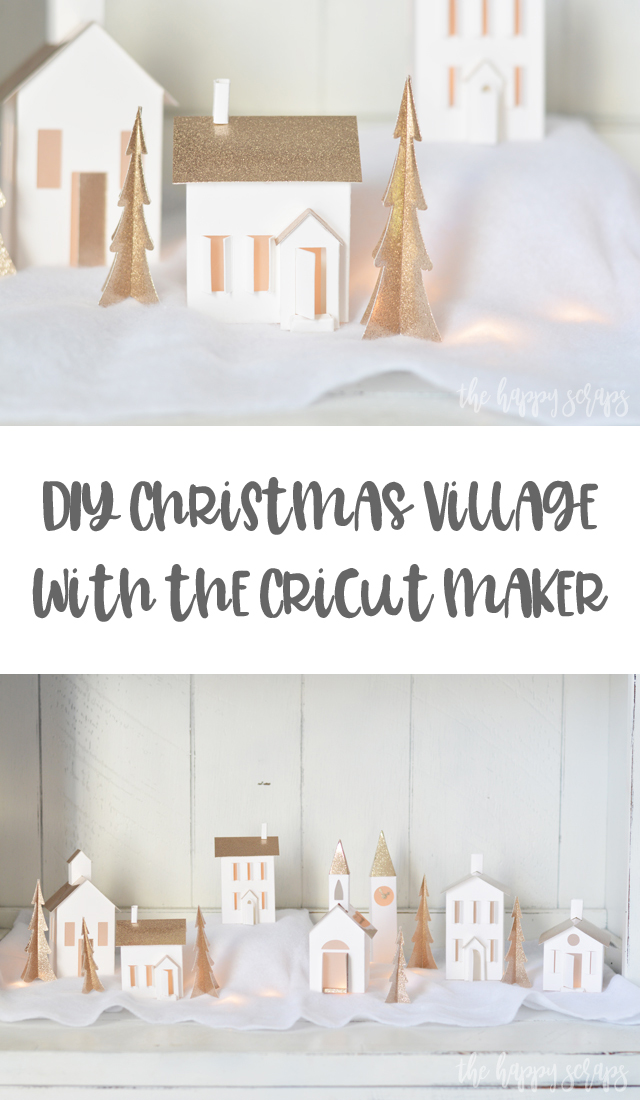
You guys! I’m so excited to share this DIY Christmas Village with the Cricut Maker with you today! I love mini things, and I’ve always loved Christmas Villages, but I’ve never wanted to pay for one! They can get expensive! Well, I’m excited to share this one with you because it is inexpensive and fun to make. This makes for such a fun DIY Holiday Decoration too!
This DIY Christmas Village with the Cricut Maker post contains affiliate links. If you click on an affiliate link and purchase something, you won’t pay anything extra, but it will help support this blog. All ideas and opinions are my own.
DIY Christmas Village with the Cricut Maker Supplies:
- Cricut Maker (with standard fine-point blade)
- Cricut Maker Scoring Wheels
- StandardGrip and/or LightGrip Cutting Mat
- Cricut Sparkle Paper (Rose Gold)
- Cricut Kraft Board
- Vellum
- Cricut Scoring Stylus
- Cricut Cutting Ruler
- Cricut Decorative Self-Healing Mat
- Scissors
- Hot Glue Gun
- Adhesive
- Design Space Cut File

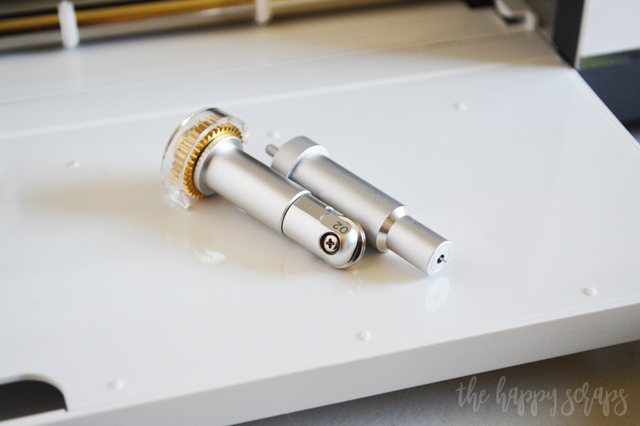
One of the great things about the Cricut Maker (besides the ability to cut so many different fabrics) is the adaptive tool system! I’ve enjoyed using the Knife Blade, Rotary Blade and now the Scoring Wheel. I love that I can get such great score lines with the Scoring Wheels on the Cricut Maker. Because it has up to 4 kg of force, the score lines are perfect every time! I also love that I can cut anything on the Cricut Maker that I can cut with the Cricut Explore Air 2 plus more. There are several ready to make sewing projects available with this amazing machine too! For this project, I used both the Fine-Point Blade and the Scoring Wheels.
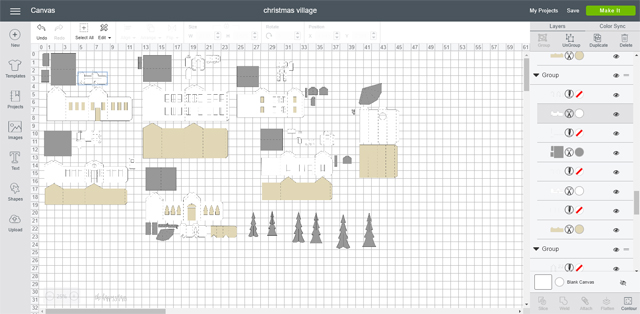
In Design Space I found the different files that I wanted to cut and got them all placed on the mat. Then I changed the colors of all of them to the colors that I wanted to cut. Lucky for you, you can find the file with all the designs already sized and ready to be cut! Get it here.
Once I had all the DIY Christmas Village with the Cricut Maker designs ready to cut, I sent it to be cut. Cricut Design Space told me to load the Scoring Wheel first.
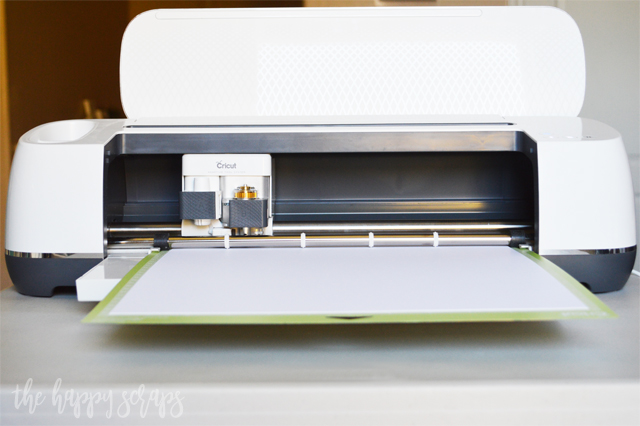
Once the scoring was finished, I inserted the Fine-Point Blade and it cut the Kraft Board.

Next, I scored then cut the Sparkle Paper. I used the Rose Gold color and it is perfect for this project.
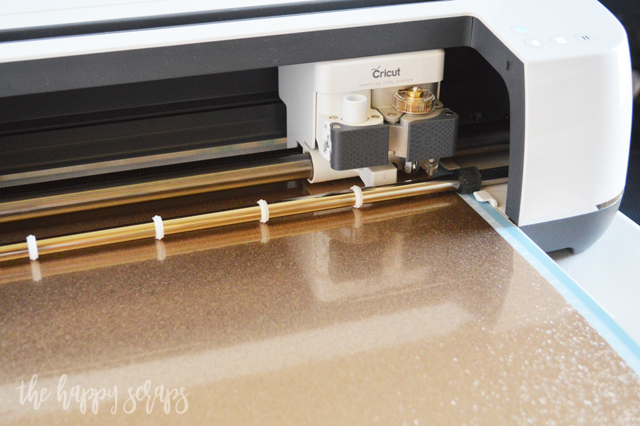
After I had everything cut out, I sorted it into different piles of the different buildings. To do this, I did look at Design Space to be sure I had all the pieces in the right place.
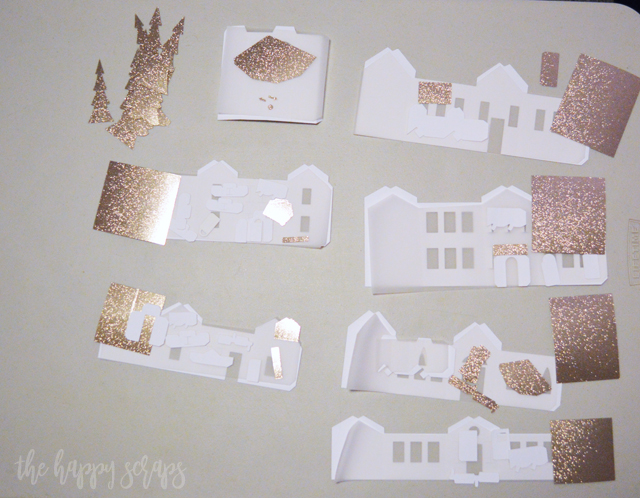
Assembling the Buildings
To assemble the DIY Christmas Village with the Cricut Maker, I made sure I had all of the pieces for each one.
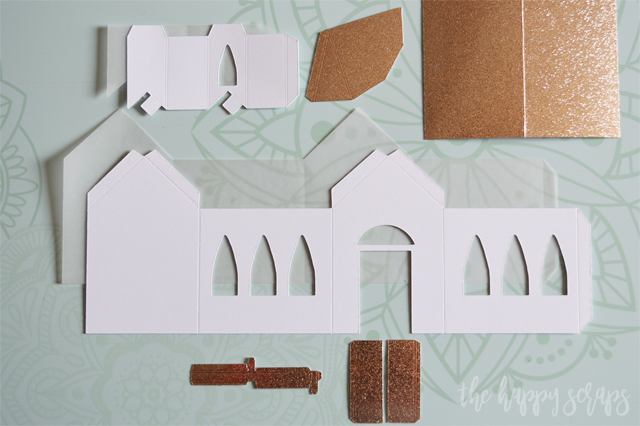
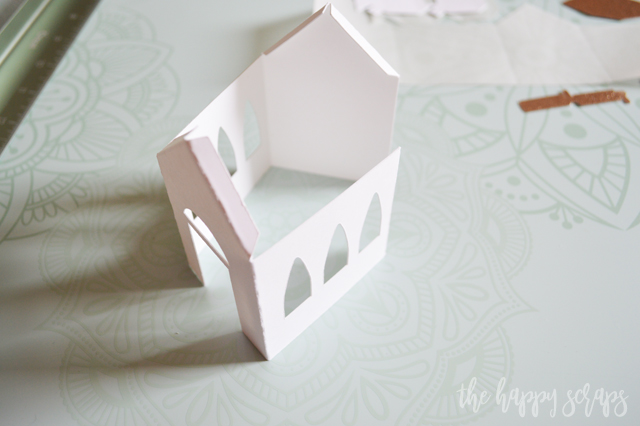
I used the Cutting Ruler and Scoring Stylus to create score marks on the reverse side of the buildings. Because I used Kraft Board for this, when I tried to fold on some of the score lines, it didn’t want to fold great, so I added score lines on the back and it worked perfectly! Once it was scored, I folded and then used a bone folder to help get the crease. I lined up the bottom of each building while folding to make sure that they would sit level when assembled.
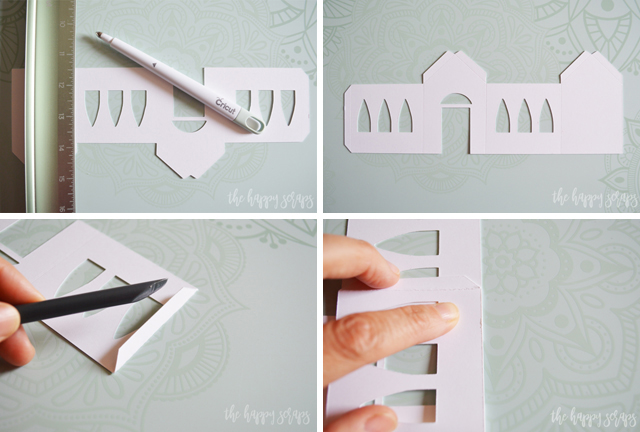
Once I had the score lines all folded, this is what I had.
So I folded the vellum on the score lines. Note: When you place the vellum over the Kraft Board with them flat, the vellum is smaller. This is because it takes out the folds of the shell of the building. Because of this, you have to fold the Kraft Board as you are adhering the vellum to the Kraft Board. I placed adhesive on one side at a time, and stuck it down, then folded the corner and did the next side. I love the look that the vellum gives to the windows!
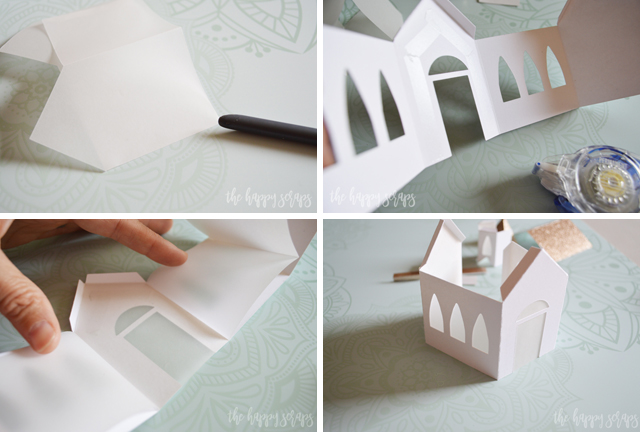
Once the vellum was in, you’re ready to use the hot glue gun to finish the base of the building. Once the building is standing, you can add the doors/porch/step, etc. They are fun added touches and are simple to add.
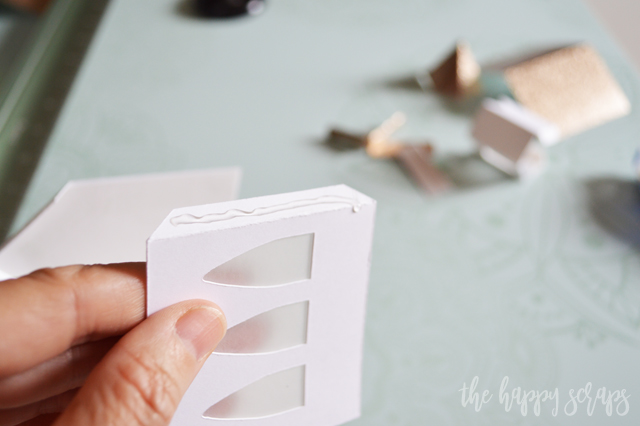
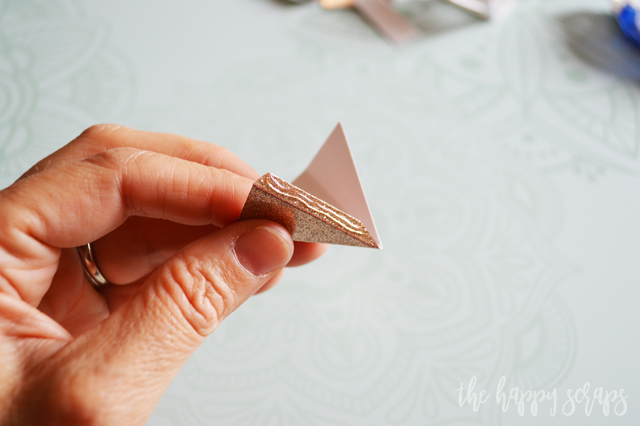
For the steeple of the chapel and the top of the clock tower, with my scissors I trimmed the top corner to help it round into itself just a little better.
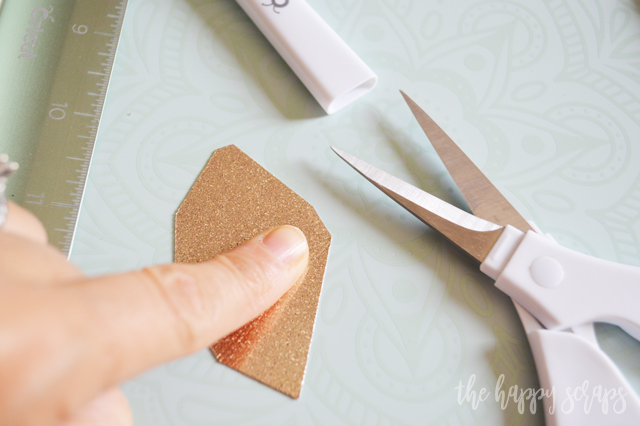
I folded this on the score lines, then used the hot glue to secure it to itself. Then I added it to the top of the steeple.
To add the roof, I put glue on both ends of one side and secured it. Then I lifted the other side and glued that side down.
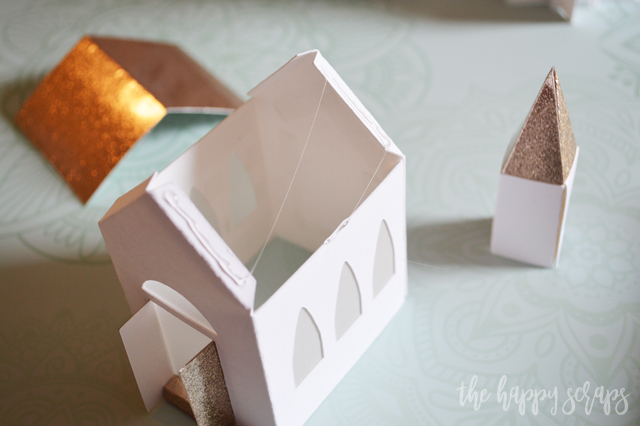
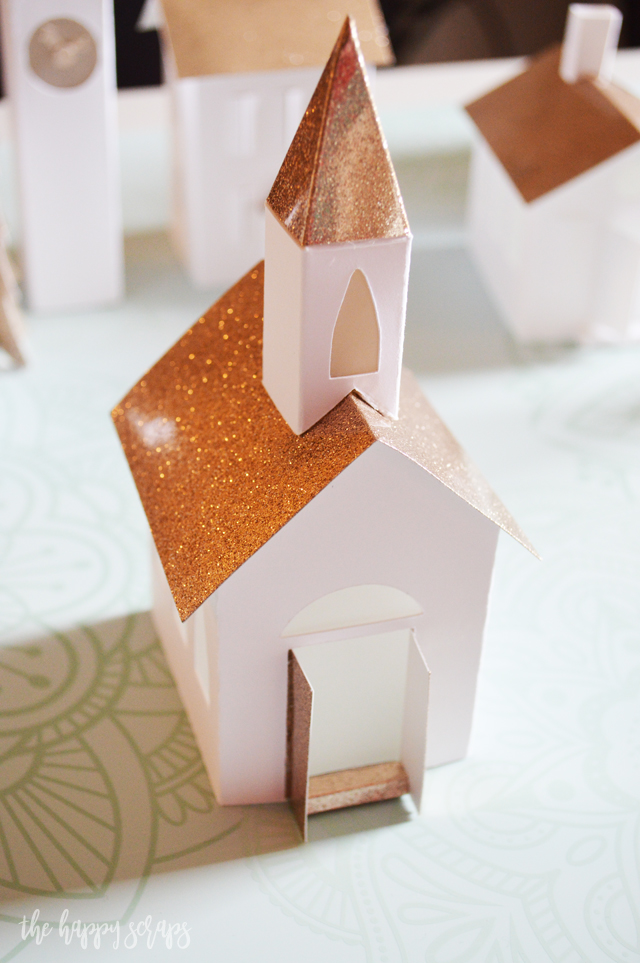
When all the roofs were on, I added the steeple/chimneys/etc. where they needed to be.
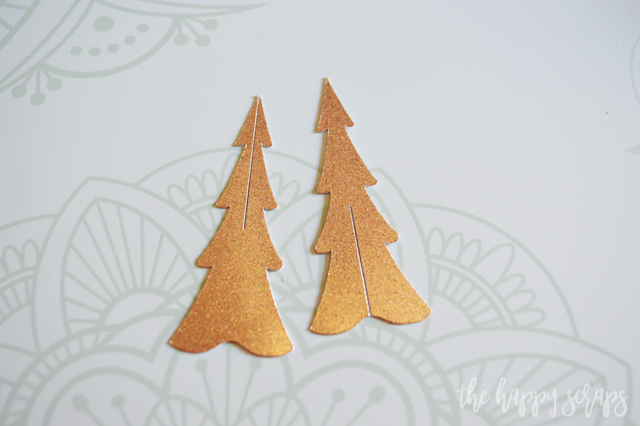
The trees are simple to slide together. Just make sure the sizes match and you have slits that are opposite.

When I got to this point, I was SO excited! I had all of my cute little DIY Christmas Village with the Cricut Maker pieces put together!
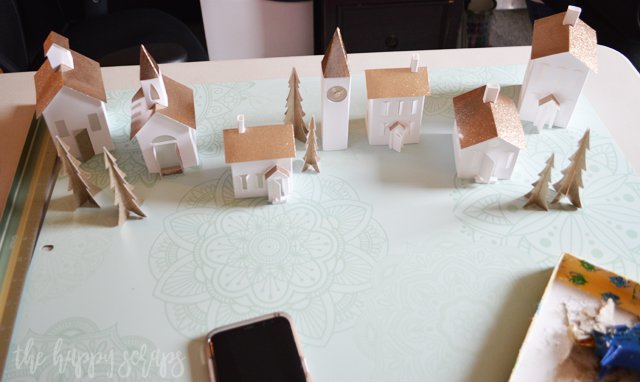
I knew when I set this up that I wanted to use lights under them. That is why I used vellum on the inside. I found a short strand of lights and some cotton like snow and set it up.
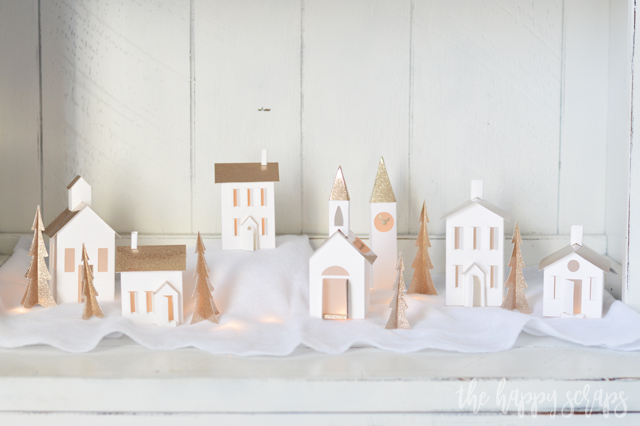
Look how fun this is with the light coming from inside of it?!

When I have it set up in my home, I’m going to have it on the piano. One of the things I love about this DIY Christmas Village with the Cricut Maker is that it is made from Kraft Board so it is durable but it is also kid friendly. If my two year old gets a hold of a piece, and something happens to it, I can either fix it, or make a new one very easily!
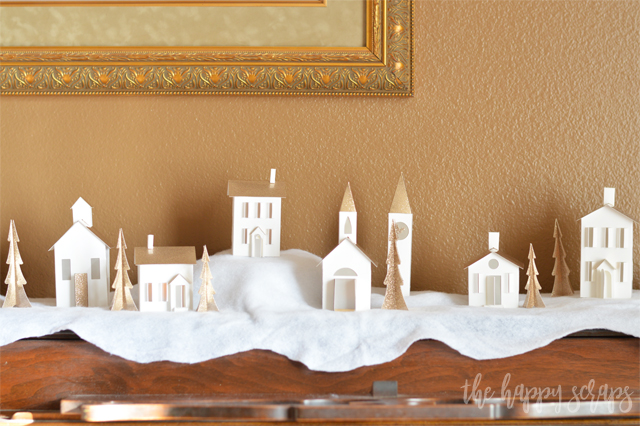
Plus I really love that it is all white with the rose gold sparkle paper! I don’t think that is something that you’d generally find to purchase!
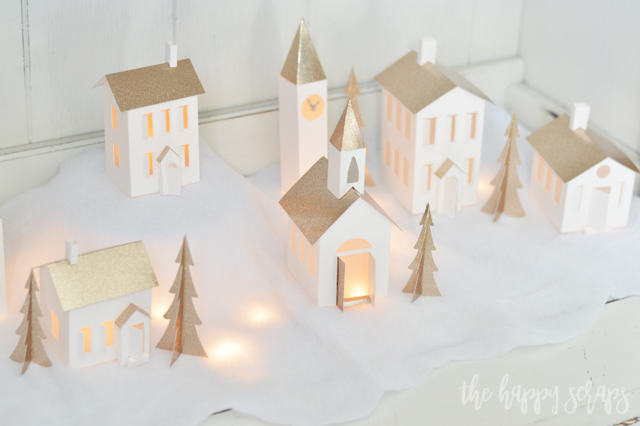
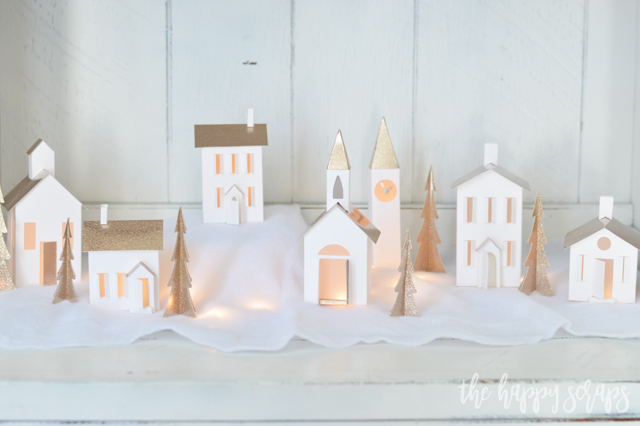
Isn’t it all just so fun?! I’m seriously dying over the cuteness of it! What is it about mini things like this DIY Christmas Village with the Cricut Maker that are so cute?
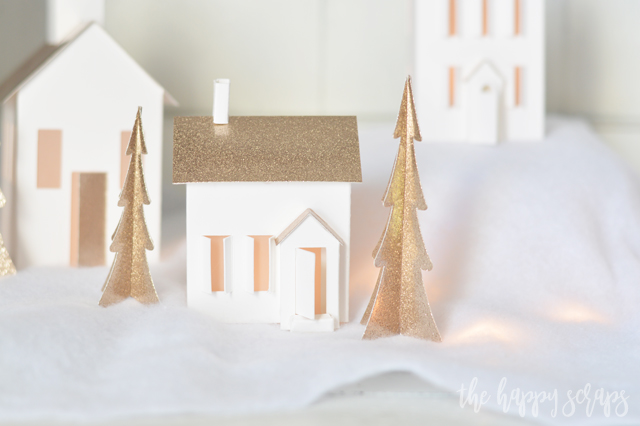
After working on this DIY Christmas Village with the Cricut Maker project, it has made me get excited about coming up with more DIY Holiday Decorations for Christmas and getting all the decorations out! I will wait a few more weeks though. I just can’t skip over Thanksgiving!
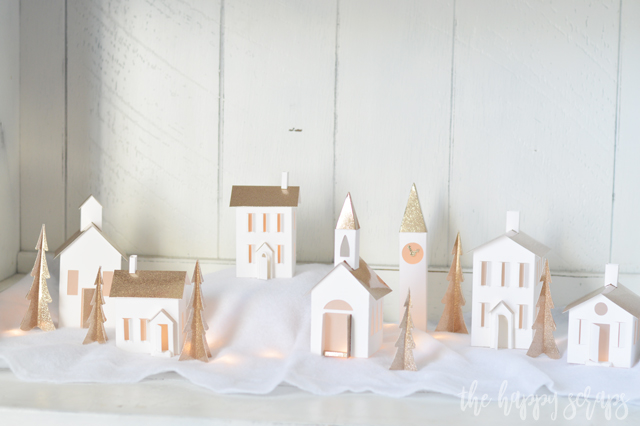
Do you have the perfect place in your home to put this fun DIY Christmas Village with the Cricut Maker? I’d love to hear where you plan to put one! If you’re looking for more fun projects to make with the Cricut Maker, then check out my gallery here.
This is a sponsored conversation written by me on behalf of Cricut. The opinions and text are all mine.

Leave a Reply