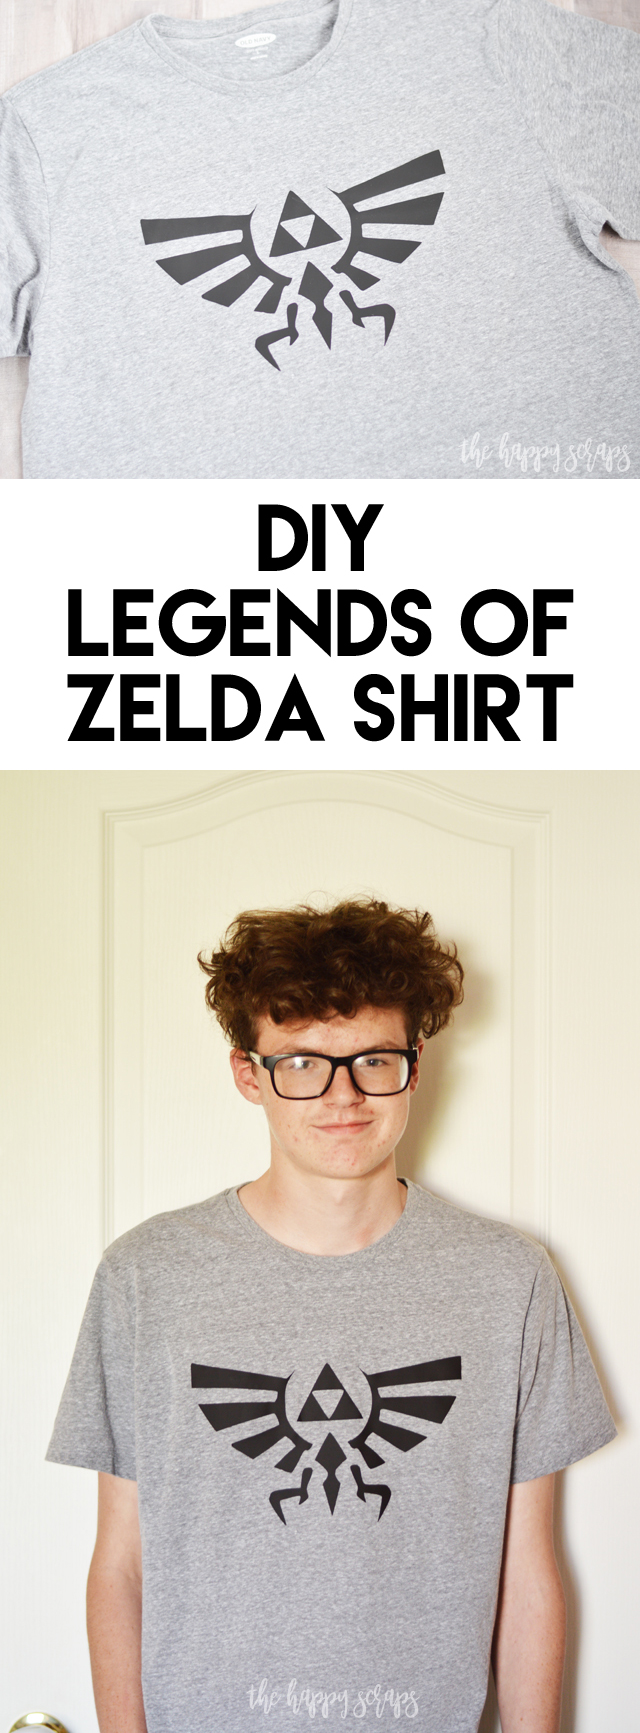
Last weekend, we headed out of town and were gone until Tuesday evening. We went to the family cabin and went deer hunting. It was so much fun! Four of us had deer tags and three of the four that had tags, were able to get a deer. We eat the deer meat, so it’s nice to get the deer and fill up the freezer! One of my favorite things about the whole extended weekend was that we were spending time together as a family. My phone didn’t work, which I loved, and we didn’t have other electronics there to distract us either. My boys played outside in the dirt, my sister in law had their hound dogs there and my boys LOVED playing with those. I spent lots of time hiking up the mountains and enjoying the beauty around me. If I could, I would go and enjoy time away like that every weekend (even if it is a lot of work to go and after we come home!). Did you have a good weekend this last weekend? Do you have any fun plans for this weekend? We don’t have any plans for this weekend yet, but I’m sure we’ll fill it up! That seems to be how weekends go at our house. I’m sure my oldest would love to spend time this weekend playing video games, but I don’t think he’ll be doing that either. We usually don’t play on the weekends. He’ll just have to wear his new DIY Legends of Zelda Shirt instead! I was going to make this shirt for him a couple of months ago for his birthday, and I just didn’t get it done. I finally sat down a couple of weeks ago, and got it done. I’m not sure why I waited so long, since it didn’t take me that long to make it!
This DIY Legends of Zelda Shirt post contains affiliate links. If you click on an affiliate link and purchase something, you won’t pay anything extra, but it will help support this blog. All ideas and opinions are my own.
DIY Legends of Zelda Shirt Supplies:
- Blank T-shirt (Hobby Lobby has inexpensive ones)
- Iron-on Vinyl
- Cricut Maker
- Cricut EasyPress 2 (12×10)
- Cricut EasyPress Mat (large)
- Weeding Tool Kit

For this project, I wanted to try the StrongBond Everyday Iron-on from Cricut. There have been times that I haven’t had great luck with iron-on material sticking great (multiple brands) after washing several times. So far, I am super impressed with the way it adhered and is sticking to the shirt! If it is anything like the StrongBond Patterned Iron-on, then I think it will hold up great. I haven’t had any issues with my uploaded my own image into Cricut Design Space peeling.
I uploaded my own image into Cricut Design Space and I cut the design with the Cricut Maker. Once I had it cut, I used the weeding tool kit to weed it.
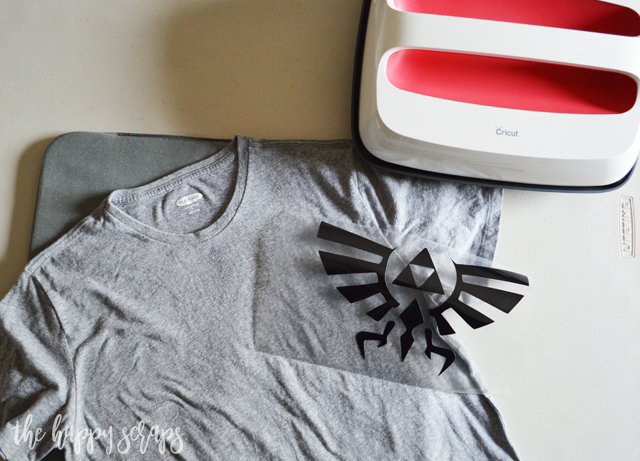
I placed my EasyPress Mat down on my table, then placed my shirt on top of that. Then I measured to make sure that I had the design centered on the shirt front.

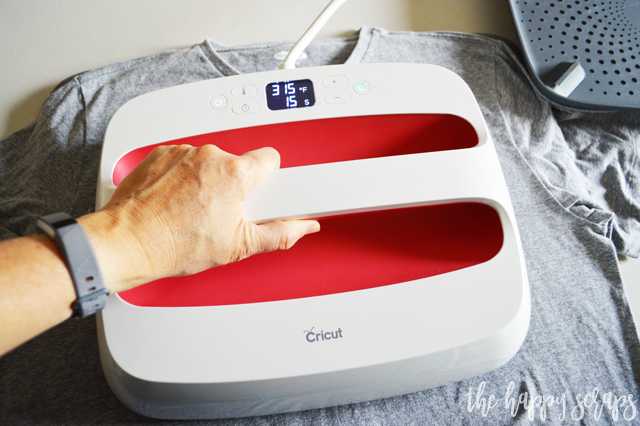
Once I had the design in the right place + the EasyPress preheated, I pressed it. I love this size of EasyPress for larger shirts or pillow designs!
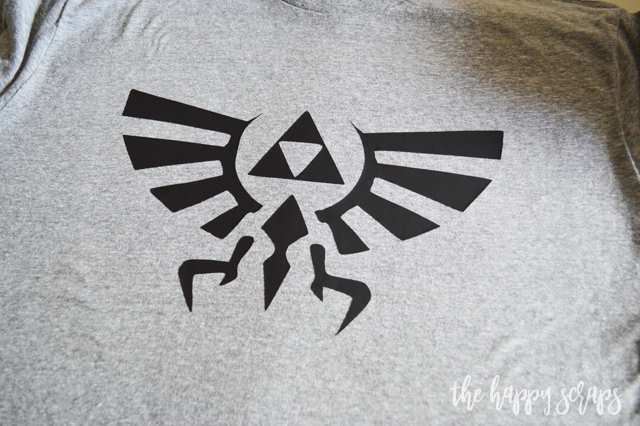
When it was pressed, I peeled up the carrier sheet, and it was done!
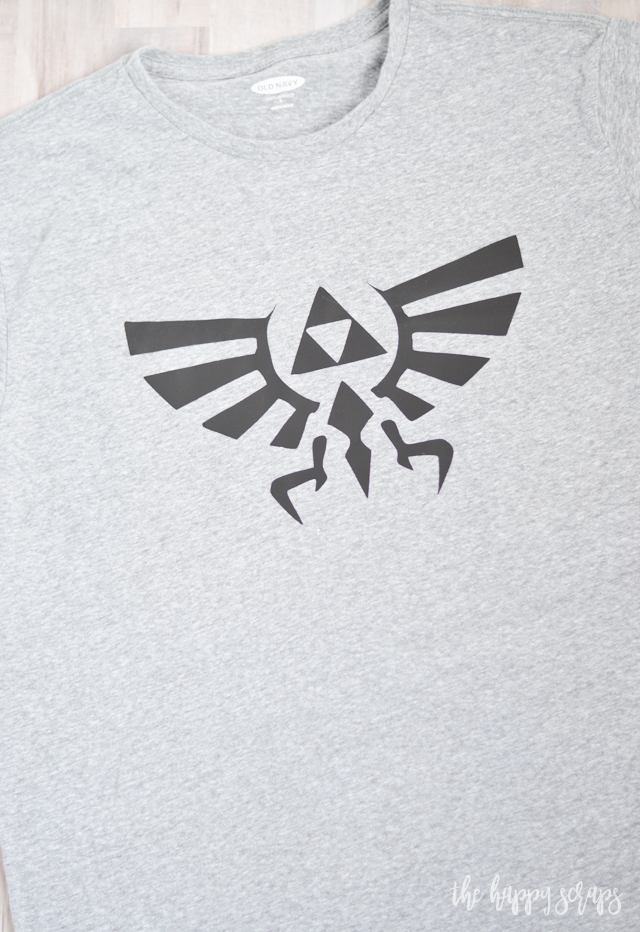
My son is so excited about his new DIY Legends of Zelda Shirt and I’m excited about how easy it was to do!
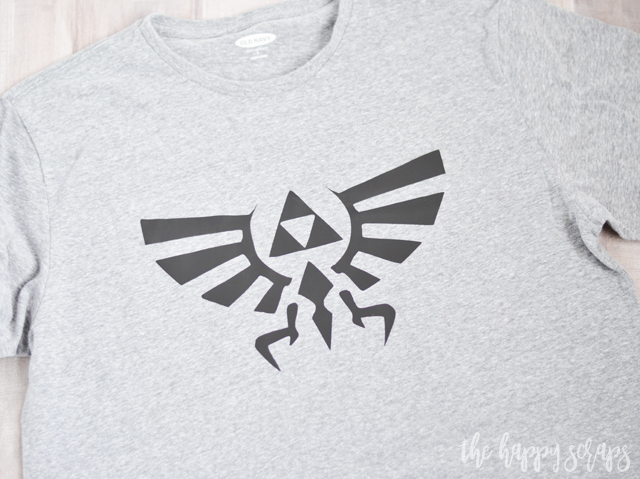
This was such a quick project, I probably had it done in 15 minutes or less.
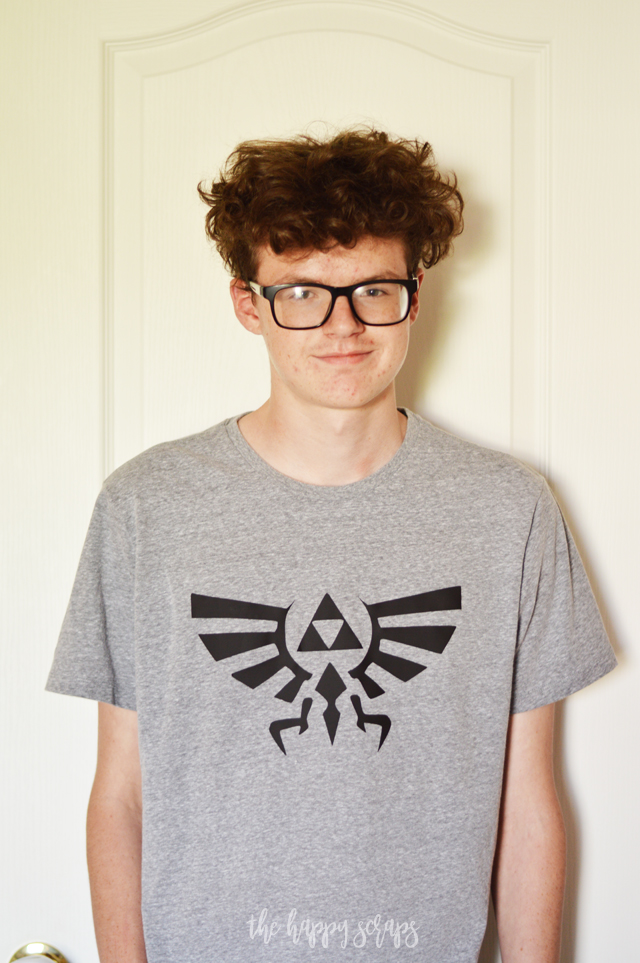
While he might not be smiling in this picture, I promise that he loves this DIY Legends of Zelda Shirt. I had the shirt done for a few days, but hadn’t gotten pictures taken of it yet, and he asked me a couple of times about him wearing it. 🙂 I’d say that’s a success!
If you made a DIY shirt for one of your kids, what would be on it? Check out my other fun iron-on shirt designs.

Leave a Reply