• Contact
  • Etsy Shop
  • About Me
  • Home

The Happy Scraps

a creative blog

  • DIY Projects
  • Cricut
  • Holidays
    • New Year’s
    • Valentine’s Day
    • St. Patrick’s Day
    • Easter
    • Mother’s Day
    • Father’s Day
    • Independence Day
    • Halloween
    • Thanksgiving
    • Christmas
  • Paper Crafts
    • Banners
    • Cards
    • Mini Albums
    • Printables
    • Scrapbook Layouts
    • Wreaths
  • Sewing
  • Recipes

Dungeons & Dragons Dice Bag

November 6, 2018 By Amy | The Happy Scraps Leave a Comment

9 shares
  • Share
  • Tweet

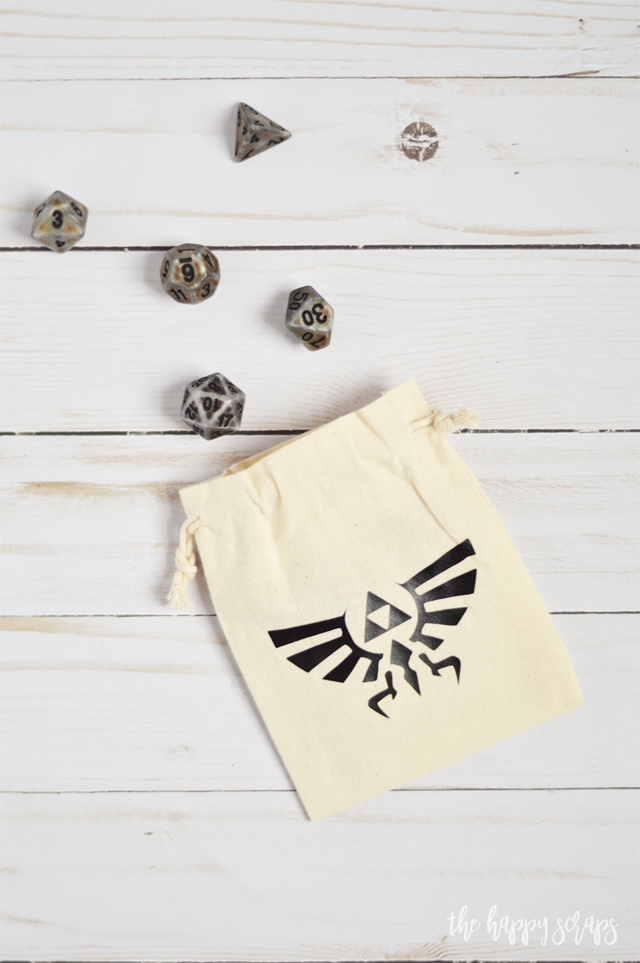
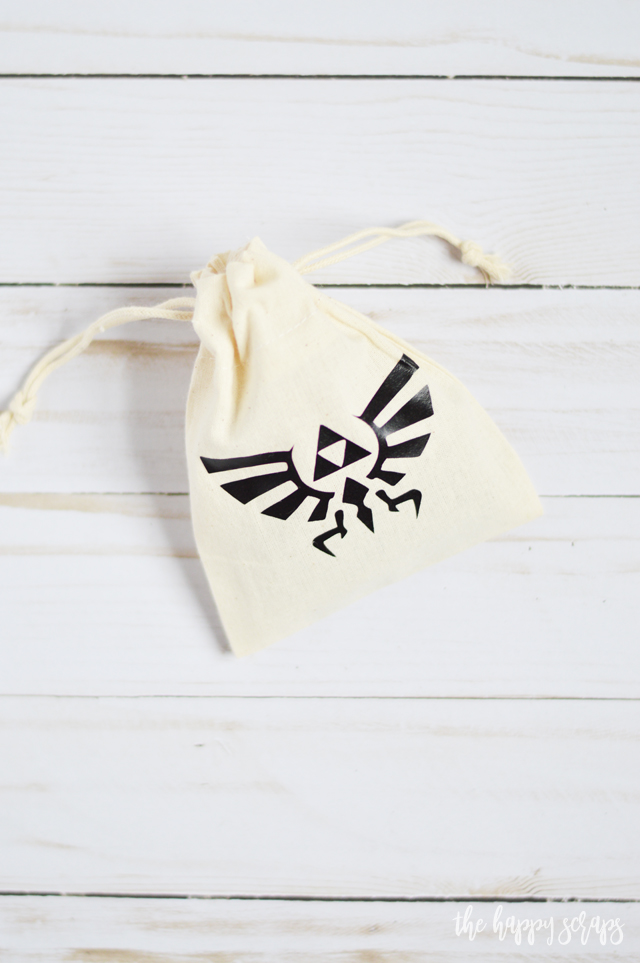
Remember a couple of weeks ago when I shared the Zelda shirt that I made for my Zelda loving teen? Well, I didn’t stop there. He loves to play Dungeons & Dragons and he has dice for this, so I made him this little Dungeons & Dragons Dice Bag. It would be an understatement to say that he liked it! He was pretty excited when I gave this to him!

This Dungeons & Dragons Dice Bag is super simple and fast to make! Get all the details in the post. It would make a great gift as well!

This Dungeons & Dragons Dice Bag post contains affiliate links. If you click on an affiliate link and purchase something, you won’t pay anything extra, but it will help support this blog. All ideas and opinions are my own.

Dungeons & Dragons Dice Bag Supplies:

  • Small Drawstring Bag
  • Easyweed Heat Transfer Vinyl – Black (for this project, I used a scrap)
  • Cricut Maker
  • Weeding Tool Kit
  • Cricut EasyPress (the mini 6×7 press would be perfect for this project)
  • Cricut EasyPress Mat

This Dungeons & Dragons Dice Bag is super simple and fast to make! Get all the details in the post. It would make a great gift as well!

Once I had my design uploaded into Cricut Design Space, I got my mat ready to cut the heat transfer vinyl. I place the vinyl, shiny side down, onto the mat. Then I sent the design from Design Space to be cut. 

This Dungeons & Dragons Dice Bag is super simple and fast to make! Get all the details in the post. It would make a great gift as well!

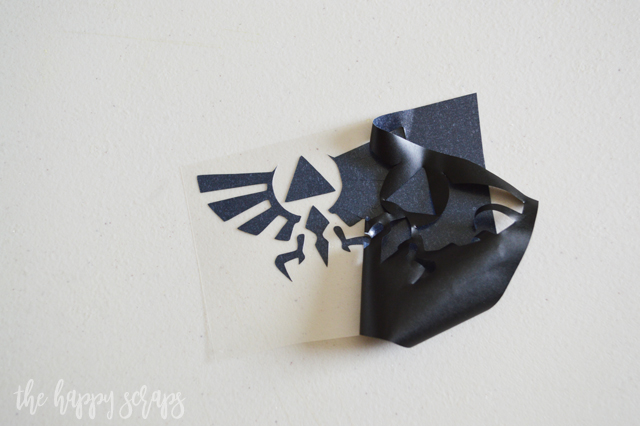
Once cut, it was ready to be weeded. 

This Dungeons & Dragons Dice Bag is super simple and fast to make! Get all the details in the post. It would make a great gift as well!

Weed your image. 

This Dungeons & Dragons Dice Bag is super simple and fast to make! Get all the details in the post. It would make a great gift as well!

This Dungeons & Dragons Dice Bag is super simple and fast to make! Get all the details in the post. It would make a great gift as well!

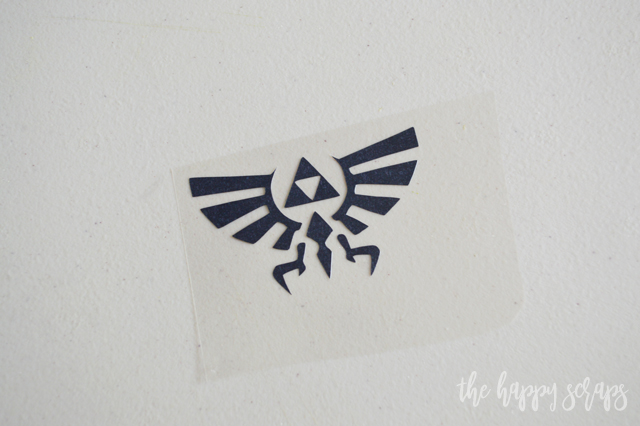
When you have it weeded, place it on the pouch where you want it. Place the pouch onto the EasyPress Mat and press it. Tip: Find the interactive EasyPress Heat Settings here. 

This Dungeons & Dragons Dice Bag is super simple and fast to make! Get all the details in the post. It would make a great gift as well!

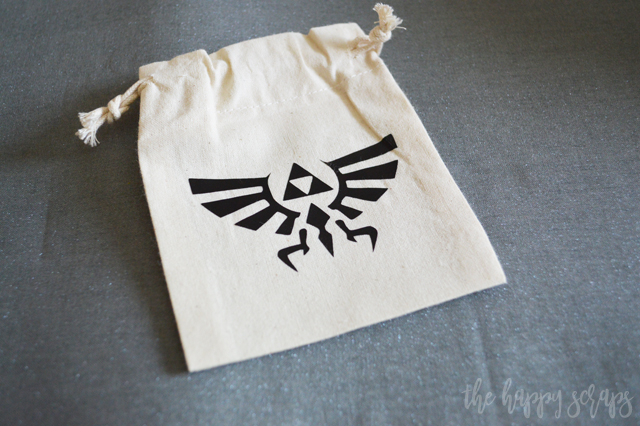
Once you have your Dungeons & Dragons Dice Bag pressed, peel the carrier sheet off, and you’re finished! Fill it up with those dice!

This Dungeons & Dragons Dice Bag is super simple and fast to make! Get all the details in the post. It would make a great gift as well!

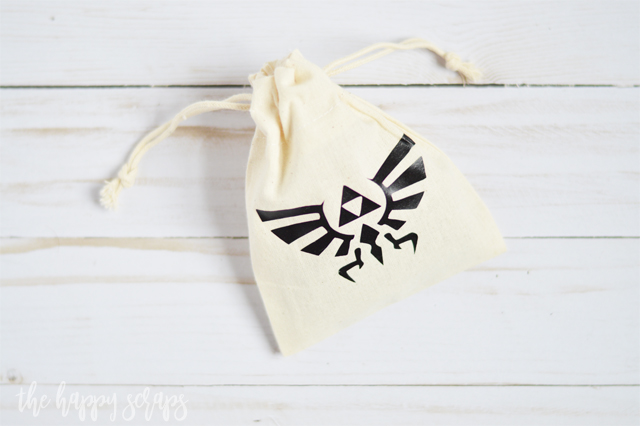
My son was so excited about me giving this to him. He had previously been using a little pouch with the logo of my husbands old company on it. He was so excited to start using this one with something on it that he likes! 

This Dungeons & Dragons Dice Bag is super simple and fast to make! Get all the details in the post. It would make a great gift as well!

Do you have someone at your house that enjoys playing Dungeons & Dragons? Why not make them a Dungeons & Dragons Dice Bag to carry their dice?! It would make a great gift for the holidays too!

This Dungeons & Dragons Dice Bag is super simple and fast to make! Get all the details in the post. It would make a great gift as well!

I love using iron-on/heat transfer vinyl for projects. They are so quick and easy to whip up! If you’re looking for more projects like this, then check out my gallery here. 

Filed Under: Cricut, DIY Projects, Gift Ideas Tagged With: cricut, Cricut EasyPress, cricut explore air 2, cricut maker, easy press, heat transfer vinyl, htv, iron on, iron on vinyl

« DIY Christmas Village with the Cricut Maker
How to Cut Heat Transfer Vinyl with the Cricut »

Leave a Reply Cancel reply

Your email address will not be published. Required fields are marked *

CommentLuv badgeShow more posts
  • Farm Sweet Farm Front Porch Sign with the Cricut Maker 3
  • Farm Fresh Eggs Kitchen Sign
  • How to Make a Summer Hat with the Cricut Joy
  • Bless Our Farmhouse Kitchen Sign
  • Welcome to the Farm Front Door Decor
  • How to Use Offset in Cricut Design Space

Popular Posts

Page Ranking Tool

Categories

Archives

The images and text on this site are copyright of The Happy Scraps. If you would like to feature a project or image on this site please email [email protected] Thank you! Please read the Privacy Policy and Disclosure here.

Copyright © 2023 · Tasteful theme by Restored 316

Copyright © 2023 · Blog Design by Key Lime Digital Designs · WordPress · Log in

9 shares