This Handmade Holiday Cards with Cricut Maker post is a sponsored conversation written by me on behalf of Cricut. The opinions and text are all mine.
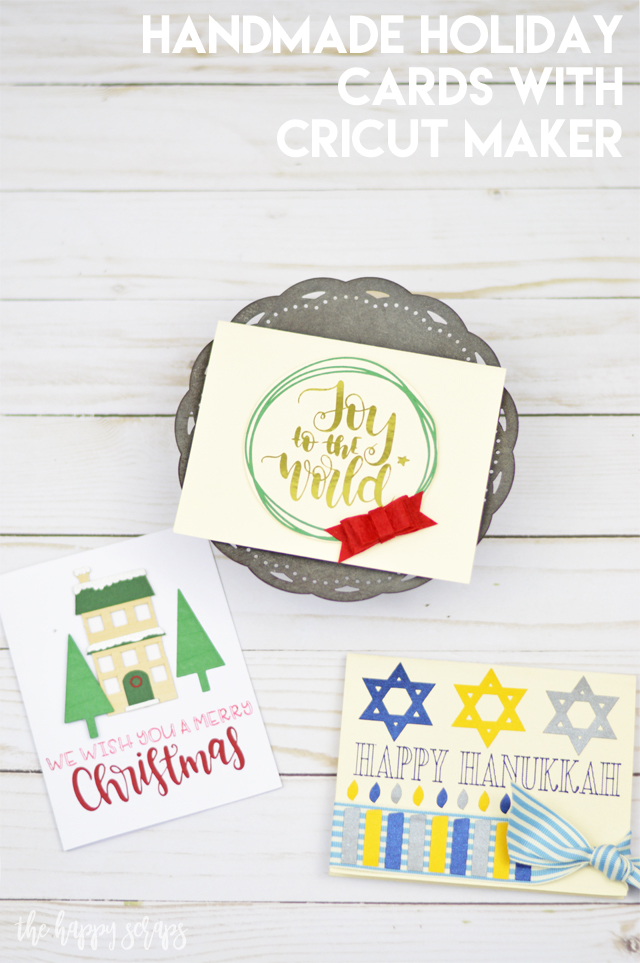
Do you enjoy making cards to share during the holiday season? It is something I always enjoy doing, but I don’t always get around to getting it done. I’m excited to share three beautiful cards with you today. One of my favorite things about the Cricut Maker is that I can use it to create anything for any holiday! You’re in for a treat today with these fun Handmade Holiday Cards with Cricut Maker! Hold tight, this post is a little lengthy because it is like three posts in one. 🙂 I promise it’s worth it though!
This Handmade Holiday Cards with Cricut Maker post contains affiliate links. If you click on an affiliate link and purchase something, you won’t pay anything extra, but it will help support this blog. I received compensation for this post. All ideas and opinions are my own.
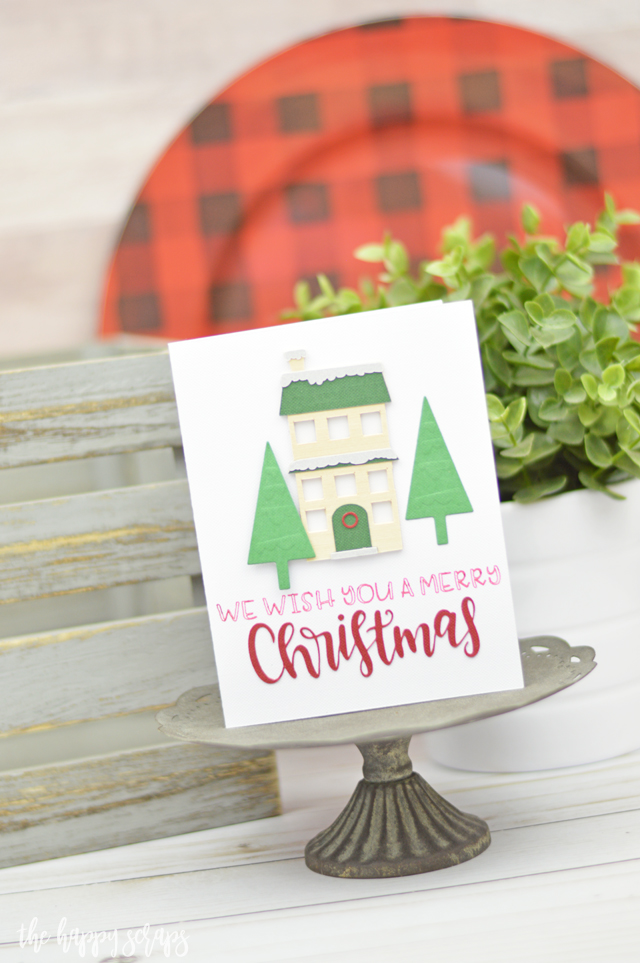
The first card that I’m sharing with you today is this We Wish You a Merry Christmas Handmade Holiday Card. I absolutely adore the way this card turned out with all the dimension and texture that it has!
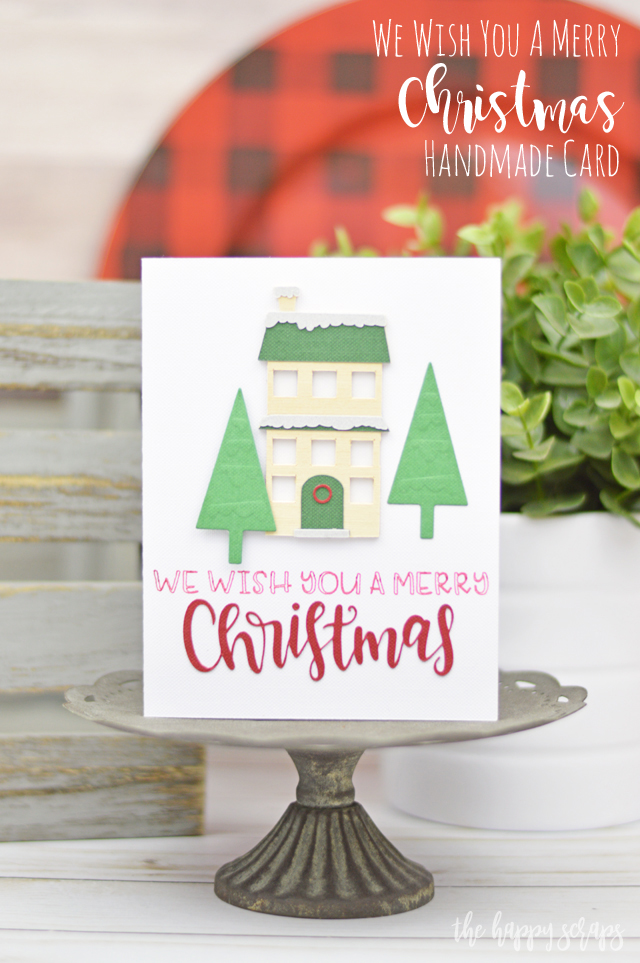
We Wish You A Merry Christmas Handmade Holiday Cards Supplies:
- Cricut Maker with standard blade
- Cricut Cuttlebug with plates/mat
- Cricut Scoring Wheel
- Cricut Knife Blade
- Cricut Pens
- Holiday Cardstock Sampler
- Basics Cardstock Sampler
- Holiday Sampler Cut & Emboss Die Set
- Classic Sampler Shimmer Paper
- TrueControl Knife
- Cutting Ruler
- Decorative Self Healing Mat
- Weeding Tool Set
- 1/16″ Bass Wood
- Vellum
- Adhesive
- Cricut Design Space Cut File
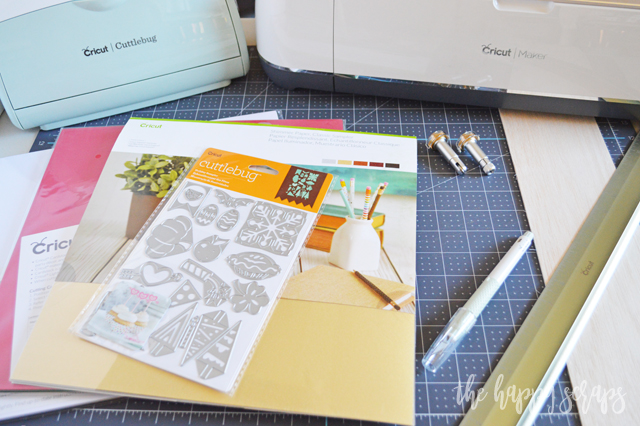
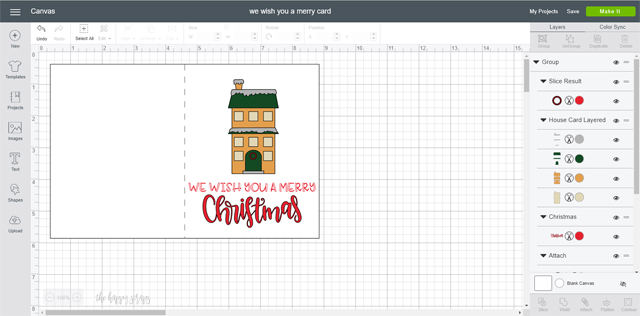
Open up the Cricut Design Space Cut File (link found in supply list) and get your supplies collected to start cutting.
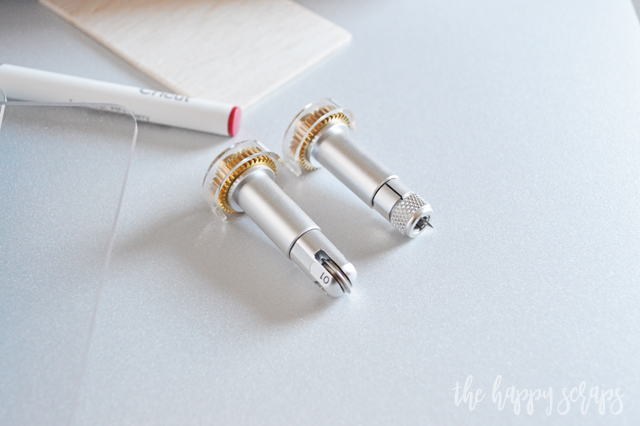
For this card, you’ll need the scoring wheel and the knife blade, as well as the Very Berry pen.
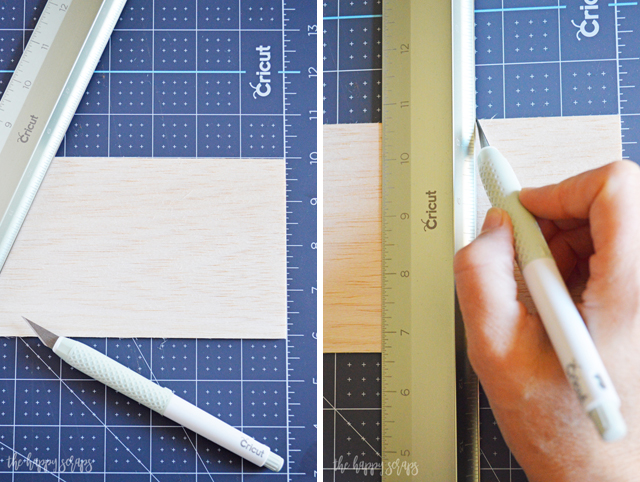
Using the TrueControl Knife and Cutting Ruler, cut a piece of your bass wood large enough for the design you’re cutting.
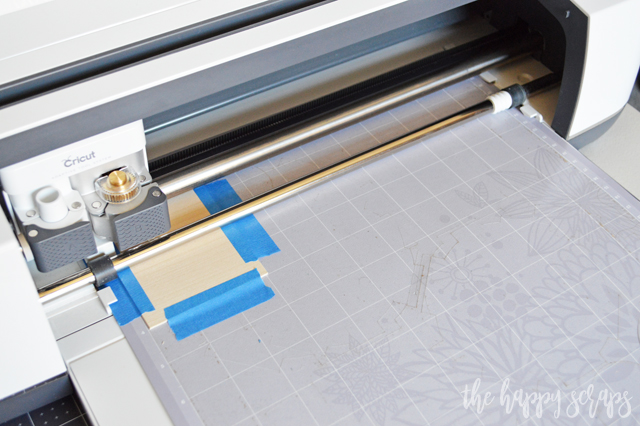
Using the StrongGrip Cricut Mat, secure your wood to your mat with masking tape. Make sure to slide the star wheels all the way to the right. The star wheels can leave lines on your wood, that’s why you need to move them. Start cutting out your wood into the cute little house!
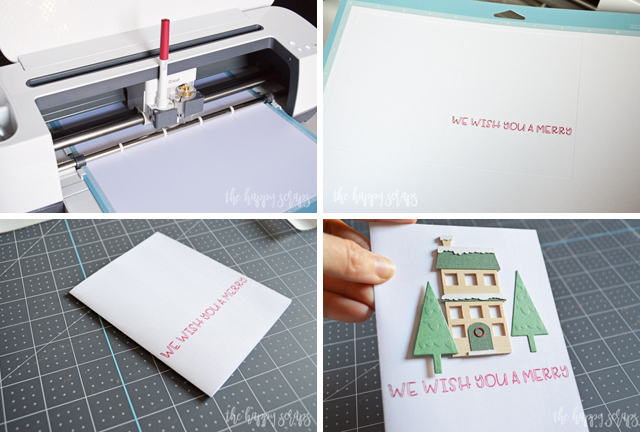
Once you have your wood cut, score, draw and cut the card base, as well as the other pieces of the card.
To make the embossed pine trees, you’ll need the tree die, green paper, and the plates and rubber mat for the Cuttlebug. Using scissors, trim a piece of green paper to fit over the tree die. Stack the plates up according to the Cuttlebug directions for cutting. Your die and cardstock will be between the B plates, then you’ll roll it through the Cuttlebug.
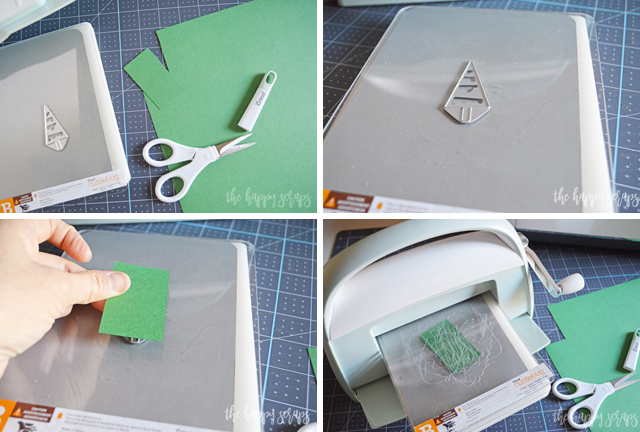
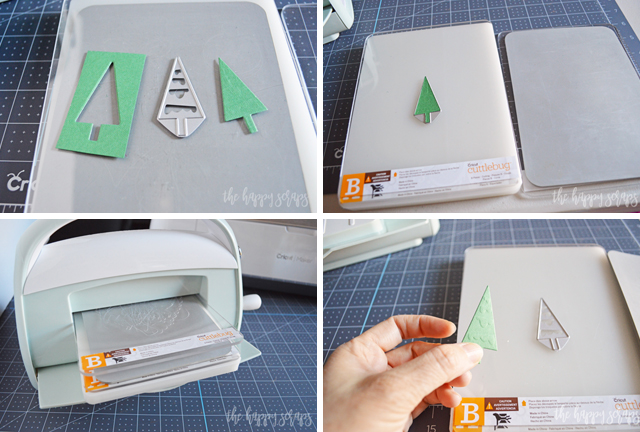
Once you have the tree cut, you’ll place the tree back in the die, rearrange the plates and mats so that the rubber embossing mat is on top of the die, and then roll it through again. You’ll end up with your embossed tree. I did this twice for the two trees I needed.
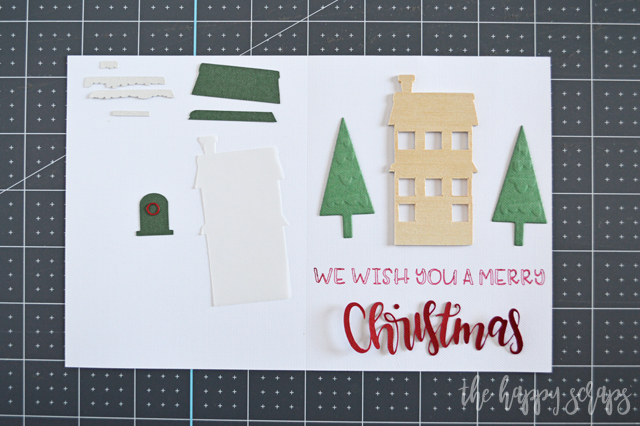
I laid out all of the pieces of this card to make sure I didn’t need anything else. I was already excited at this point, because I knew it was going to turn out cute!
Because all of the pieces of this card needed adhesive on them, I ran the pieces through my Xyron machine.

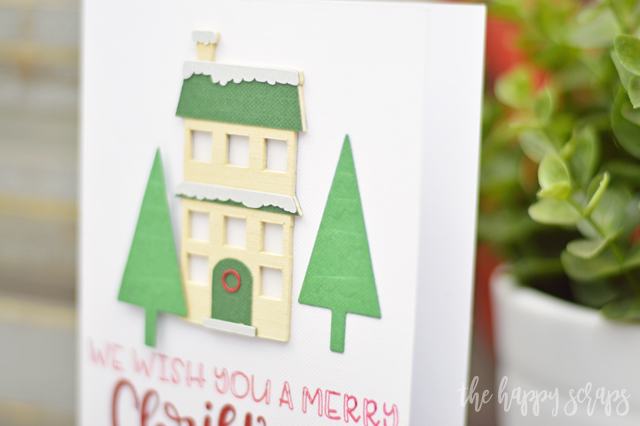
I left the little wooden house on the backing for the Xyron, and assembled it. I used the tweezers from the Weeding Tool Kit to place that cute little wreath on the door, along with placing other small pieces.

When all the the pieces were on the front of the house, I pulled the wood off the backing and placed the vellum on the back of the house. You can see it in this picture, but you can’t see it well on the card, because the card is on a while background.
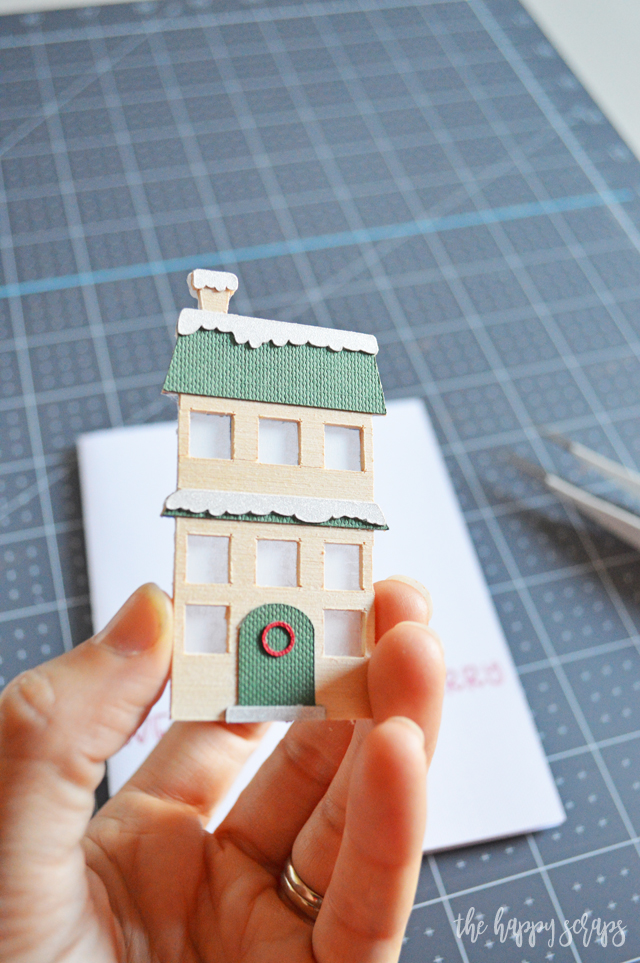
Once the house was all put together, I placed it on the card. I added the embossed trees to each side of the house. I did use some dimensional adhesive for the tree on the left too. It add such a fun dimension to the card. After the trees were attached, I added the word Christmas at the bottom.
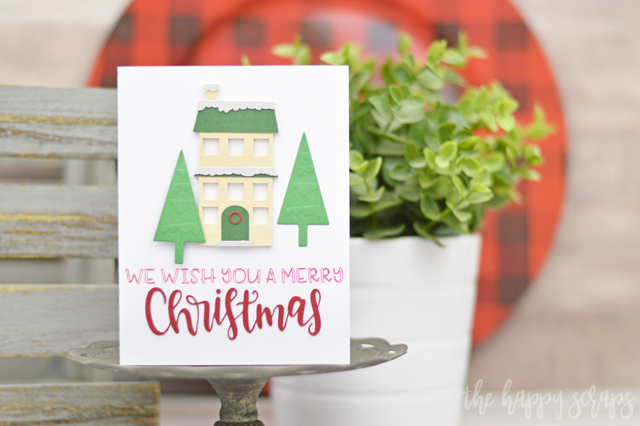
Isn’t that thin wood house just perfect?! It is so fun to have the texture and dimension that it brings, on this card! Who would you send this card to?
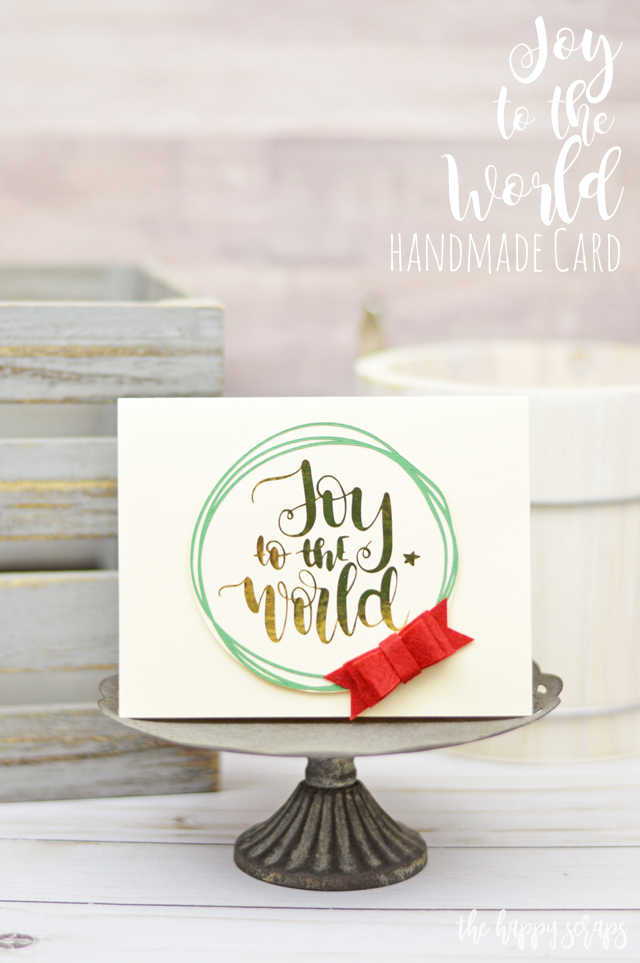
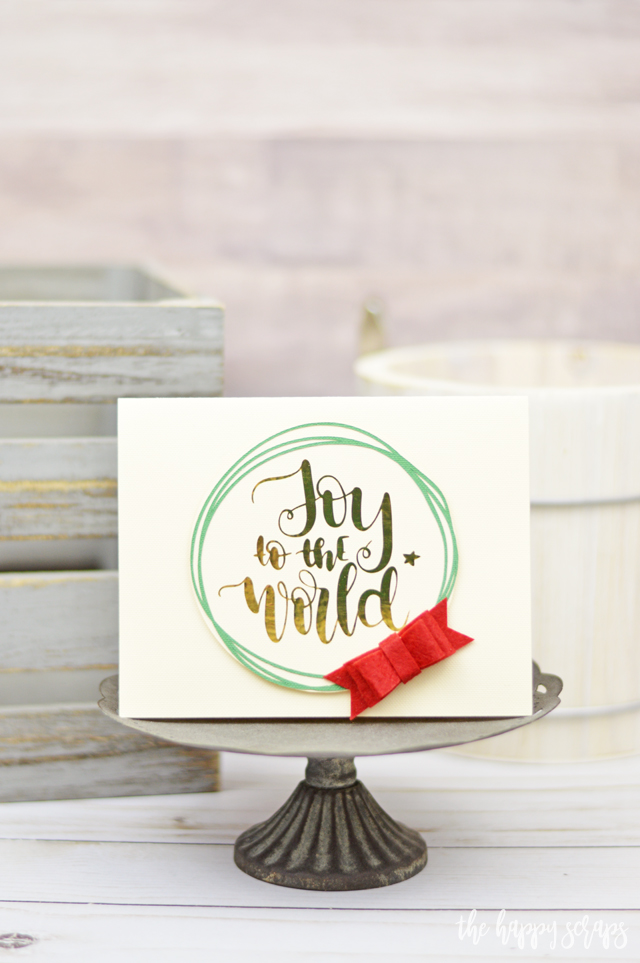
Next up, this Joy to the World Handmade Holiday Card. Cards have always been one of my favorite things to create. I love being able to sit down and create something in not a lot of time. Using the Cricut Maker makes making Handmade Holiday Cards a breeze! This I’m not sure what I love more about this card, the felt bow, or the fun wreath! Oh, and there is always the gold foil. Ok, maybe I just love the whole card!
Joy to the World Handmade Holiday Card Supplies:
- Cricut Maker with standard blade
- Rotary Blade
- Cricut Scoring Wheel
- Holiday Cardstock Sampler (light green, cream)
- Cricut Carousel Felt Sampler (red)
- Cricut Adhesive Foil (gold)
- Hot Glue Gun
- Dimensional Adhesive
- Cricut Design Space Cut File
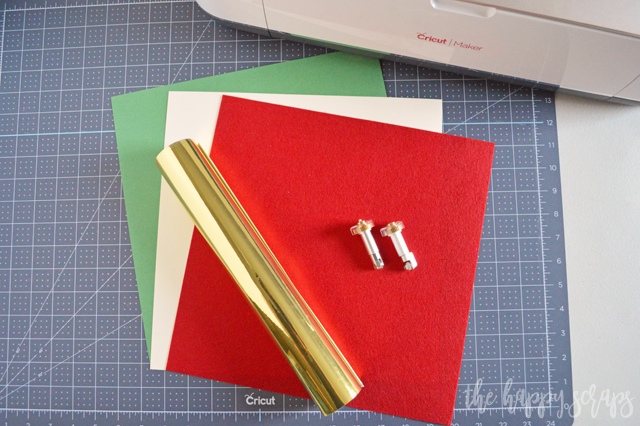
Gather your supplies and open up the Cricut Design Space Cut File found in the supply list. Click make it and select your material. When you select your material, you’ll be prompted to insert the needed blades.

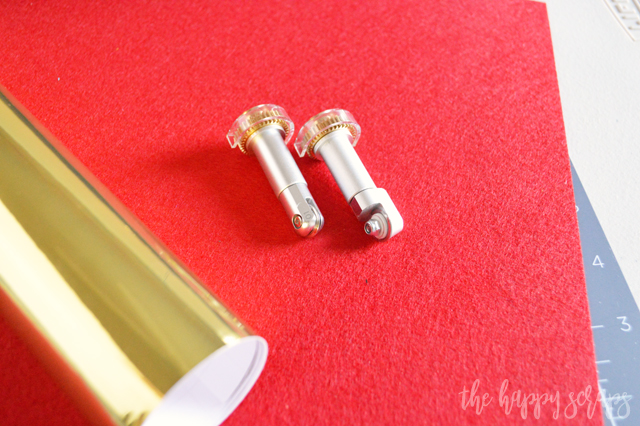
For this card you’ll use the rotary blade, scoring wheel, as well as the standard blade.
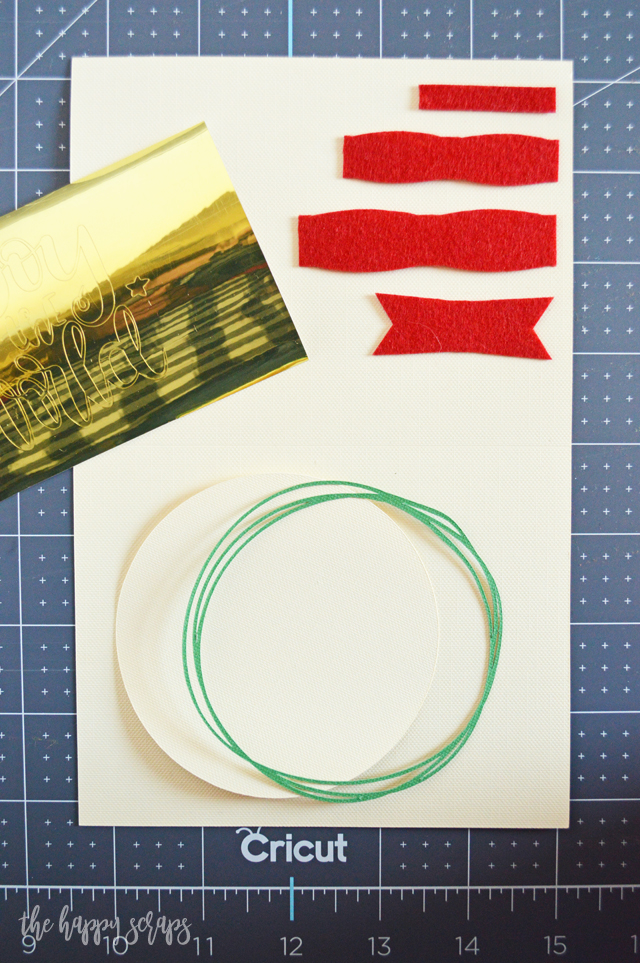
Here are all the cut pieces. I love that I can cut the card base and have the score line in just the perfect spot so my card doesn’t end up being crooked once I fold it.
I don’t think cutting felt with the Cricut Maker will ever get old! It is always so fun to put it in the machine and then once it’s done pull the felt up to see those perfect cuts! For this bow, I decided to make it double layered, so I cut a second middle piece, but made it just a little bit smaller. I used the hot glue gun to assemble the bow.
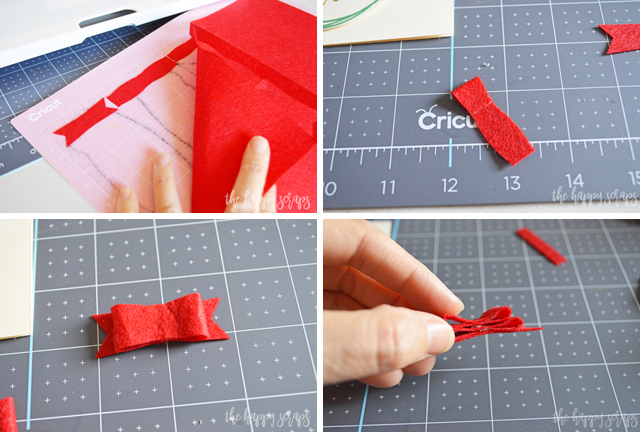
Isn’t this double layered mini bow just adorable?!

Next up I used my weeding tool kit to weed the adhesive vinyl. Tip: when cutting adhesive vinyl, MAKE SURE to use the correct setting. If you just set it to cut vinyl, it won’t cut all the way through. Also, this stuff can be a little tricky to weed, even with the weeding tool. It just take a little bit of patience, but it’s totally worth it! Once you have your design weeded, apply transfer tape. Adhere the wreath circle to the larger cream colored circle, then apply the adhesive foil to the center.
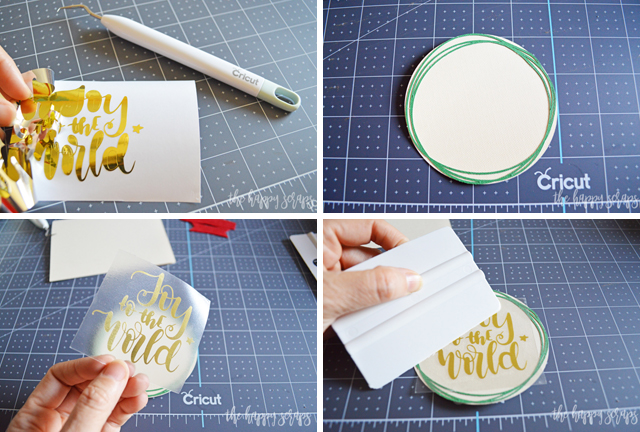
After you have the adhesive foil on the circle, place dimensional adhesive on the back of the circle. Place it onto the card. To finish it up, use your hot glue gun to attach the cute little felt bow.
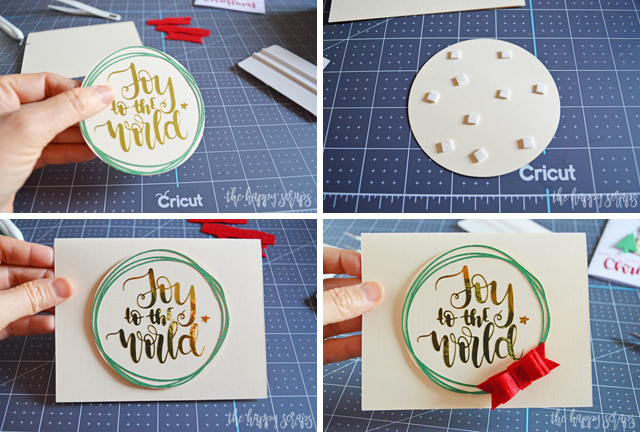
This card is pretty simple, but I love the look of it! You could also skip the cream colored circle if you don’t want the dimension added to the card.

After making this card, I’m pretty sure I’m not going to want to make any more single layer bows like this. Double layered for me from now on! Isn’t it so cute?!
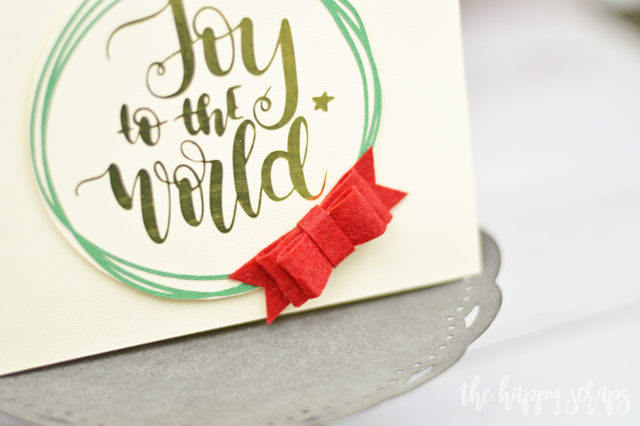
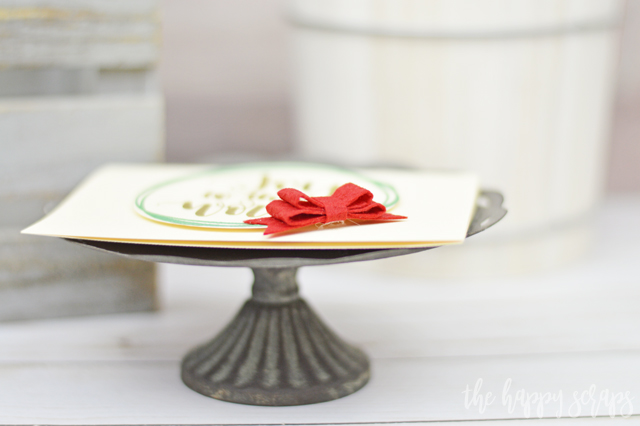
The dimension it adds is perfect!
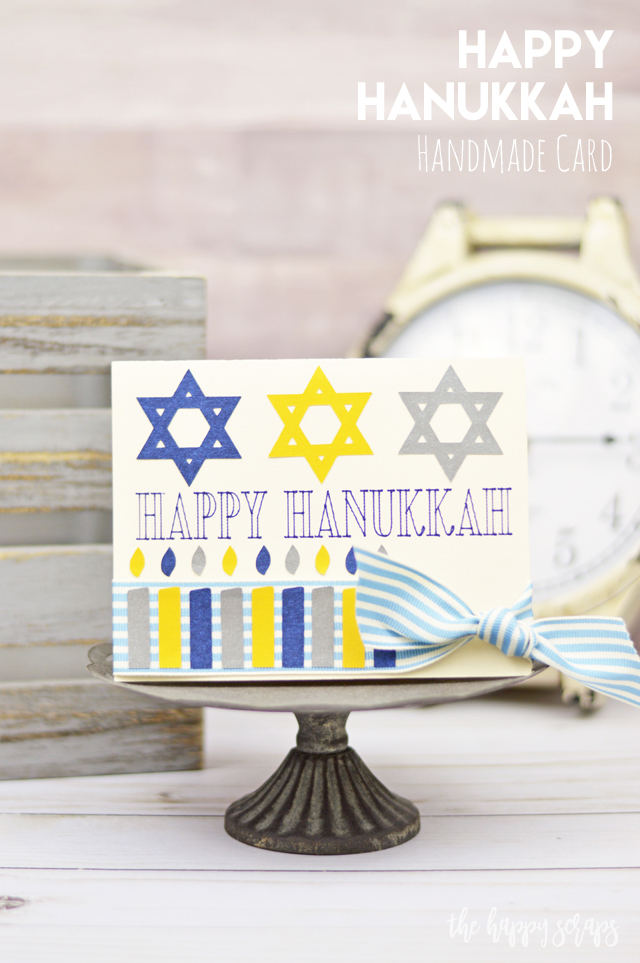
This next card was a little bit of a challenge for me. I’ll admit, I don’t know a lot about Hanukkah, so when I sat down to create this Happy Hanukkah Handmade Holiday Card, I actually started googling things to learn more about Hanukkah. Growing up, we had a menorah in our home, but we didn’t light candles on it. It was fun to make this card and learn more about this holiday that is celebrated by some.
Happy Hanukkah Handmade Holiday Card Supplies:
- Cricut Maker with standard blade
- Cricut Scoring Wheel
- Cricut Pens
- Cricut Pearl Paper (gold, gray, blue)
- Holiday Cardstock Sampler
- Cricut LightGrip Mat
- Ribbon
- Adhesive
- Cricut Design Space Cut File
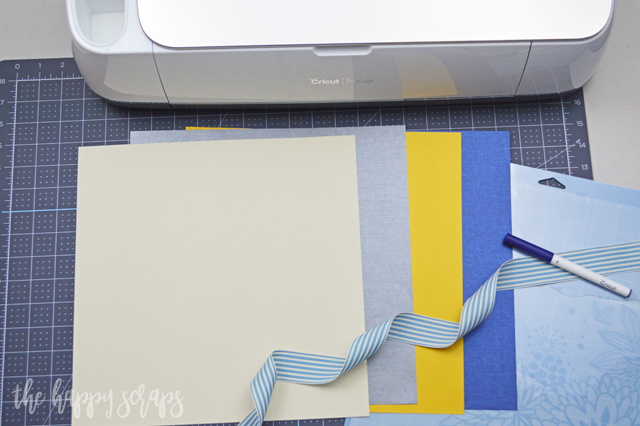
I was so excited when I realized that I had the right colors of pearl paper to use for this card. The pearl paper has just the right shine to it, and it’s one of my favorites. Once I had my supplies gathered, I opened up my Cricut Design Space File. Click the link in the supply list for this cut file.
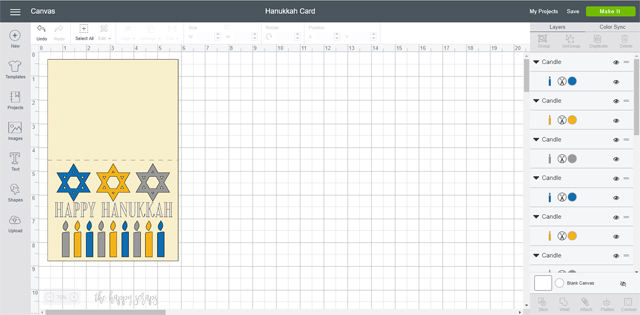
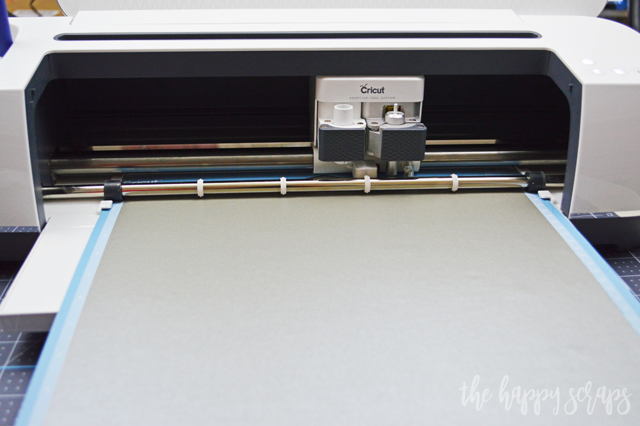
I started by cutting the pearl paper, and then when I was cutting the cream paper and was prompted, I inserted the scoring wheel and pen for the card base.
I actually really loved the way the card base turned out. I thought this font was such a fun one when used with the Cricut pens. Once I had all the designs cut, I used my Cutting ruler to get the stars placed just where they needed to be. Next I tied the ribbon around the bottom of the card base. I did add some adhesive to the back of the ribbon to help the ribbon stay in place. Once the ribbon was on, I started placing the candles. To get them spread evenly, I placed the end candles first, followed by the middle candle. Then I placed the middle ones for both halves.
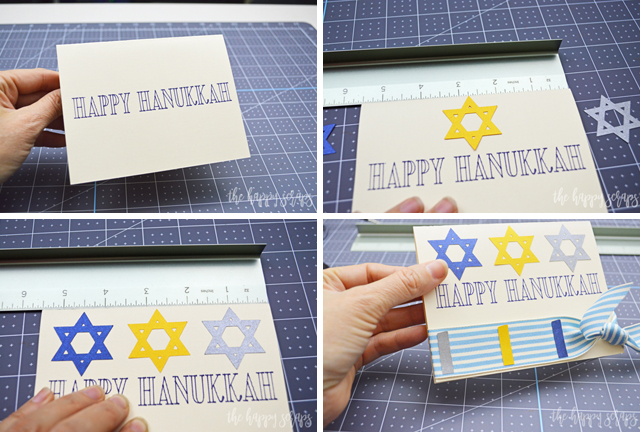
This is what it looked like when I had all the candles placed. I decided I wanted to change up the flame for the candles, so I didn’t make them match the candle.

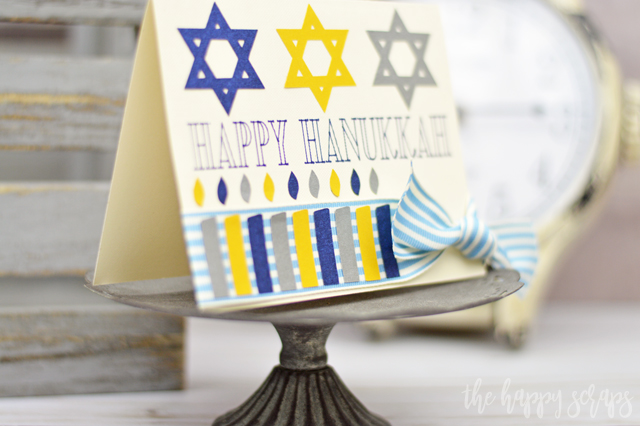
I think having the flame be a different color is a fun twist with this card.
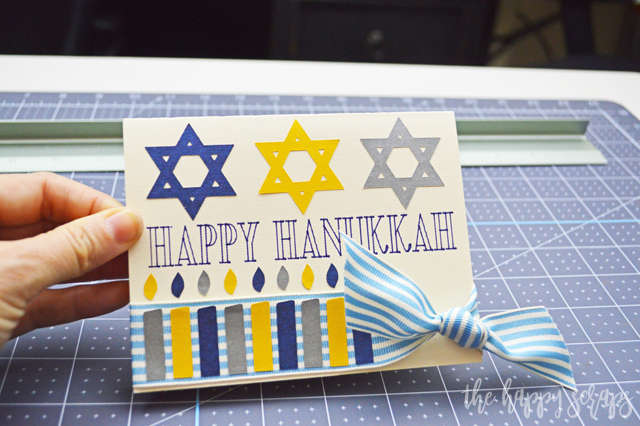
I’m happy that I got the chance to learn a little about Hanukkah while getting ready to make this card. I like the way it turned out and I think anyone who is celebrating Hanukkah would like it as well!
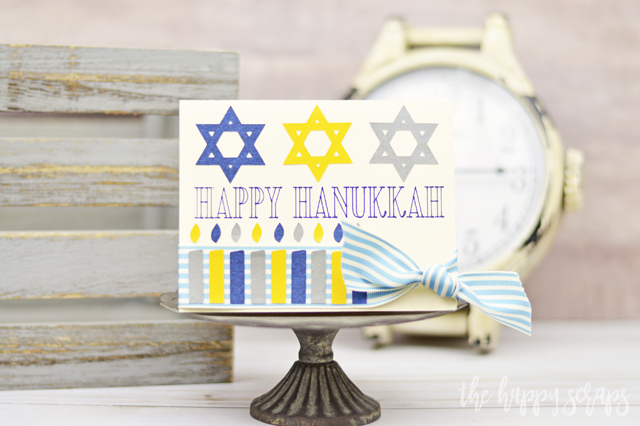
While the candles don’t have dimension on the card, I think they add so much because of their colors, along with the stars.
Which card to you hope to sit down and make for your Handmade Holiday Cards this year?
I think each of these cards are so fun! I love that the Cricut Maker is such an amazing machine that could help make each of these cards!
The Cricut Maker can do so much more as well!

Whether you’re looking for the perfect Handmade Holiday Cards to create or you’re looking for the perfect holiday gift, the Cricut Maker is just what you need! If you’re looking for more projects you can make with the Cricut Maker, then check out my gallery here.
This is a sponsored conversation written by me on behalf of Cricut. The opinions and text are all mine.

Leave a Reply