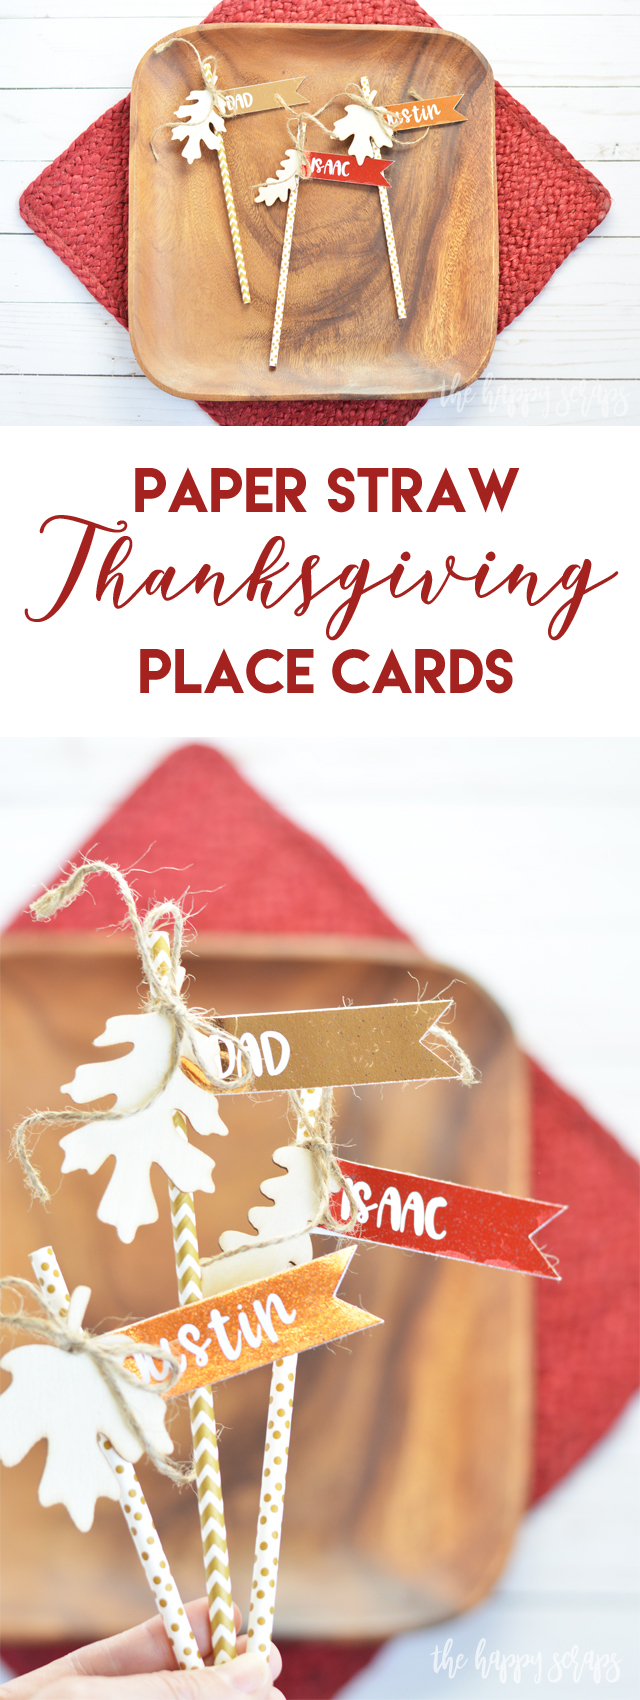
Can you guys believe that Thanksgiving is less than two weeks away?! I realized this yesterday and could hardly believe it! I know it is an early Thanksgiving day this year but it just seems to be coming so fast! I always get excited about Thanksgiving. There are so many yummy dishes to taste and I always enjoy getting together with family. This year we are getting together with my husbands parents and siblings. My sister-in-law makes THE best sweet potatoes. They really are amazing! I’m taking Raspberry Pretzel Salad and Cranberry Relish this year. Those are two of my favorite things as well. When it comes to non food things for Thanksgiving, I would have to say that place cards are right at the top of my list. How about you? What is your favorite non food thing about Thanksgiving? Today I’m going to show you how easy these Paper Straw Thanksgiving Place Cards are to make. When I was making them, I thought they’d be super cute to put in a cup, but once I had them finished, I thought they’d be cute placed on a napkin on a plate as well.
This Paper Straw Thanksgiving Place Cards post contains affiliate links. If you click on an affiliate link and purchase something, you won’t pay anything extra, but it will help support this blog. All ideas and opinions are my own.
Paper Straw Thanksgiving Place Cards Supplies:
- Cricut Maker or Cricut Explore Air 2
- Minc Foil Applicator
- Minc Reactive Foil
- Laser Printer
- Gold Paper Straws
- Jute Twine
- Wood Leaves
- Xyron
For this project, I created my .png cut file in Photoshop Elements. Once I had my flags designed, I uploaded the file to Cricut Design Space. Rather than saving it as a cut file when uploading, I saved it as a print file. I sized it to 6.75″ wide so it would fit within the print then cut parameters. Then I followed the on screen instructions to print out my cut file. I printed this on white cardstock.

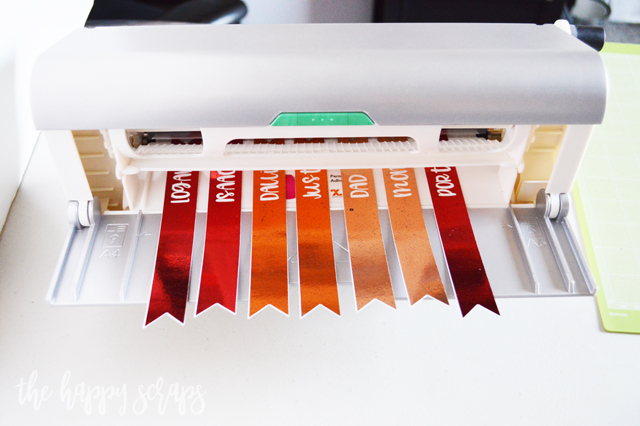
Once I had it printed, I got my Minc heated up and cut the different colors of reactive foil to fit over the flags. Because I needed the registration marks box around the printed flags to stay black and I didn’t want it to stick to the front of the transfer folder, I placed a piece of printer paper over the top of the foil and cardstock, within the carrier sheet. When I had the foil and paper in place, I sent it through the Minc. I pulled it out when it was finished and peeled the white paper away. It was stuck pretty good to the registration marks box.
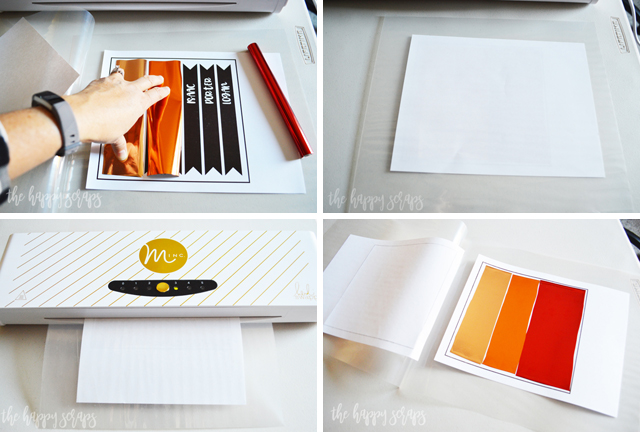
Then I peeled off the foil. Now it was ready to be put in the Cricut Maker to be cut.
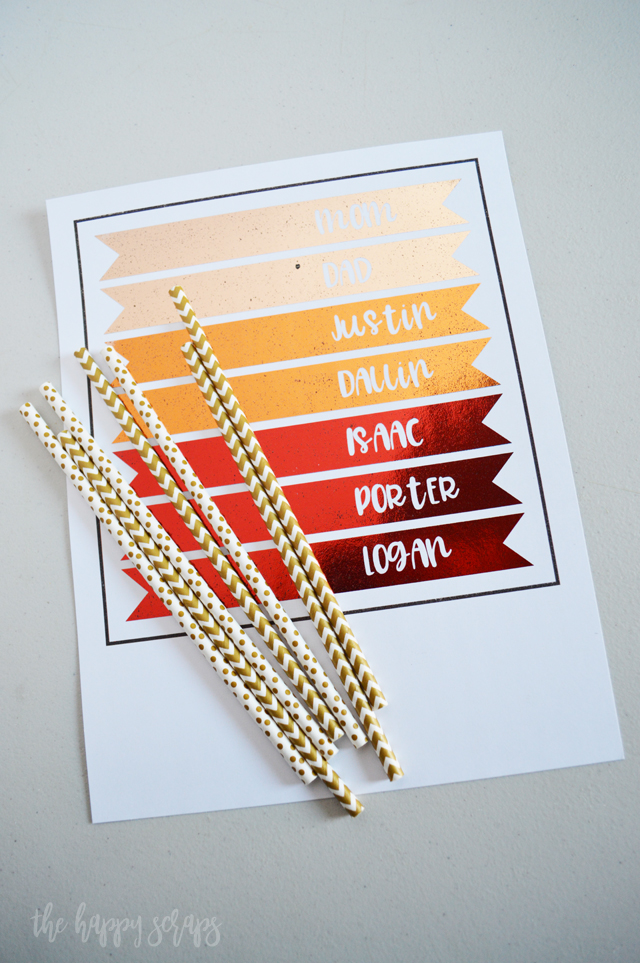
The Cricut Maker read the registration marks box and knew just where to cut.

Once cut, I pulled the remainder of the cardstock off of the mat.
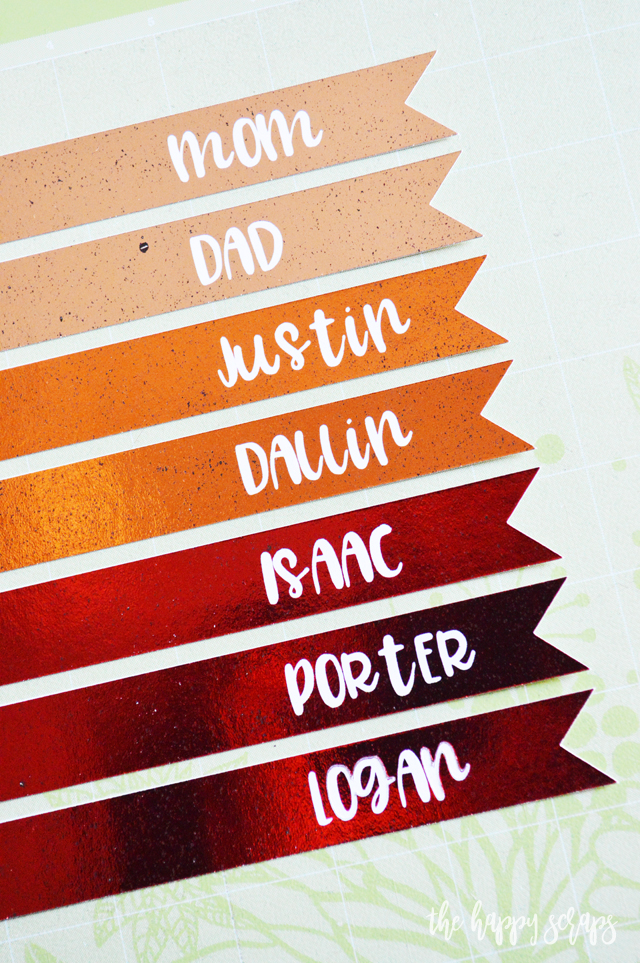
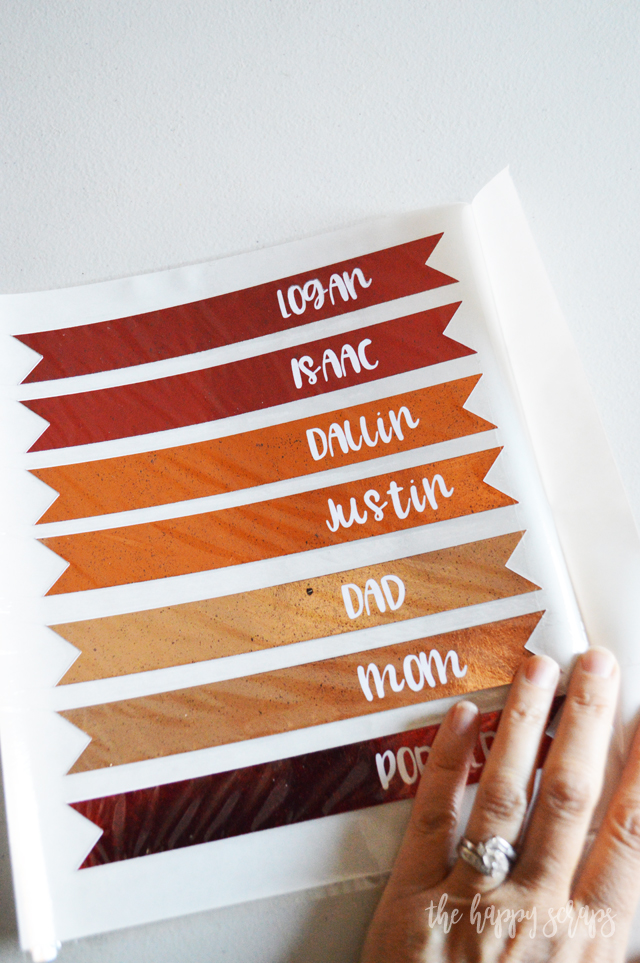
I peeled the flags off of the mat and ran them through my Xyron to make them stickers.
The top cover peels off of the stickers and then they are ready to use. Now they were ready to assemble the Paper Straw Thanksgiving Place Cards.
Assembling the Paper Straw Thanksgiving Place Cards
Peel on of your flags off of the sticker sheet at a time. Curl it around so you can place the ends together. Make sure that it is straight! Once you have a loop, slip it over the straw, then finish sticking the flag together. Once you have all the flags on, tie some twine around the top of the straw by the flag. I tied a square knot in the twine.
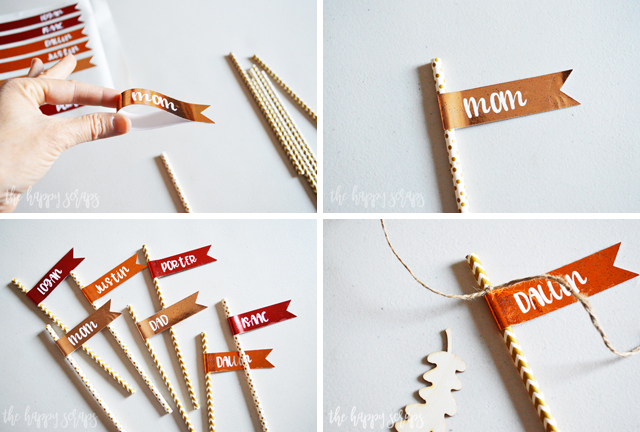
Then I placed the wooden leaf on the knot, followed by another square knot and a bow. I think it could be super cute to cut leaves out of cardstock and use them in place of the wood leaves as well. The look of the wood leaves is so pretty and I love what the wood leaves add, but these are some that I had on hand and I realize that not everyone might have these on hand. 🙂 You could also cut some wood leaves with the Cricut Maker and knife blade!
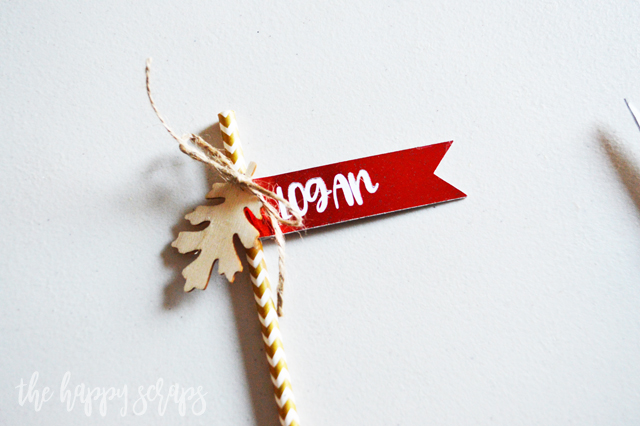
I finished up by adding the leaves to the rest of the Paper Straw Thanksgiving Place Cards.
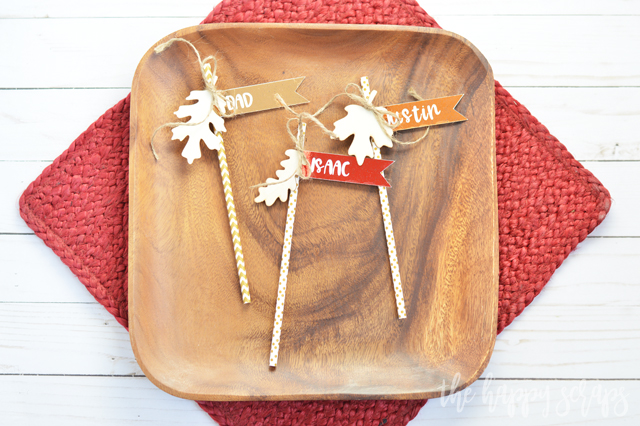
Aren’t they so fun?! And Simple?! Sometimes simple is best! I really did enjoy making these though. I don’t know if it was just the whole process and having the idea evolve a little bit while I was making them or what, but I couldn’t be more excited with the way they turned out! So fun!
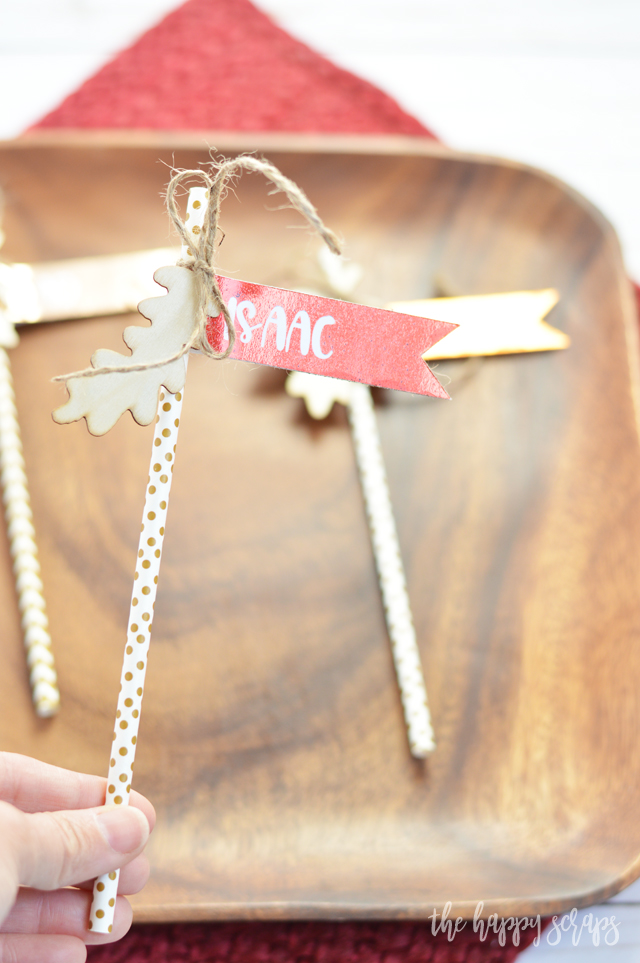
These are the kind of place cards that would be perfect for a really large group of people. You’d be able to whip up several of these in not a lot of time.
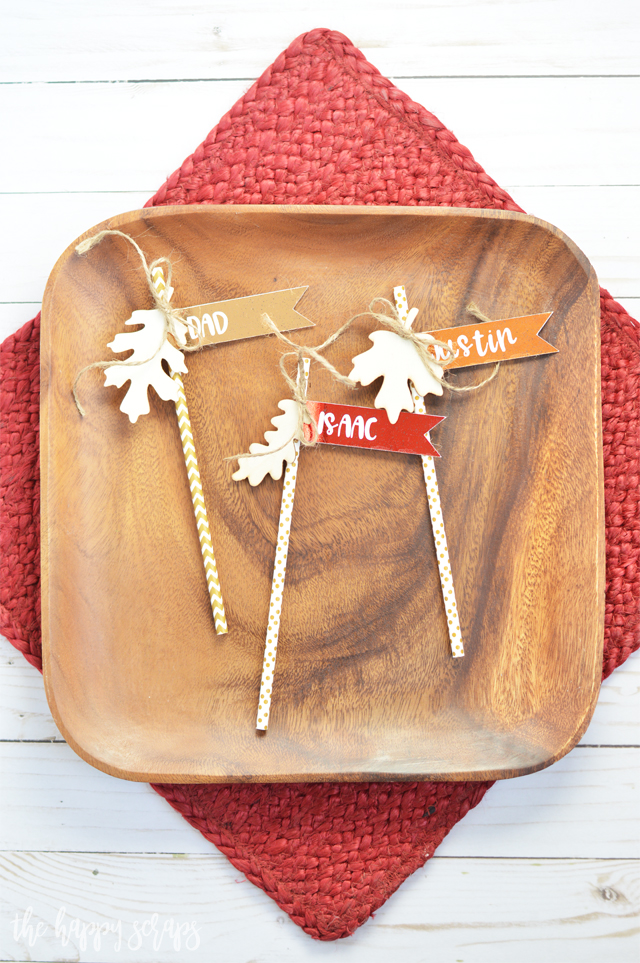
You could always do these without the foil, but the foil just adds to the fun. That shine that comes from it is the perfect touch for Thanksgiving, don’t you think?
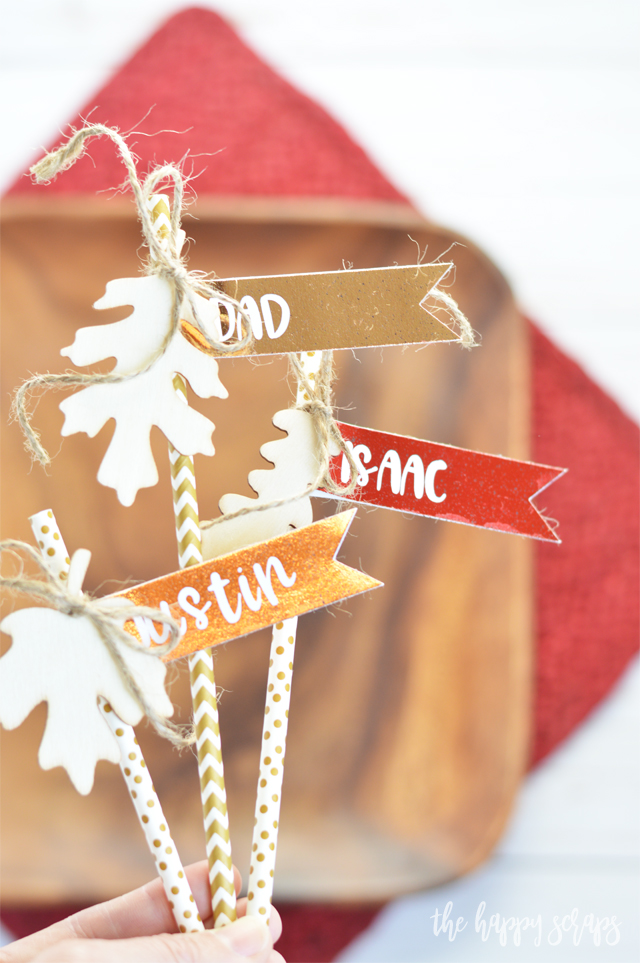
I’d love to see how your Paper Straw Thanksgiving Place Cards turn out. If you make some, be sure to share them with my on instagram! Also, if you’re looking for more fun Thanksgiving Place Cards, then be sure to check out my gallery!

Leave a Reply