This DIY Birthday Party with the Cricut Maker post is a sponsored conversation written by me on behalf of Cricut. The opinions and text are all mine.
My baby just recently turned three. I can’t believe he is already three years old. I’m still trying to figure out where those years have gone! On one hand it feels like he was born yesterday and on the other, it feels like we’ve had him forever! I can’t imagine life without our little guy! Every year when his birthday is coming up, I think, I need to throw a birthday party for him. This year, it finally happened. The last couple of years, it just hasn’t happened. I think it is because it is so hard for me to get back on the top of things after the holidays, and his birthday is the first part of February. I planned ahead more this year, and I’m so excited that I was able to get this DIY Birthday Party with the Cricut Maker put together for him! You’ll see just how excited he was about it all towards the bottom of the post, or maybe he was just excited about throwing confetti. Either way, he was pretty happy! 😉

This DIY Birthday Party with the Cricut Maker post is a sponsored content written on behalf of Cricut. I received compensation and product in exchange for this post. This post contains affiliate links. If you click on an affiliate link and purchase something, you won’t pay anything extra, but it will help support this blog. All ideas and opinions are my own.
DIY Birthday Party with the Cricut Maker Supplies:
- Cricut Maker with Fine Point Blade
- Cricut Knife Blade
- Cricut Chipboard
- Cricut StrongGrip and StandardGrip Mats
- Masking Tape
- Cricut Deluxe Paper
- Cricut Scoring Wheel
- Cricut Cardstock (White, Gray, Orange & Blue)
- Cricut Party Foil (Silver, Orange, Blue)
- Cricut Design Space Cut File (if you have Cricut Access, all designs used are included)
- Xyron Sticker Maker
- Adhesive
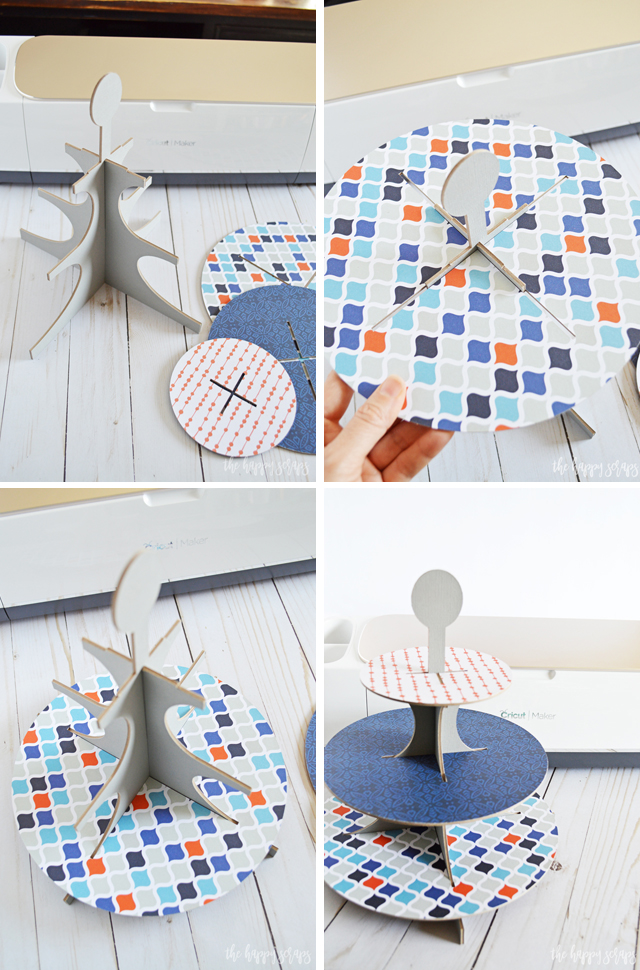
Today I’m going to share with you how to create your very own Cupcake Stand using the Cricut Chipboard and I’ll also share some other tips for creating different pieces of this party. When I got all done, I was actually surprised with myself that I had created every thing for the party, just using my Cricut! How cool is that?! I love that I can cut so many different materials with my Cricut Maker, making it possible to create and entire party. I’ve also shared the cut file with you all, and you can modify it to your party needs!
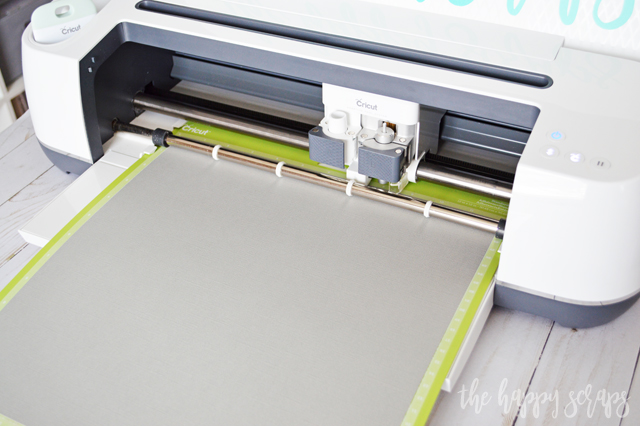
I pulled out my Cricut Maker, Chipboard, and Deluxe Paper along with the knife blade and fine point blade.

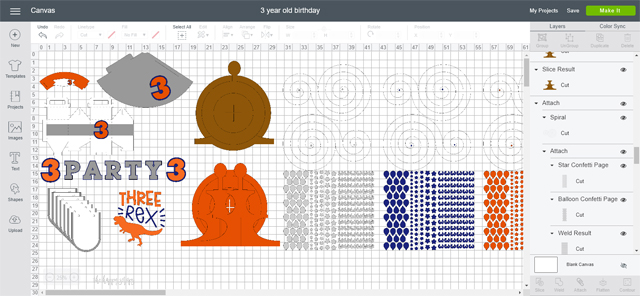
All of the designs in Design Space were all ready to be cut. Because I was cutting different pieces and quantities for different materials, I just turned off the visibility of some layers depending on what I was cutting. While I cut the chipboard, I turned everything off except the tan/brown cupcake stand layers. When I was ready to cut the paper to cover the chipboard, I turned the chipboard layer off, and turned on the orange layer for the cupcake stand. For the goodie boxes, I turned on the layer and then duplicated it to the amount that I needed to cut.
Cutting Chipboard:
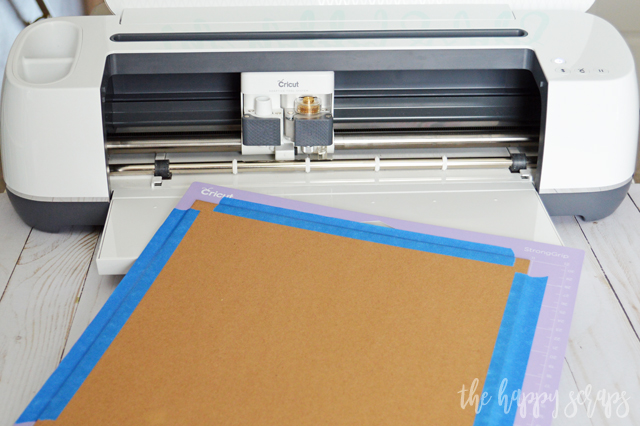
To prepare the StrongGrip Mat for cutting the chipboard, I put the chipboard on the mat, then placed masking tape around the edges to secure it to the mat.
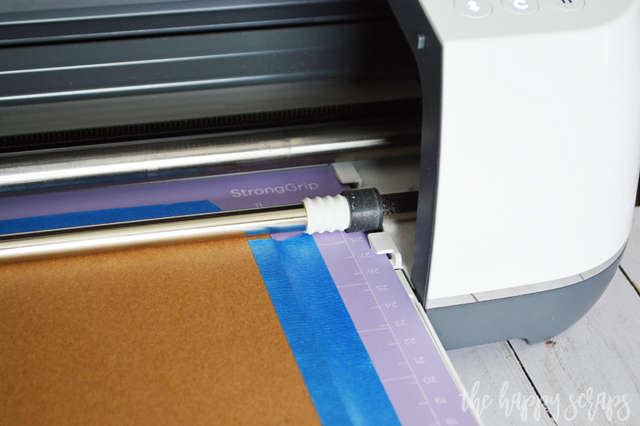
When cutting chipboard, the star wheels need to be slid over all the way to the right.
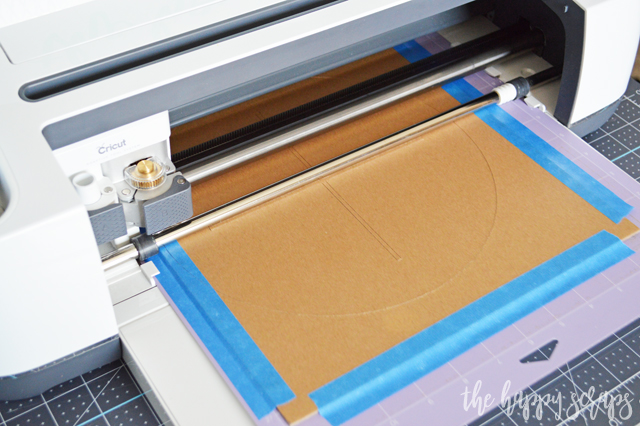
You’ll select chipboard from the material menu in Design Space and then when prompted, you’ll load your mat and start cutting. NOTE: Cutting chipboard does take a little while because the blade makes several passes.
Once all of the chipboard was cut, using the StandardGrip Mat and fine point blade, I cut the cardstock and deluxe paper to cover the cupcake stand with. TIP: If you use a plain paper for the vertical pieces (like I did here with gray) then you could make the circle/horizontal pieces double sided for different parties.
After I had all of the pieces for the cupcake stand cut out, I pulled out my Xyron Sticker Maker. This thing works great when you have large pieces that need adhesive.
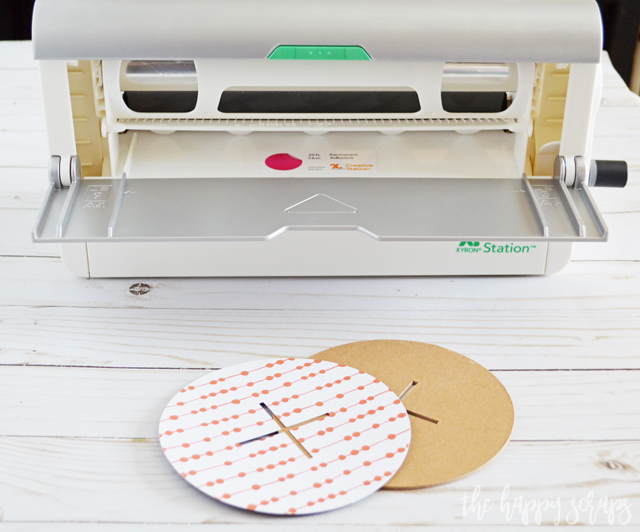
I put the paper pieces through the sticker maker, smoothed out the front of it well, then peeled the pieces apart. I placed the paper onto the chipboard, lining up the opening.
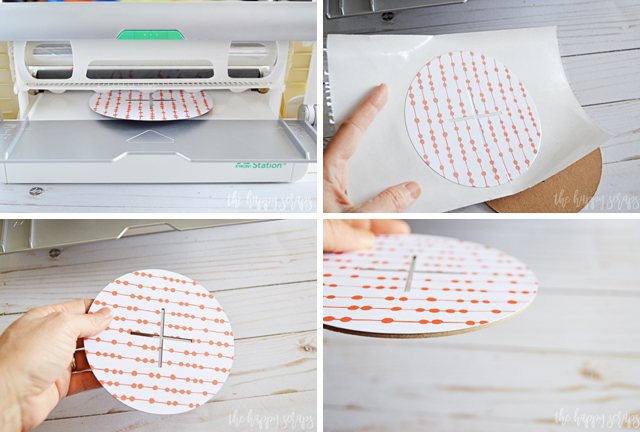
Assembling the Cupcake Stand:
Once all the pieces had the deluxe paper or cardstock on them, it was time to assemble the cupcake stand.
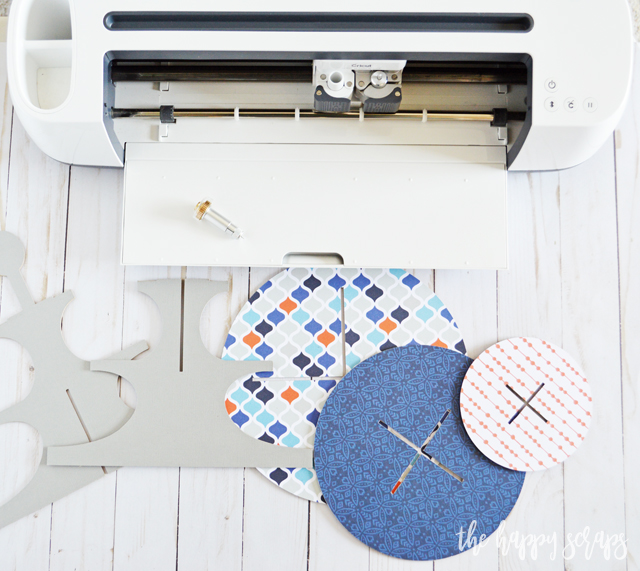
Slide the two stand pieces together. Take the largest circle and slide it down over the top of the cupcake stand. Slide it all the way down to the bottom layer. Repeat the steps for the second and third layers. The top layer will slide down into the grooves at the top, making it flush. You’re ready to party, once you have it put together.
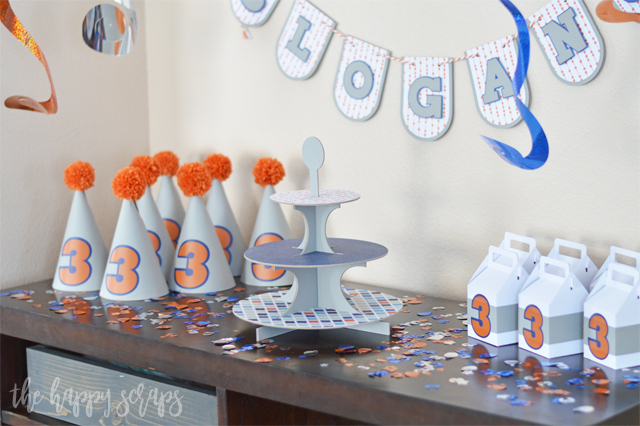
After I got the cupcake stand assembled, I was ready to get the rest of the party put together.
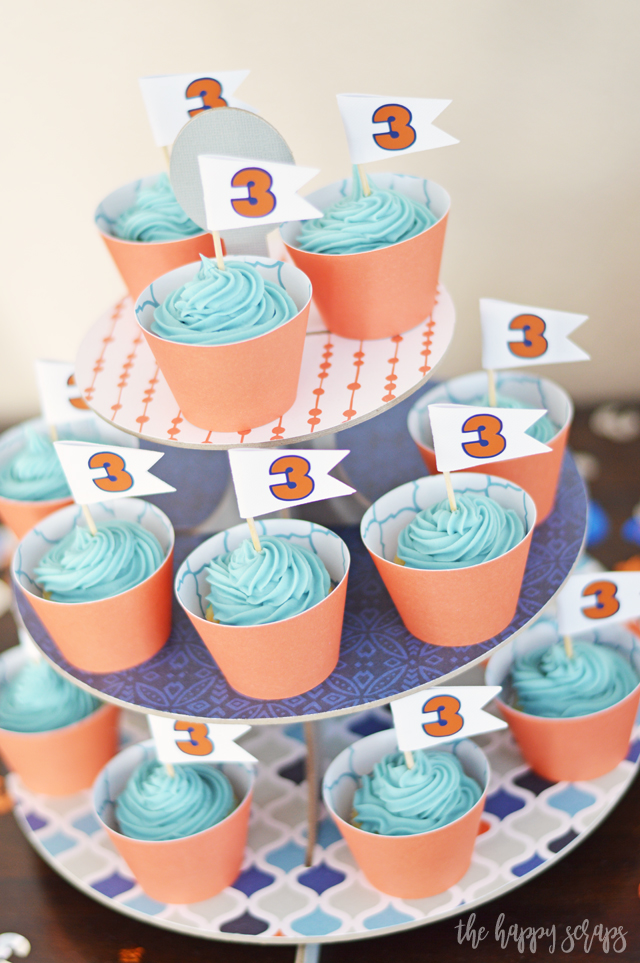
I made mini cupcakes because I thought they’d be so cute to use with this cupcake stand.
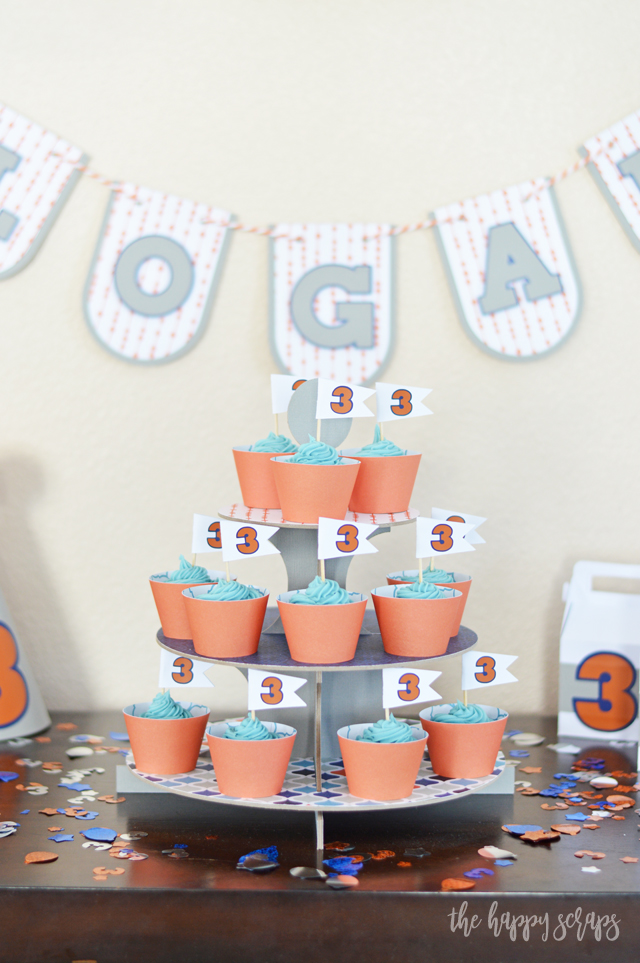
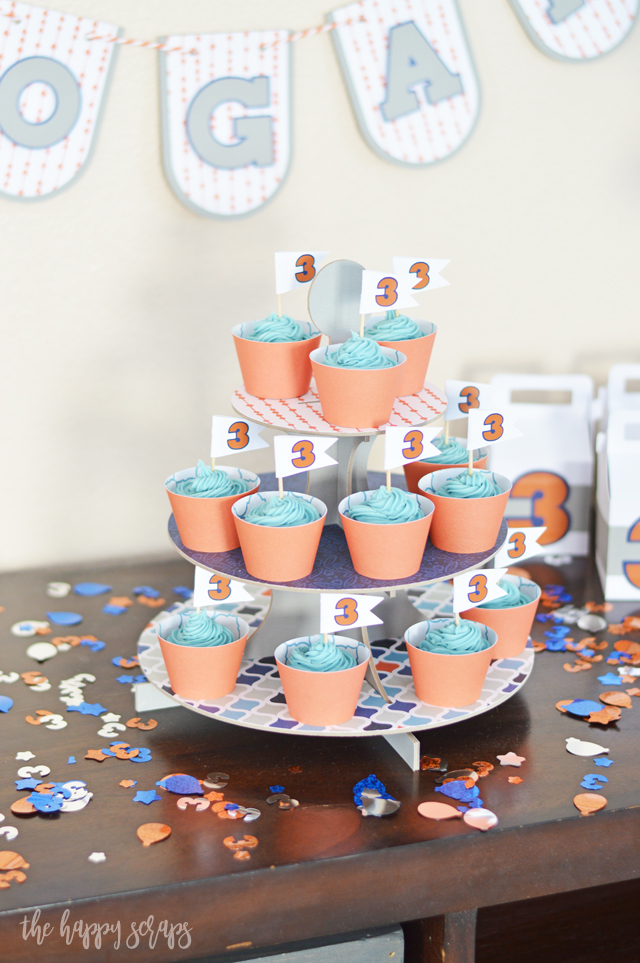
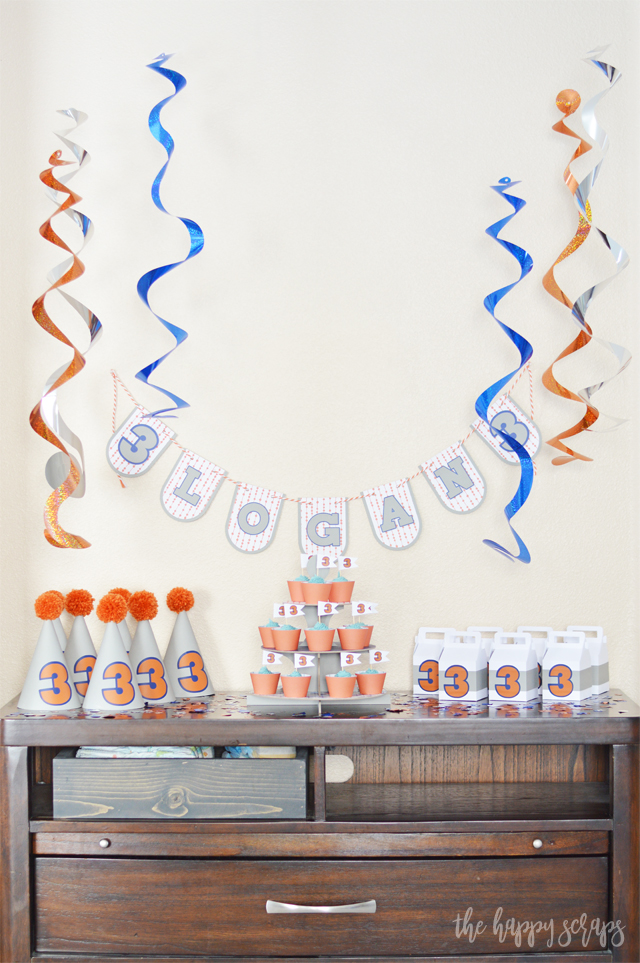
Another reason I made mini cupcakes is because I thought they’d be fun for a three year old birthday. I cut cupcake wrappers out of the deluxe paper, the flags out of white cardstock and I used adhesive vinyl for the 3. I wrapped the flags around a tooth pick and they were ready to go into the cupcakes!
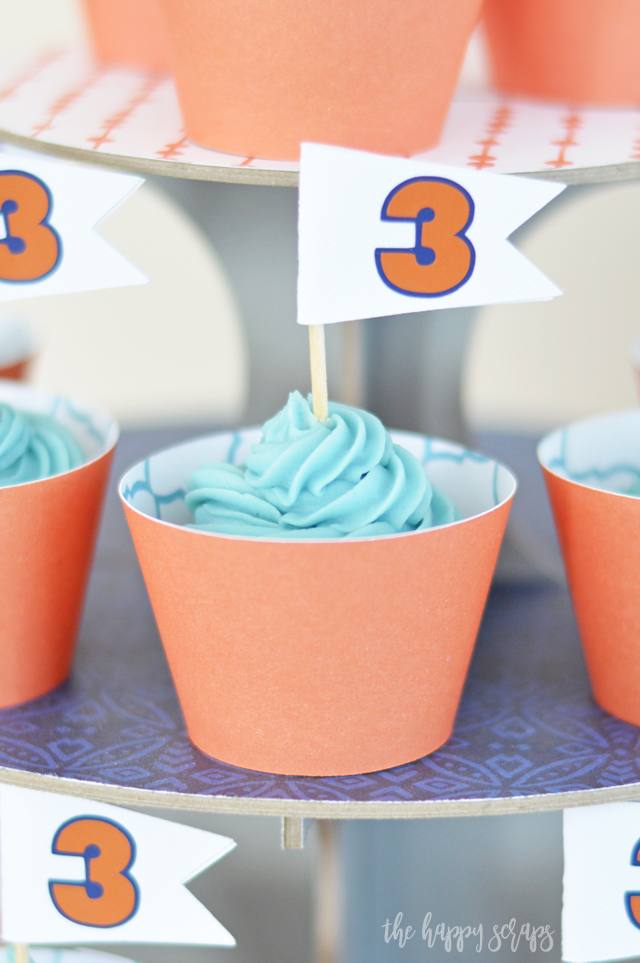
Aren’t they just so cute sitting on the coordinating cupcake stand?
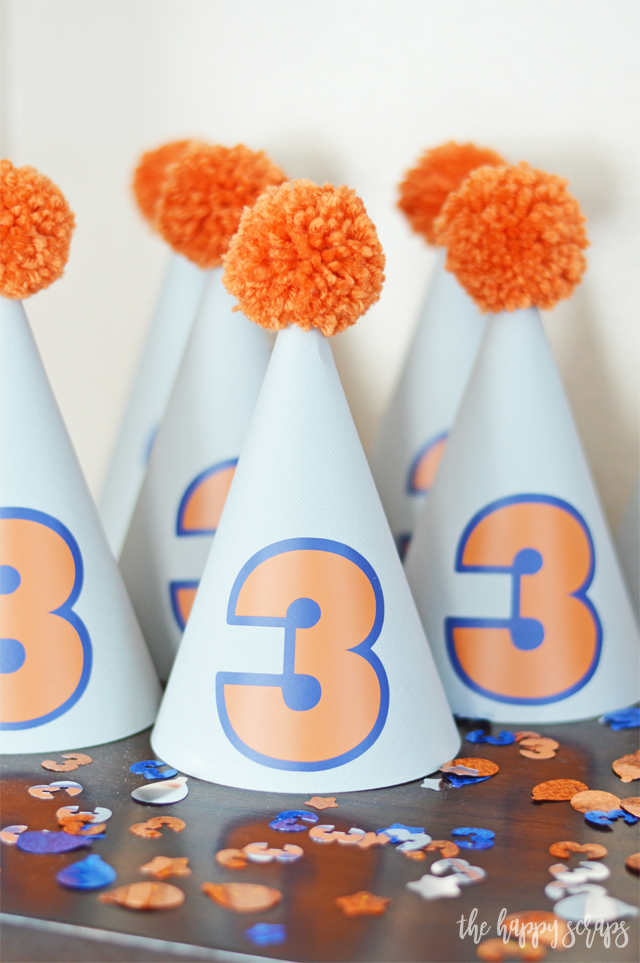
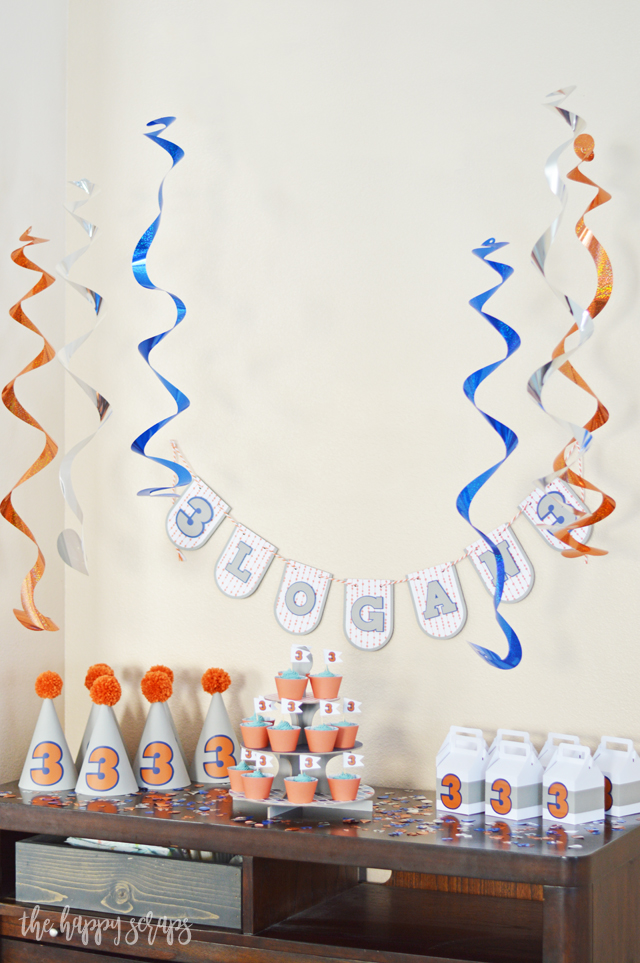
I cut the hats out of cardstock and then I used my pom pom maker to make the pom poms for the tops. I just hot glued them on. I cut the 3’s out of adhesive vinyl as well.
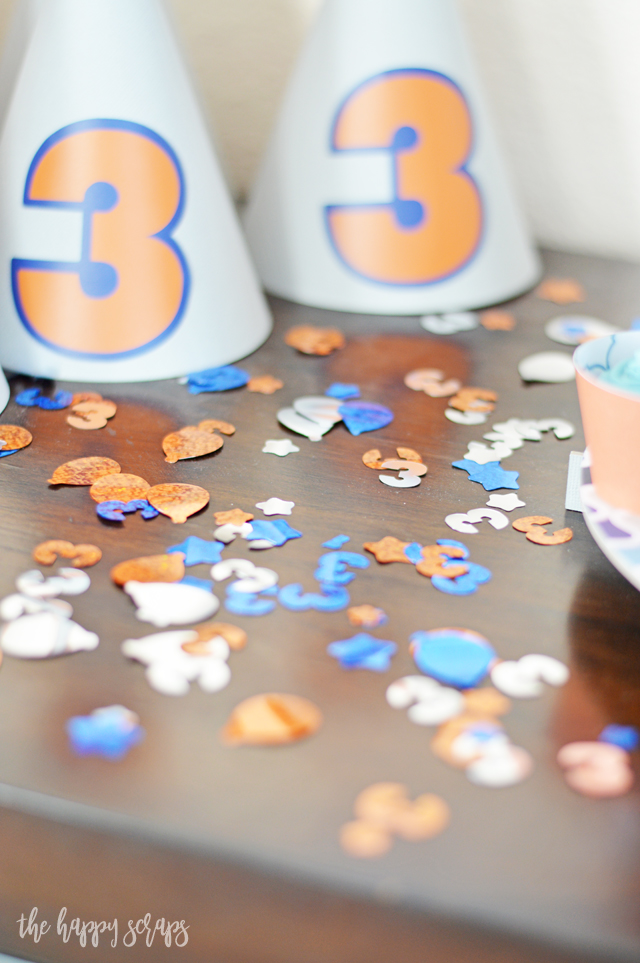
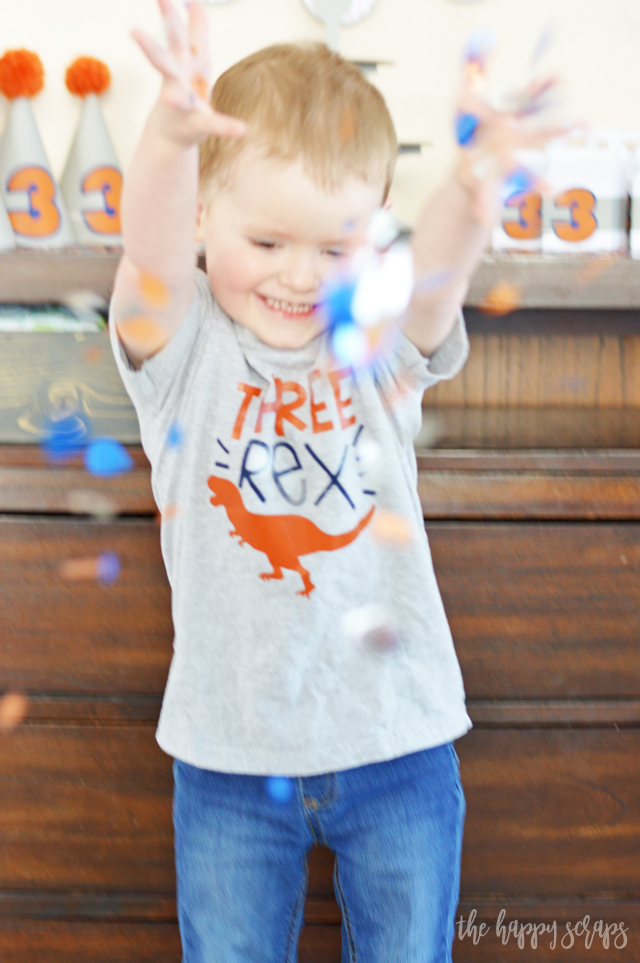
One of my very favorite parts of this party was the confetti! I cut the confetti out of the Cricut Party Foil and it turned out perfectly! It may have been kind of a pain to get off of the cutting mat, but it was oh so worth it!
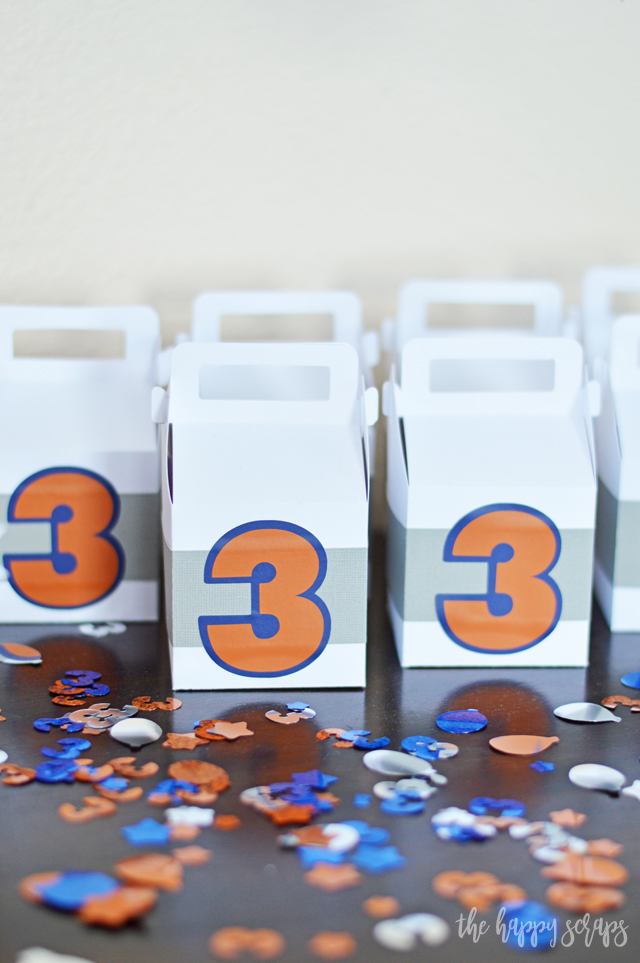
Next up? Goodie boxes! These were quick and easy to make. Actually everything was pretty quick to make once the designs were all ready to be cut. It did take a while to get the designs ready, but that part is done for you, so you can just cut things out and put them together. For these boxes, I used the scoring wheel in the Cricut Maker, and I cut the 3’s out of adhesive vinyl again. It just works so well! When I put boxes like this together, I like to use my hot glue gun because the boxes stay together better.
What is a party without a banner? I put this fun banner together with my sons name, but the letters in the Design Space File spell PARTY. You could customize it to any word you wanted and make it longer if needed as well.

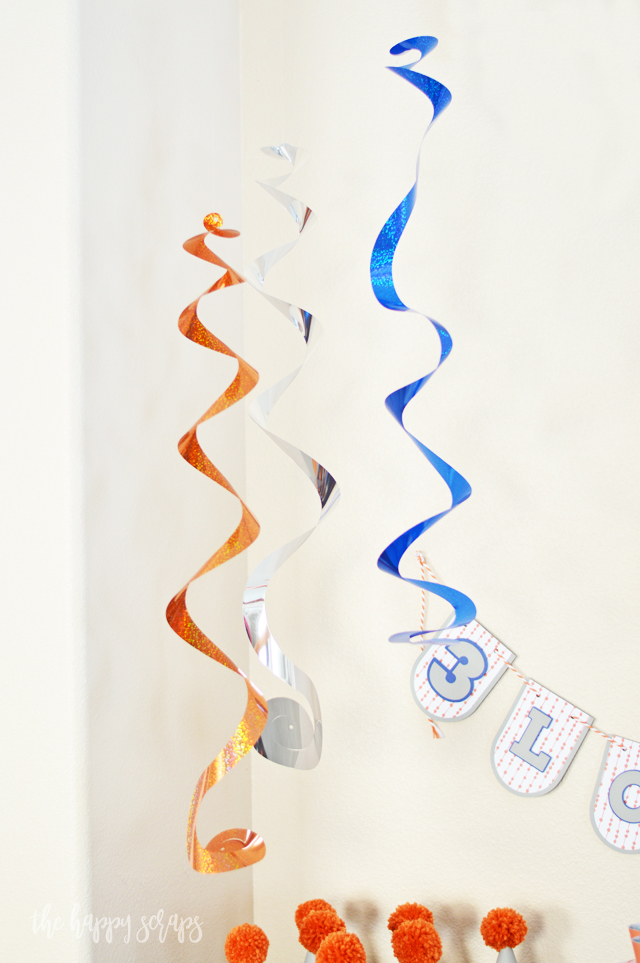
Not only did I cut confetti out of the party foil, but I also cut these streamers. Aren’t they so fun?! I’m thinking that party foil might just be one of my new favorite things to cut!
I know this photo is a little blurry, but it’s just too good not to share. When you tell a three year old that they can throw confetti all over, they enjoy themselves, right?! Not only did he love throwing the confetti, but he also loves the Three Rex shirt I made for him. It is so perfect for him, and I love that he can wear it all year long.
Over all, it was such a fun little party to celebrate our new three year old! He loved all of it!
If I’m being honest, so did I! I loved being able to make each and every bit of this DIY Birthday Party with the Cricut Maker come to life! Honestly, it felt like a rather large tasks in the beginning, but once I got moving on it, it was so fun to create it all, and it really didn’t take all that long!

The cupcake stand that I was able to create using the chipboard with the Cricut Maker was definitely focal point!
Also, I’ve recently discovered that this is a great little spot in my home for putting up party decor! 😉
If you’re planning any parties, I totally think you should create your own party decor with your Cricut Maker! This DIY Birthday Party with the Cricut Maker was so much easier than I thought. If you’re looking for more fun party ideas, check out some of the others I’ve shared here.
This is a sponsored conversation written by me on behalf of Cricut. The opinions and text are all mine.

Leave a Reply