This Embellished Wall Photos with Cricut Crafting Tools post is a sponsored conversation written by me on behalf of Cricut. The opinions and text are all mine.
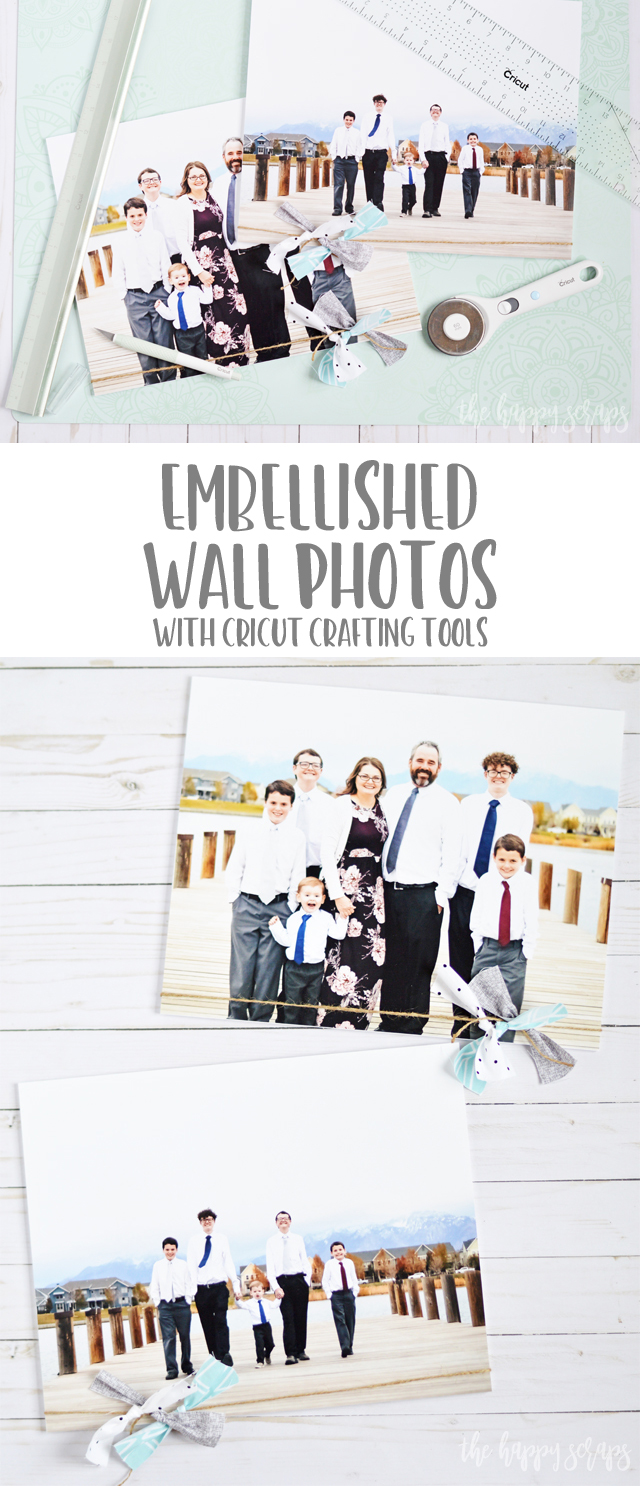
A couple of months ago, my sister got married. In the days before the wedding I was helping with getting photos ordered for displaying at the reception. When we got them ordered, we didn’t have time to order them mounted like we would have liked to + they were less expensive to order just the photos. I told my sister that I could just mount them onto foam core board for her. Well, the night before the reception, my brother and I spent an hour or so mounting about a dozen or so photos. The Cricut Self-Healing Mat, TrueControl Knife, and Cutting Ruler made mounting those photos SO easy, that I decided I wanted some for my home! Today I’m sharing with you how to mount your photos inexpensively and how to create these Embellished Wall Photos with Cricut Crafting Tools.
This Embellished Wall Photos with Cricut Crafting Tools post is a sponsored content written on behalf of Cricut. I received compensation and product in exchange for this post. This post contains affiliate links. If you click on an affiliate link and purchase something, you won’t pay anything extra, but it will help support this blog. All ideas and opinions are my own.
Embellished Wall Photos with Cricut Crafting Tools Supplies:
- Cricut TrueControl Knife (Optional set with blade refill)
- Cricut Cutting Ruler
- Cricut Self-Healing Cutting Mat
- Cricut Rotary Cutter
- Cricut Acrylic Ruler
- Cricut Designer Fabric
- Foam Core Board (I found mine at the Dollar Store)
- Spray Adhesive
- Photos
- Jute Twine

Last week I shared all about these fun tools with you, and this week, I’m sharing this fun project. Be sure to check out my other post if you have more specific questions about these Cricut Craft Hand Tools.
Mounting Your Photos
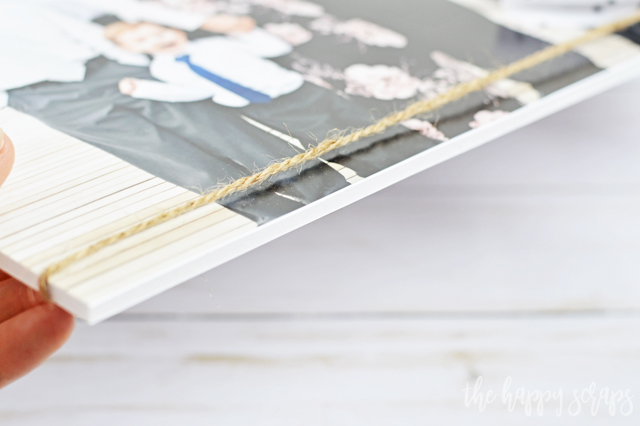
Mounting your photos to foam core board is so simple. Grab some spray adhesive and spray the back of your photo. Promptly place the photo, sticky side down, onto your foam core board. Smooth it out well. The board I was using was plenty big enough to fit two 11 x 14 photos on it.

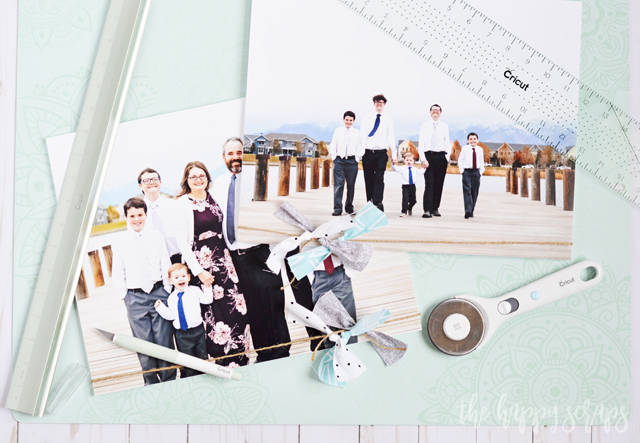
Place your mounted photos on the Self-Healing Cutting Mat. Line up your Cutting Ruler with the edge of your photo and get your TrueControl Knife ready to cut. I love the Cutting Ruler and that it has a hand guard to keep my hand safe while I cut, has a not slip mat on the bottom side, and I don’t have to worry about my TrueControl Knife cutting into the ruler at all. It is a heavy duty metal, so the knife won’t cut it. It’s also nice that it is 18″ long (longer than the 12″ rulers I’m used to using). The razor-sharp TrueControl Knife is the perfect match for the Cutting Ruler. I have used my TrueControl Knife on many, many occasions and love having it close at hand to grab for anything I might need it for.
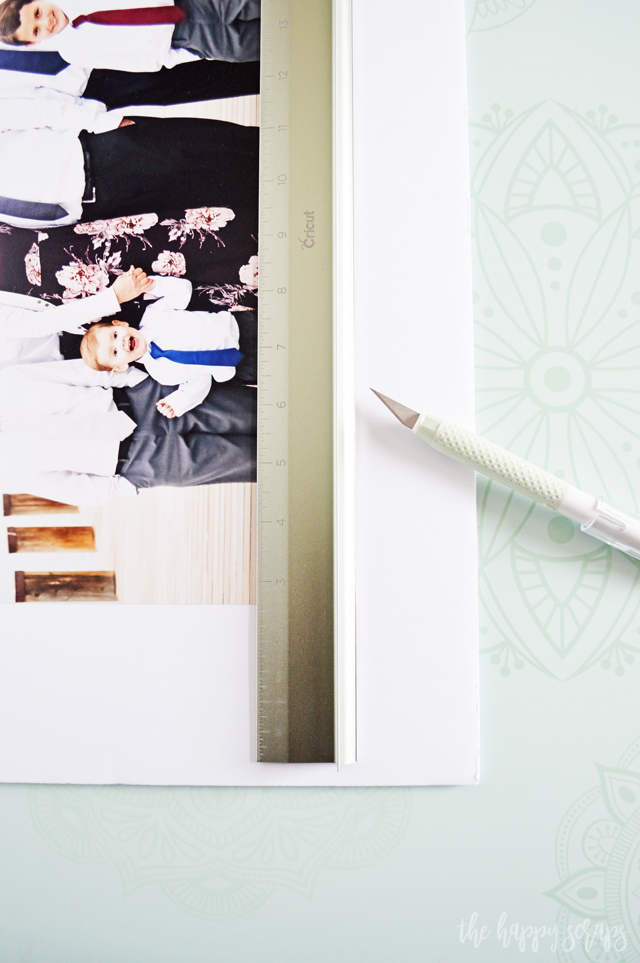
While holding the Cutting Ruler with one hand, hold the TrueControl Knife in the other and cut through the foam core board on the edge of your photo. Do this on all sides of the photo.

Once all sides are trimmed, you’ll have a photo mounted on foam core board that is a nice thickness that you could hang on the wall just like it is. These are so light weight you could just grab a command strip and hang it up with that.

I’m planning on putting these Embellished Wall Photos with Cricut Crafting Tools on a shelf on my stair way, and I wanted a little more to them than just the photo.
Embellishing your Photos
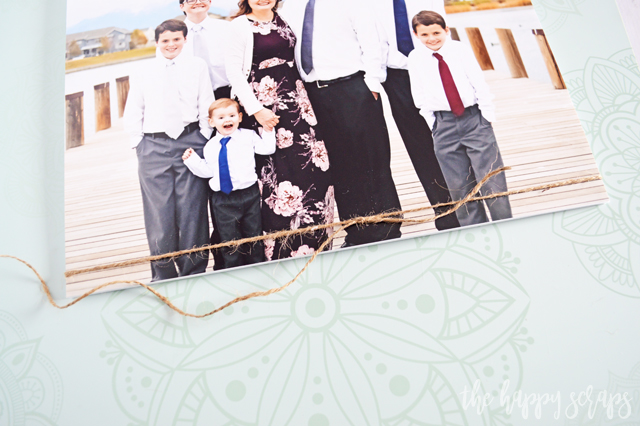
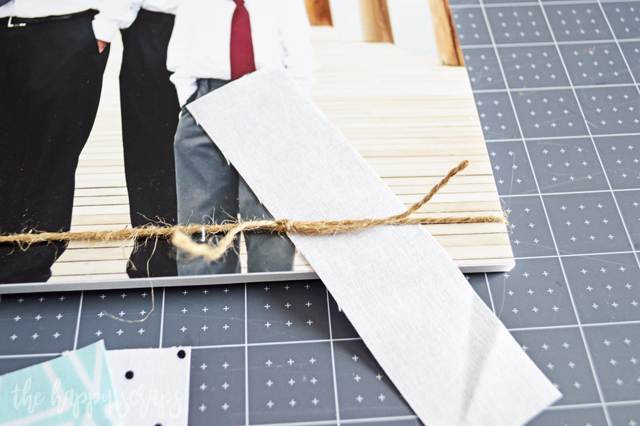
Using the Jute Twine, wrap it around the bottom of your mounted photo. Tie it in a knot, cut the long end, then slide the knot to where you’d like it.
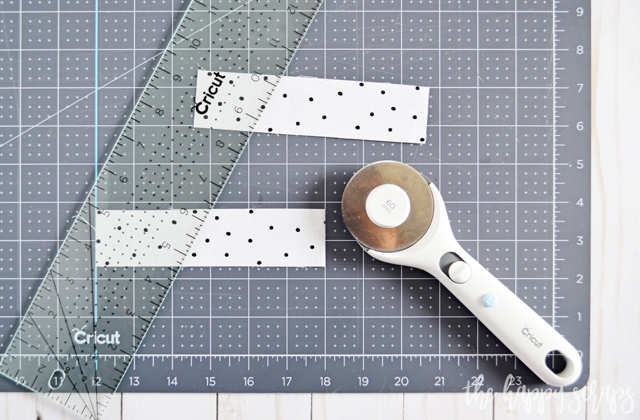
Pick out the fabrics that you’d like to use to embellish your photos with. Place it down on the Self-Healing Cutting Mat and place your Acrylic Ruler where you need it.
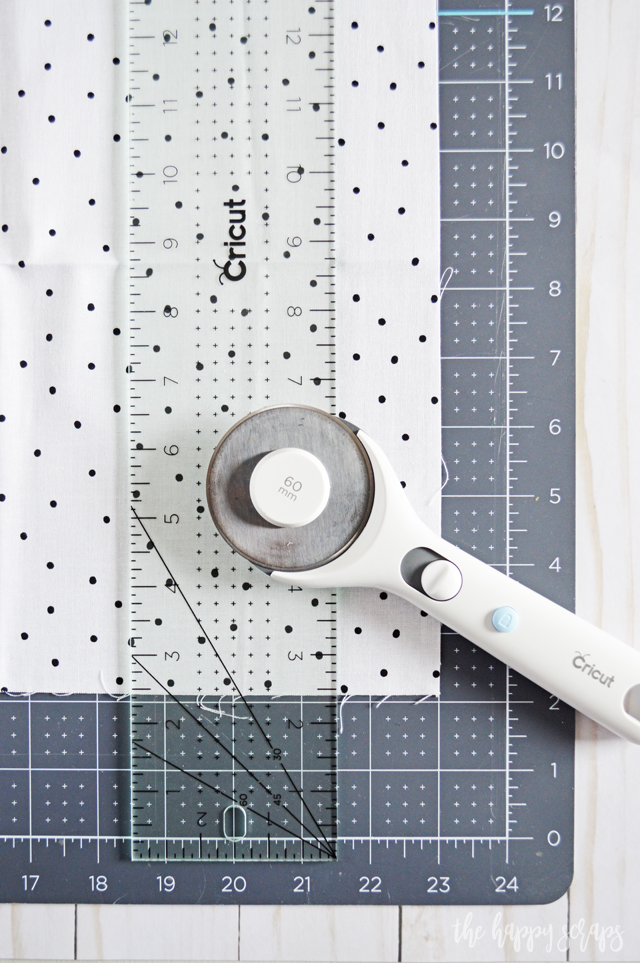
Using the Rotary Cutter, trim the fabric you need. I trimmed two pieces, each 1.5″ x 6″. Sigh, I love the mint color of the Acrylic Ruler (ok, I love the mint color of all of these tools!). There is just something fun about using pretty colored tools, right? This size of Acrylic Ruler is one I haven’t had before and it is a great size for cutting small pieces. And the Rotary Cutter? I think I’m in love! I’ve been using the same old Rotary Cutter for years + it really needs a new blade. I felt like a new woman cutting fabric with this 60mm Rotary Cutter. It is great for anyone who is right or left handed as well.
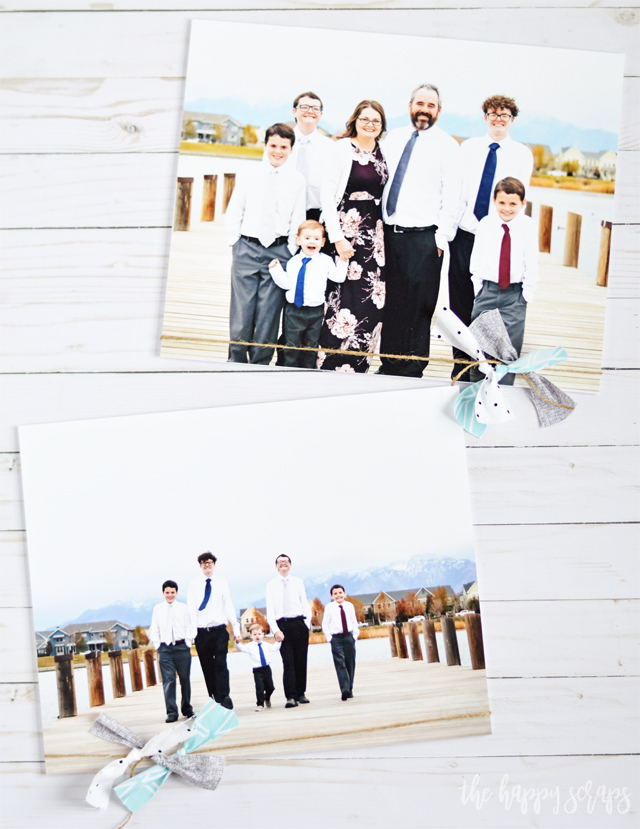
Slide a piece of the fabric under the jute twine. Tie a single knot with the fabric, attaching it to the jute twine. Repeat for as many pieces of fabric you want on the twine.
I chose to do three different pieces. I adore what these simple pieces of fabric add to my photos.
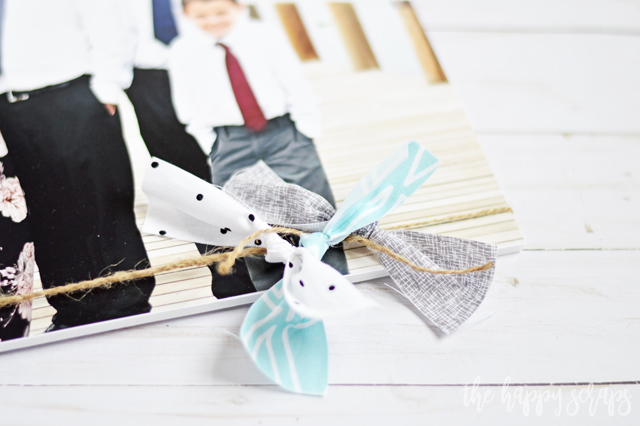
Now that I’ve gotten my Embellished Wall Photos with Cricut Crafting Tools finished, I’m ready to put them up in my home. I really love the dimension added from the foam core board and I LOVE how easy it was to cut through the foam core board. It only took one pass. When I’ve tried cutting foam core board in the past, I’ve always had to cut twice. With the TrueControl Knife, it just takes that one pass!
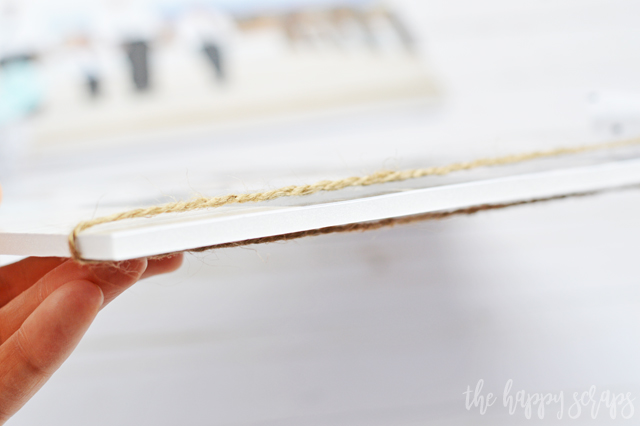
While the embellishments might be simple I think it adds just the right touch to these photos, don’t you?
These Cricut Tools made this project a quick and easy one + I love the way these Embellished Wall Photos with Cricut Crafting Tools turned out!
If you’re a crafter then these Cricut Crafting Tools are a must!
Be sure to check out all of my other fun Cricut posts that I’ve got here on the blog.
This is a sponsored conversation written by me on behalf of Cricut. The opinions and text are all mine.

Leave a Reply