I can hardly believe that we are already almost half way through March! The time is just flying by and I’m over here still feeling like I can’t keep up with all that I need to. I guess that’s just life, huh?! Sometimes it is anyway. I’m not sure why, but St. Patrick’s Day is a favorite of mine to celebrate. A couple of years ago, I put together a fun little breakfast for my kids. They loved it! I’m hoping to do something similar this year. We always enjoy having corned beef and cabbage for the holiday as well. I feel like it is one of those holidays that have low expectations so we all enjoy it! This year I decided that I wanted to put together this Simple St. Patrick’s Day Rainbow Treat to give to my boys on St. Patrick’s Day.

This Simple St. Patrick’s Day Rainbow Treat post contains affiliate links. If you click on an affiliate link and purchase something, you won’t pay anything extra, but it will help support this blog. All ideas and opinions are my own.
Simple St. Patrick’s Day Rainbow Treat Supplies:
- Rainbow Color Candies
- Gold Candy
- 1 x 10 Tape Top Cellophane Bags
- Glue Dots
- Baker’s Twine
- Cricut Maker or Cricut Explore Air 2
- Design Space Cut File
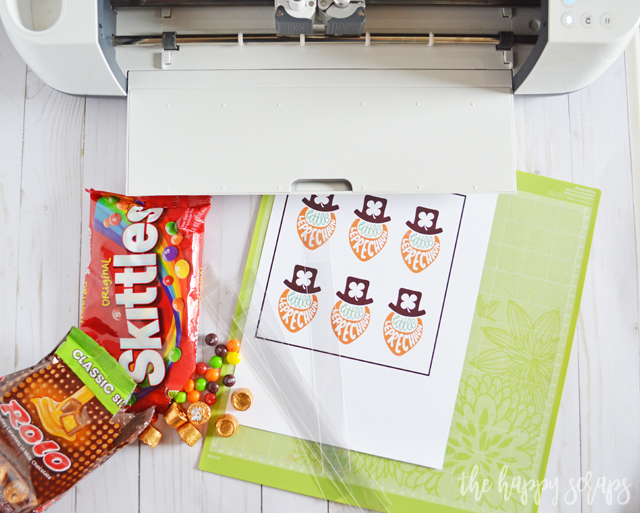
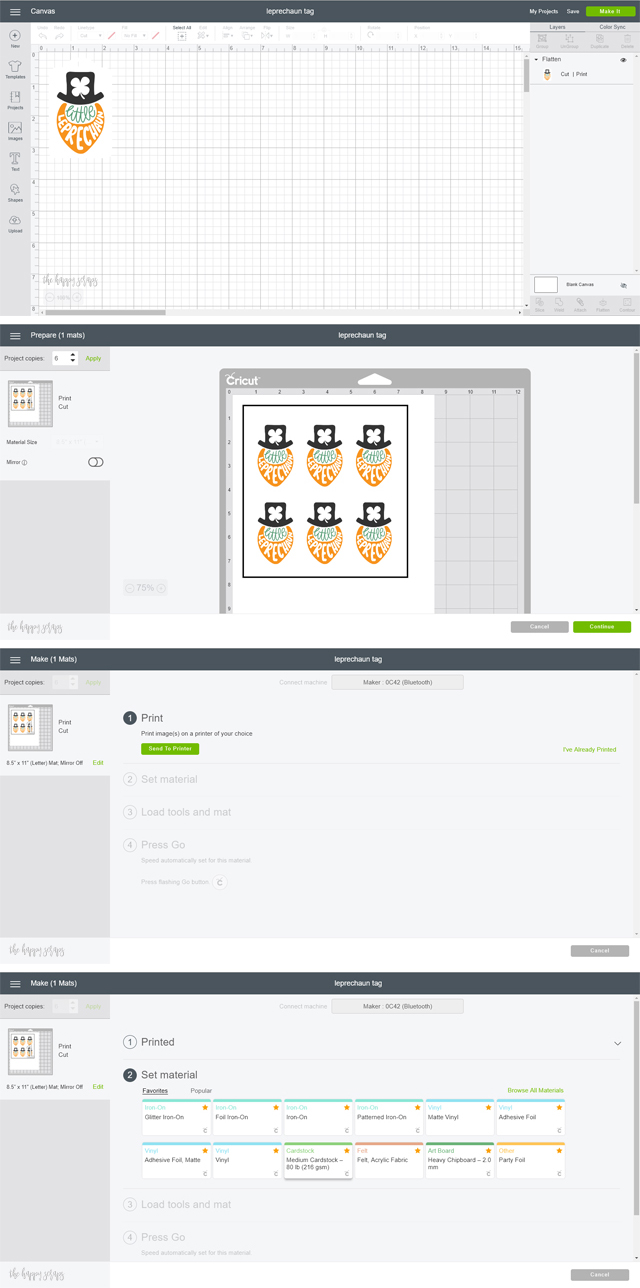
I don’t know what it is about rainbow treats for St. Patrick’s Day, but I love them, and of course, my kids do as well. I was going to try and design my own printable for these cute treats, but I decided to go the easy route. I just found a design I liked in Design Space, and used that. I found this Little Leprechaun design and I turned it into a print design. Then I found a tag that I wanted it printed on. I lined these up and flattened them. Once I clicked “Make It” I changed the copies to “6”, then clicked continue. When prompted, I sent it to the printer, then put the printed design on my cutting mat. I selected the cardstock I was cutting then inserted it into the machine when the machine was ready.
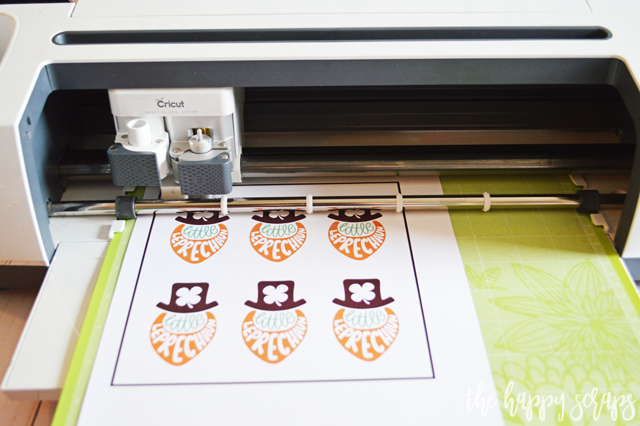
The Cricut Maker read the registration marks on the paper and it knew just where to cut the tags.
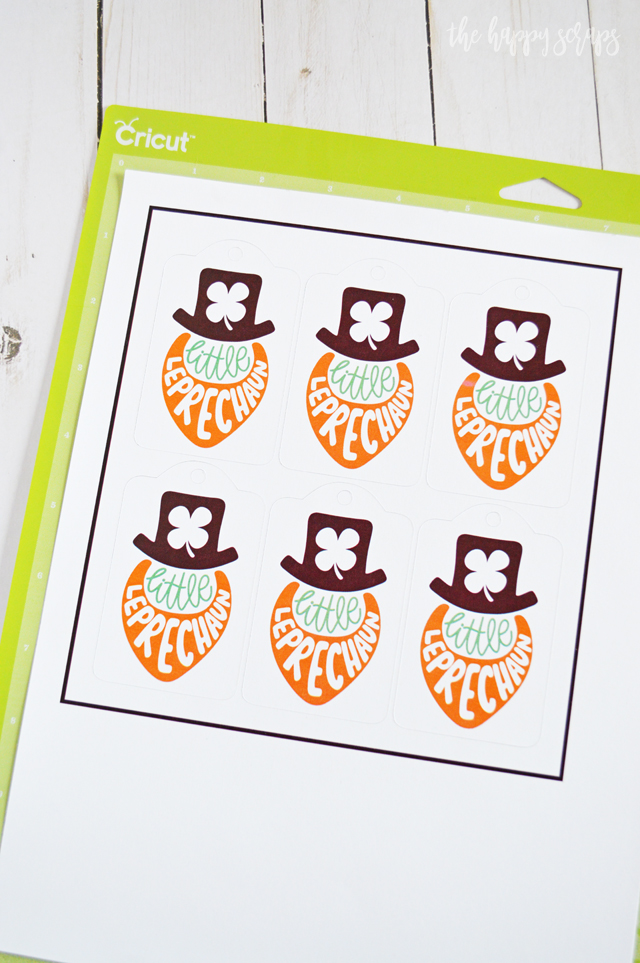
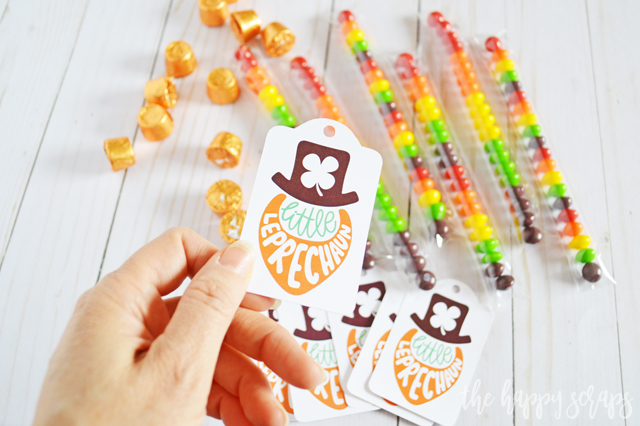
It might be a little hard to see, but this is the tags, once they were cut. The cut perfectly!
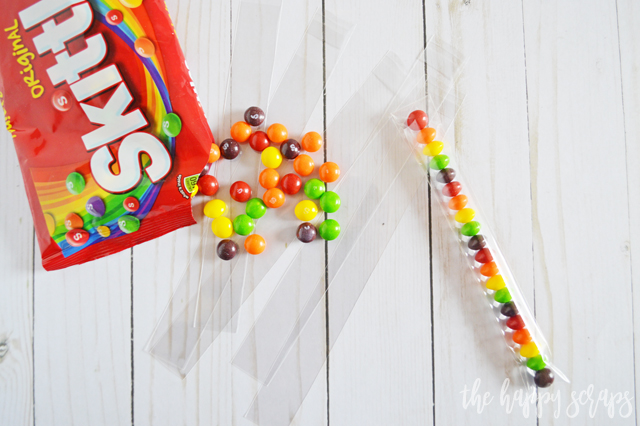
While the Cricut Maker was working to cut the tags out, I filled up the candy tubes with Skittles.
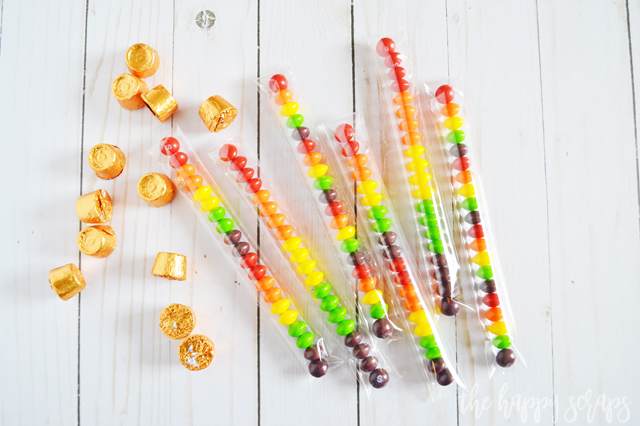
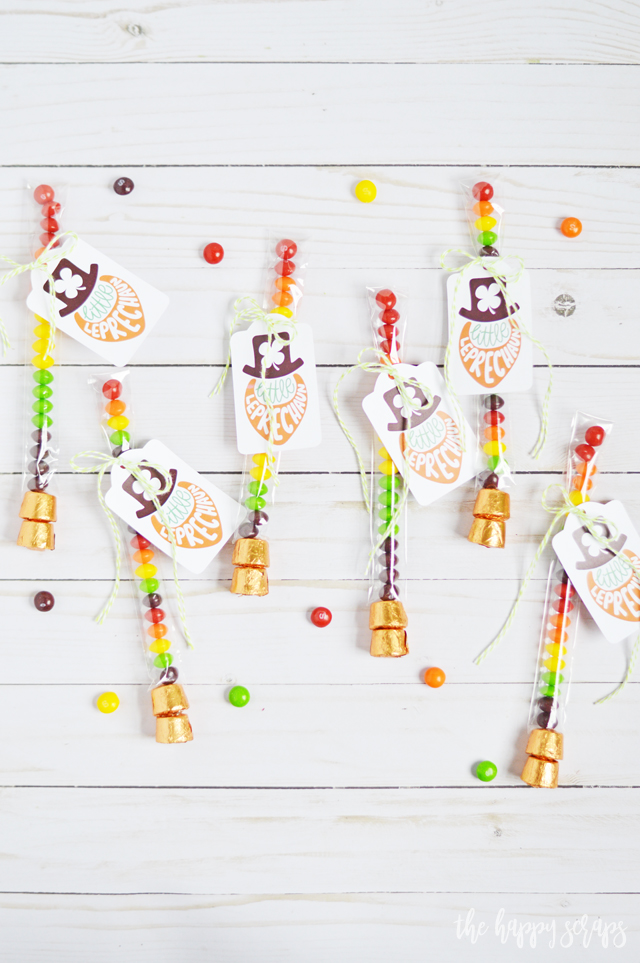
I was putting six of them together, so I did three different patterns of candy.
Peeling the tags off of the mat was super simple, they cut perfectly!
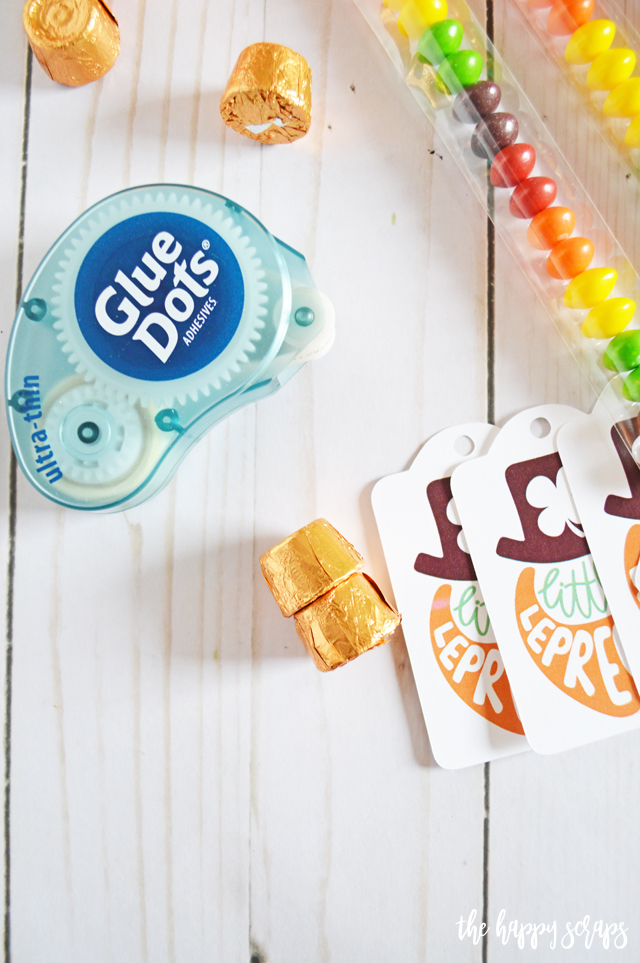
Using Glue Dots, I attached a couple of Rolos together, and attached them with a Glue Dot to the end of the tube full of candy.
Once I had all the tubes of candy ready for the tags, I pulled out my baker’s twine.

Doubling up the baker’s twine, I tied the tags to the tubes of candy and my Simple St. Patrick’s Day Rainbow Treat was finished!
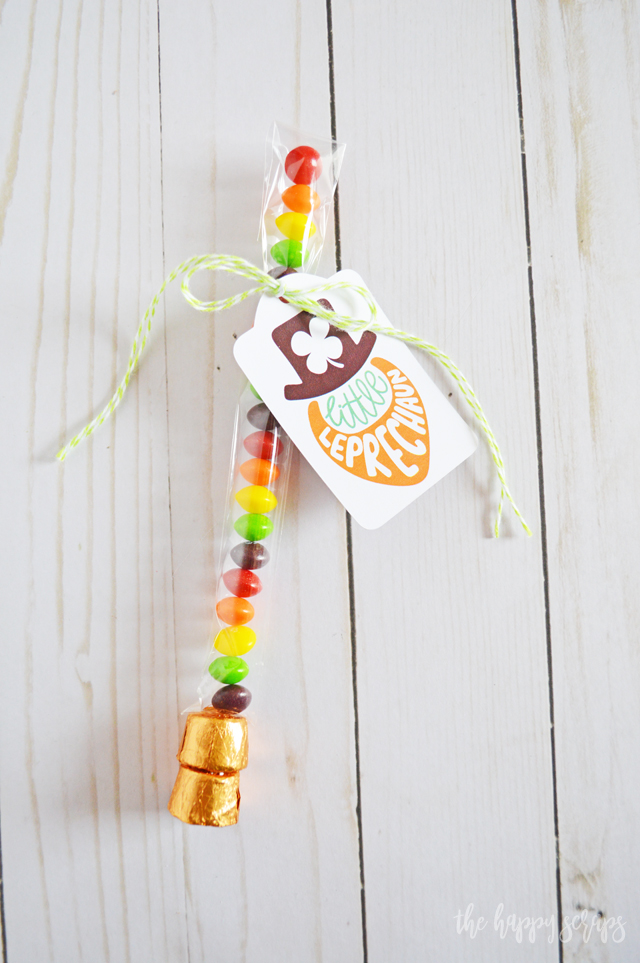
Isn’t this Little Leprechaun tag so cute? I think it’s the perfect tag for any St. Patrick’s Day treat! I’m sure my boys will love it when I give these to them.

Also, one of my favorite things is seeing the rainbow of the candy.

Who do you know that you could give this Simple St. Patrick’s Day Rainbow Treat to that would love it?
If you’re looking for more fun St. Patrick’s Day treats or projects, then be sure to check out my gallery here.

Leave a Reply