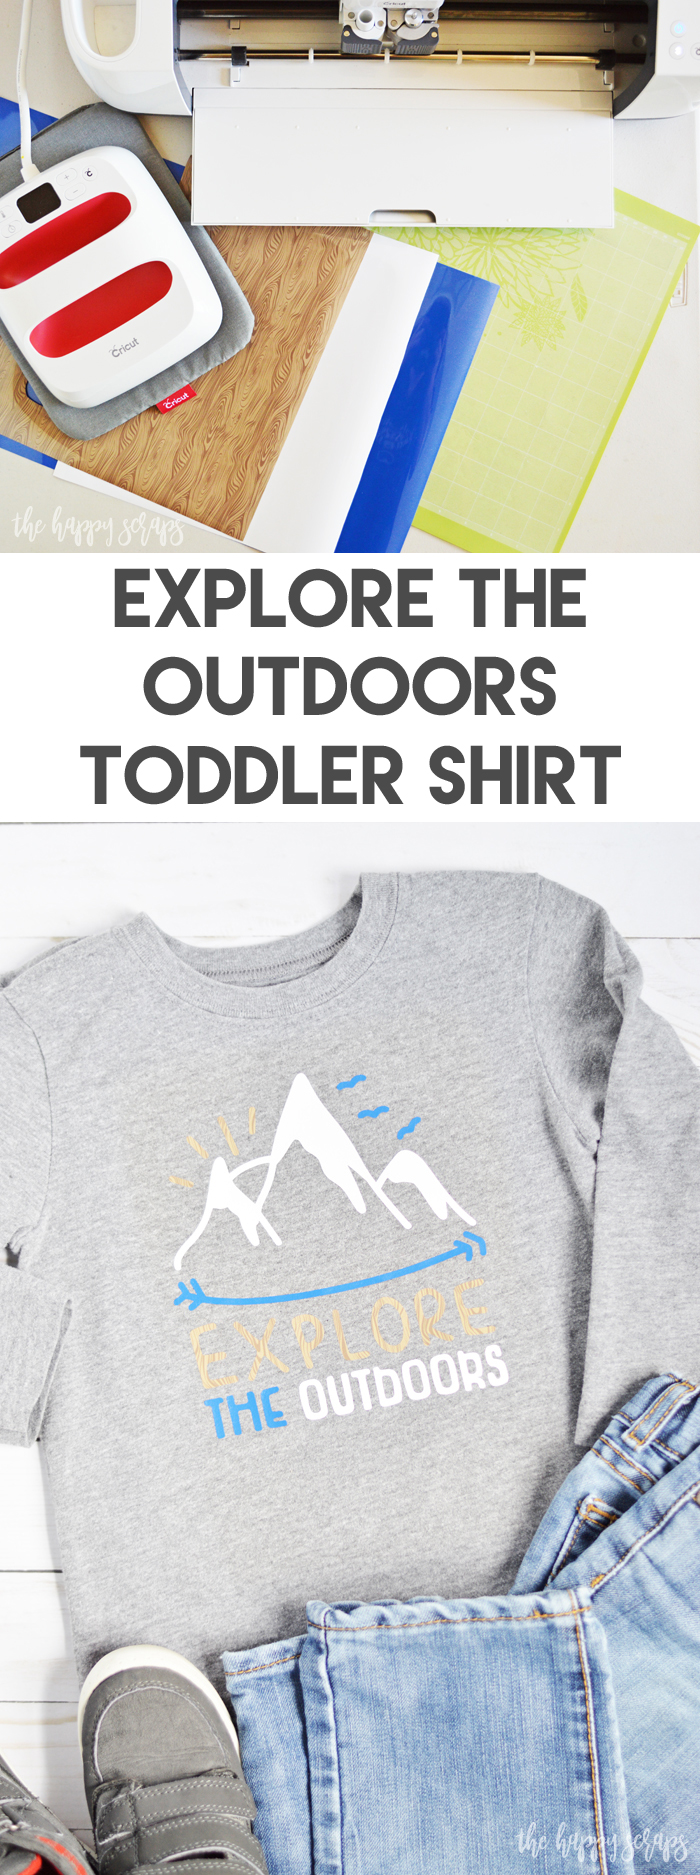
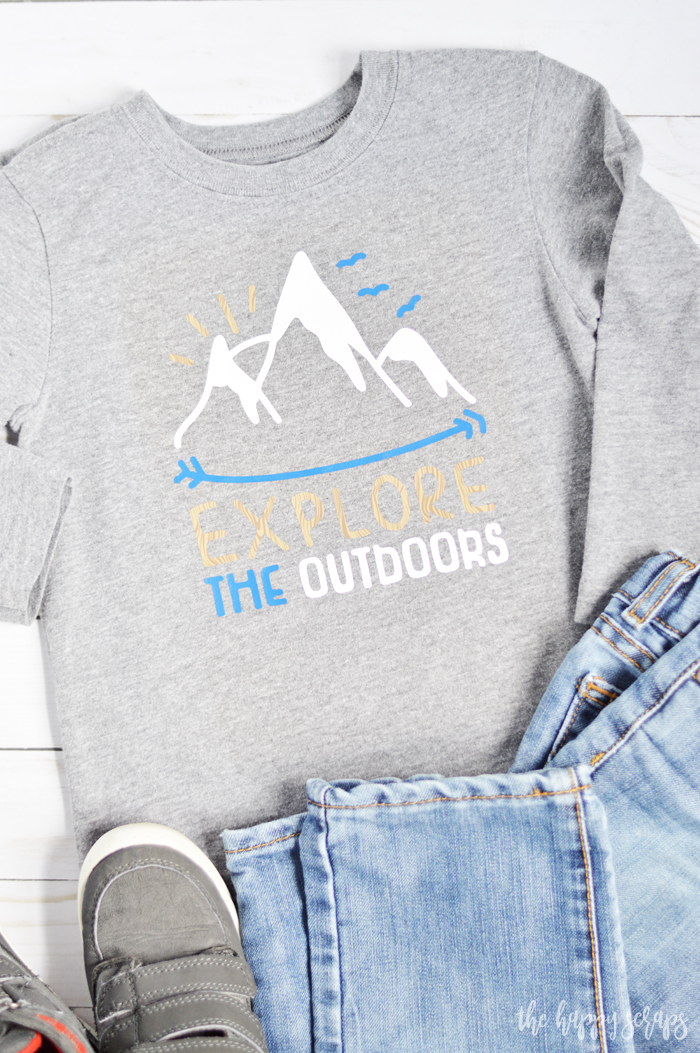
My boys are headed back to school next week, and I can hardly believe that summer is coming to a close. I unintentionally ended up kind of taking the summer off from blogging, but I’m hoping that once my boys are back in school that I can find some consistency with it again. This Explore the Outdoors Toddler Shirt is one that I made at the beginning of the summer, and I’m just finally getting it shared here. That is how my summer has gone! I’ve been trying to spend more time with my boys, but honestly being a mom is hard. So hard! Every year I think about all I want to do with my kids through the summer and then I fail miserably at getting any of it done! Any other moms feel that way? We did manage to make it to the pool once this year, we went on an amazing family vacation, and have gone to the family cabin several times. I love the memories that we’ve made and I hope I can focus on those memories, rather than all of the things that we didn’t get done that I would have liked to. Anyway, you didn’t come here to listen to me complain about my summer! Ha! When I created this fun Explore the Outdoors Toddler Shirt, it was for all the camping that we planned on doing this summer. We are building our own camp site on a mountain where we are members. It is privately owned and each member can have a camp site. It is taking us so much longer to create the camp site than we thought it would, so we still haven’t camped there. Hopefully next year!
This Explore the Outdoors Toddler Shirt post contains affiliate links. If you click on an affiliate link and purchase something, you won’t pay anything extra, but it will help support this blog. All ideas and opinions are my own.
Explore the Outdoors Toddler Shirt Supplies:
- Cricut Maker
- StandardGrip Cutting Mat
- Cricut EasyPress 2 (small size)
- Cricut EasyPress Mat
- EasyWeed in Royal Blue & White
- Wood Texture HTV
- Weeding Tools
- Prewashed Blank Shirt (I found mine at Walmart)
- Design Space Cut File

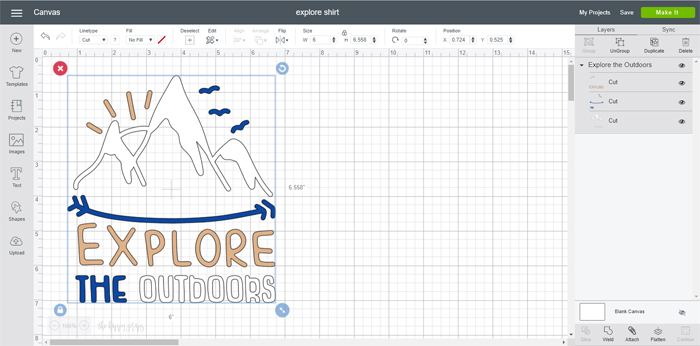
Design Space has so many fun + awesome designs! This design is one that I found to use and all I did with it is change the colors to what would work for me. One of the things I really love about Cricut Access is that I can find almost anything I’m looking for and I don’t have to create a design myself! Once the design was ready, I sent it to the Cricut Maker to be cut!
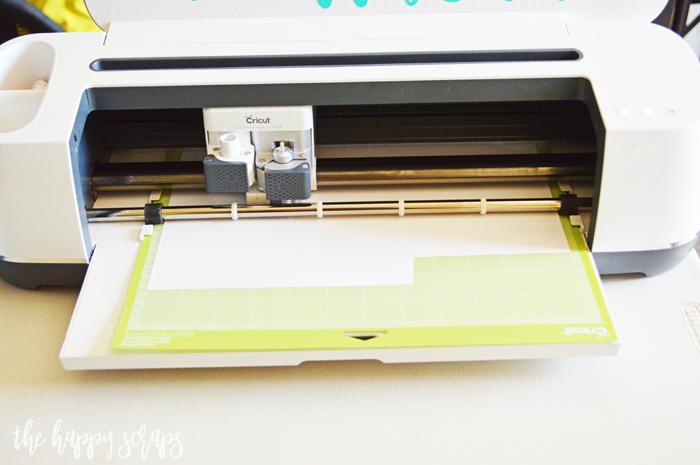
Have you cut HTV before? I shared all about How to Cut HTV with your Cricut if you have any questions.
Once the design was all cut and weeded, I lined up all the layers and figured out where the center was. Then I removed the top two layers so I could press the bottom layer first. I pressed each layer, making sure to removed the carrier sheet between each layer so I didn’t press the HTV to the carrier sheet. Two things to always make sure of when using HTV: Make sure your entire design is covered with a carrier sheet before applying heat + make sure that the HTV design is touching the fabric, not another layer of carrier sheet, before applying heat!
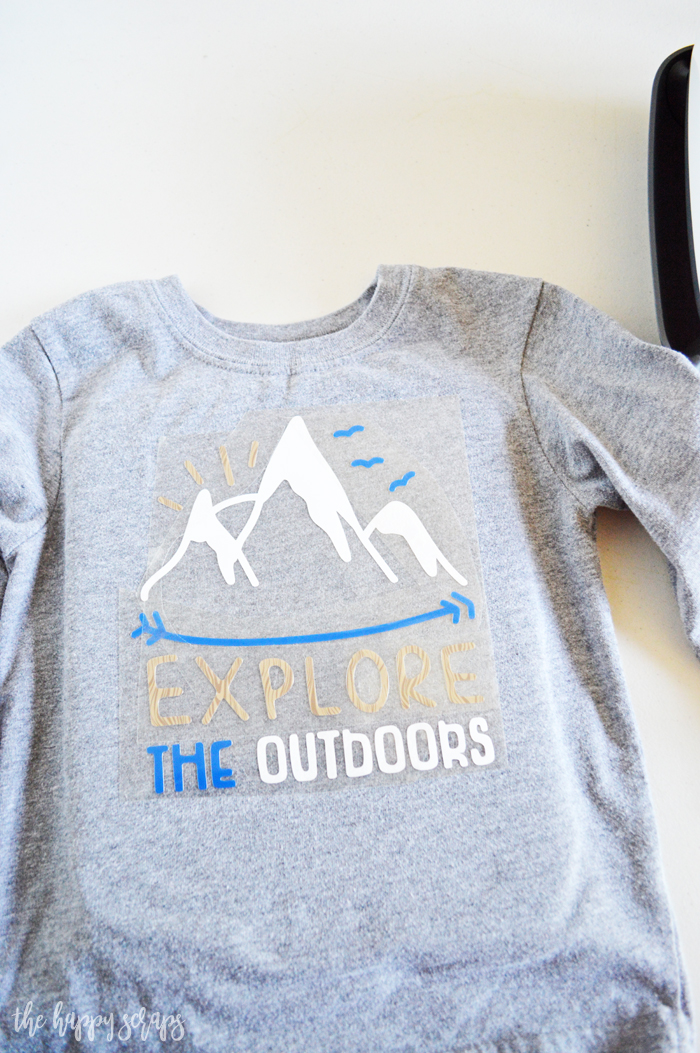
Once you’ve applied your heat, removed the carrier sheets.
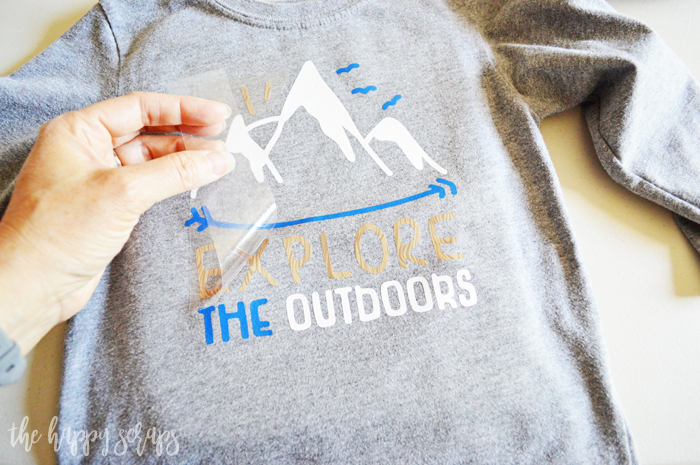
Isn’t this such a fun design? I really love what the wood grain HTV adds to this!
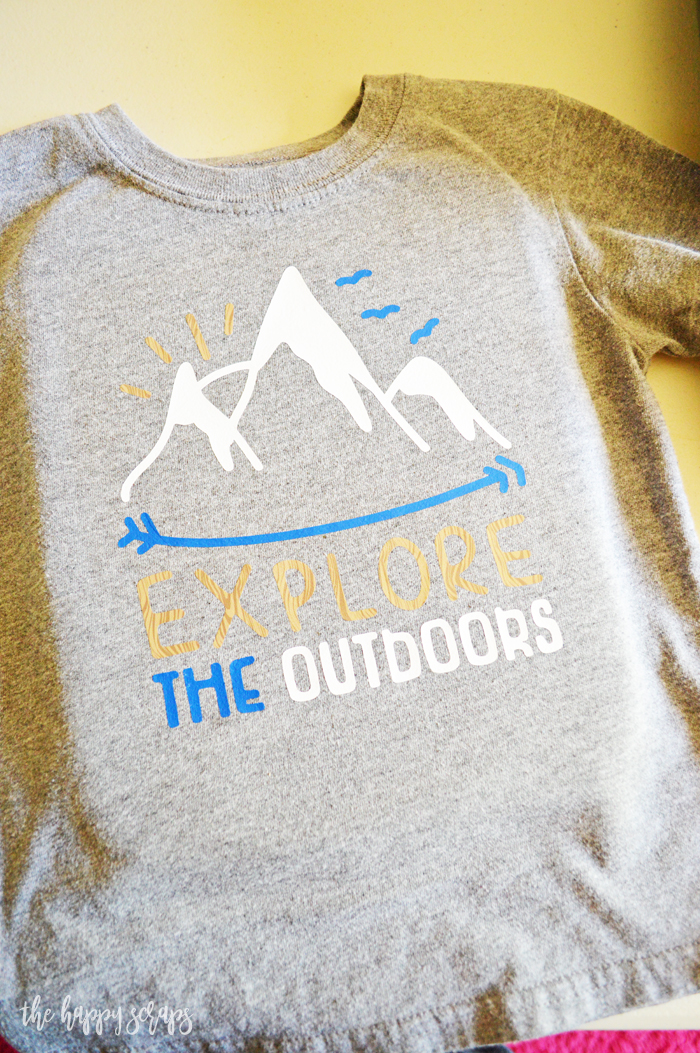
This Explore the Outdoors Toddler Shirt has turned out to be one of my sons favorites!
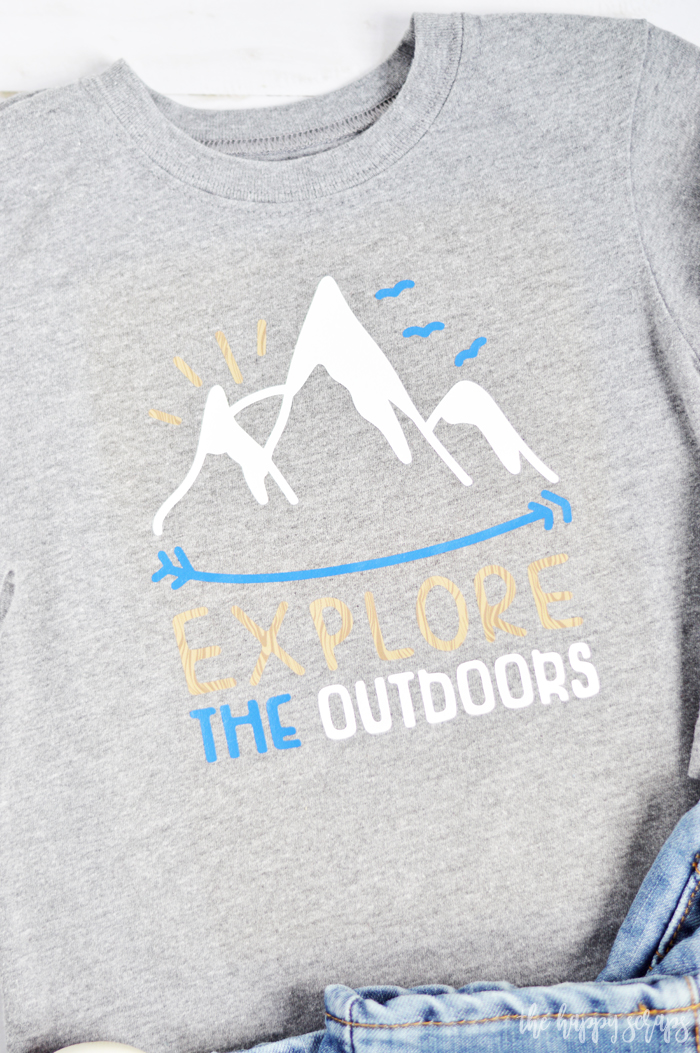
He loves to wear it when we go to the cabin, and I love that it is long sleeved so he is less likely to get sunburned. When we go, we are in the mountains so it is cooler as well!
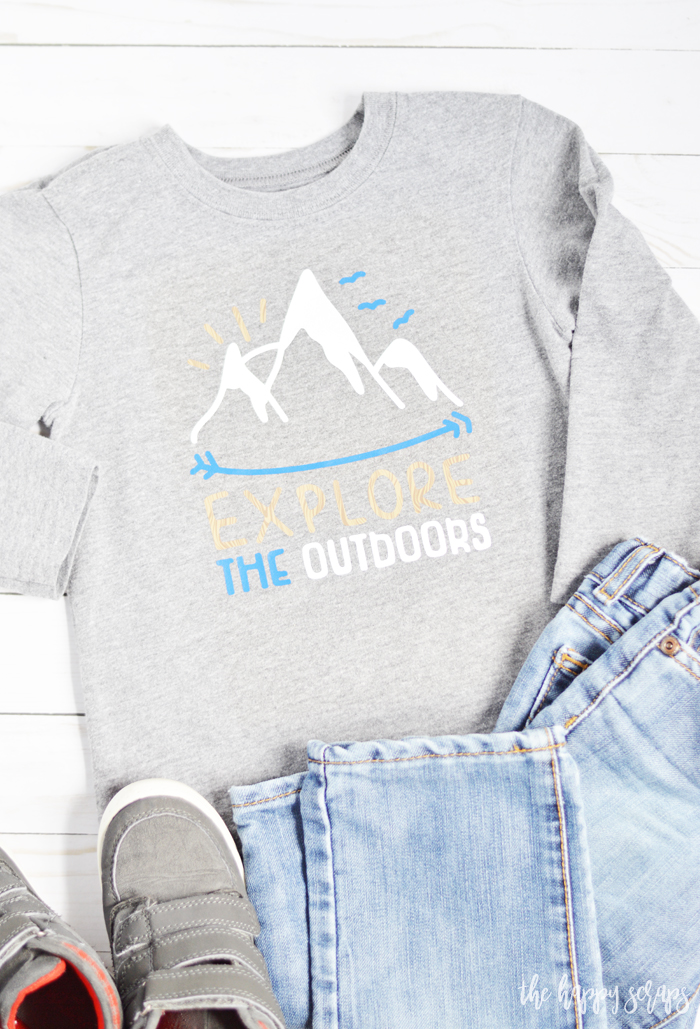
Do you have a little one that loves to explore?
If you’re looking for more fun Cricut ideas, then be sure to check out my gallery here.

Leave a Reply