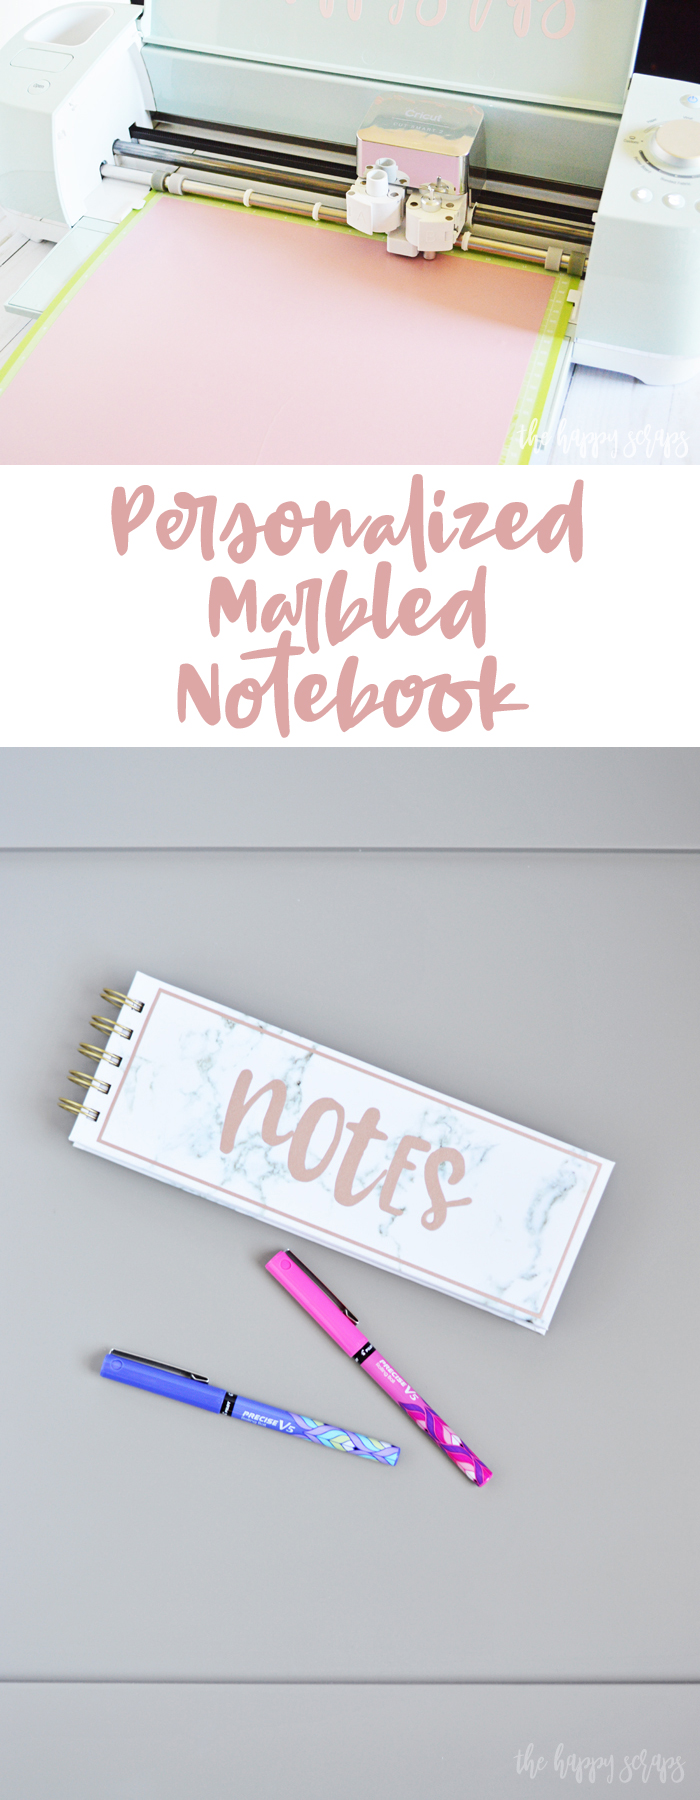
Working quickly and in a timely fashion is not something that I do well, especially the last couple of years. Ha! Does anyone else feel the same way? I’ve been trying to get to the grocery store all week, and I still haven’t made it there. I also haven’t cooked dinner once this week. We’ve either had left overs or simple things like Ramen. It’s been pretty bad this week, but I’m hoping I can make it to the grocery store after planning a menu today. We will see! Anyway, this project has been something I’ve wanted to do for over a year. I don’t remember exactly when, but I was shopping at Office Max about a year and a half ago, and I found this fun notepad that had a marbled cover on it. I knew immediately that I wanted to put something on it. Well, I brought it home, I even designed what I wanted on it, but it wasn’t until this week that I actually cut it out and applied it. I think it worked out for the better though, because I ended up using heat transfer vinyl rather than adhesive, and I used the EasyPress Mini to apply it and I don’t think it would have turned out near as well, had I not had the EasyPress Mini to use on this, so maybe it wasn’t all bad that I waited so long to make this Personalized Marbled Notebook. 🙂
This Personalized Marbled Notebook post contains affiliate links. If you click on an affiliate link and purchase something, you won’t pay anything extra, but it will help support this blog. All ideas and opinions are my own.
Personalized Marbled Notebook Supplies:
- Cricut Explore Air 2 or Cricut Maker
- Cricut EasyPress Mini
- Rose Gold HTV
- Weeding Tool Set
- Notebook (any notebook would work)
- Design Space Cut File

Prepare your design in Cricut Design Space. You’ll want to make sure it fits on whatever notebook you’re using. This one is sized specific to the one I used.
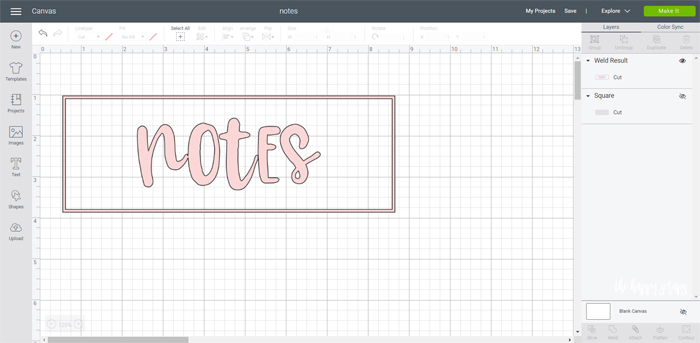
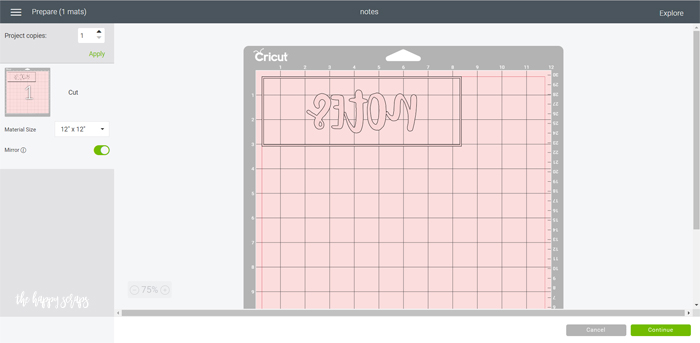
Click “Make it” then mirror your image. You could also use adhesive vinyl for this project, there is just a chance that it wouldn’t last as long. Once you’re ready, send it to be cut.
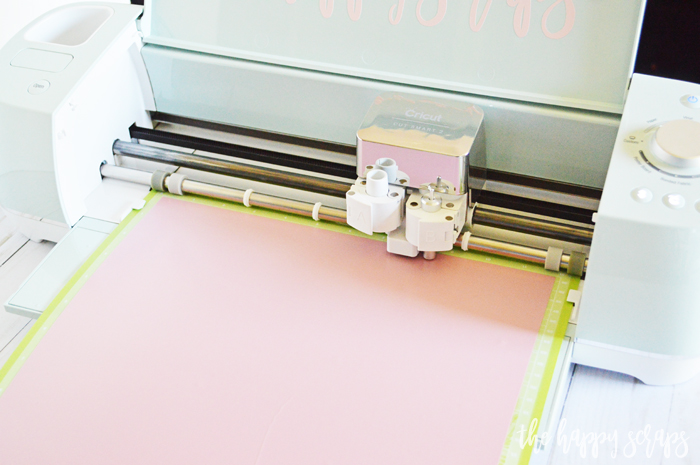
Load your mat with your HTV on it, shiny side down.
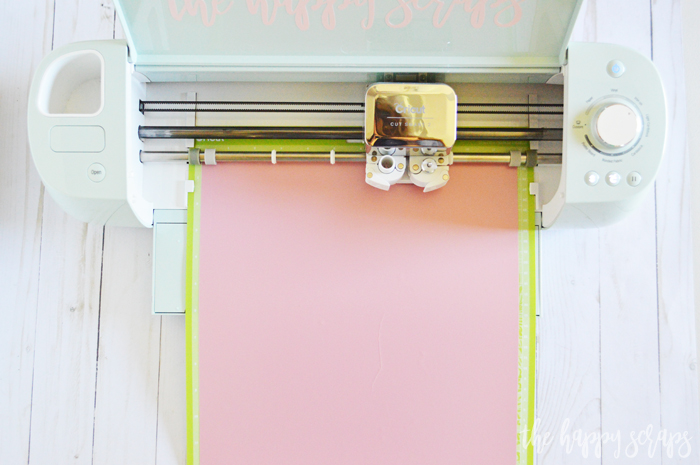
Watch the magic of the Cricut cutting your design.
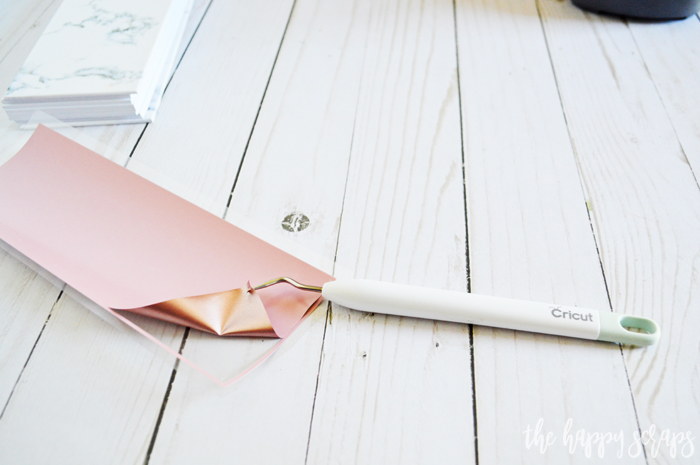
Once cut, pull your heat transfer vinyl off of the mat. Trim away the extra vinyl, then weed your design.
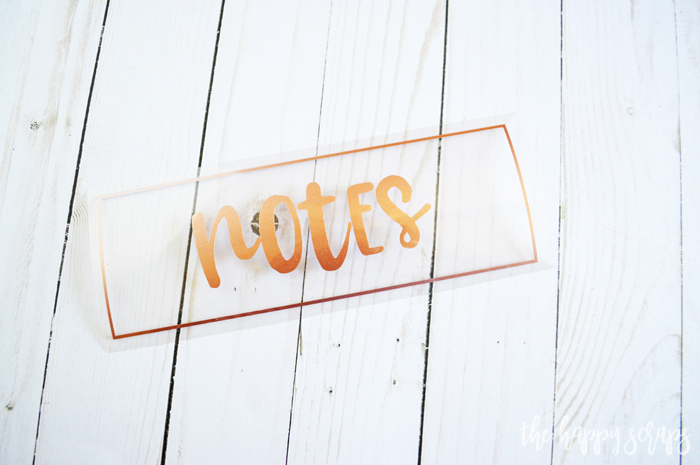
You’ll end up with a pretty weeded design ready to be put on the notebook.
Preheat the EasyPress Mini. Find the temperature from the Heat Guide. Place the design onto the front of your notebook.
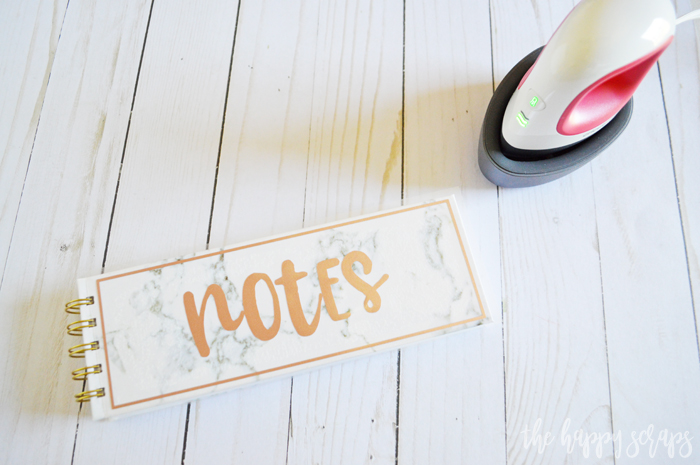
Once the EasyPress Mini is ready, apply the heat to your notebook. Make sure that you continually move the EasyPress Mini. Also, you can use heat resistant tape to hold the design in place. Sometimes the smaller designs like this try to move when heat is applied.
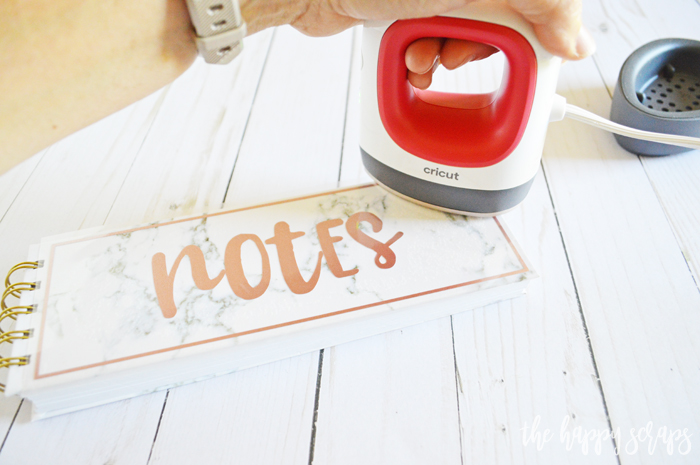
When you’ve applied the heat, place the EasyPress Mini back on the base and then carefully remove the carrier sheet, making sure everything is adhered. I had one little spot that I had to go over once more.
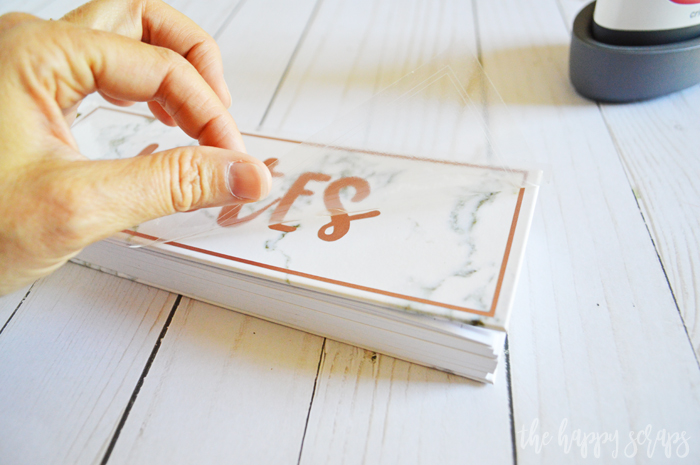
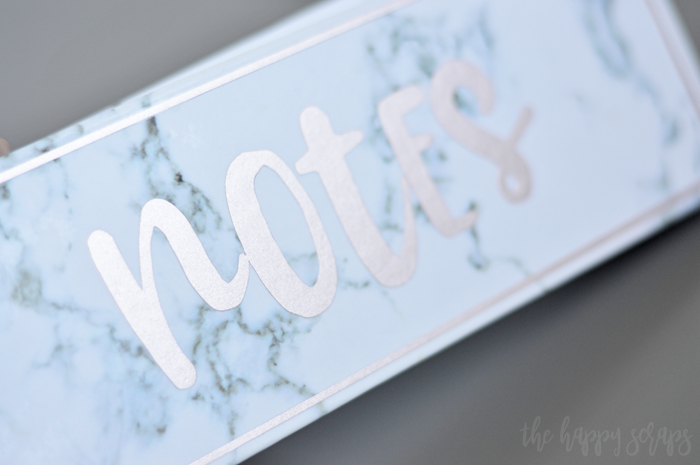
I love the shimmer of the rose gold heat transfer vinyl. I wish you could see it in real life because it looks so much better than the pictures show!
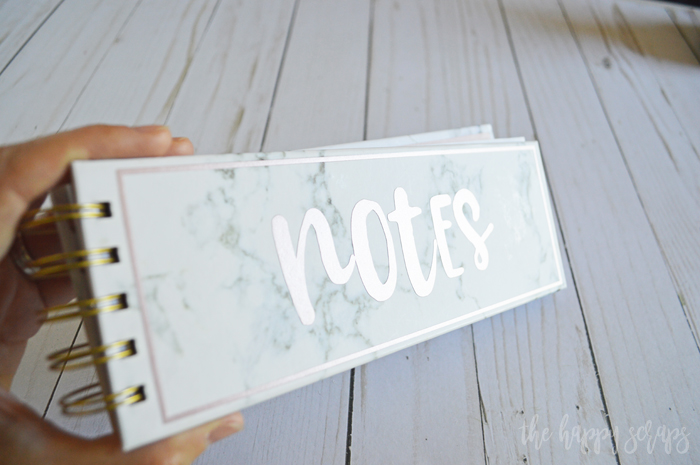
This is the perfect little notebook to write down grocery lists, to do lists, or whatever I need to write down. The size is perfect.
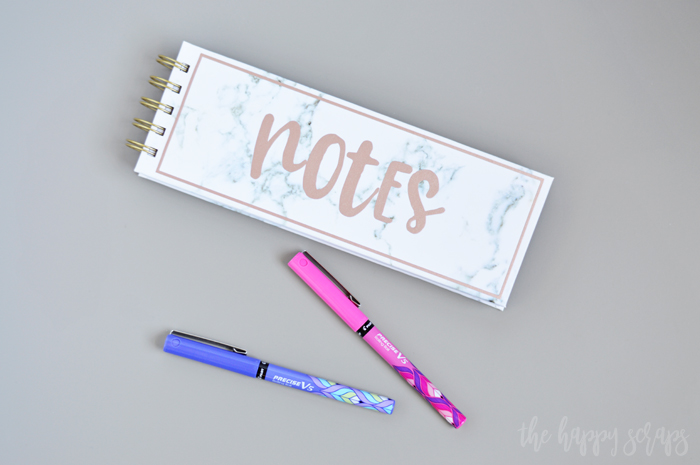
And the added bonus of the cute cover on this Personalized Marbled Notebook will have me grabbing it time and time again now! 🙂
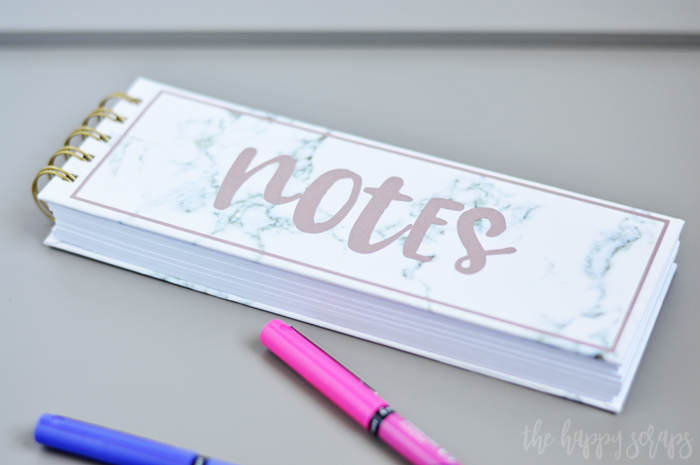
I’m also not worried about the design lifting off of it at all since it is heat transfer vinyl. It is on there good!
So tell me, if you put something on a notebook like this, what would it say?
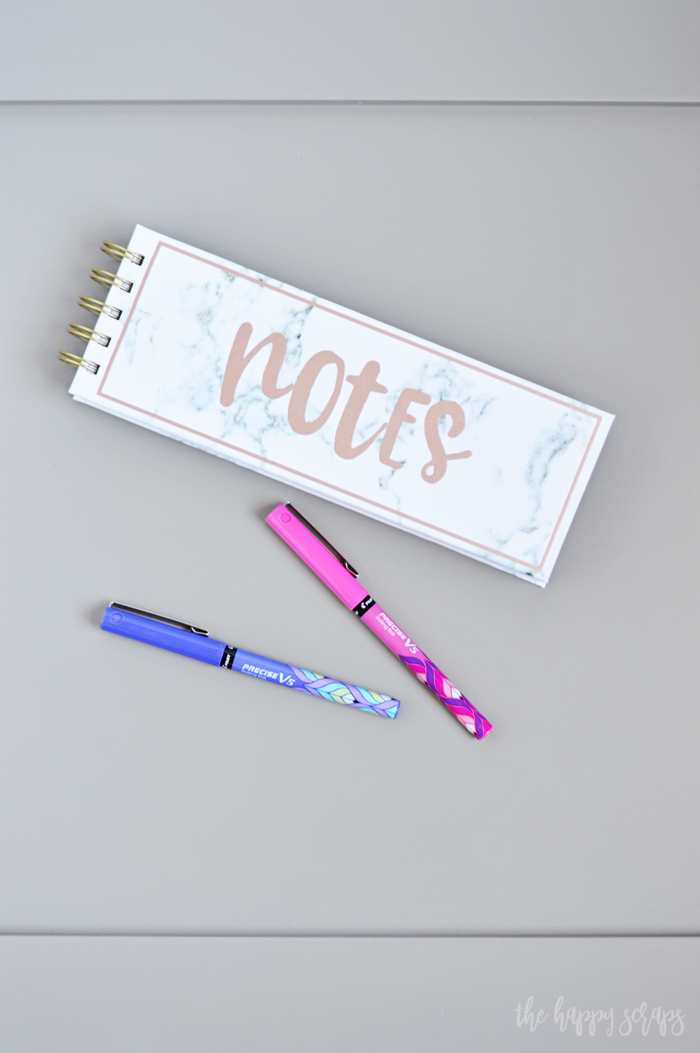
I hope you’ve enjoyed the tutorial for this Personalized Marbled Notebook. If you’d like to see more projects using your Cricut machine, check out the Cricut gallery here.

Leave a Reply