You know those people who share sneak peeks of things on social media and then later that day they are sharing the finished project as well as a blog post? Yeah, I’m not one of them, lol! Anymore, it takes me multiple days to get one project, start to finish, ready for a blogpost. I’m not quite sure why I’ve slowed down so much, but I have, and I just do the best I can with it all. 🙂 On Monday, I shared a peek of this project on my Instagram stories, and now I’m getting it posted. This is actually pretty fast turnaround time for me. Anyway, I’m excited to be sharing these Trick or Treat Mini Gift Bags here with you today.

This Trick or Treat Mini Gift Bags post contains affiliate links. If you click on an affiliate link and purchase something, you won’t pay anything extra, but it will help support this blog. All ideas and opinions are my own.
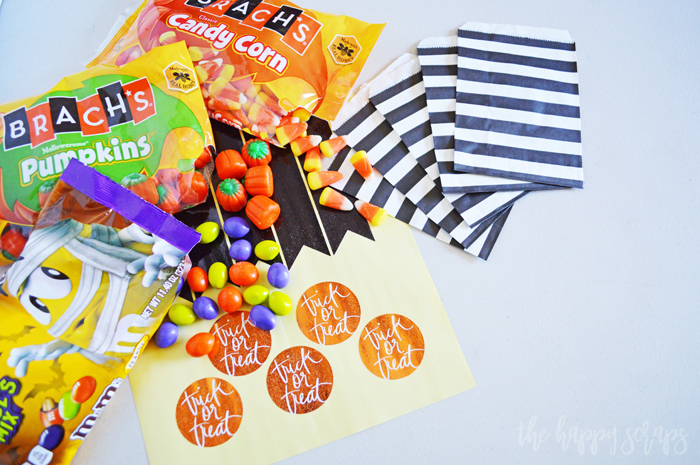
Trick or Treat Mini Gift Bags Supplies:
- Cricut Maker or Cricut Explore Air 2
- Heidi Swapp Minc Machine
- Black & Orange Reactive Foil
- Heidi Swapp Halloween Bundle
- Laser Printer
- Printable Label Paper
- Paper Treat Bags
- Candy

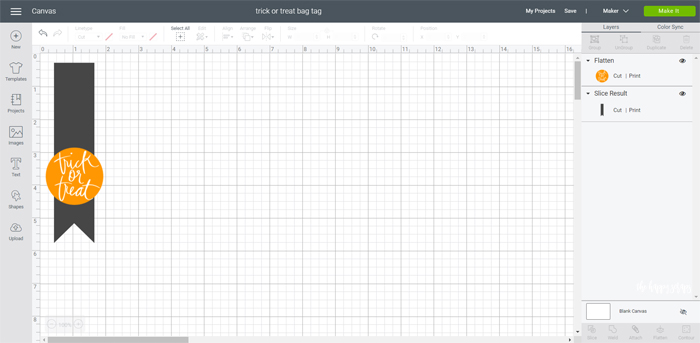
After you gather all of your supplies, start out by importing the trick or treat SVG file into Cricut Design Space. Separate out the text into three different lines rather than one. Put a circle around it, fitting it all inside. Once the circle design is how you want it, flatten that portion of the image. Next, you’ll create the black flag portion. Do this by using the rectangle and triangle shapes, then slicing them once the shape is right.
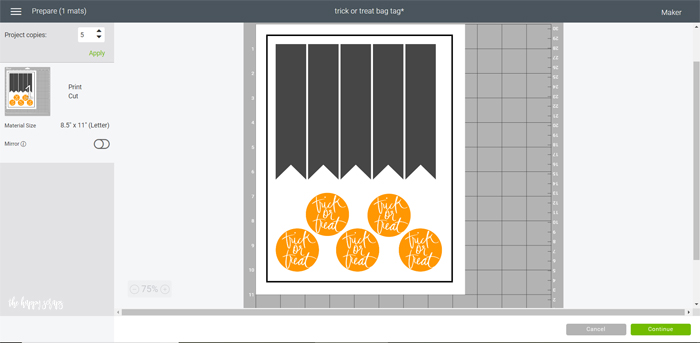
Click the “Make it” button. Increase the project copies to the number needed. Because I was making five, that is what I did, and it filled one sheet just right. If you also make five, I would suggest moving the orange trick or treat circles down to the bottom as far as possible, giving more space between the flags and circles. Add bleed and send the design to be print.
Foil Your Design
This portion is optional. If you don’t have a Minc Machine, first, you totally should ;), they are so fun, and second, the print is colored to the orange and black already. You’ll be creating your own print though, so you can color it the way you’d like. Place the printed design into a transfer folder. Place your foil over the top of the designs. Be careful not to cover the registration mark line with the foil. (I’m not sure if it would matter or not, but I always try and keep the registration marks free of foil.)

Place a blank printer sheet on top of the foil, then close the transfer folder. The paper is to keep the registration marks from transferring onto the transfer sheet.
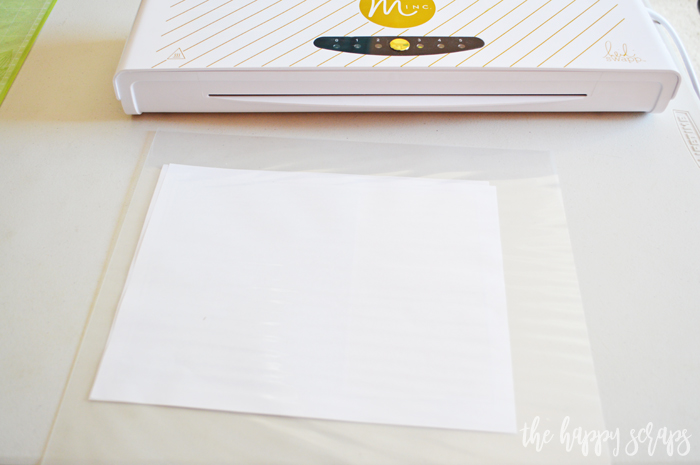
Set the Minc machine to a three, and run your transfer folder through.
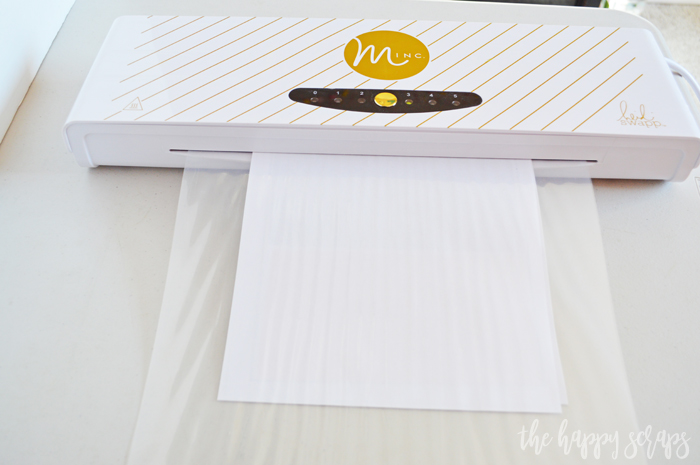
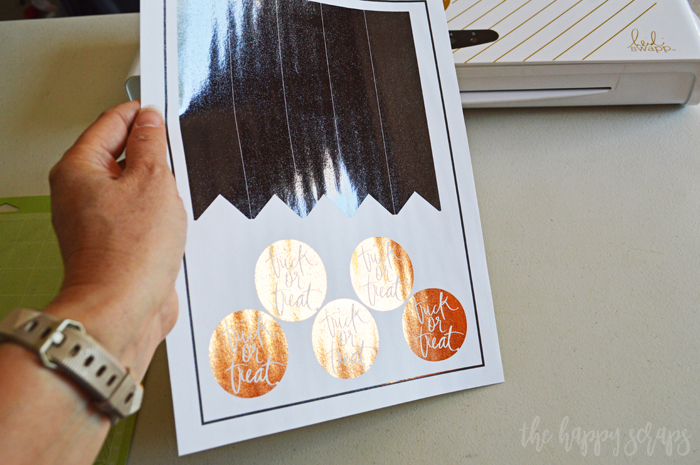
Once out, you’ll be left with your foiled sticker sheet.
Print then Cut with the Cricut
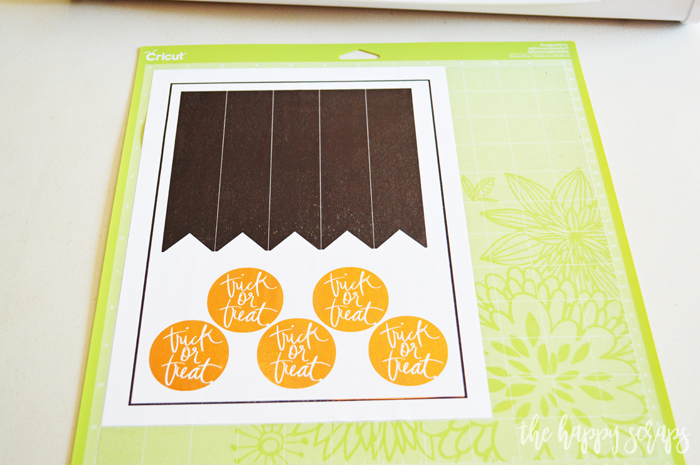
Place your foiled sheet onto the Cricut cutting mat. Set the material as Washi Sheet.
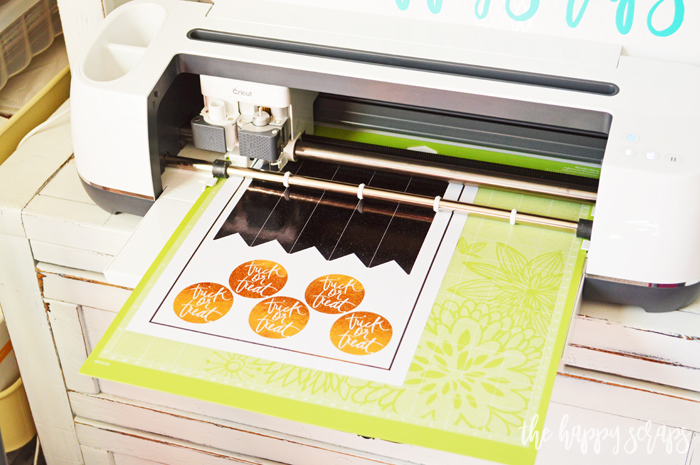
When the Cricut indicates that it is ready, insert the mat. The machine will read the registration marks and start cutting.
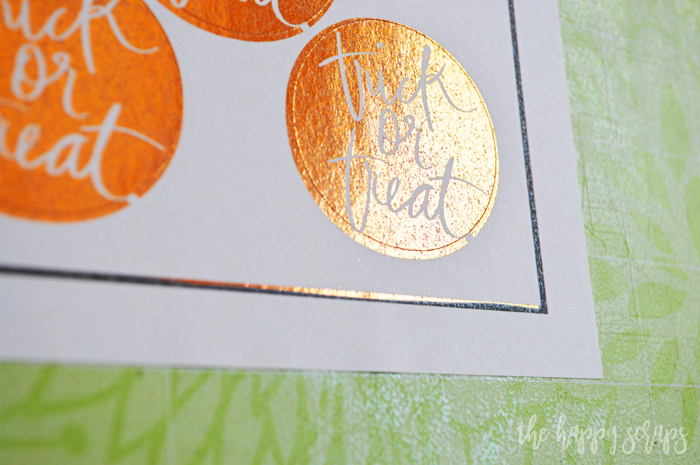
You can see here where the bleed line was helpful. It stretched the bottom of the T at the end of treat, but that was cut off when the Cricut cut the design.
Peel the extra label off of your sheet.

Assembling the Bags
Fill the treat bags with candy.
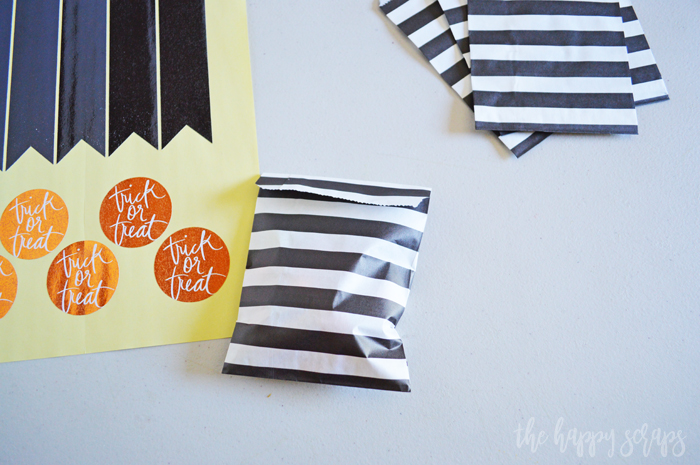
Fold the top of the bag down.
Peel one of the black flags off the sheet and place it at the center of the bag.
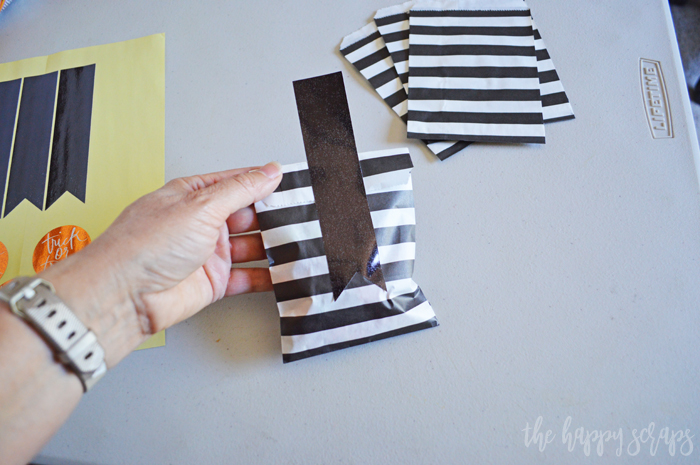
Fold the remainder of the flag over the top and onto the back.
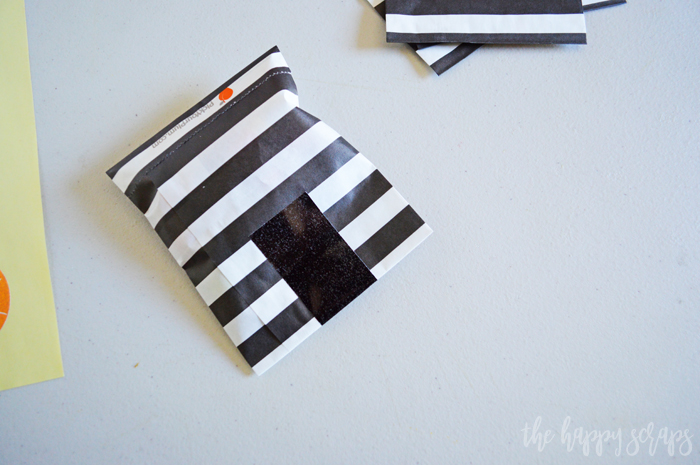
Place the orange Trick or Treat sticker over the top of the black flag. That’s it, you’re all done!

While this post might seen a little lengthy, this really is a quick project! It was super fun to put these together, and really, what wouldn’t be fun when you’re using designs from the amazing Heidi Swapp?! 😉
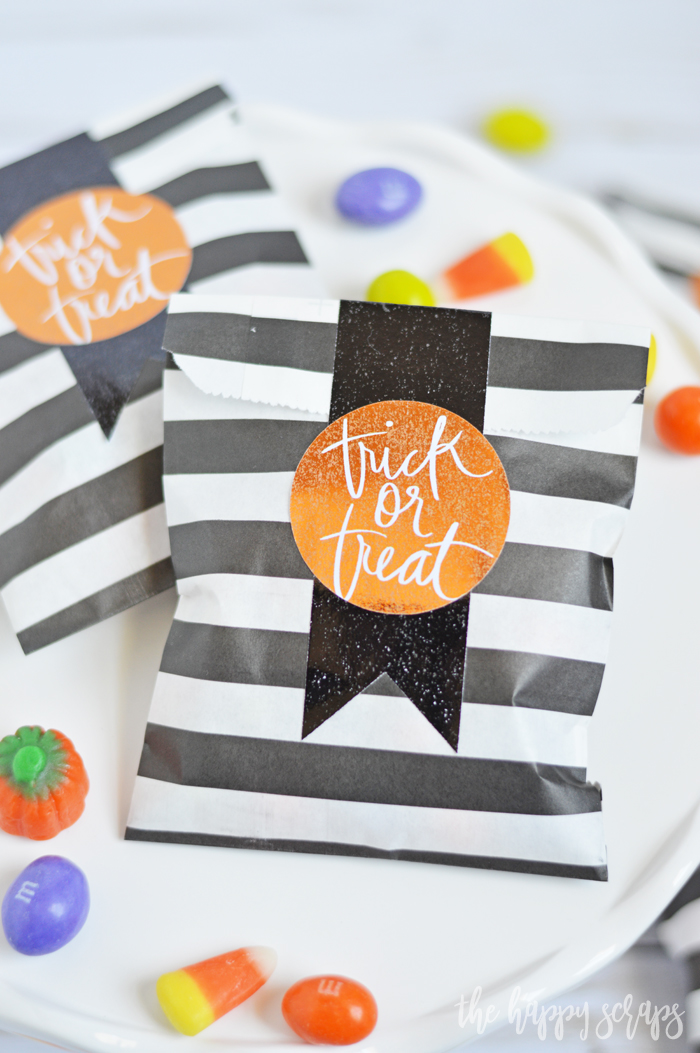
I can’t wait to give these fun Trick or Treat Mini Gift Bags to my boys for their after school treat in a few days. They will love them…because, candy!

This idea for small Mini Gift Bags could be used for so many different ideas. It does remind me a little bit of this Easter project and St. Patrick’s Day project that I’ve done in the past. They are just so easy and fun!
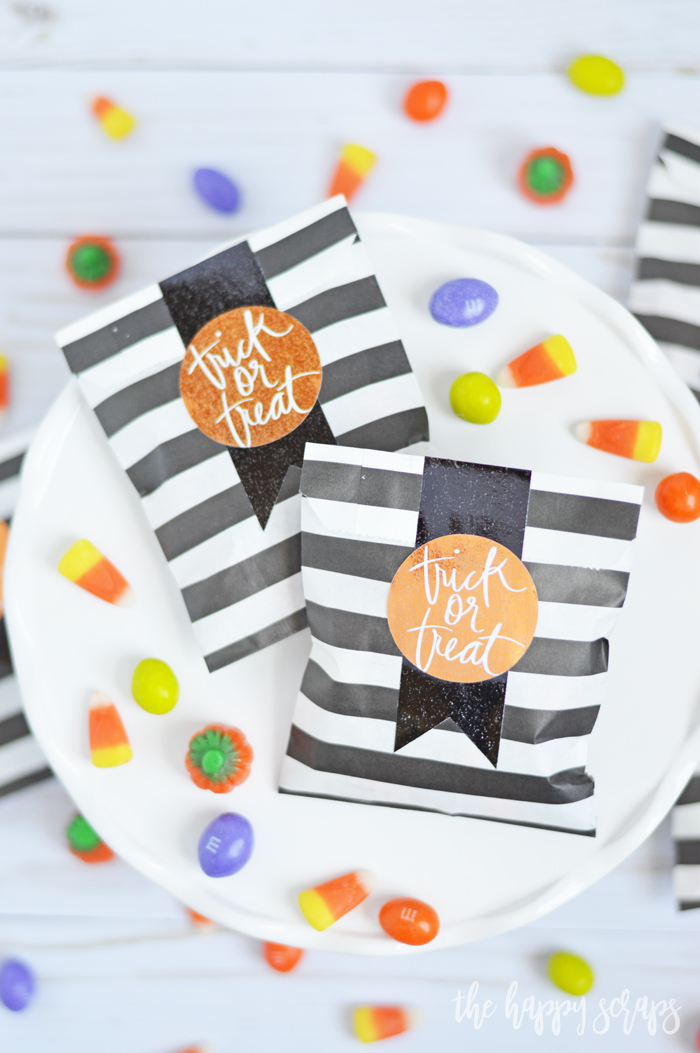
If you create a similar project, I’d love to have you share it with me over on Instagram.
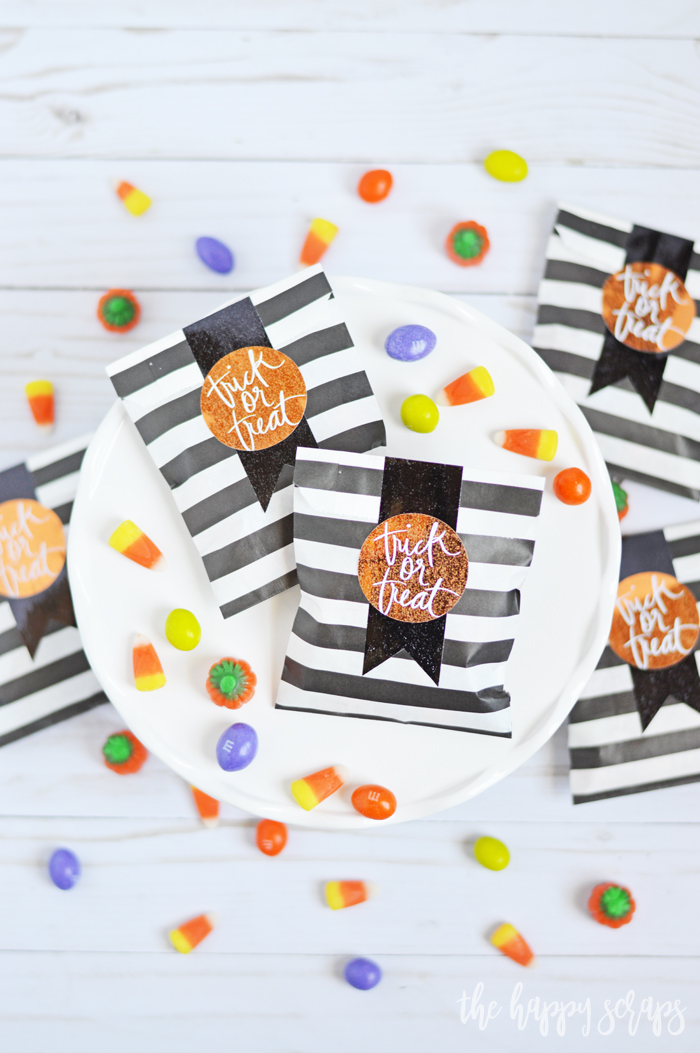
If you’ve enjoyed these Trick or Treat Mini Gift Bags, then be sure to check out the other fun Print then Cut projects I’ve shared using my Cricut before.

Leave a Reply