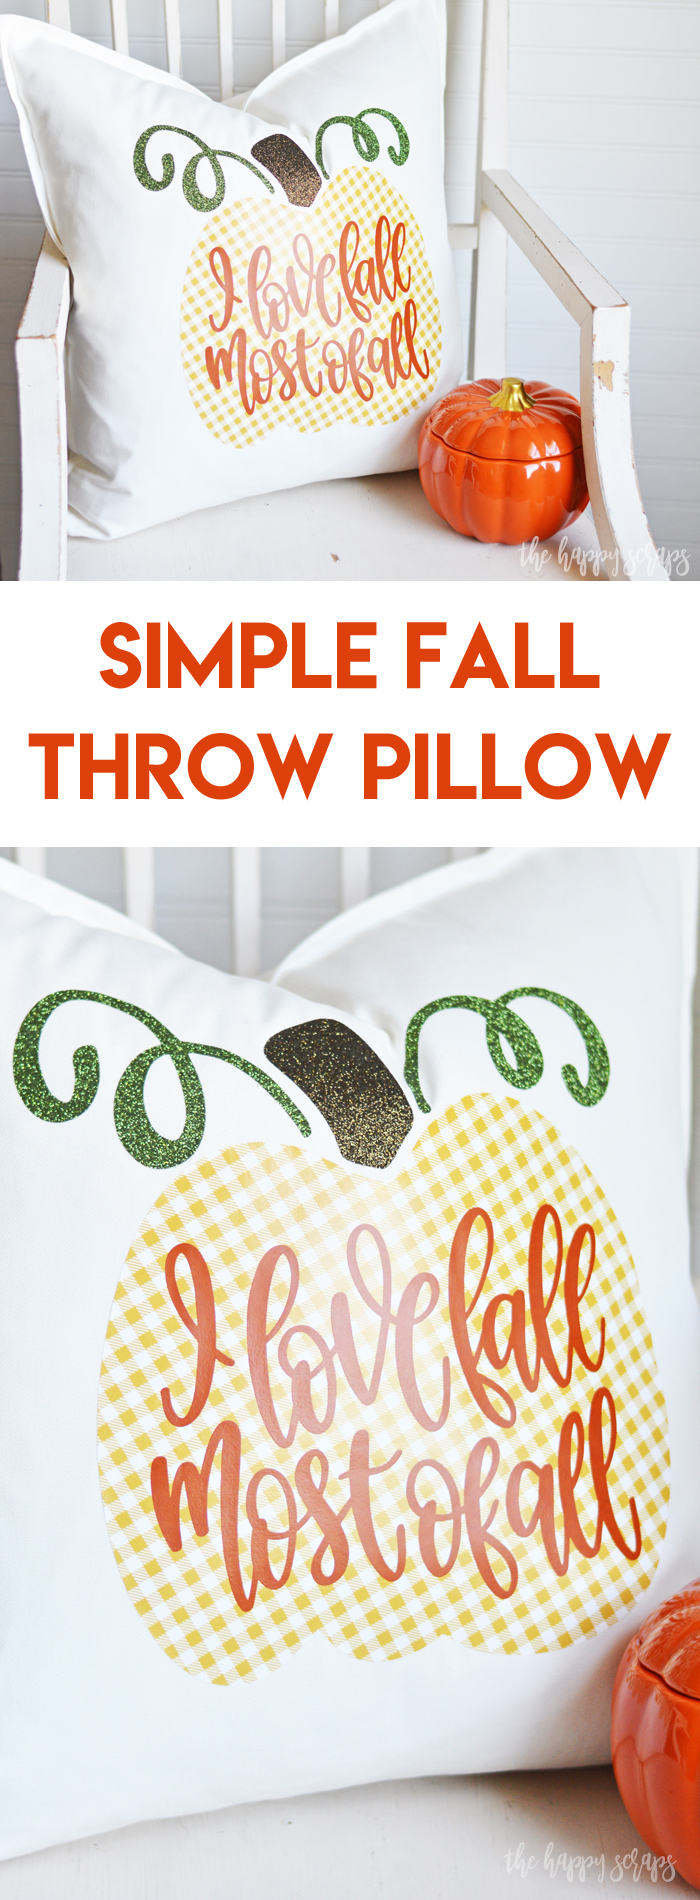
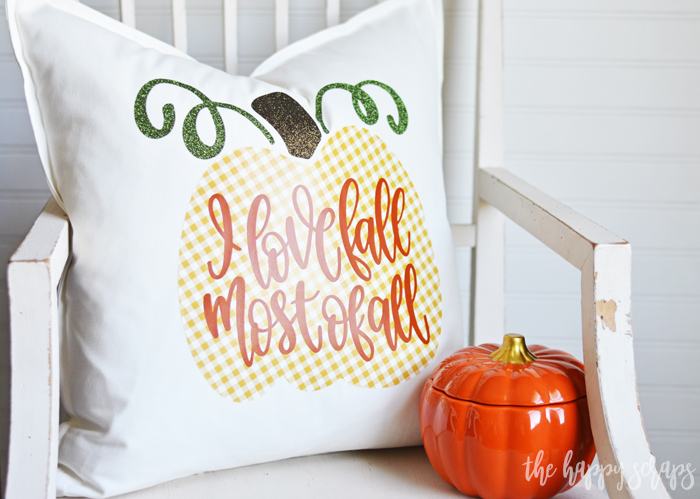
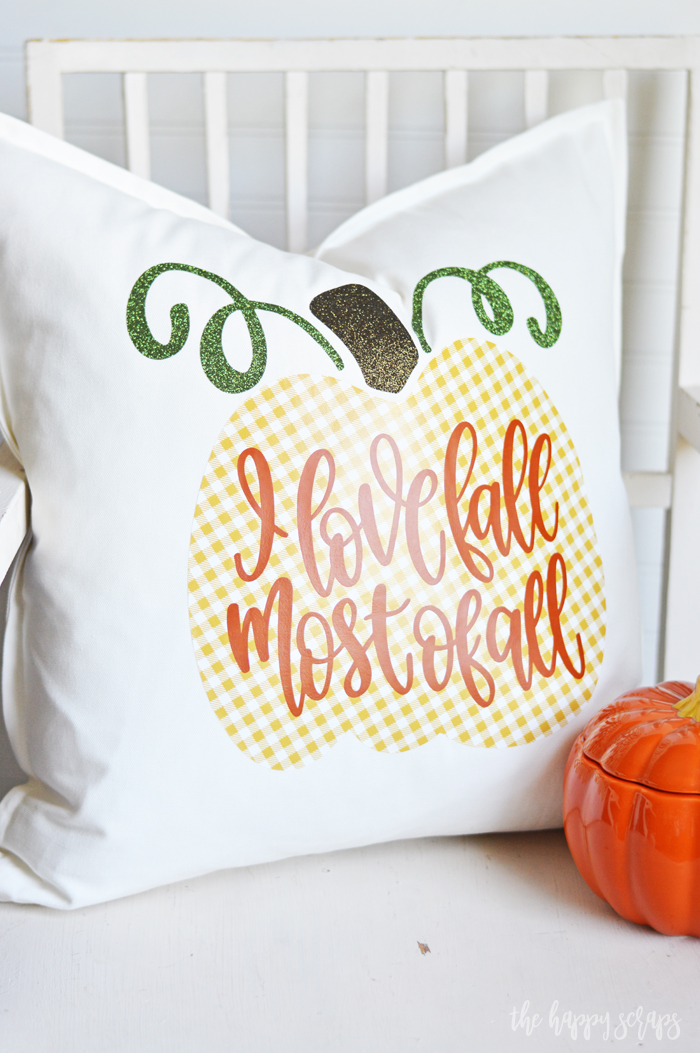
Yesterday was the first day of Fall. I love fall! It is my favorite! I love when the summer heat starts to cool off and the air turns crisp and the leaves start to change. It is such a beautiful time of year! I will say though, I don’t love raking up the leaves. We don’t live on a large piece of property, but we have nine trees, and eight of them are pretty large with lots and lots of leaves. Last year we didn’t even get them all raked up before it started snowing, so we were able to rake more in the Spring. Good times! Anyway, that doesn’t take away my love for Fall. I think I’ve shared before how much I love this time of year. I know I’ve shared some other fun Fall projects and probably shared my love for the season. 🙂 I always enjoy creating this time of year. This year, I was inspired to create this fun Simple Fall Throw Pillow after seeing this fun patterned HTV. I adore that buffalo check!!
This Simple Fall Throw Pillow post contains affiliate links. If you click on an affiliate link and purchase something, you won’t pay anything extra, but it will help support this blog. All ideas and opinions are my own.
Simple Fall Throw Pillow Supplies:
- Cricut Explore Air 2 or Cricut Maker
- Cricut EasyPress 2 (large size)
- Cricut EasyPress Mat (large size)
- EasyWeed HTV Texas Orange
- Glitter HTV in Dark Green & Black Gold
- Patterned HTV in Mustard Buffalo Plaid
- Weeding Tools
- Pillow Cover (I love the ones from IKEA)
- Design Space Cut File
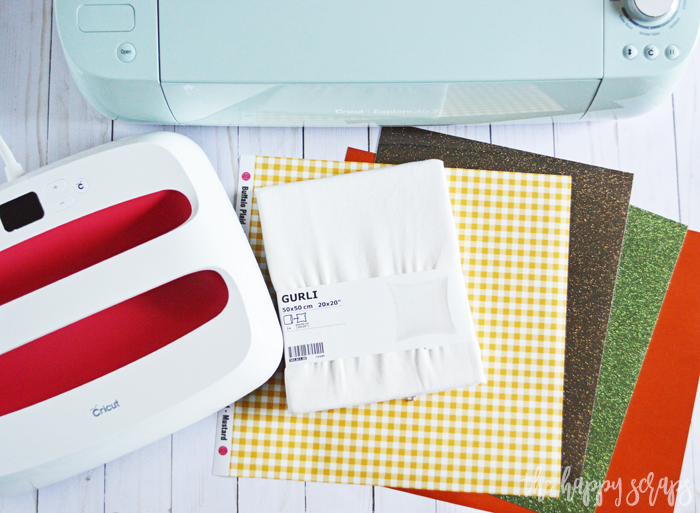
Open up the Design Space Cut File and gather your supplies. Once you’re ready, click “Make it”.
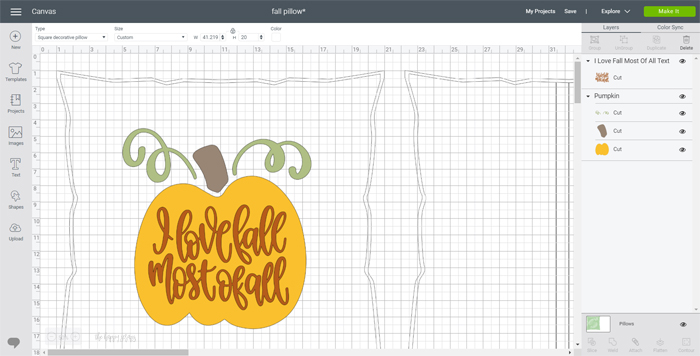
Before you cut, make sure you mirror each layer of your design. With the pumpkin layer, if you would like the buffalo check design to be diagonal like my pillow, you’ll need to rotate it. This can be done right before cutting. Just grab the circular arrow with your mouse cursor and rotate it. Once you have that ready, you can send it to cut.
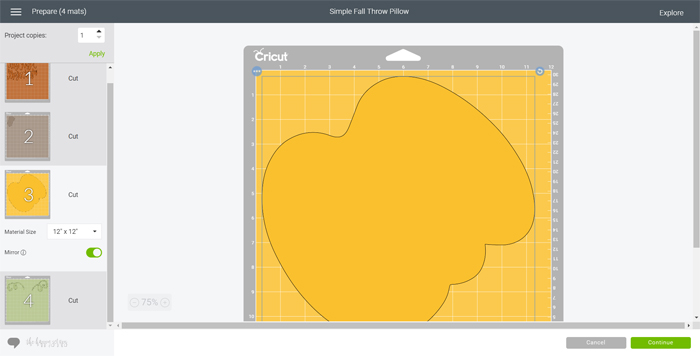
Place your material onto the cutting mat, shiny side down.
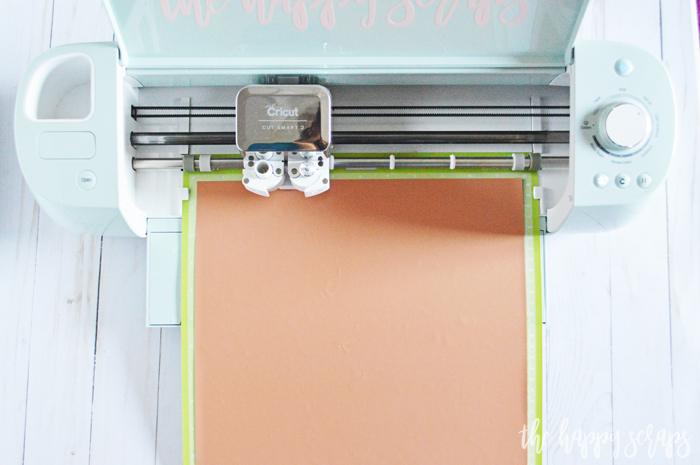
Then start cutting.

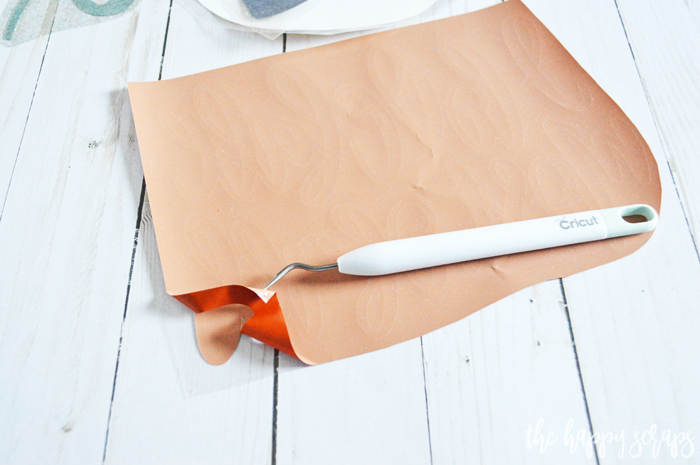
Once your design is all cut out, peel the mat away from it and weed each design with the weeding hook. For more information about cutting HTV, check out this post.
When you have all of your designs weeded, preheat the EasyPress 2. I like to use the Heat Guide to find out what settings to use. Once the EasyPress is preheated, use it to smooth out the pillow cover if needed. For this project, I folded the pillow in half and folded the pumpkin carrier sheet in half to find the centers. Only fold the carrier sheet if you do it this way, so the pumpkin doesn’t get creased. Place the pumpkin at the center, leaving enough room at the top of the pillow for the stem and vines. Press the pumpkin.
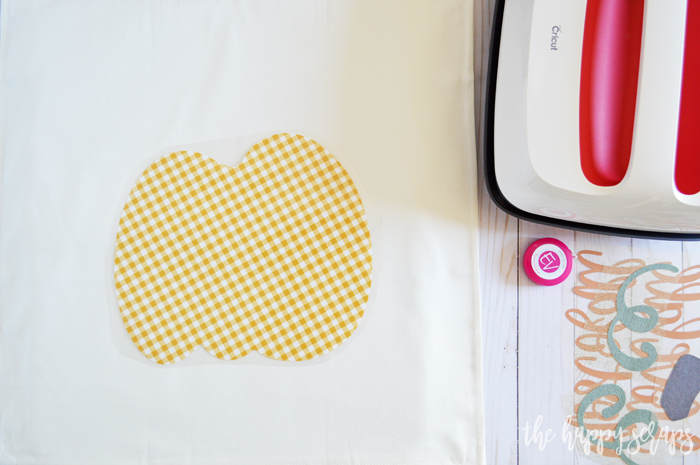
Apparently I was so excited about getting this pillow done, that I didn’t remember to take any pictures of actually pressing it, but I assure you, the large EasyPress 2 works amazingly for creating pillows. You can press most of them in one press, rather than having to move the EasyPress around on the pillow cover.
Next, I removed the carrier sheet from the pumpkin, trimmed the carrier sheets very closely on the stem on vines and then placed both of them at the same time.
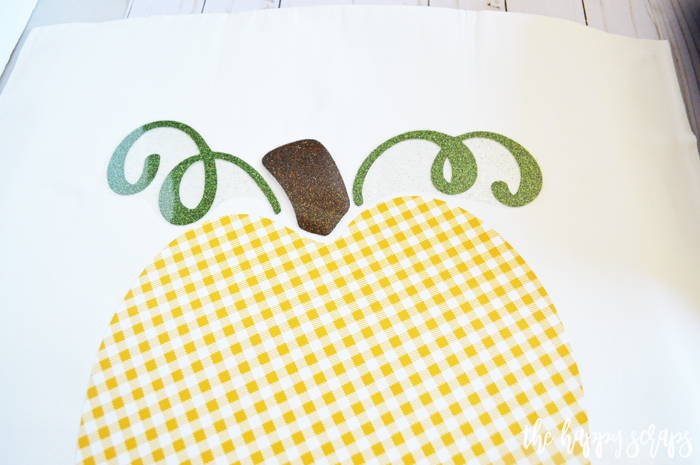
I recovered the pumpkin with it’s carrier sheet to protect it from the heat, then pressed the stem and vines. I did have to adjust the settings on the EasyPress to be for the glitter HTV.
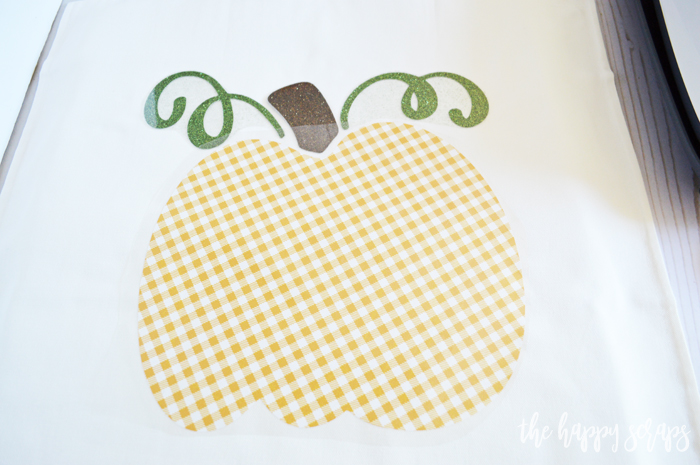
After removing the carrier sheets, place the text on the pumpkin. Cover the entire design again with carrier sheets or with an Iron-On Protective Sheet.
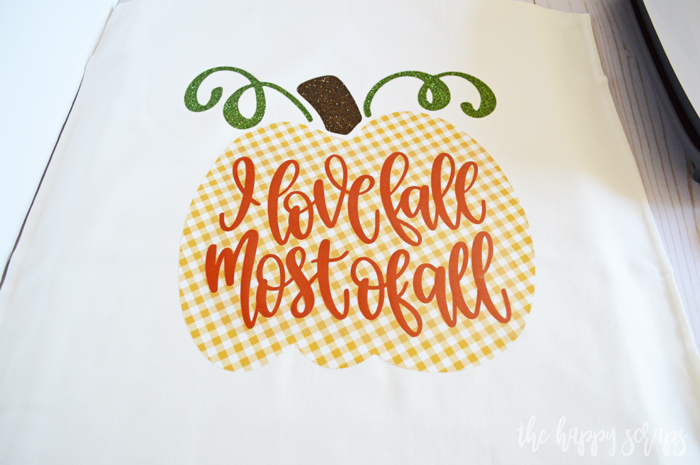
Press the pillow again to adhere the text then remove all of the carrier sheets or protective coverings. Now all you need to do is put a pillow form in the cover!
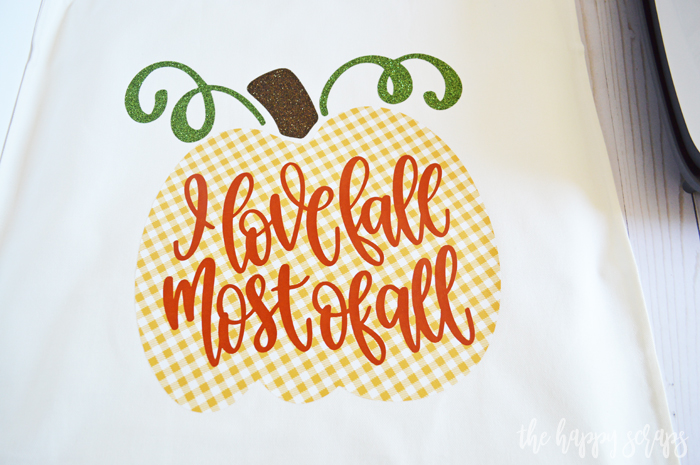
I seriously adore how this pillow turned out. I’ll be honest, I was a little hesitant to use the mustard buffalo check for the pumpkin. I was worried it would look funny, but I think it turned out perfectly!
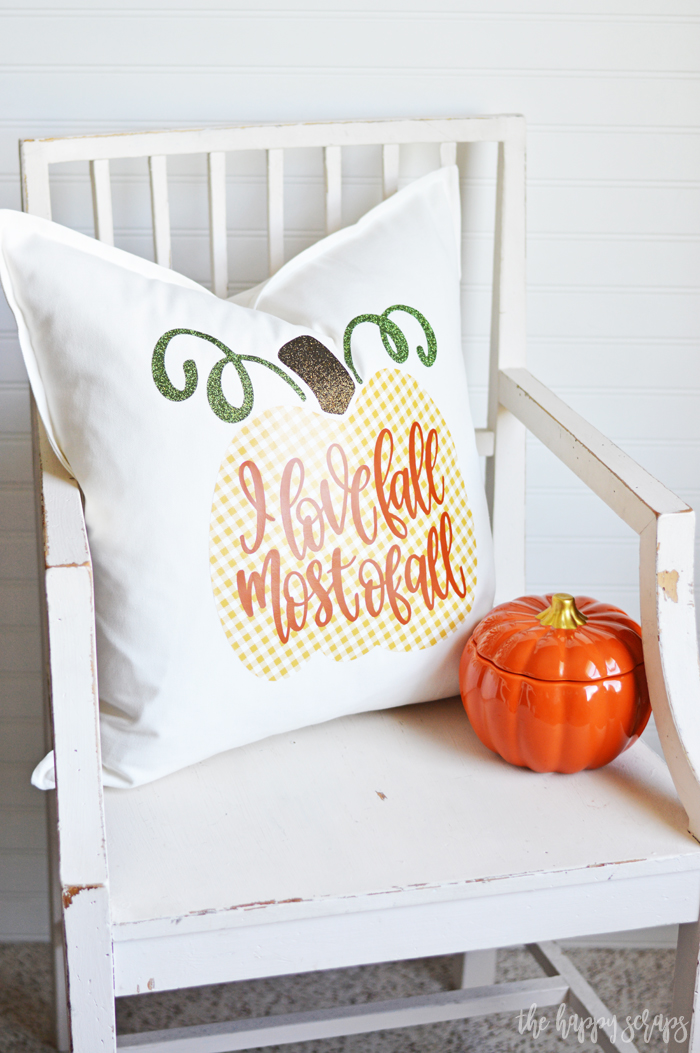
Now I just need to get out all of my other Fall decorations so this pillow isn’t the only thing I have out!

Have you decorated for fall yet?
I did get my Fall sign put up on the front porch, but that is all I have out.
I hope you’ve enjoyed this Simple Fall Throw Pillow tutorial today. If you’re looking for more fun pillow projects to make using your Cricut, check them out here!

Leave a Reply