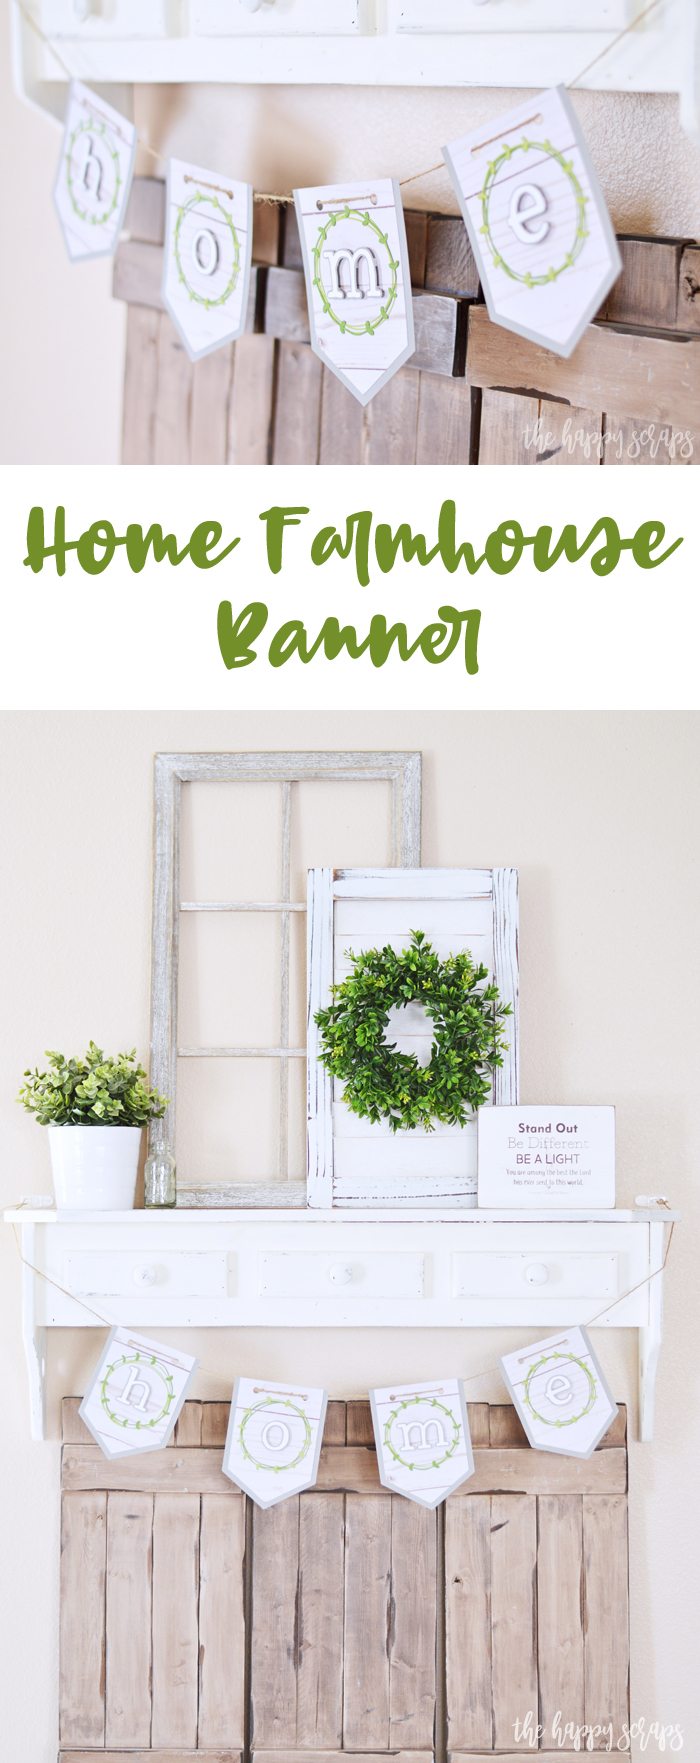
A little while back on Instagram, I shared a picture of my shelf where I usually decorate for the different holidays. I shared about how I haven’t changed it in months, and that I had plans to add a banner to it. Well, here I am a couple of months later and I finally got that banner done and I’m sharing it with you. I love this whole set up so much, that I haven’t even changed it out for Fall or Halloween decor this year. I’m pretty sure I’ll be leaving it up until I decorate for Christmas as well. We will see. 🙂 Whatever I end up doing, I’m okay with because I really am loving this neutral look with what I’ve got going on here right now. Today though, I’m going to share with you how I made this fun Home Farmhouse Banner.
This Home Farmhouse Banner post contains affiliate links. If you click on an affiliate link and purchase something, you won’t pay anything extra, but it will help support this blog. All ideas and opinions are my own.
Home Farmhouse Banner Supplies:
- Cricut Explore Air 2 or Cricut Maker
- Cricut TrueControl Knife
- Self-Healing Cutting Mat
- Cutting Ruler
- Xyron Creative Station
- Wood Grain Poster board (I got mine at Hobby Lobby)
- Cardstock (Two shades of green, gray, & white)
- Dimensional Adhesive
- Twine
- Cricut Design Space Cut File

Take the large sheet of poster board and using the self-healing cutting mat, cutting ruler and TrueControl Knife cut it down to the size to be cut with the Cricut. I couldn’t find just the right wood grain printed scrapbook paper for this project, so I used posterboard. If you can find paper you like, feel free to use that and skip this step.

Open the Design Space Cut File and get ready to cut. For this project, the Cardstock and Poster Board are both listed on the Smart Set Dial on the Air 2 machine. If using the Maker, select the material from the drop down menu within Design Space.

Start cutting your materials. Adjust the Smart Set Dial as needed.

After everything is cut, you’ll have eight banner pieces, eight letters, and eight wreaths.

Place the wreaths and wood grain banner pieces into the Xyron, so they will have adhesive on the back of them.


Assembling the Banner
Peel the wood grain banner pieces from the Xyron backing and place them onto the gray banner pieces, lining up the holes.

Peel the wreath pieces from the Xyron backing and place onto the banner pieces.

Peel the second wreath piece, in a different shade of green, from Xyron backing and place it over the top of the first banner piece.

Run the white HOME letter through the Xyron machine, creating stickers of those as well.

Layer the white letters over the top of the gray letters.

Using dimensional adhesive, place some squares onto the back of the letters.

Place letter in the center of the square.

Using the jute twine, string the banner pieces together.

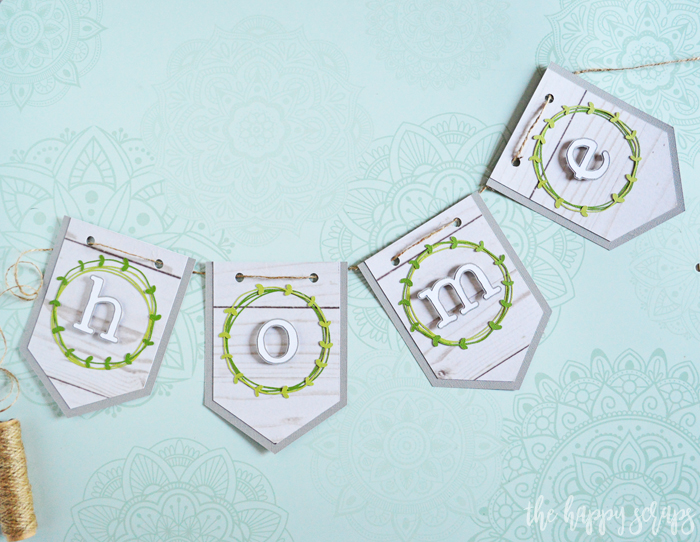
Now that you have your Home Farmhouse Banner finished, find the perfect place to hang your banner.
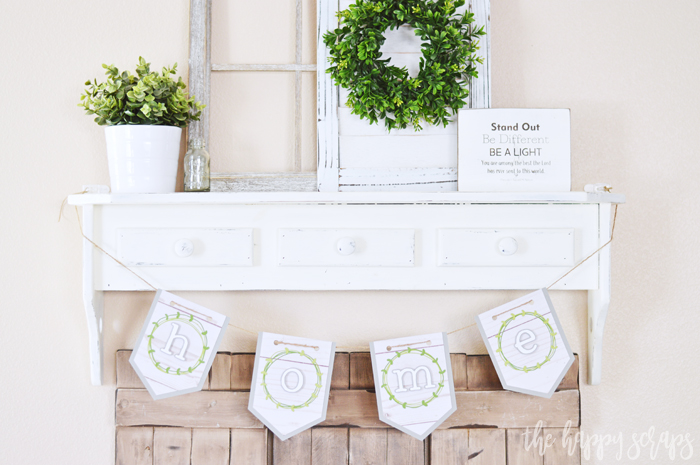
I placed mine right under my shelf.
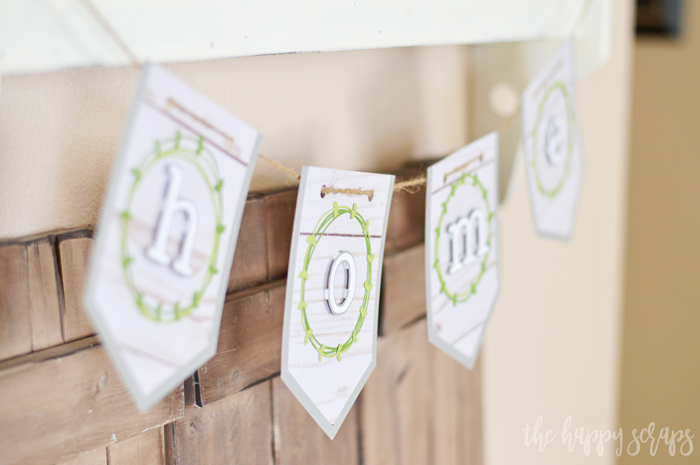
It is the perfect finishing touch for this space.
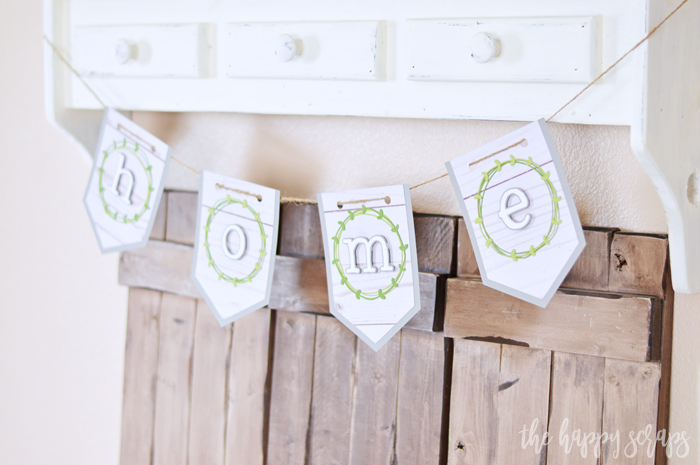
Don’t you think?
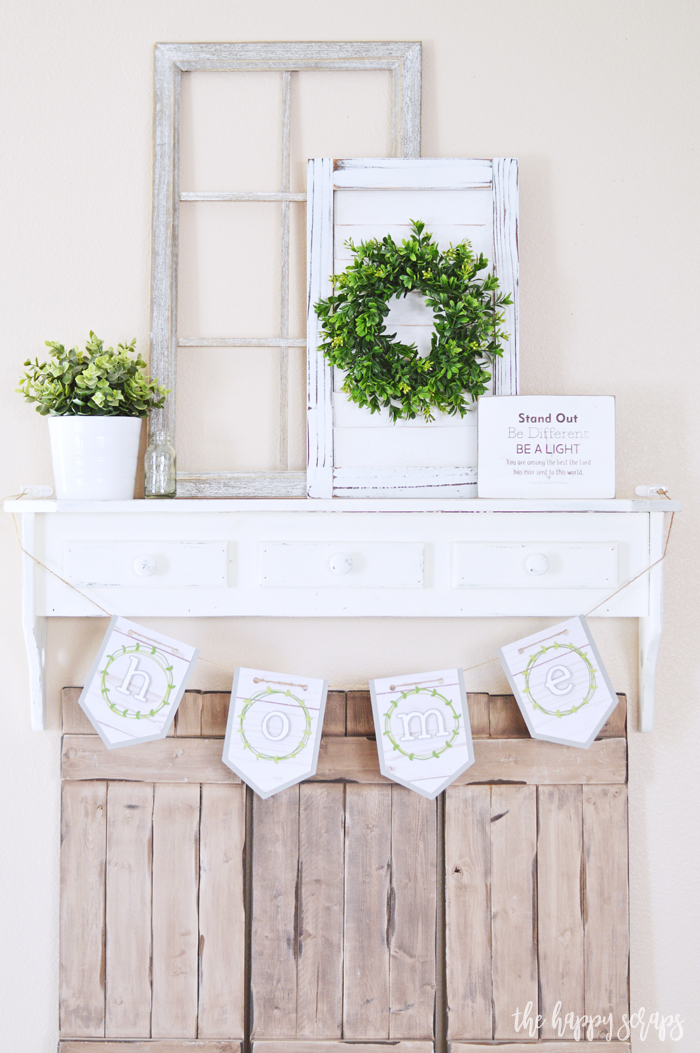
I love what this Home Farmhouse Banner adds here. The rest of the items on the shelf are things I’ve collected from Michael’s, IKEA, Etch & Ember, and Orson Gygi.

Do you ever use Banners to decorate in your home? I have several banners I’ve made in the past, you can find that gallery here. If you’re looking for more Cricut projects, you can find that gallery here.

Leave a Reply