It seems like every year at Halloween time, I end up scrambling to the last minute to have costumes ready. You can ask my kids! A couple of years ago, when I made the Mario themed costumes, I was up super late the night before Halloween working on them, and didn’t get finished with the smallest costume until about 5pm on Halloween day, just in time to head out for trick or treating. I never even think about what they are going to use the collect candy…until this year! As of today, we still don’t have the costumes figured out, I need to get on that, but my youngest will at least have this cute Halloween Trick or Treat Bag to collect the candy with, and he is pretty darn excited about it. This is a quick project that took less that 20 minutes to put together!

This Trick or Treat Bag post contains affiliate links. If you click on an affiliate link and purchase something, you won’t pay anything extra, but it will help support this blog. All ideas and opinions are my own.
Halloween Trick or Treat Bag Supplies:
- Cricut Maker or Cricut Explore Air 2
- Cricut EasyPress 2
- Heat Transfer Vinyl (Orange, Lavender, Glow in the Dark, Pumpkin Print)
- Weeding Tools
- Black Canvas Tote
- Design Space Cut File
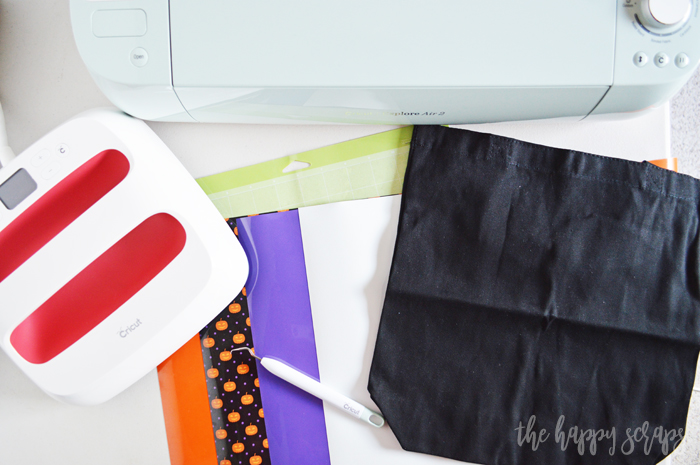
Start by gathering your supplies. Once you have everything together, open the Cricut Design Space Cut File. If you have Cricut Access, then this file is included.

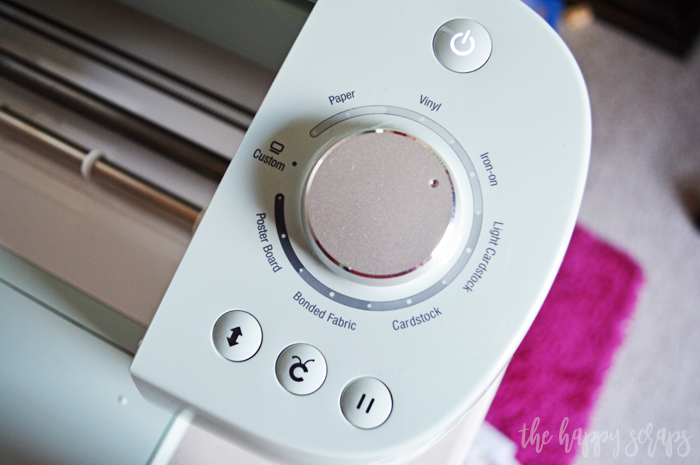
If you’re using the Air 2, turn the smart dial to iron-on. If you’re using the Maker, select everyday iron-on from the menu.
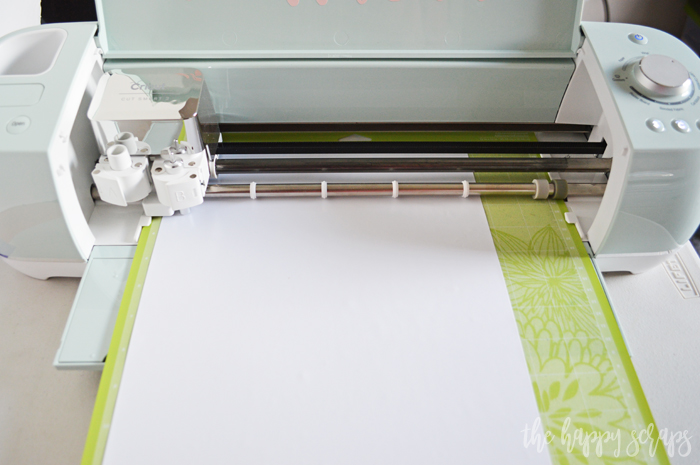
Follow the prompts on the screen to cut the designs.
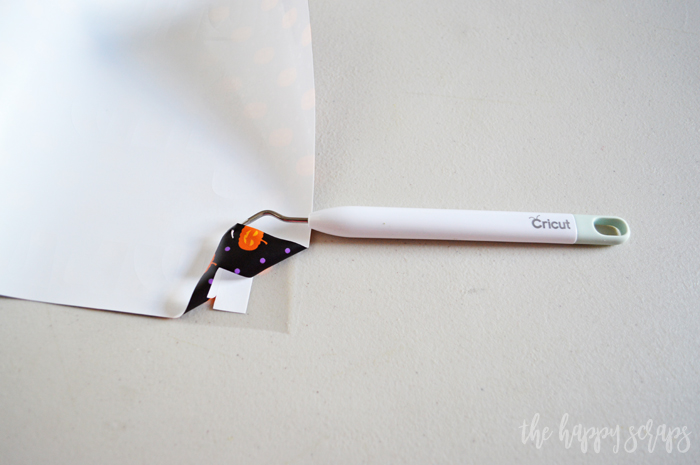
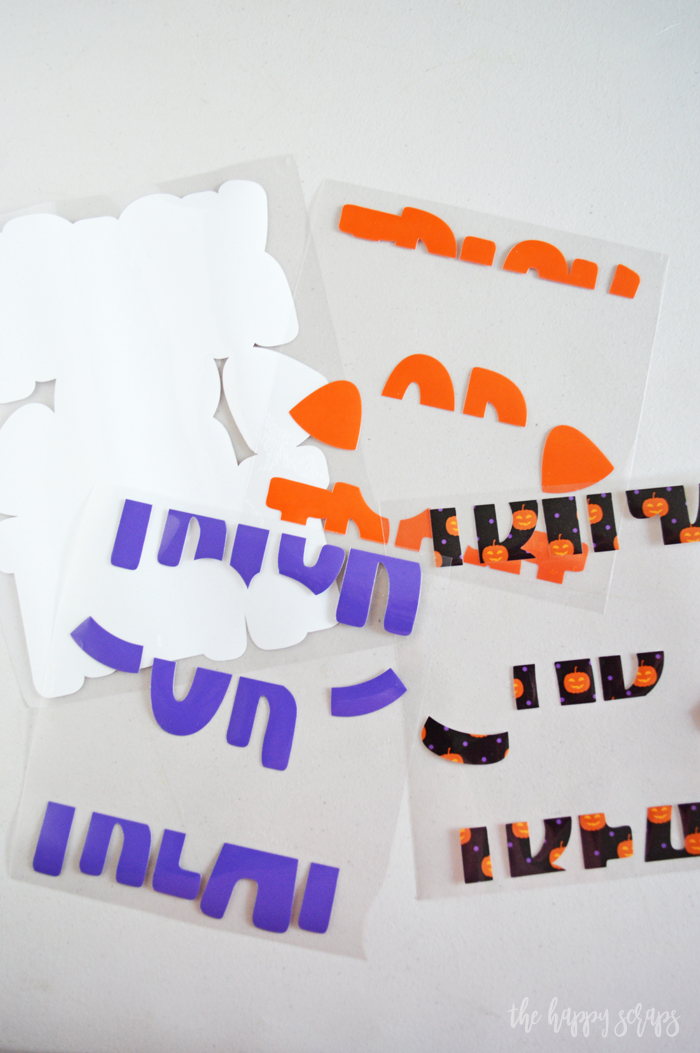
Weed the designs. This weeding hook is my favorite of all time and can be found in the weeding tools set that Cricut has! It is the best!
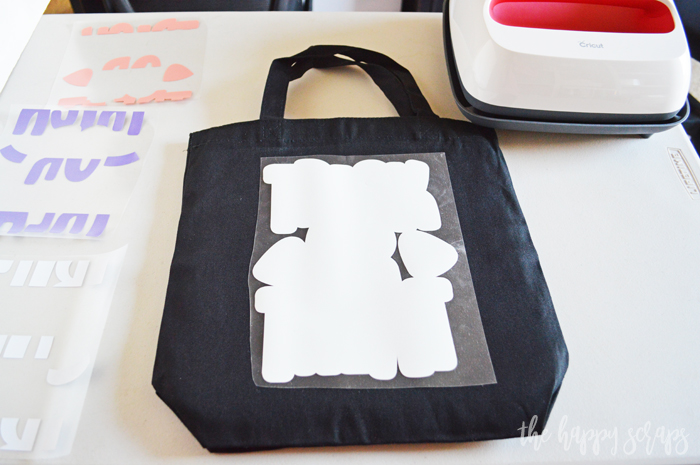
Using the EasyPress Heat Guide, preheat the EasyPress to the temperature recommended. Preheat your material, then place the white glow in the dark layer down where it needs to go.
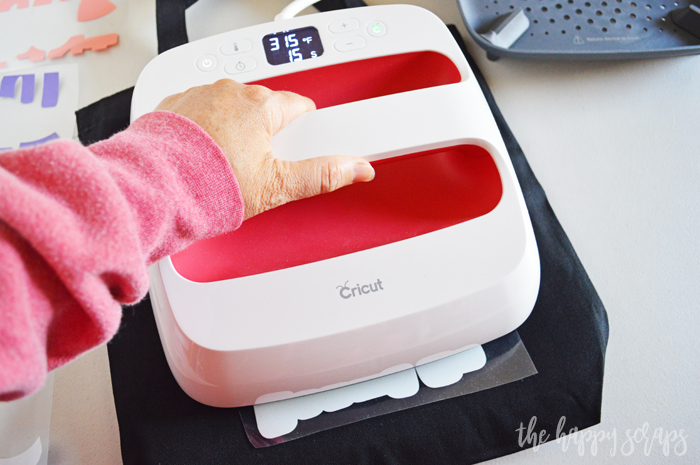
Place the EasyPress over the top of the design. Start the timer when you have it in place. For this design, it is slightly larger than the 9 x 9 EasyPress, but it worked great to press the white layer twice. The other layers fit with this EasyPress.
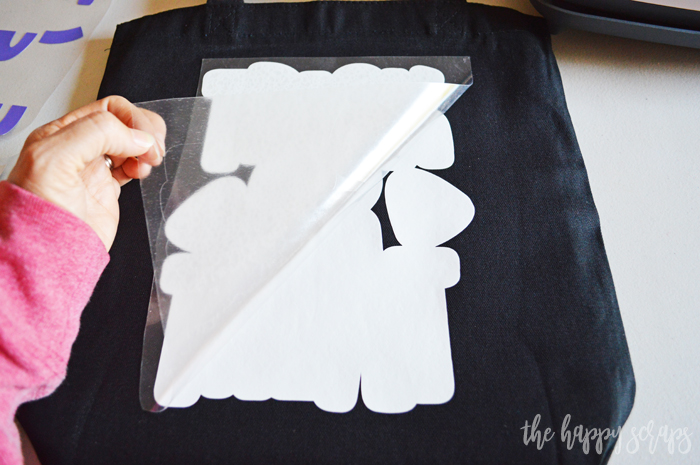
Peel the carrier sheet from the white layer. Keep the carrier sheet close by to use to cover the design completely when applying heat. TIP: Always cover your entire design before applying heat. If the design isn’t completely covered and heat gets on the design, it can melt it.
Place the orange layer. I found that it was easier to place the designs by cutting each of them into separate lines. You may notice that in some pictures. Apply heat to the orange layer, then remove the carrier sheet.
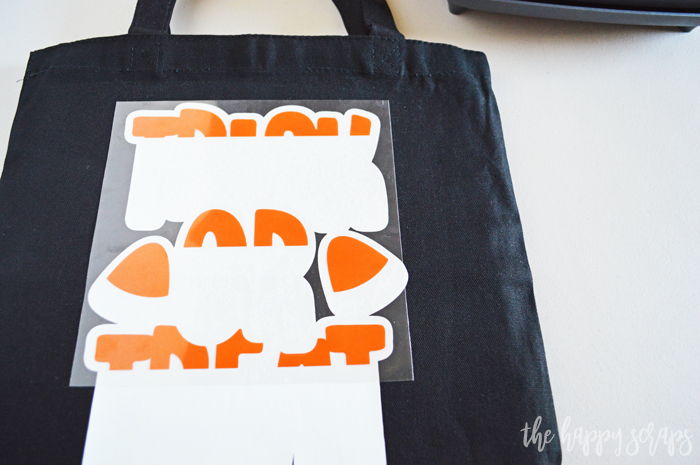
Once the orange layer is on, place the black/pumpkin layer. Apply heat to adhere it to the design. Remove the carrier sheet.
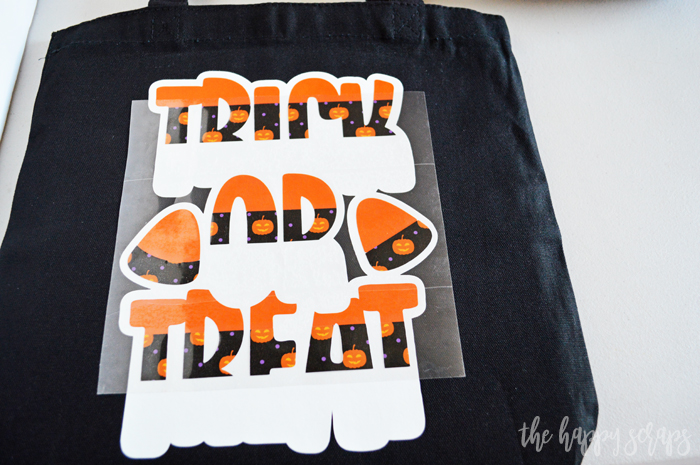
Place the purple layer, apply heat, and remove the carrier sheets. That’s it, you’re all done with your fun Trick or Treat Bag!
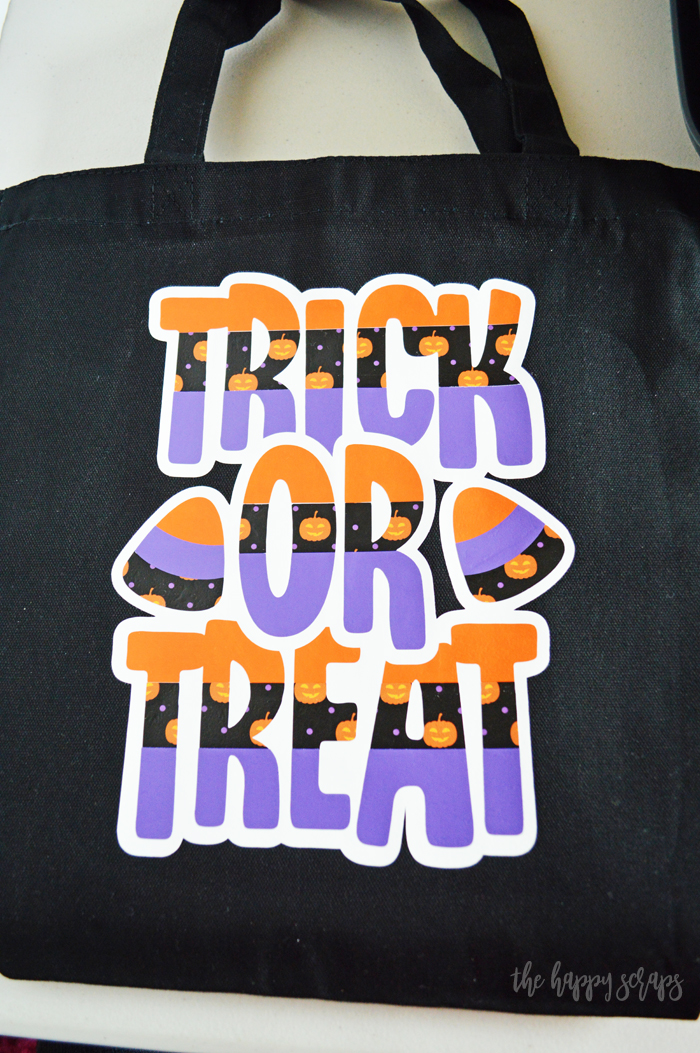
Now your little ghosts and monsters will be so excited to collect their tricks and treats in this fun bag!
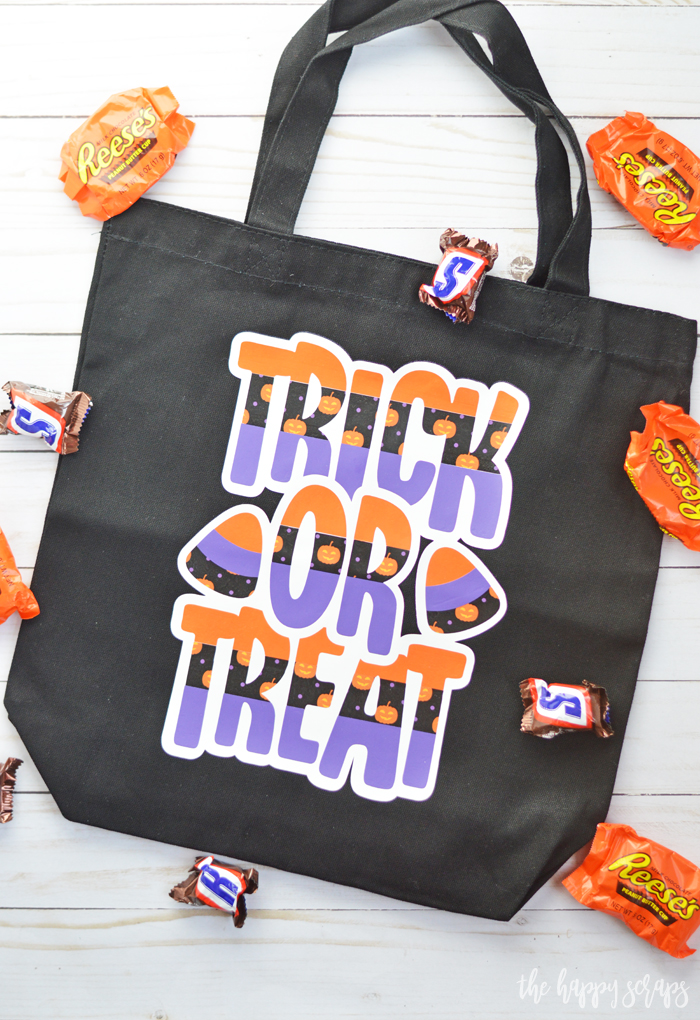
Isn’t this pumpkin print just perfect for this project! I was so excited when I decided what I wanted to do with it!

But really, the best part is that this fun bag glows in the dark! Pretty sure that my three year old is more excited about the glow in the dark than filling it with candy!
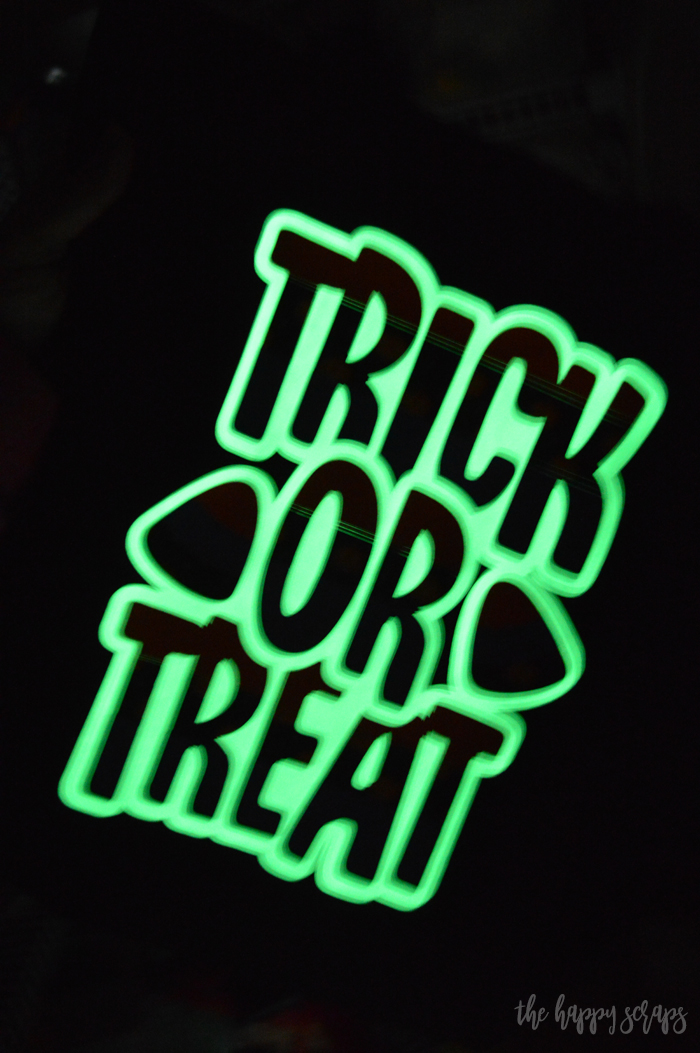
If you’ve never tried a layered project with several different colors, this is a fun one to try it on. 🙂
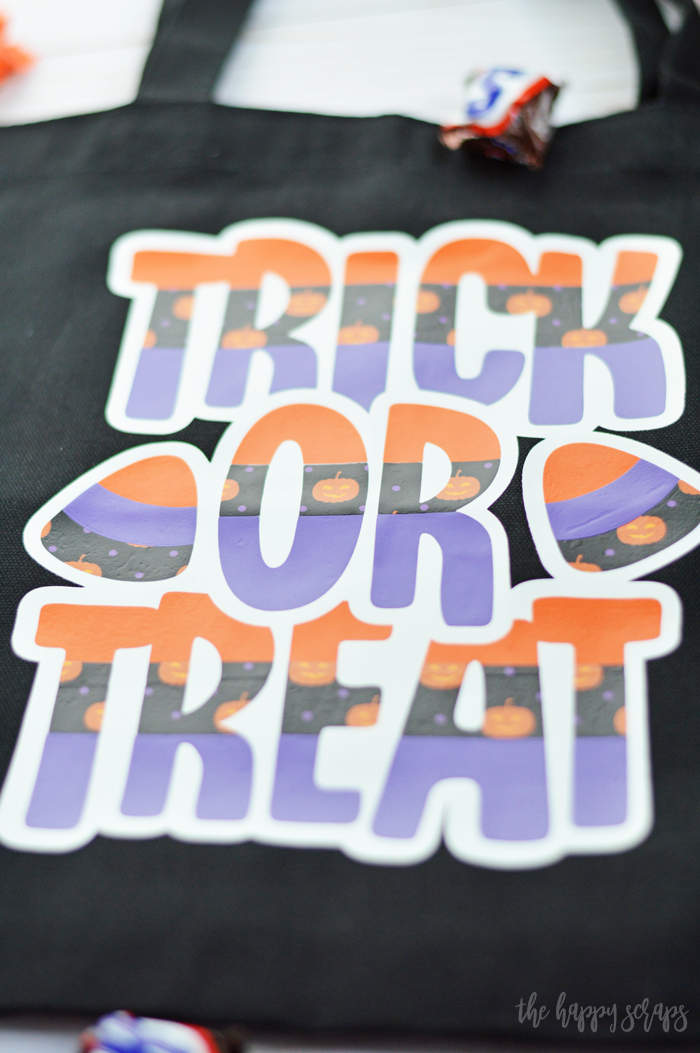
Grab your supplies and get started. You still have plenty of time to get this Trick or Treat Bag made before Halloween is here!

Do you have all of the Halloween costumes planned out and purchased at your house? I guess that will be next weeks project for me!

If you love this project as much as I do, share it with your friends! Also, be sure to check out my other projects in my Cricut Gallery!

Leave a Reply