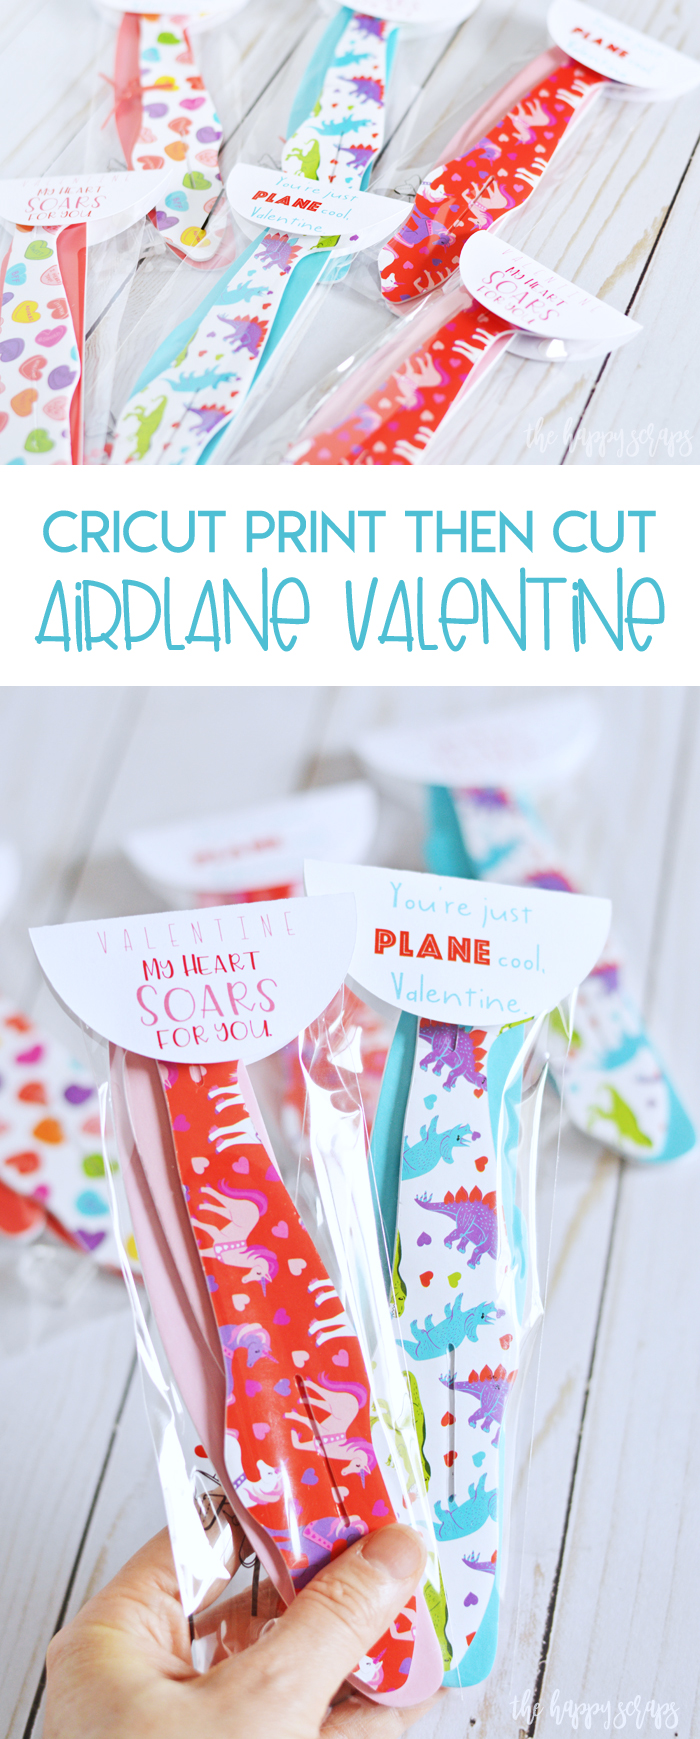
What kind of Valentine’s do your kids hand out? Right now, I only have one child in elementary school that needs Valentine’s. There have been years that we just go grab some at the store a day or two before Valentine’s day, and then other times, I’ve put some fun ones together like these Maze and Word Find Valentine’s. Creating Valentine’s is one of my favorite things to do. If it isn’t your idea of fun, I totally understand, but putting these together is so easy! It’s nearly as simple as going to the store and picking some up! It took me a while to really get a hang of using the Cricut Print then Cut feature, but now that I know how to use it, it is amazing for creating printables that are quick and easy + look great! Today I’m going to show you how to make these Cricut Print then Cut Airplane Valentines.
This Cricut Print then Cut Airplane Valentines post contains affiliate links. If you click on an affiliate link and purchase something, you won’t pay anything extra, but it will help support this blog. All ideas and opinions are my own.
Cricut Print then Cut Airplane Valentines Supplies:
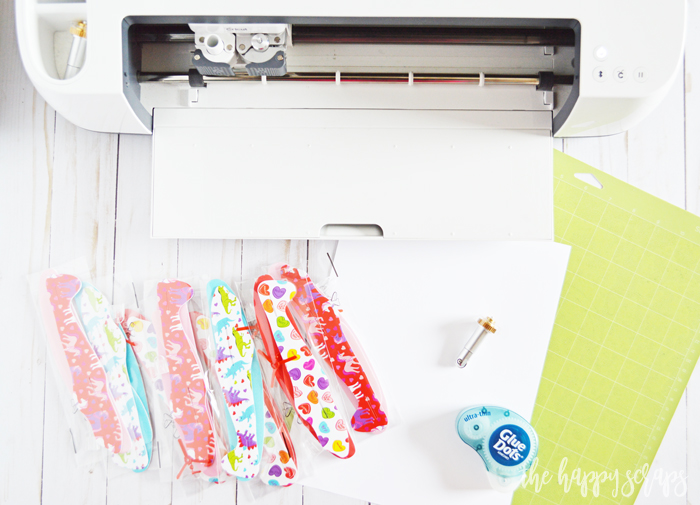
- Cricut Maker
- Scoring Wheel
- Fine Point Blade (came with your machine)
- StandardGrip Cutting Mat
- White 8.5″ x 11″ Cardstock
- Printer
- Glue Dots
- Airplanes (I found mine at Michael’s in the Valentine section)
- Design Space Cut File
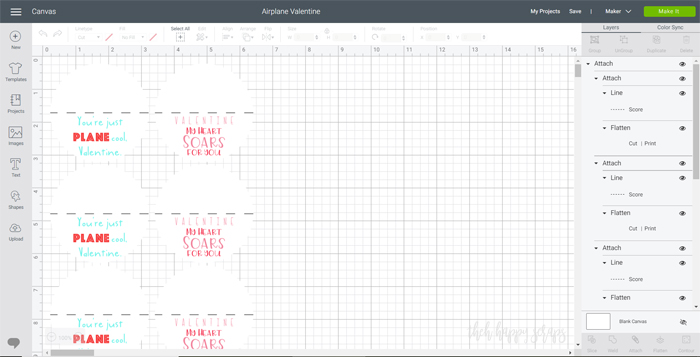
Open the Cricut Design Space Cut File. Because Design Space is now offline, these are the steps for opening the file. Click the link. Click “Open” (as long as you have already downloaded the offline version). Click “Open Design Space Desktop Application”. It should open. You may need to accept terms of use, and select your machine. If it opens to the landing page, click “my projects” in the top right corner. Then click Canvas in the top left corner. I know Cricut is still working things out with the new offline program, so hopefully opening projects will get easier.
This is what it should look like once it’s open. These are sized to fit just right on an 8.5″ x 11″ sheet of cardstock. Click Make It.
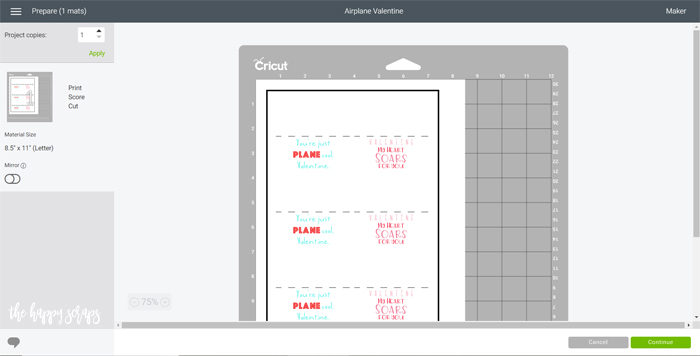
It will look like this. Make sure everything looks right, then click Continue. You’ll be prompted to print. Place cardstock into the printer, and print your page.
Place your design onto the cutting mat, then follow the prompts for scoring on the computer. You’ll place the scoring wheel into the Cricut Maker. It will read the registration marks, then start scoring.

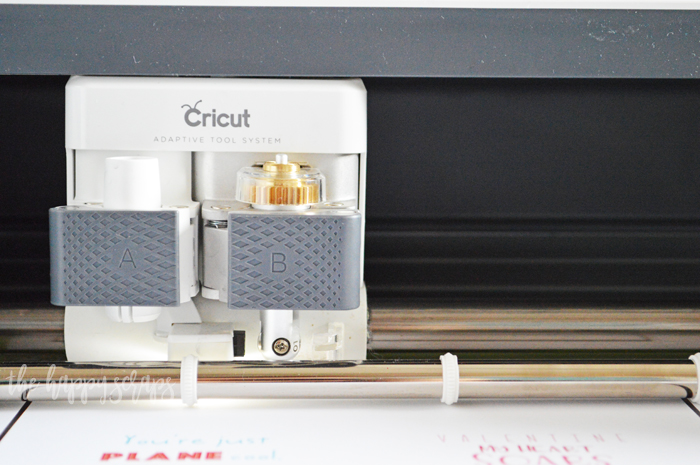
When the scoring is finished, it will ask for the fine point blade. Insert that, and it will start cutting the circles.
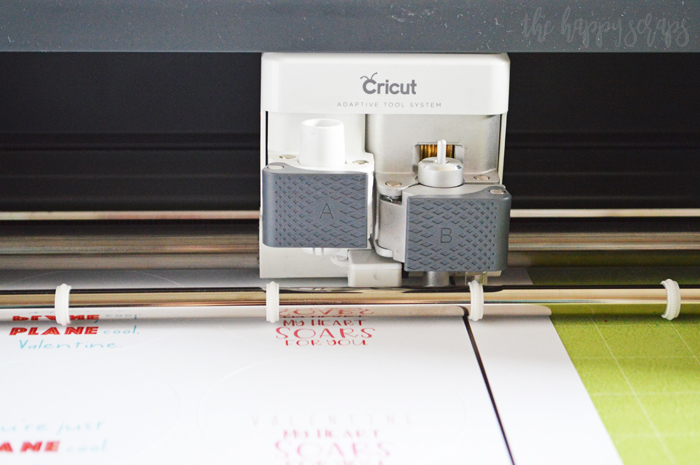
Once cut, pull all of your designs off of the mat.
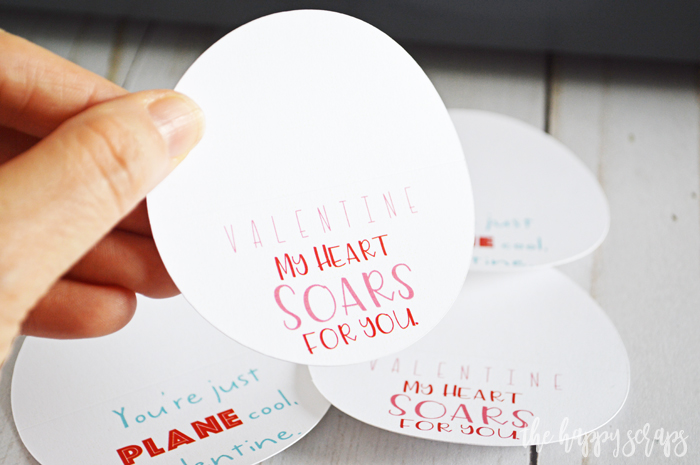
Fold your cirlces on the score line.
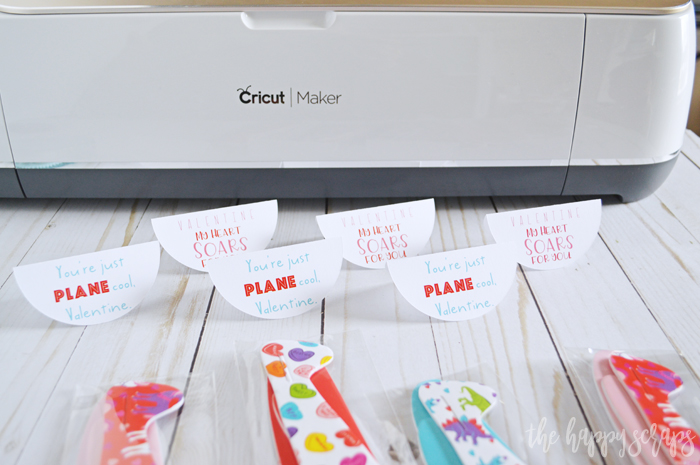
Place glue dots into the opening of the circle.
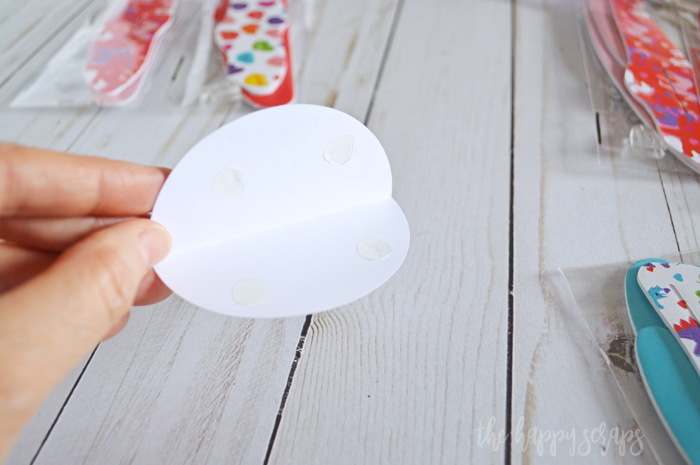
Center your airplane package, then adhere the glue dots to it.
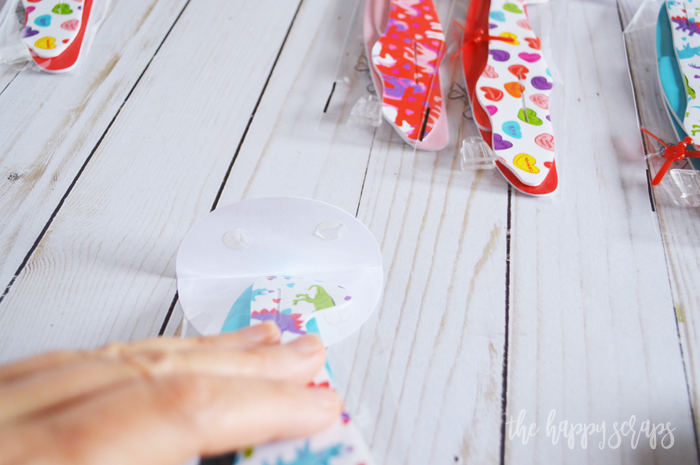
That’s it! These Cricut Print then Cut Airplane Valentines are SO quick and easy!
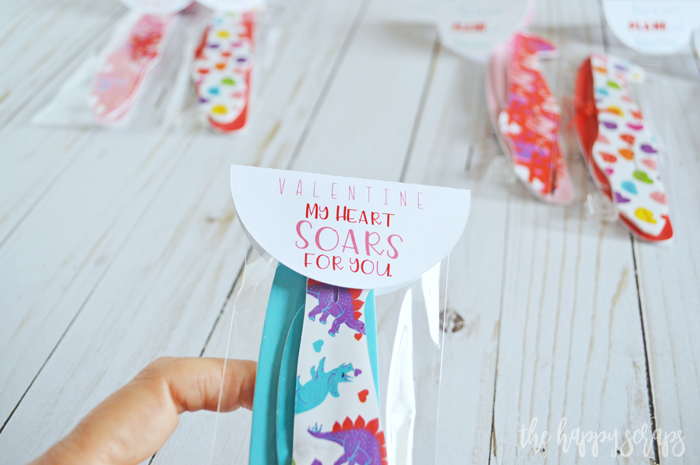
I was going to have my son take the Word Find Valentine’s to school this year, but I think I’ll have him take these instead. He will love it!
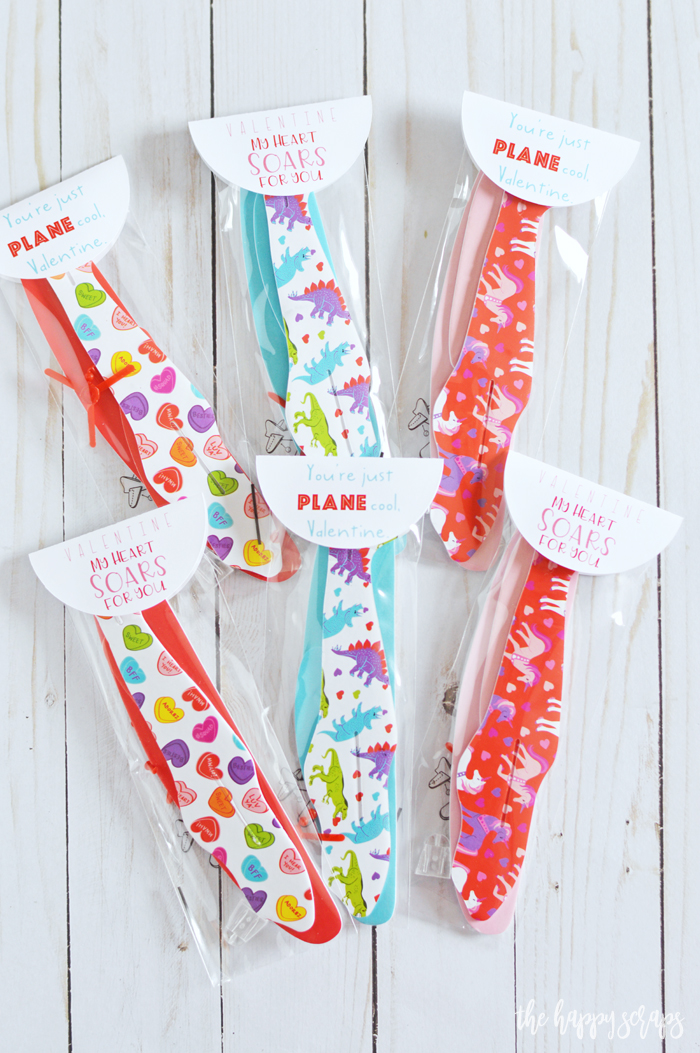
The designs on the airplanes are fun for boys or girls.
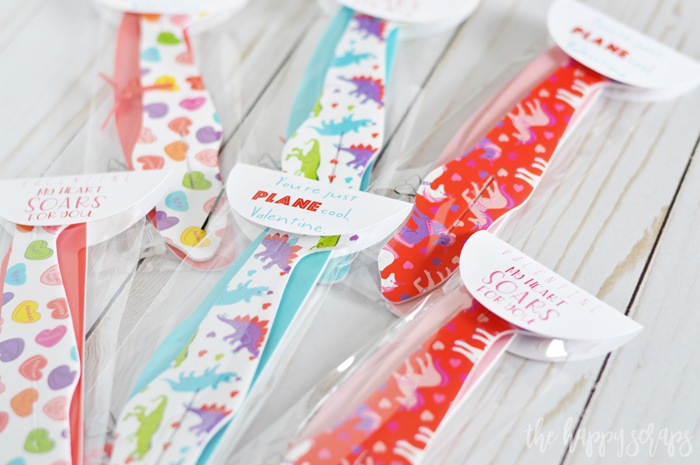
With the two different printable designs, these will work for boys and girls, so perfect for classroom Valentine’s.
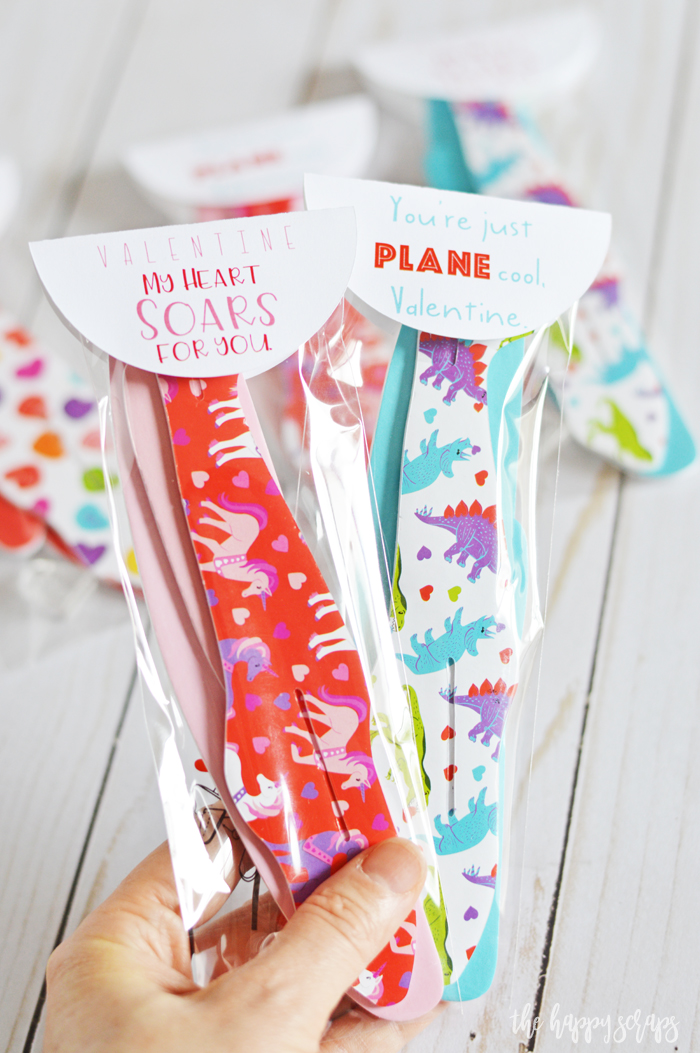
Grab some Airplanes from Amazon or from Michael’s and you’ll have these made in no time!
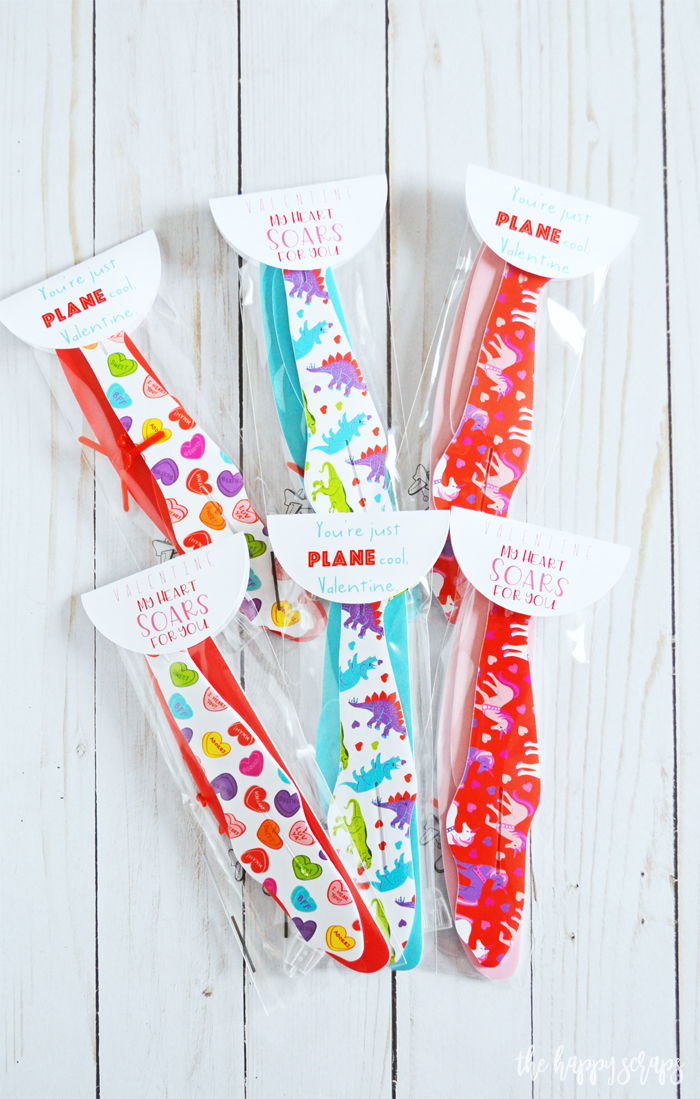
Aren’t they so fun?!
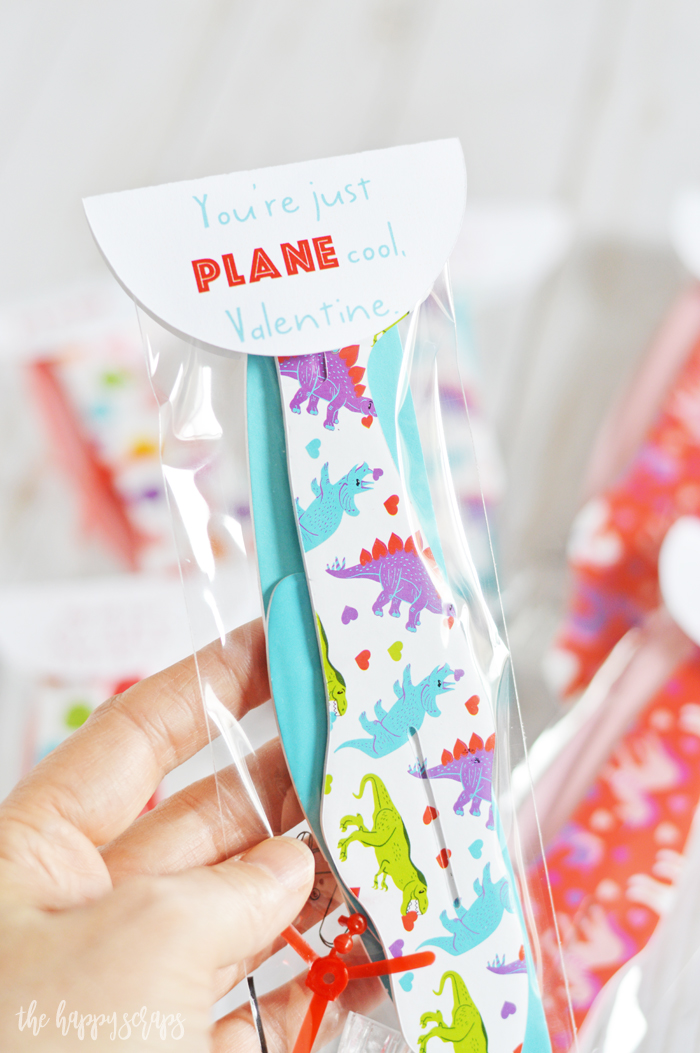
I’ve got more fun ideas for Valentine’s here on the blog. Check them out!


Leave a Reply