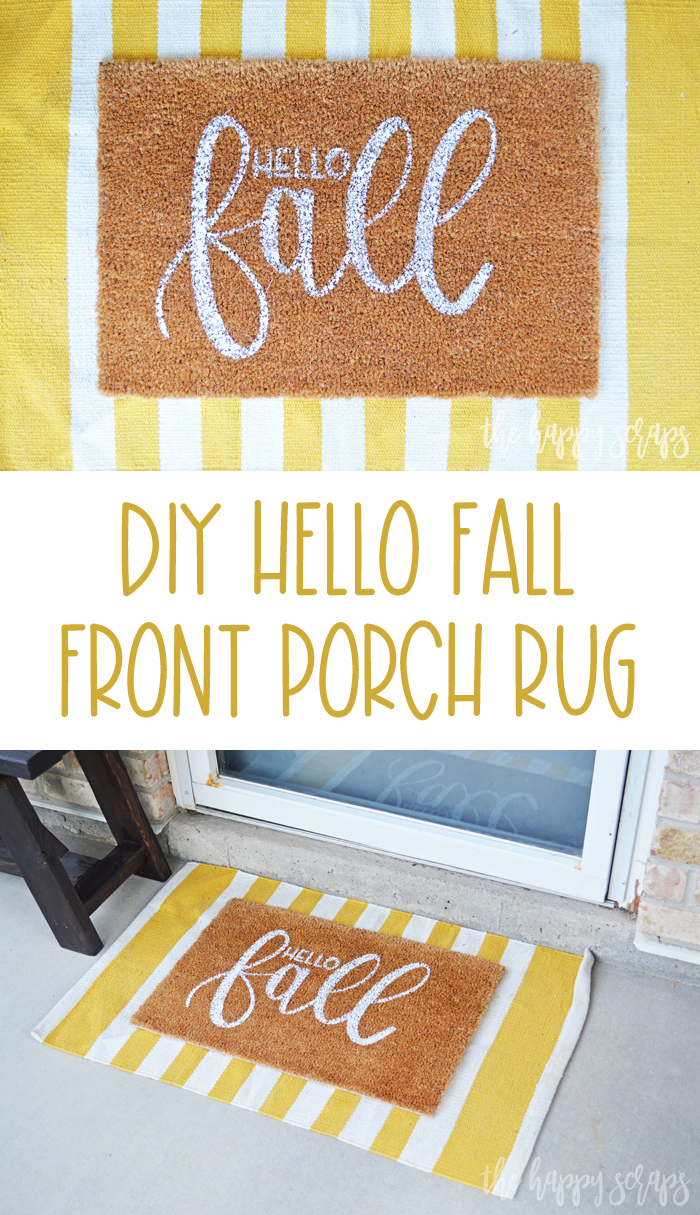
I know I say this every year when the fall season rolls around, but fall is my favorite! I don’t know if it’s the crisp air, changing leaves, kids heading back to school, or the pretty colors of fall, I just know I love it! How about you? A couple of weeks ago, I was using the Procreate app on my Ipad. I’ve been working on learning how to hand letter, and this app is awesome for that. I decided to create a couple of designs that say “Hello Fall”. I shared them over on Instagram stories and had my friends over their vote on which design to use. This Hello Fall is the design they chose, and I turned it into a DIY Hello Fall Front Porch Rug. To be honest, this project was a little crazy, and I didn’t think it was going to turn out at all, but it did! Today I want to share with you how I did it.
This DIY Hello Fall Front Porch Rug post contains affiliate links. If you click on an affiliate link and purchase something, you won’t pay anything extra, but it will help support this blog. All ideas and opinions are my own.
DIY Hello Fall Front Porch Rug Supplies:
- Cricut Maker or Cricut Explore Air 2
- Cricut EasyPress 2
- 12 x 24 Cricut Cutting Mat (I used StandardGrip, but would recommend LightGrip)
- Blank Rug (I found mine at IKEA)
- Freezer Paper
- Paint Brush
- White Paint
- Straight Pins
- Free Hello Fall SVG File (for personal use only)
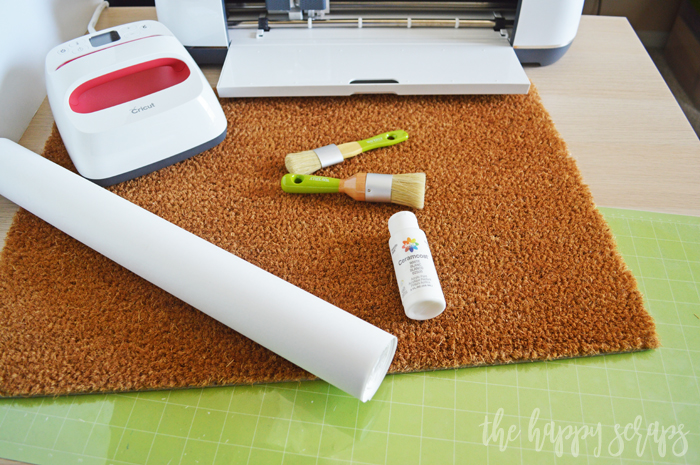
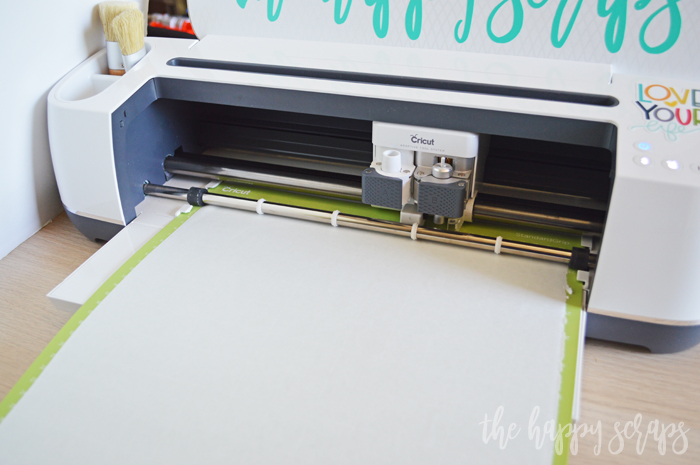
Once you have all of your supplies collected, you are ready to start the project. Upload your design to Cricut Design Space. Size it for your rug, and cut a piece of freezer paper to the size you need. Place the freezer paper onto the mat, shiny side down, and cut your design. You can select freezer paper as the cut material.
When the Cricut is finished cutting, leave the freezer paper on the mat and weed it.
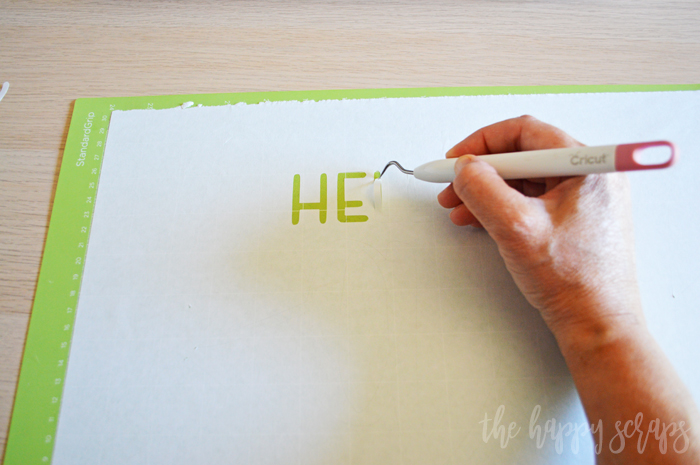
Once it is weeded, you can do a couple of different things. Carefully peel the mat from the freezer paper, or you can try using heat resistant transfer tape. I’ve not used this transfer tape before, but you can learn more about it here.
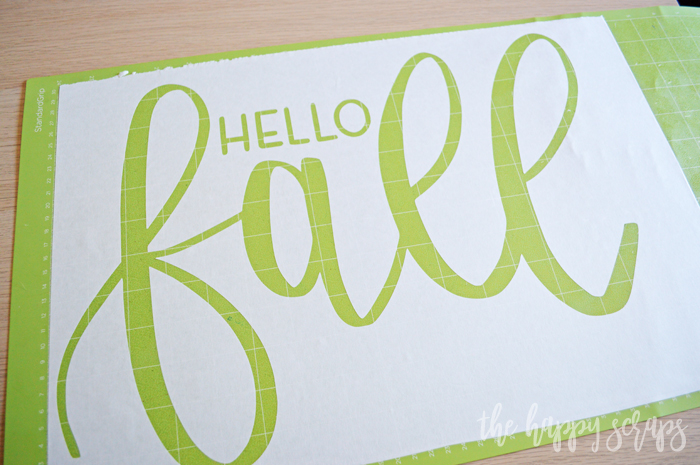
Now that you have your freezer paper weeded and off the mat, place it onto your rug. Your design will most likely be a little curled if you are not using transfer tape. Place your design onto the rug where you want it and use your EasyPress to stick the stencil to the mat. For the insides of the letters (fall + 0) use straight pins to hold them in place after you’ve pressed them.
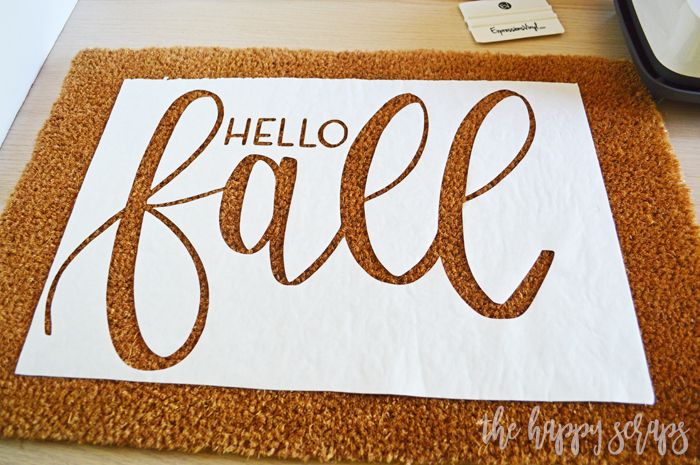
Because some of the edges of letters were near the edge of the freezer paper, I chose to use painters tape around the sides, just in case. Once that was done, I got out the paint.
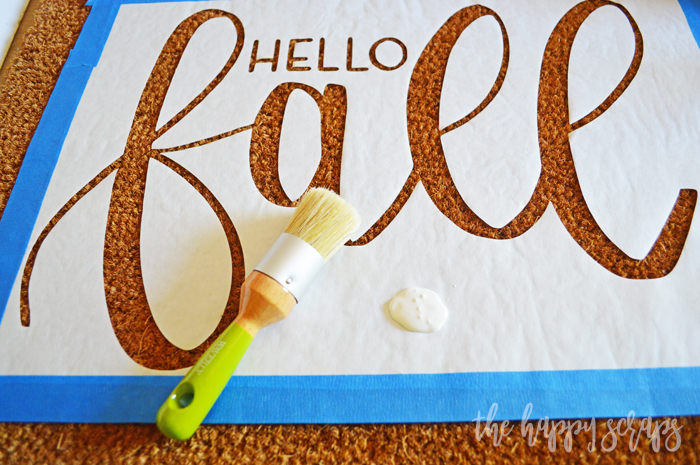
Using the paint brush, start dabbing the paint onto the rug. While I did this, I felt like I wasn’t getting enough paint onto the mat. In the end, it was plenty.

When the rug design is all painted, you’re ready to pull the freezer paper from the mat.
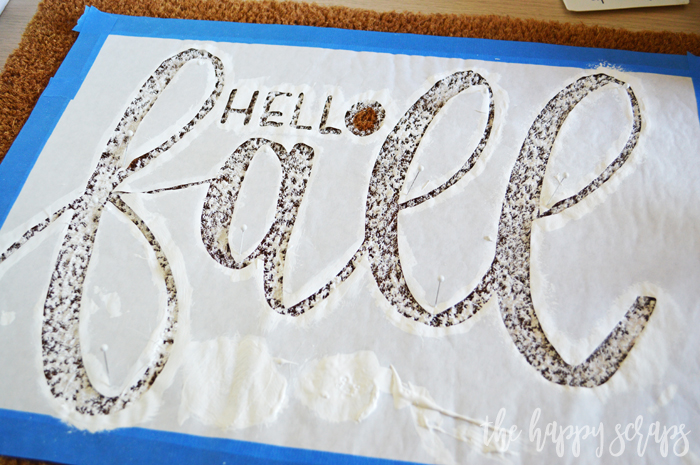
Carefully pull it up. The pins should come out with it, and you’ll probably just want to throw them away.

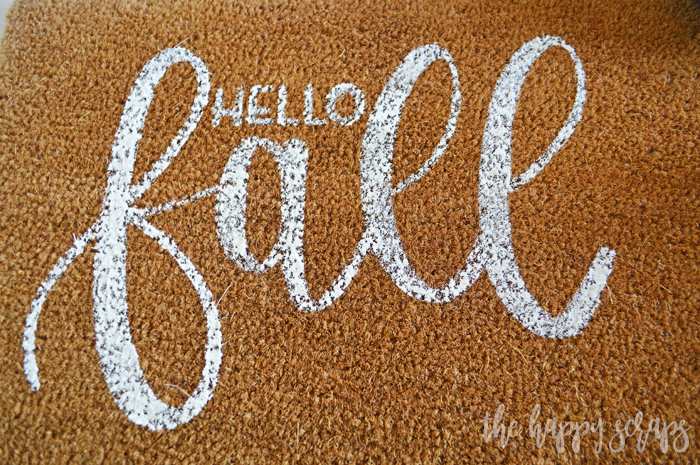
I was pleasantly surprised how well this turned out. I didn’t think I had enough paint on there AT ALL! I was relieved to find that I did!
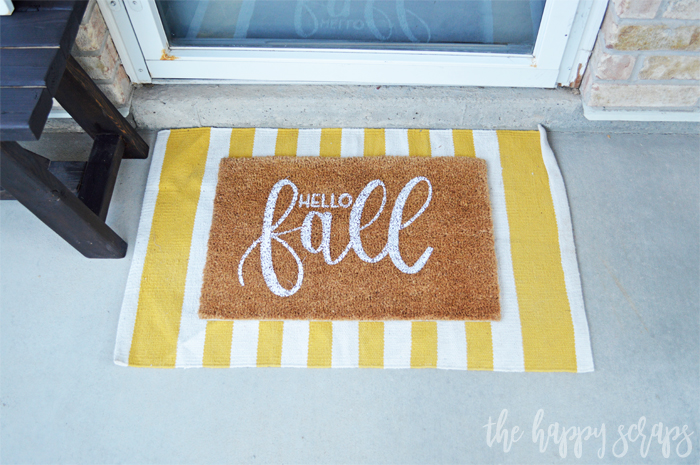
Pairing it with this mustard colored striped rug worked perfectly for the front porch!
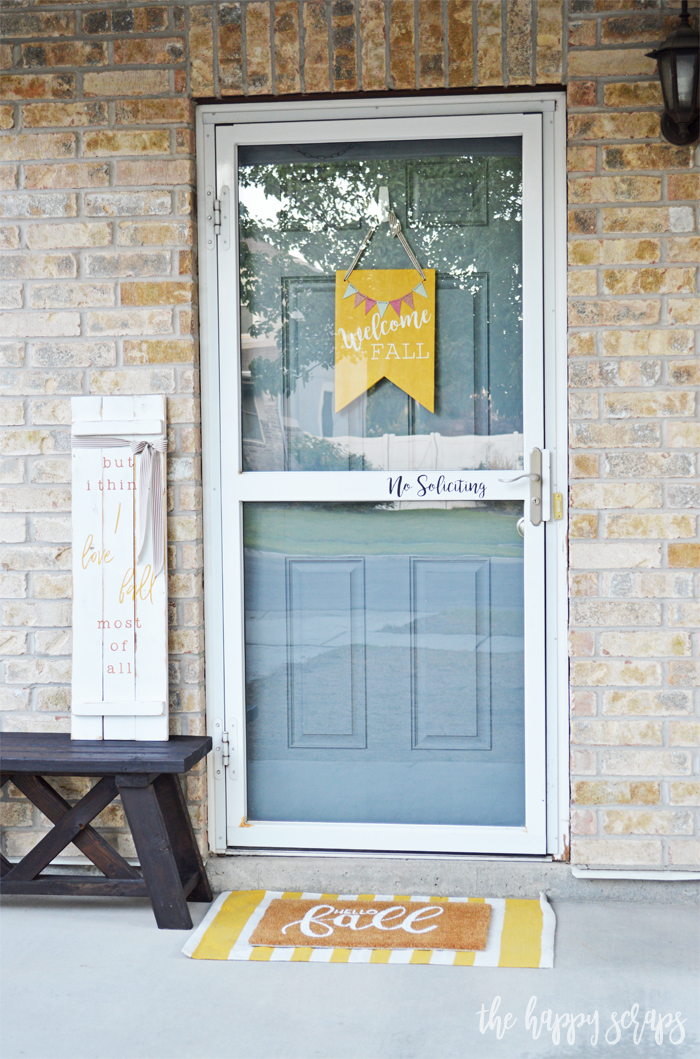
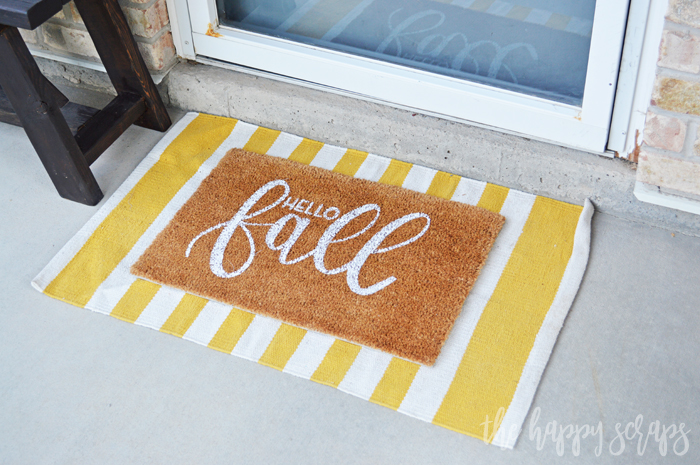
Another thing that I wasn’t sure if it would turn out well, was that I used white paint on the brown rug. It turned out awesome! Black or brown would also be fun for a DIY Hello Fall Front Porch Rug.

I’ve gotten a few of the other items out for the fall front porch so far, but I really need to get me a bail of straw and some pumpkins and then I’ll be all set! Do you decorate your porch for fall?
If you enjoyed this DIY Hello Fall Front Porch Rug project, then be sure to check out my fall project gallery.

Leave a Reply