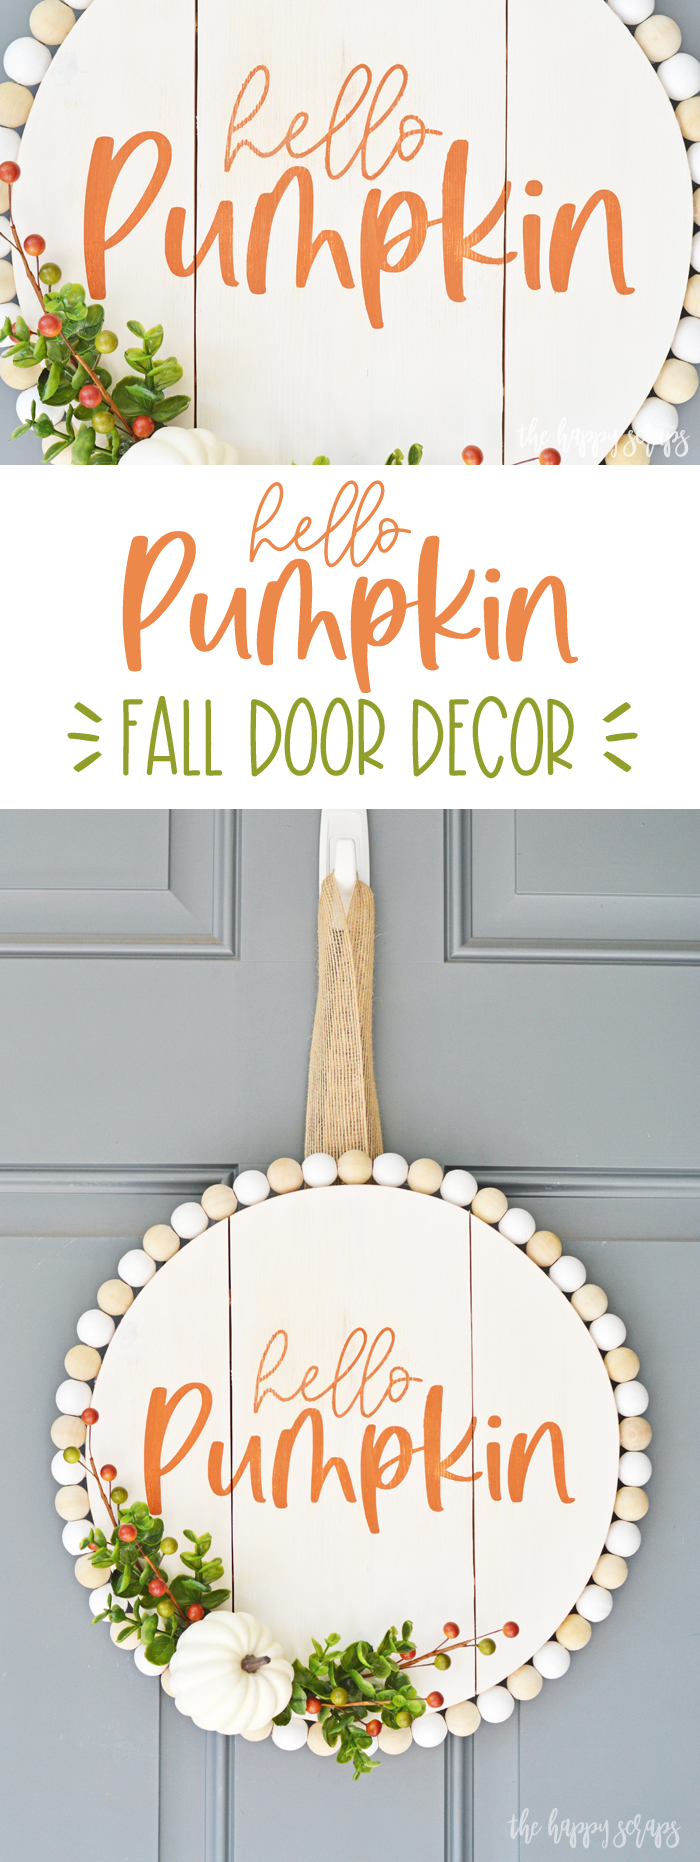
Oh my goodness, it’s been a while since I’ve been this excited about how a project turned out! It’s also been a while since I’ve pulled out the paint and stenciled on wood. Like, a long while! I do have a few projects with stenciling in mind that I hope to get to before too long though. We’ll see how that goes. Are you pulling out the fall or Halloween decor yet? Temperatures are starting to drop here at my house, and I’m excited for the cooler weather, but also not super excited for the cold weather that follows that! In the mean time, I will enjoy this lovely, sweatshirt, pumpkin weather while I can! I’m slowly getting my porch put together this year, and I just added this Hello Pumpkin Fall Door Decor to it and I couldn’t be more excited with how it turned out!
This Hello Pumpkin Fall Door Decor post contains affiliate links. If you click on an affiliate link and purchase something, you won’t pay anything extra, but it will help support this blog. All ideas and opinions are my own.
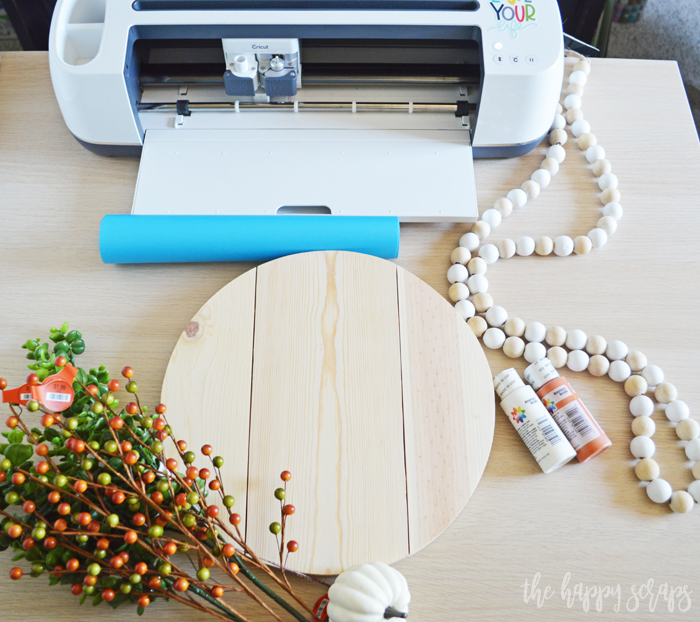
Hello Pumpkin Fall Door Decor Supplies:
- Blank Wood Plank Circle
- Cricut Maker or Cricut Explore
- Stencil Vinyl
- Transfer Tape
- Weeding Tool Set
- Paint (I used magnolia white + terra cotta)
- Paint Brush
- Hot Glue Gun
- Bead Garland (found mine in the Christmas section at Hobby Lobby)
- Greenery, Fall Berry Picks, Pumpkin (all found at Hobby Lobby)
- Hello Pumpkin SVG (free for personal use)
I’ve had this fun wood plank circle on hand for a year or two intending to use it and I just hadn’t gotten around to deciding exactly what I wanted to use it for! Recently, A Girl and A Glue Gun shared these fun round door hanger ideas, and it got me excited to use the plank circle for a project! I’m excited to share with you how I put this Hello Pumpkin Fall Door Decor together today!
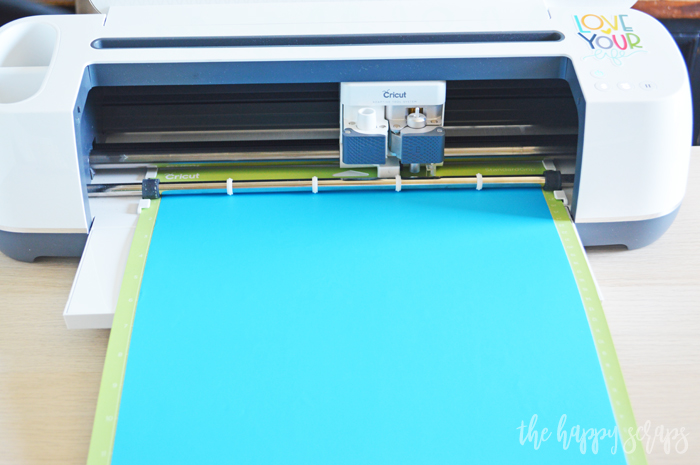
Start out by uploading the SVG file to Cricut Design Space. Once you have it uploaded, size it according to what you’re putting the design on. Place your stencil vinyl onto your mat, then send the design to be cut.
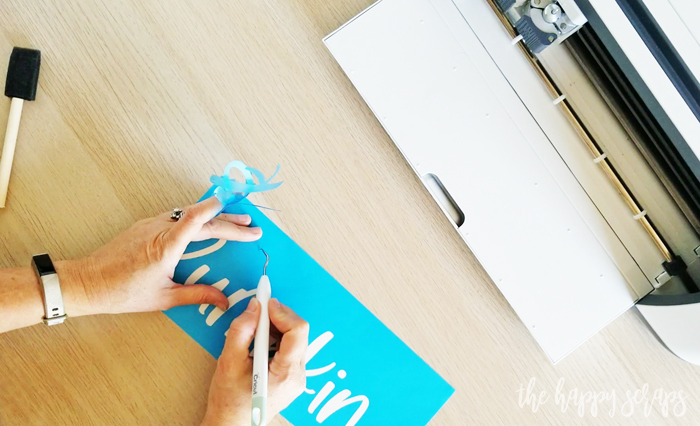
After cutting the vinyl, use your weeding hook to reverse weed the design. You want the letters pulled out, so you can paint where they are.

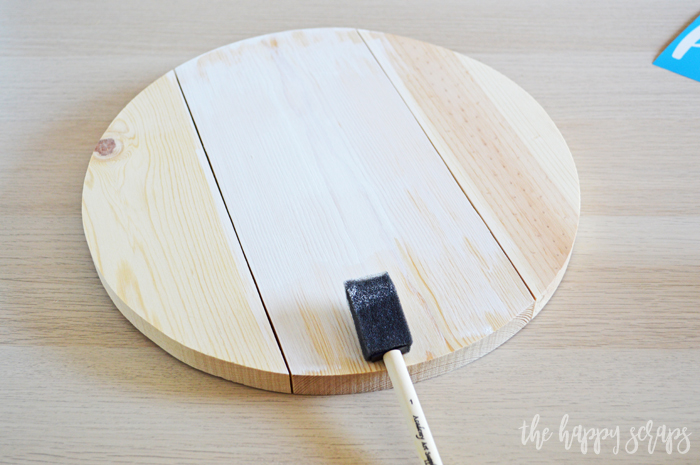
Paint your wood plank circle with the base color. It will probably need a least two coats of paint.
After the paint dries, take the wood bead garland and measure it around the circle. Trim the garland if necessary.
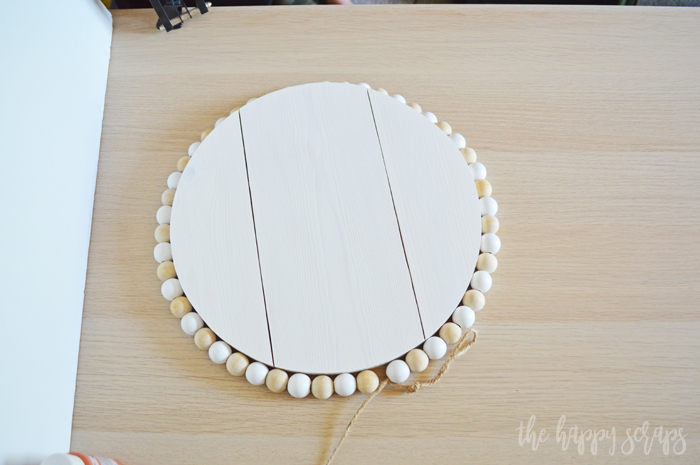
Set the garland to the side, then use transfer tape to apply your stencil to your wood.
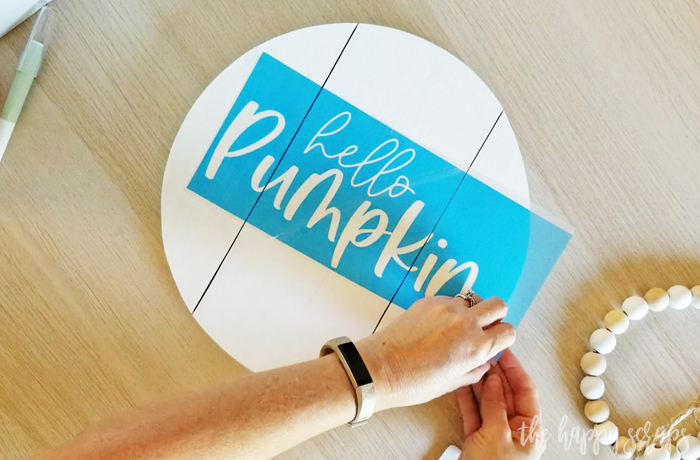
Add painter’s tape as needed around the edges to make sure there is enough space to paint and not get the paint where you don’t want it. Start painting.
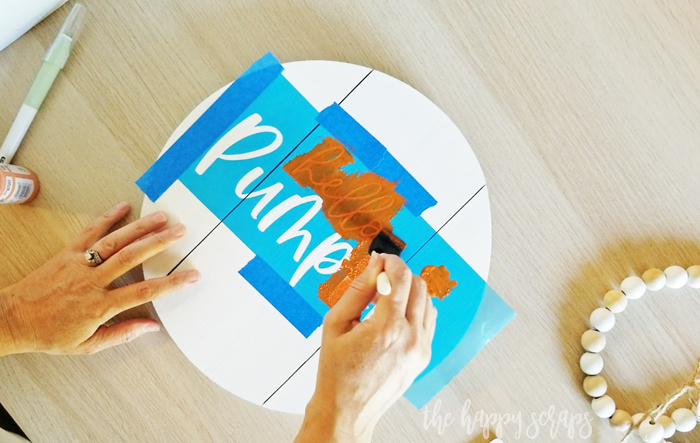
You’ll want to do a couple of coats of paint to make sure it is dark enough once the stencil is pulled up.
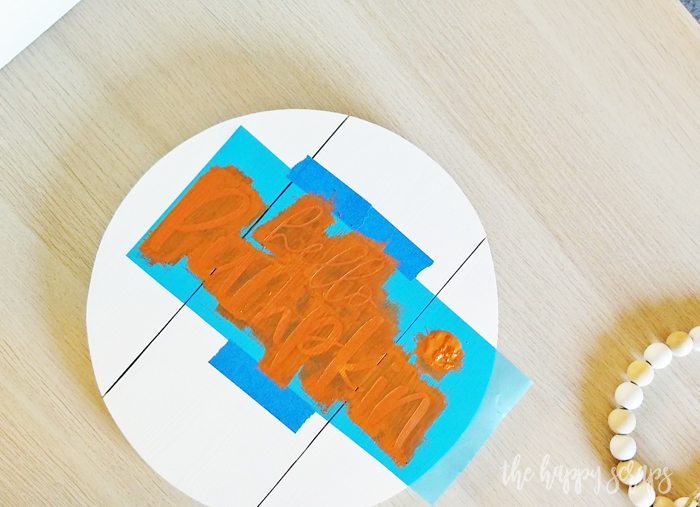
When the painting is finished, carefully pull the stencil up.
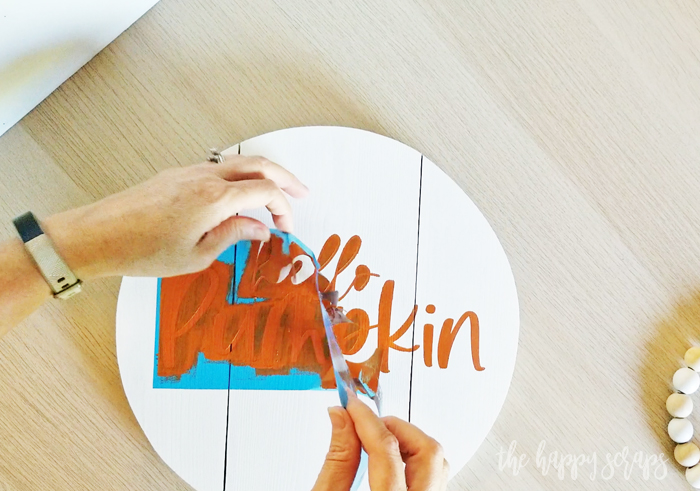
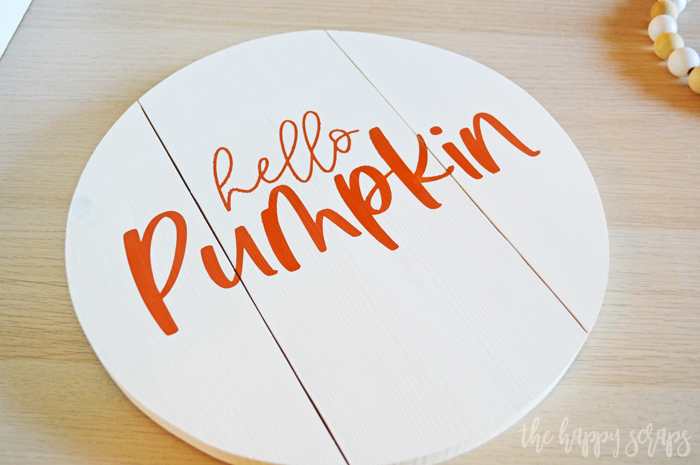
If you choose to, you can leave it like this. I chose to distress it a bit using a sanding block.
Turn the circle over and use your hot glue gun to glue the beads to the edge. I added glue to each bead.
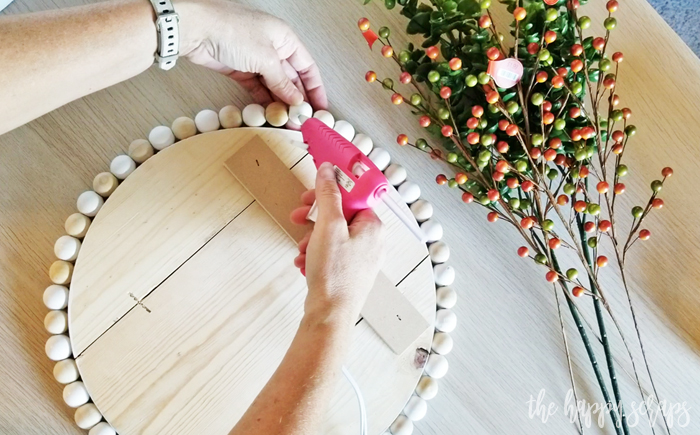
Once all the beads are glued on, use the twine from the beads to tie a knot.
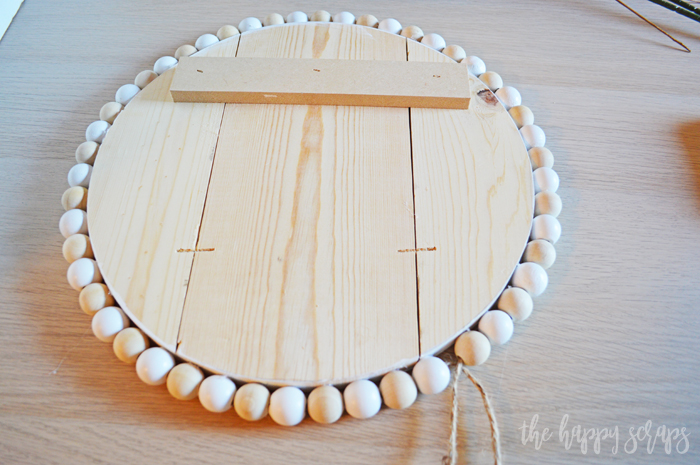
Adding the Foliage
Now we are ready to add the greenery, fall berries, and pumpkin. Use wire cutters to trim pieces.
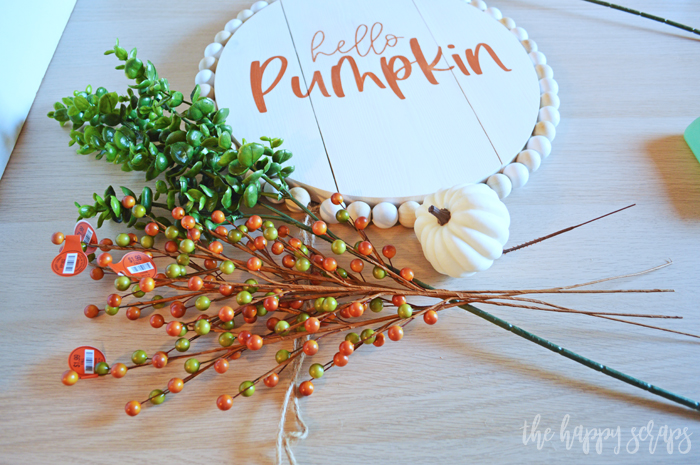
Start by gluing the greenery on first. Next, add in some fall berries. Be sure to leave a space for the pumpkin.
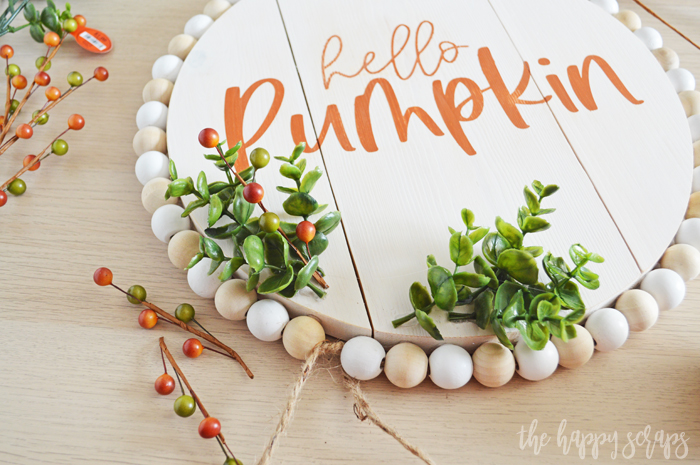
Once the greenery and berries are how you want them, glue the pumpkin on. Note: If you have a storm door, you may want to trim the back of the pumpkin so the pumpkin doesn’t get smashed when the storm door is closed. I learned this because my pumpkin already got smashed… 🙁
Trim the twine, or add a bow, or whatever you’d like to do. Then add something to hang your Hello Pumpkin Fall Door Decor from. I stapled ribbon to the back to hang mine from.
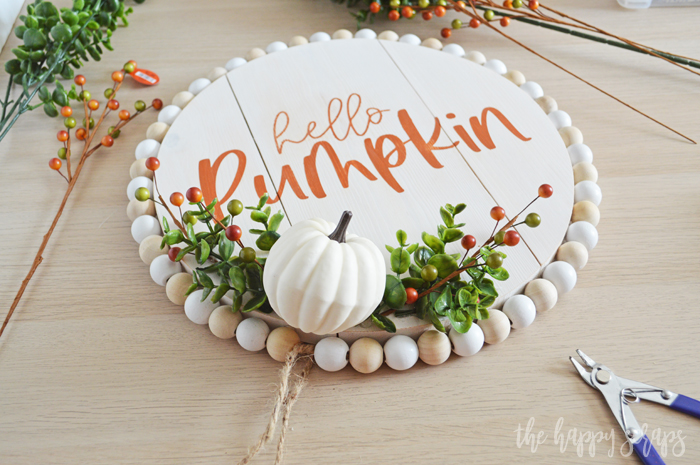
Now you are ready to hang it from your front door!
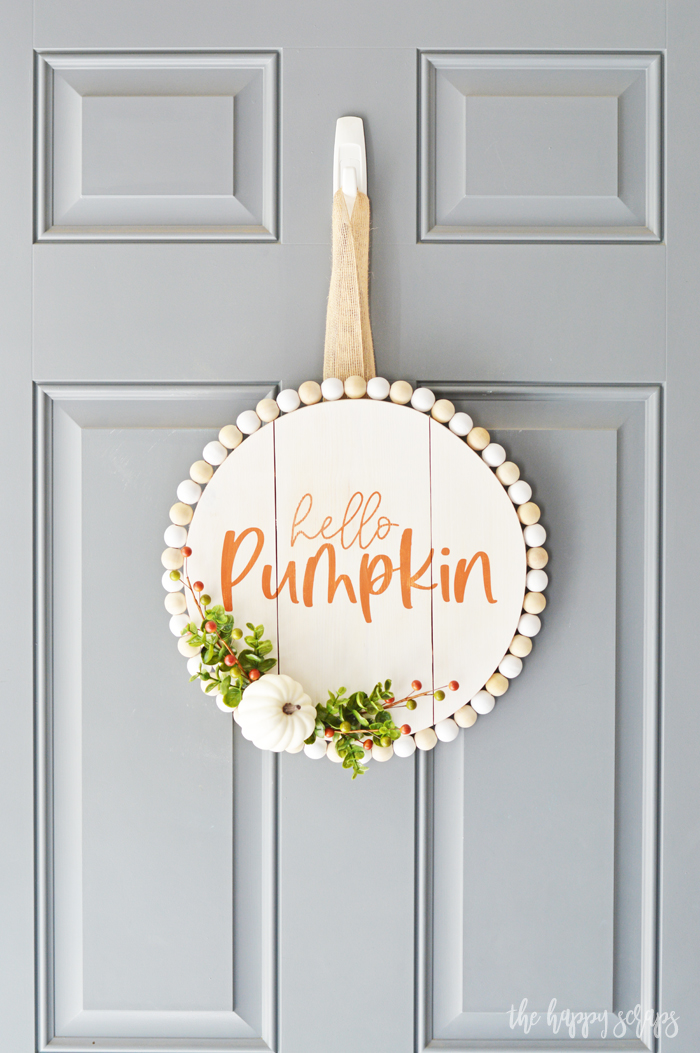
The stenciled lettering is so fun! Also, if you’re interested in the fonts used for this, you can find one here and the other here.

Adding the greenery, berries, and pumpkin adds some extra dimension to this project that makes it fun.

The beads on the edge of the wood plank circle add such a fun element to this project! It’s an easy thing to add to really make it pop!
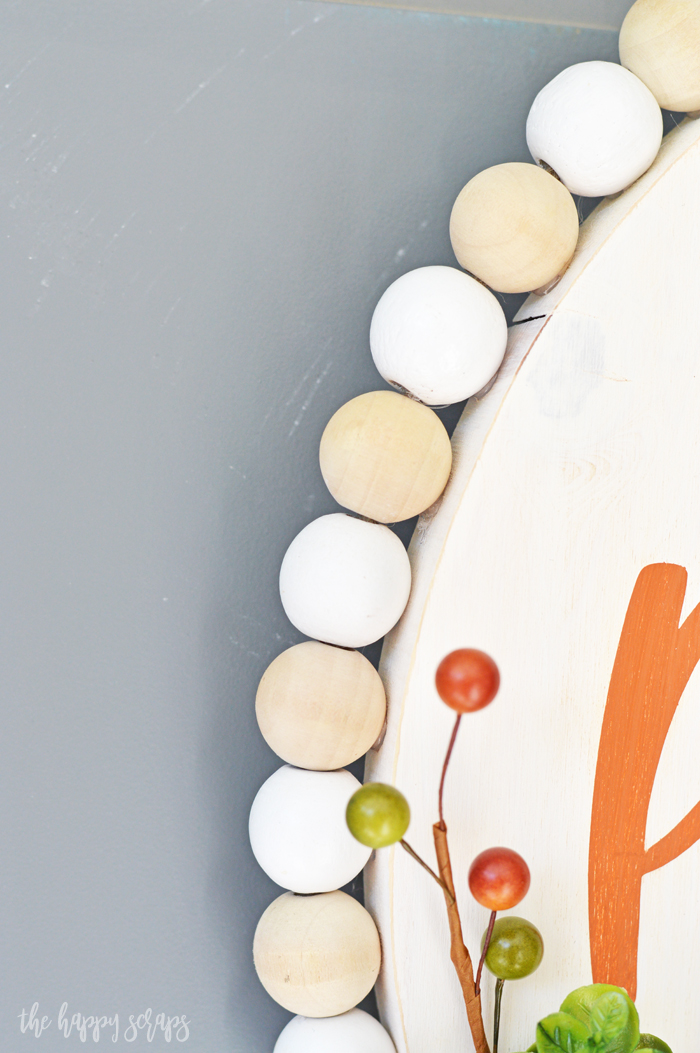
When you create one of these Hello Pumpkin Fall Door Decor pieces for your door, what colors would you use?
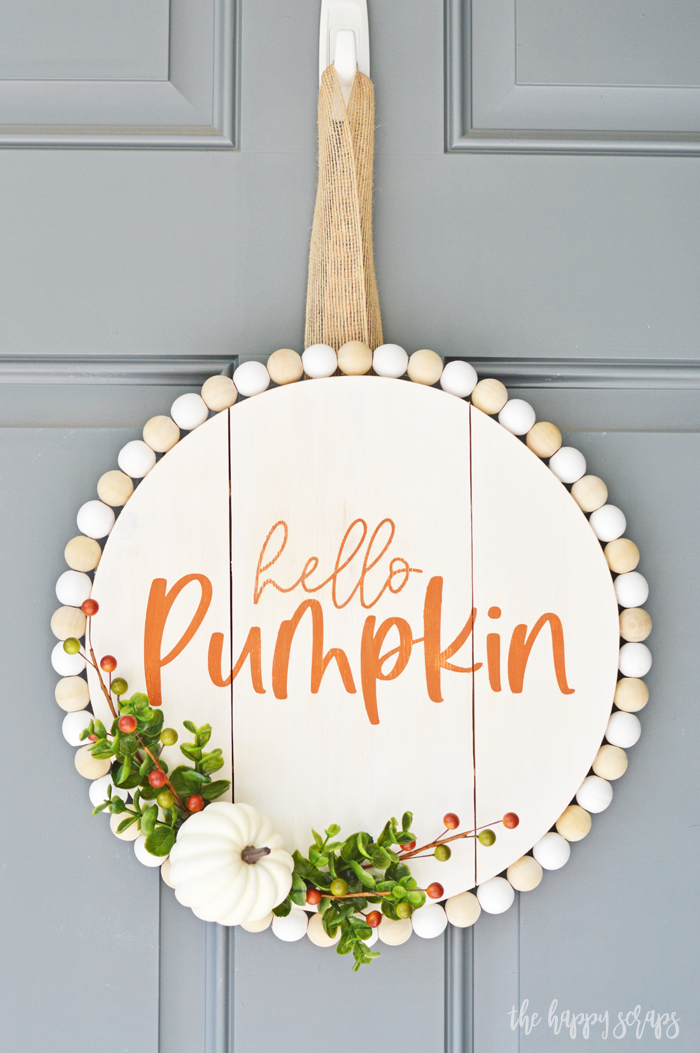
Would yours say Hello Pumpkin? This also pairs perfectly with my Hello Fall Front Porch Rug!
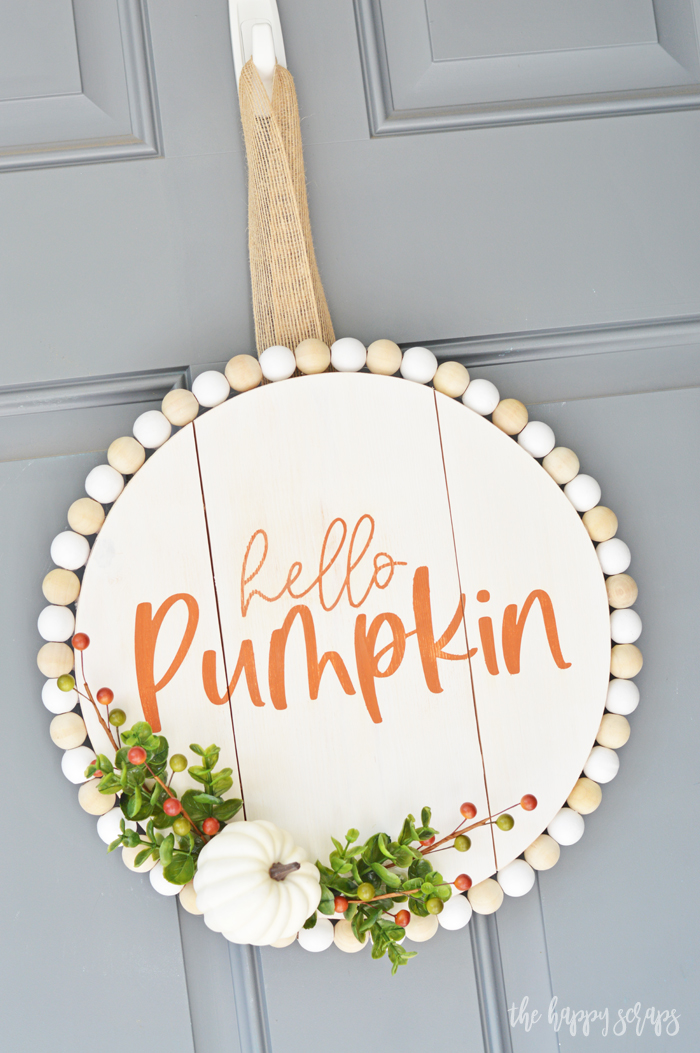
This was such a fun project to create and it didn’t take all that much time! If you love this project then be sure to check out some of my other fall projects here.

Leave a Reply