I’m visiting over at The Wood Connection today, sharing this tutorial.
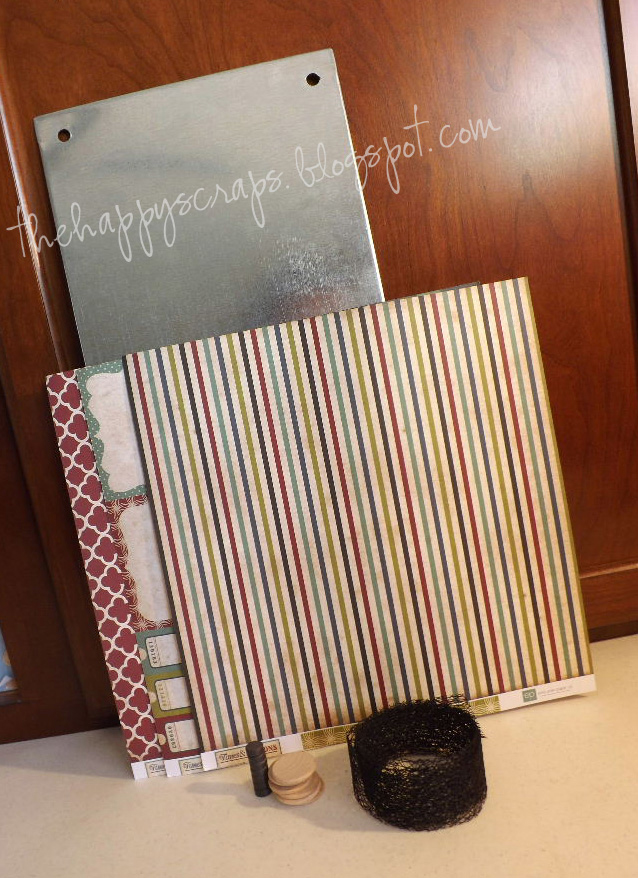
Did you know that The Wood Connection not only carries the cutest wood creations for you to take home and finish just how you want, but they also carry magnet boards? I’ve used many of their magnet boards for several projects, and I love them. One of my favorite things about them is that they have folded edges, so you aren’t going to get cut on them. Also, they are very reasonably priced! For this tutorial today, I used the magnet board that measures 9″ x 20″. They also carry 10″ x 10″, 12″ x 12″, and 18″ x 18″. The price for the 9″ x 20″ magnet board is only $4.95.
For this project, you will need:From The Wood Connection:
{1} 9″ x 20″ magnet board
{7} 1 1/4″ wood discs {$.12 each}
{7} small magnets {$.15 each}
{1} foam brush
Paper of your choice
Ribbon of your choice
Other Supplies:
adhesive {I used mod podge}
hot glue gun
pencil
scissors
sandpaper or fingernail file
letter stickers
ink {optional}
binder clip
You’ll start by cutting your paper to size. Make sure to measure before you cut. You’ll need approximately 4″ for the top and 4″ for the bottom, both 9″ wide. For the center you’ll need a piece of paper approximately 9″ x 12″. Measure and cut your paper {image 1 below}, and then start by adhering one piece at a time. I start with the top and bottom and then add in the center. Only put enough glue on for the paper that you are working with {image 2}. Smooth out the paper {image 3}. Continue until you have all 3 papers glued on {image 4}.

Next, you’ll take your wood discs and trace them onto the patterned paper of your choice {image 1 below}, then cut out your circles {image 2}, glue the paper onto the wood and sand the edges to get them just right {image 3}, and then if you’d like, you can ink the edges to make them a little darker {image 4}. You could also paint the wood prior to adhering the paper if you would rather.

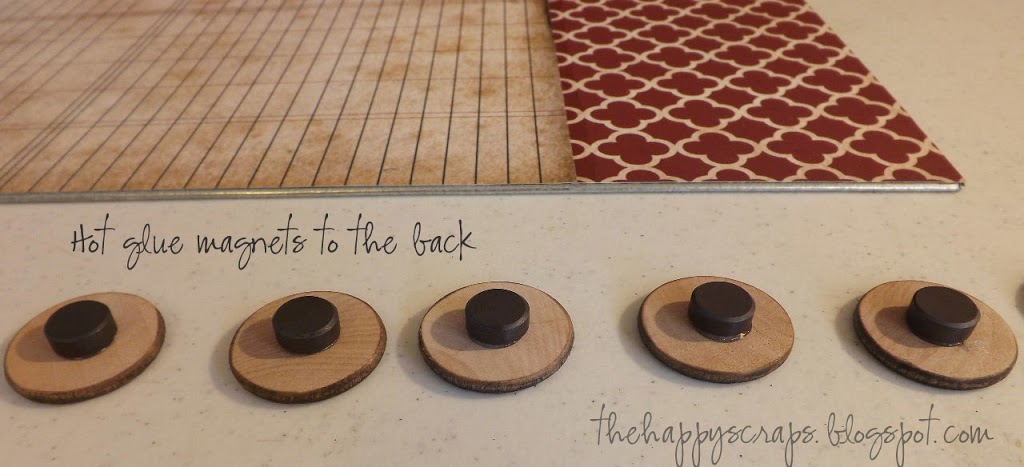
Now you are ready to use the hot glue and put your magnets on the back of the wood discs. I would recommend wiping the magnets off before hand, so they don’t leave the dark magnetic residue on your paper.
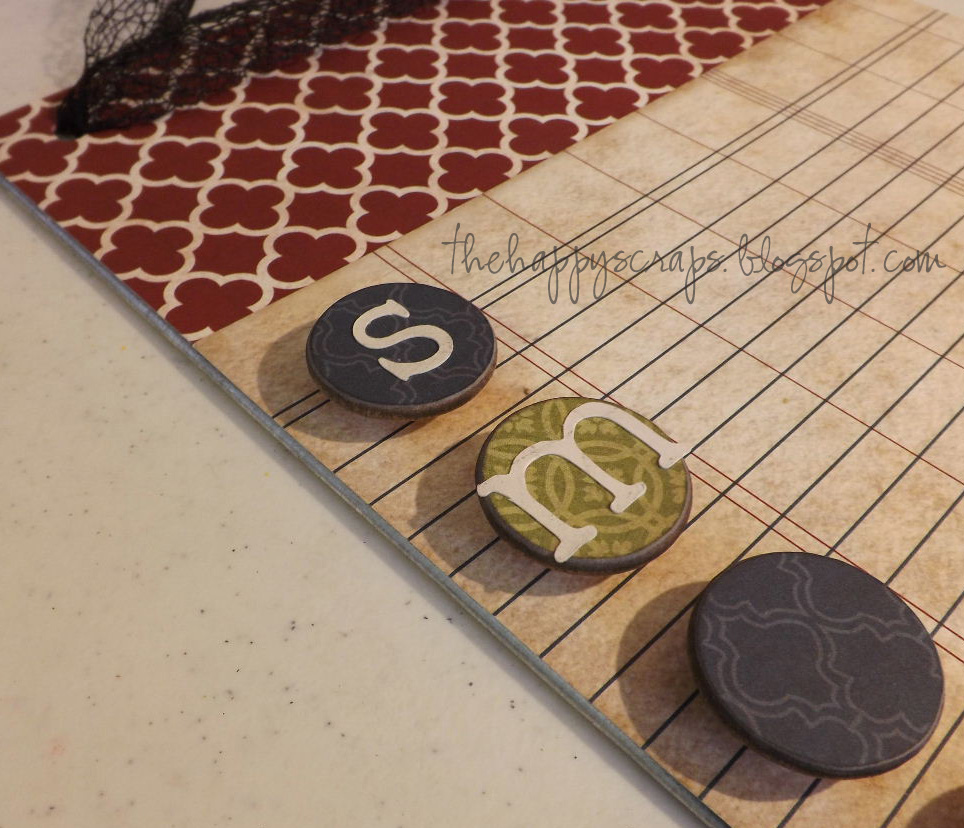
Adhere letter stickers to the tops of your little wood discs for the days of the week. I used some that I cut with my Cricut.
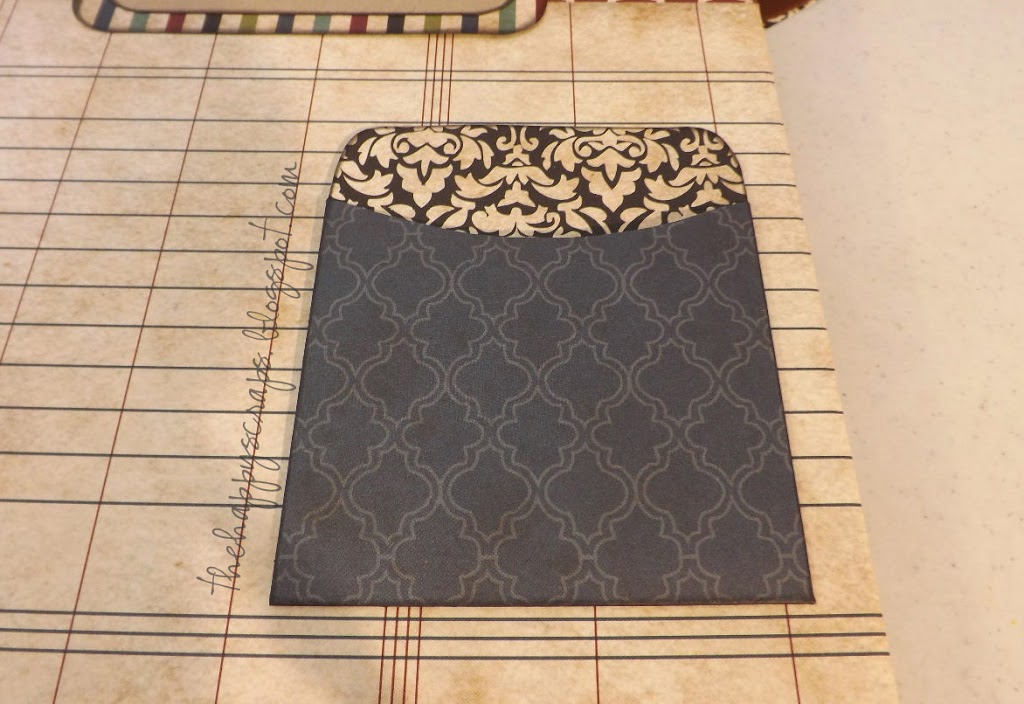
Next, I traced and cut out a library pocket to hold my menu items in. This is the shape after it’s been traced and cut out. You score and fold on the white lines, then glue.

I inked the edges of the pocket after it was put together, and then I adhered it to the board.
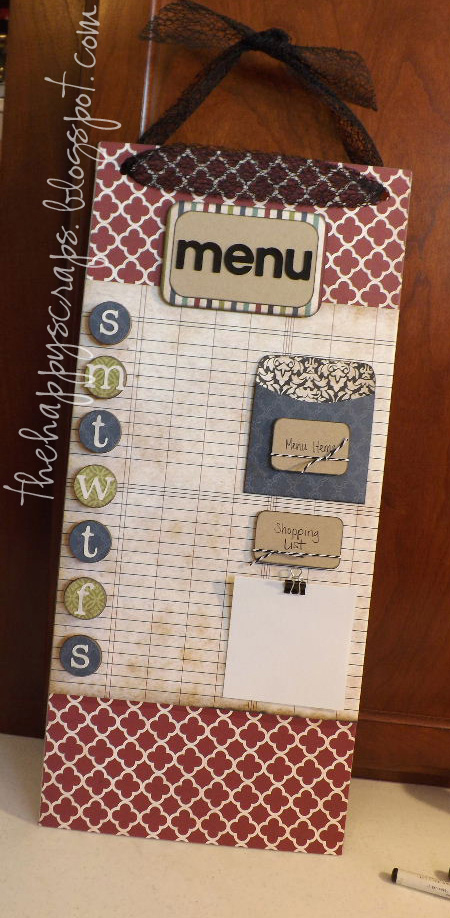
Then I made the title. I just cut a couple of rectangles of paper down to the size I wanted and then put letter stickers {I used thickers} on, and put it on the board.

For the Menu Items and the Shopping List headings, I just trimmed some cardstock, inked the edges, and hand wrote the words, and tied some fun baker’s twine around them. Then I adhered them to the board.

For the shopping list, I just cut up some printer paper, and then used a dimension square to adhere it to the board. You could also used a post-it note pad.

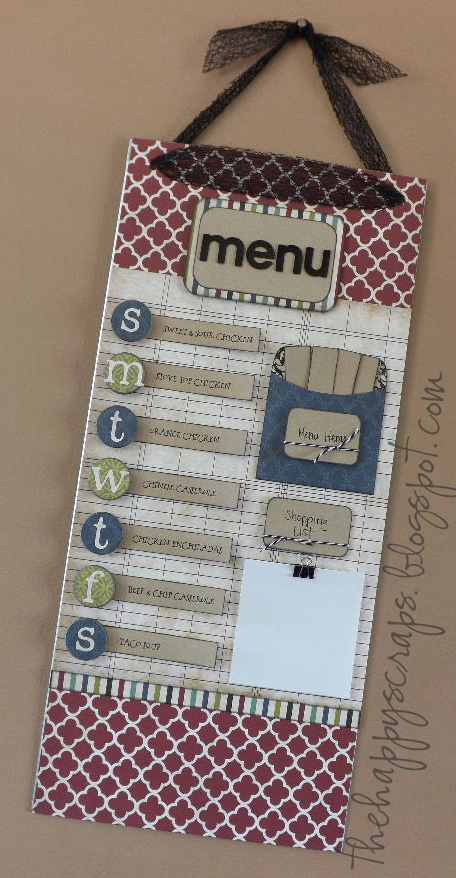
All you have left to do now is tie your ribbon through the holes at the top of the board, and print or write your menu items to fill your pocket and make your menu!
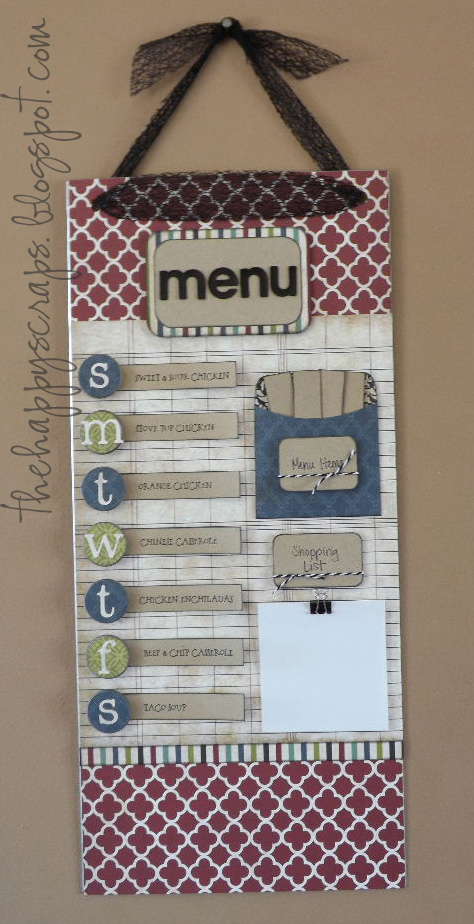
Here is a picture with the menu items on it. 🙂 Another thing that I thought would be fun, would be to get a pen, mod podge cute matching paper to it, then glue a magnet to it and keep it on the bottom section of the board. Then you’ll always have your pen handy when you need to add something to your list.


Leave a Reply