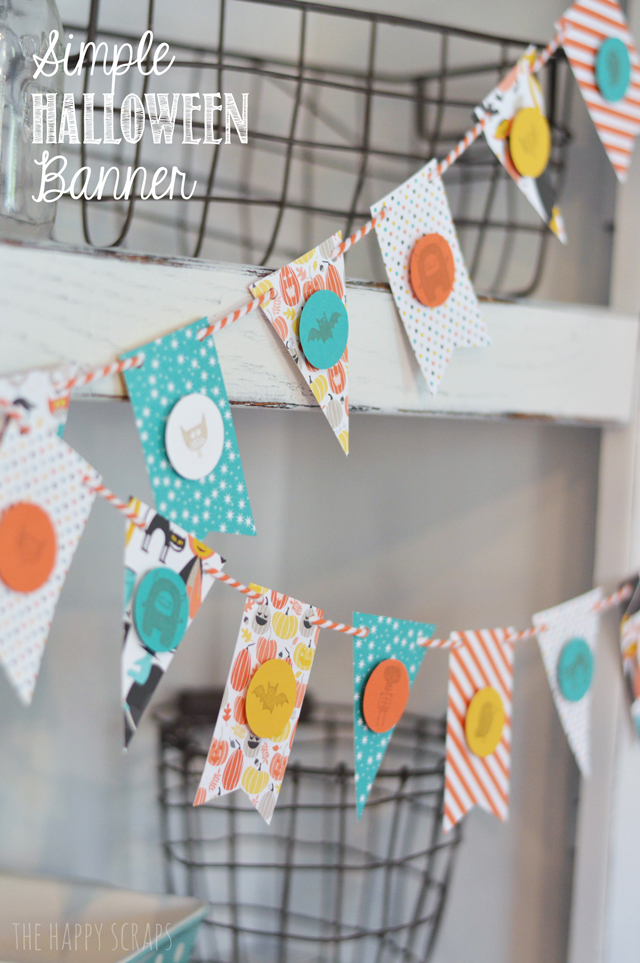
Remember last week when I shared this fun little Monster Treat Jar with you? I had so much fun playing with that fun Stampin’ Up! paper, that I decided to make this Simple Halloween Banner with it.
(Disclosure: I am not being paid to share this post. I was given supplies from Stampin’ Up! to use for another post, and I had enough left over to share another project. The Cricut link shared is an affiliate link.)
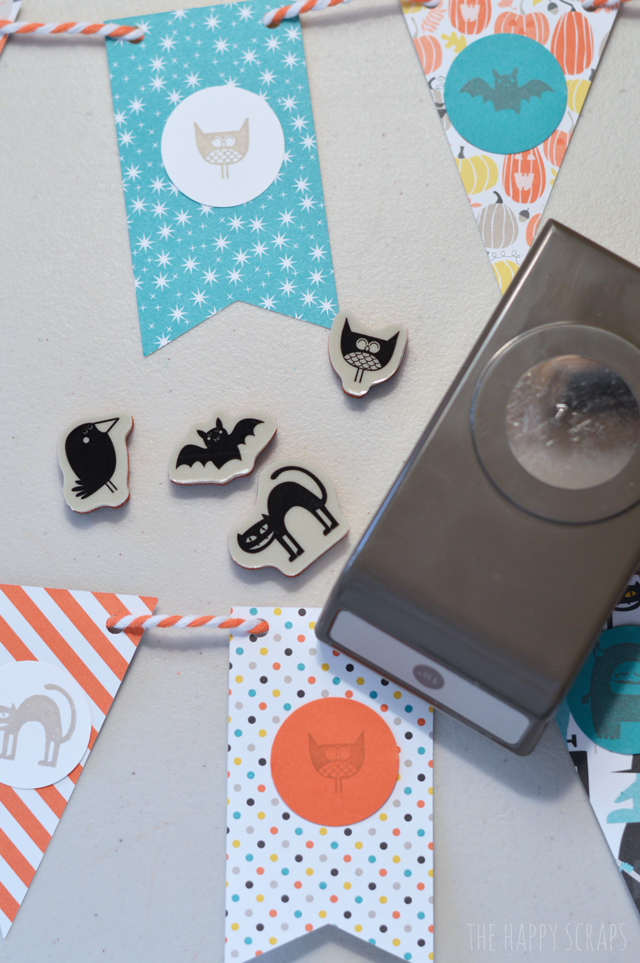
You’ll use the same Motley Monsters Designer Series Paper, matching colored cardstock, White & Tangerine Tango Two-Tone Trim, Sahara Sand Classic Stampin’ Pad, 1 1/4″ Circle Punch, Freaky Friends Stamp Set, a block, some adhesive, and I used my Cricut Explore, but you could easily do this without.
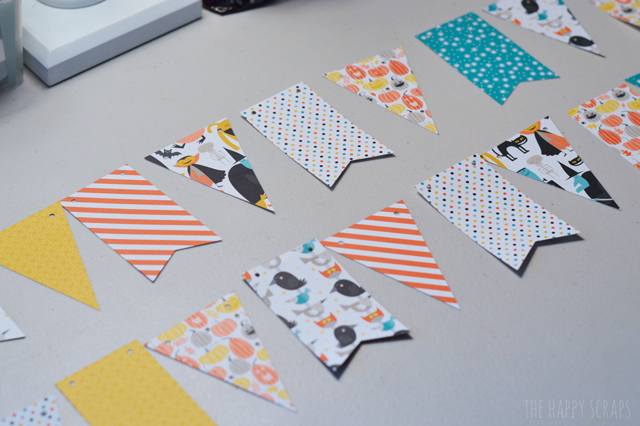
Start out by cutting your banner pieces.
With the stamp set, pick out some of the smaller stamps that will fit inside the 1 1/4″ punch. Using the stamp pad, stamp your images onto the different colors of cardstock. The punch them out with the circle punch. Lay them out on your banner, and get them matched up with the banner pieces that you want them on.
Using dimensional squares, I stuck the circles onto the banner pieces.
You can string your pieces together now, using the large twine. I wasn’t sure if I was going to add the circles to this when I started, so I strung mine together before adding them. Either way will work.
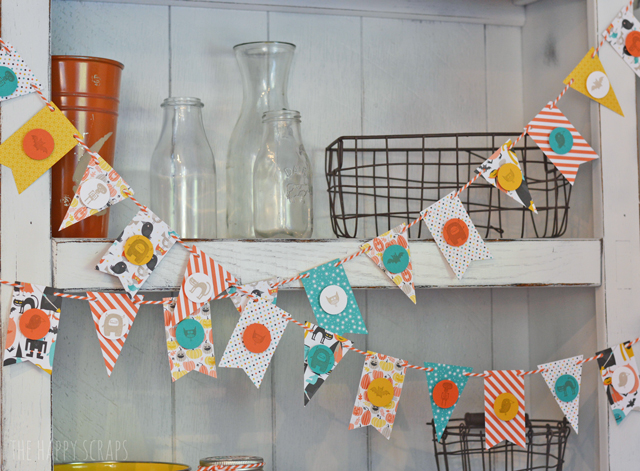
Once you have it done, you can find a fun place to hang it up in your home.
A couple of months ago, I got this fun little shelf for the kitchen. I’d been looking for something for a while, but this space is little, so I couldn’t just put anything here. I was so excited when I found this, it was the perfect size, and it makes the perfect place to put little banners like this.
Soon I’ll be getting the rest of my Halloween stuff out, but probably not until the first weekend in October. My son’s birthday is on the 2nd, so I’ll wait to change out decorations until then. Have you decorated for Halloween yet?


Leave a Reply