I received compensation and product in exchange for this post. All opinions and ideas are 100% my own. This post contains affiliate links. I only share products with my readers that I personally love and use.
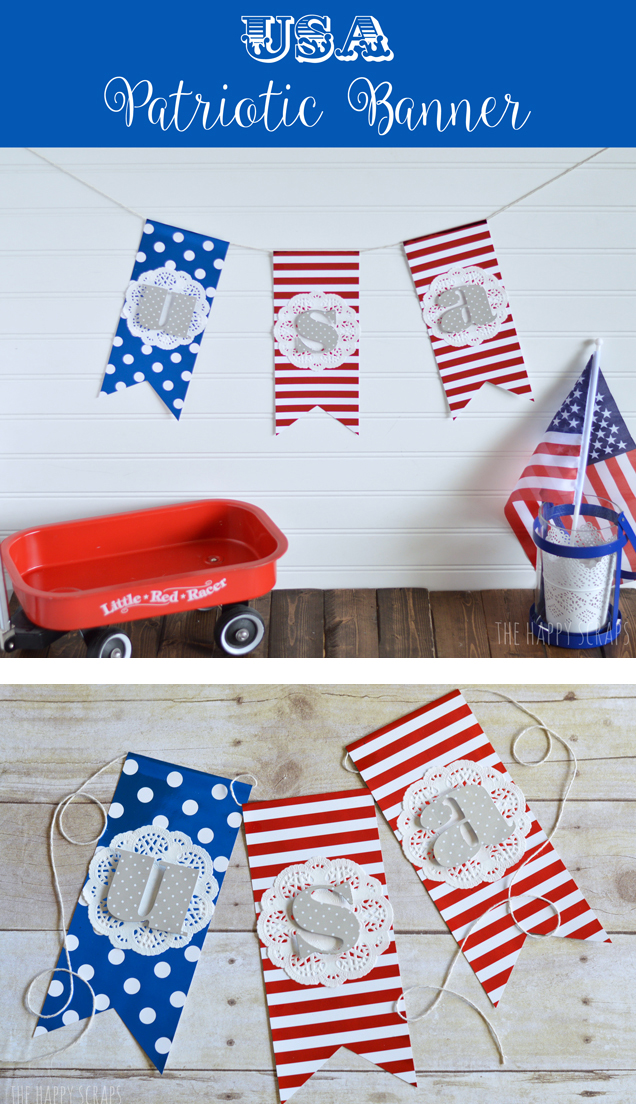
Well, the calendar might not say it yet, but it sure feels like summer is here. My kids have been out of school for just a few days, and so far so good. I might not feel the same a week from today when I’ve been listening to fighting for a few days, but we’ll see. I’m hoping to keep some structure this summer using our Summer Schedule and Simple Chore System that I used last year. I’m also looking forward to celebrating the 4th of July with my family! It’s one of my most favorite holidays every year. I’ve already started creating some fun decor projects for Independence Day, and hope to share even more with you. Today, I’m going to show you how simple and fun this USA Patriotic Banner is to put together!
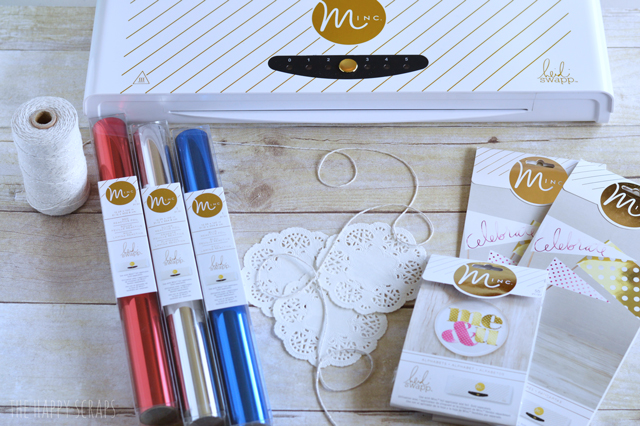
To put this USA Patriotic Banner together, you’ll need:
- Heidi Swapp Minc Foil Applicator Starter Kit (available at Joann, Hobby Lobby, your local craft stores, and online shops)
- Reactive Foil in Red, Silver, & Blue
- Minc Banners (to get two striped flags, you’ll need two packages of these)
- Minc Polka Dot Alphabet
- Paper Doilies (I found mine at Hobby Lobby)
- Baker’s Twine
- Adhesive
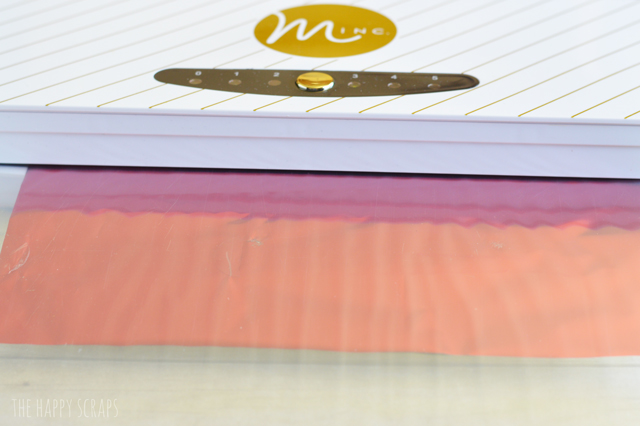
Pull out your banner pieces that you want to foil. I chose to foil the polka dot banner piece blue, and two striped banner pieces red. Cut your foil to be the size that you need, then place your banner piece and foil in the transfer folder. Set your machine to the heat setting for the banner pieces, and put them through the Minc.
If you aren’t sure what heat setting to use, the packages have them on the back, top right corner. Just remember to foil the one with the lower heat setting first.
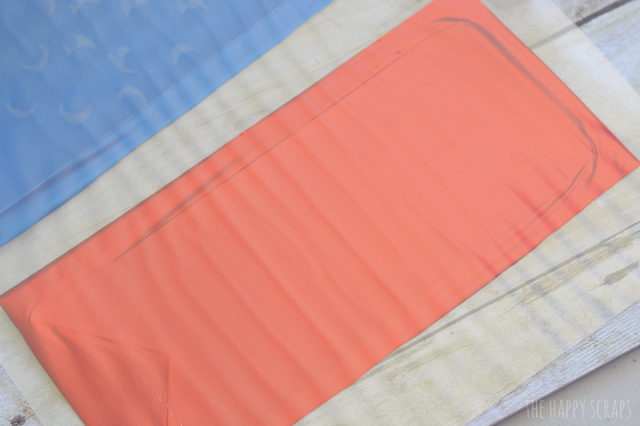
One of my favorite things, is getting to open the transfer folder, after the foil has been applied. It is just so magical!!
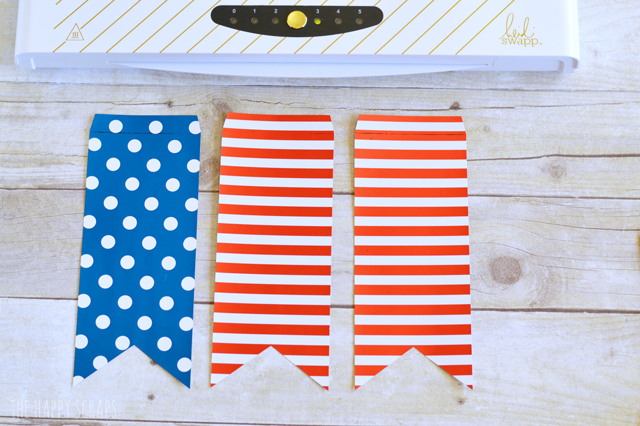
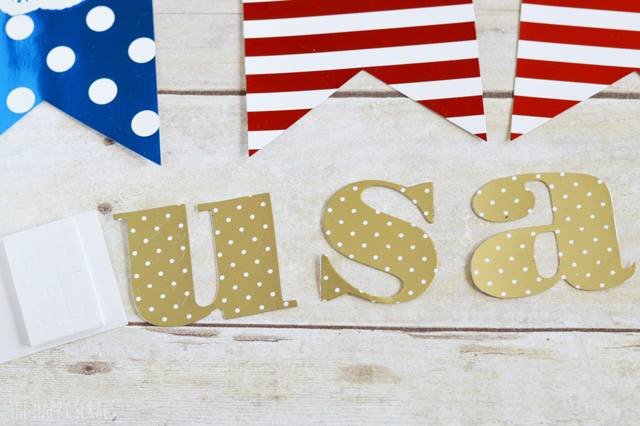
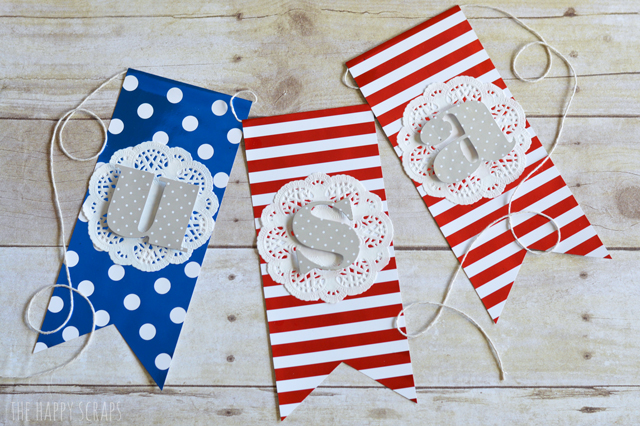
I was going for the look of the American flag, even though the blue is polka dots rather than stars. Here are my banner pieces, all ready to be embellished.
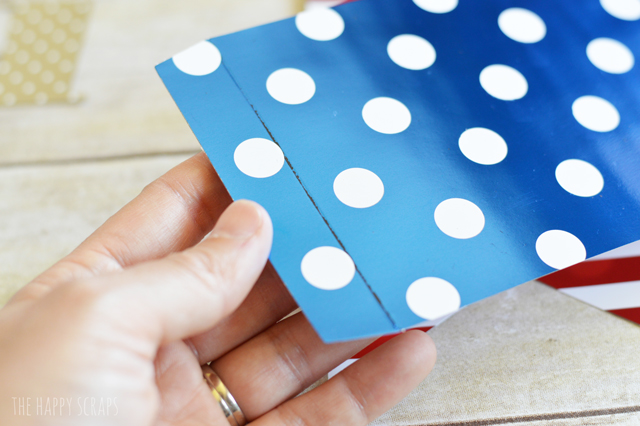
Toward the top of each one, there is a score line.
Fold on the score line.
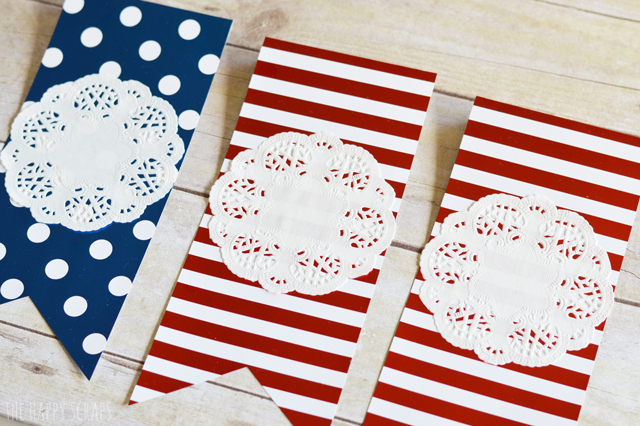
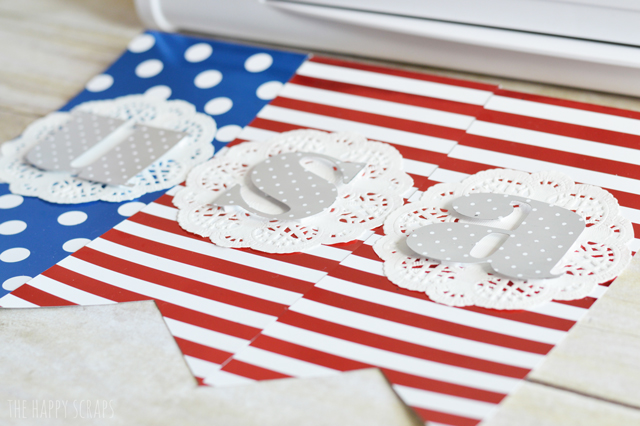
Lay out your pieces, and adhere the doilies to the front of them.
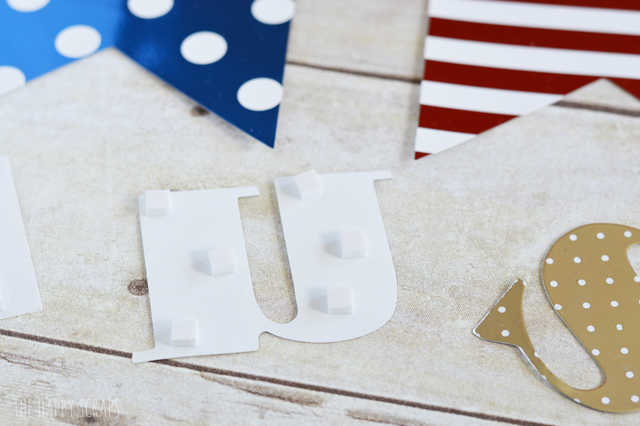
I put the Silver Reactive Foil on my USA letters. I got my dimension squares out to mount my letters with.
I placed the squares on the back of the letters.
Then mounted them on the doilies on the banner pieces.
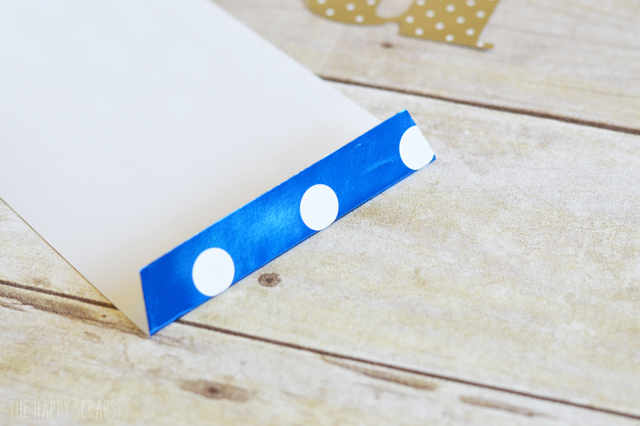
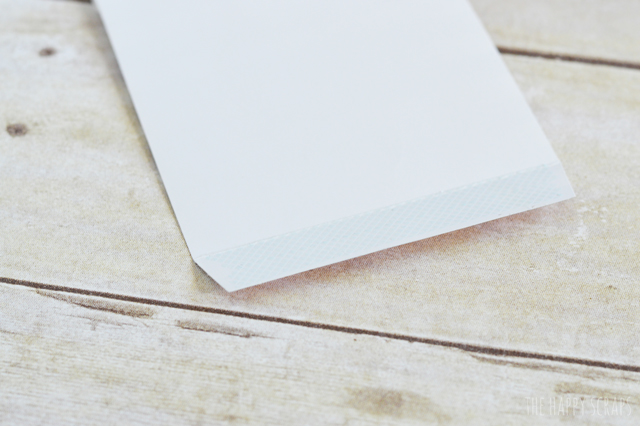
Next, I put adhesive on the back of the banner pieces, on the small flap created by the fold.
Then I simply placed the baker’s twine inside the fold and stuck the flap down.
I did have a little mishap :), I got the U and the A put in the wrong place, luckily, it was an easy fix tho.
I got them switched around, and I had my banner done. I can’t wait to add this fun foiled, USA Patriotic Banner to my other Independence Day decor!
So are you ready to get a Heidi Swapp Minc Foil Applicator, and make your own banner or what?! I promise you will love the machine. While there might be other ways to add foil to projects, the Minc is the most convenient way to add foil to your projects and it is so quick to use. The best word I can find to describe it, is magical. It is seriously MAGICAL!!!




Leave a Reply