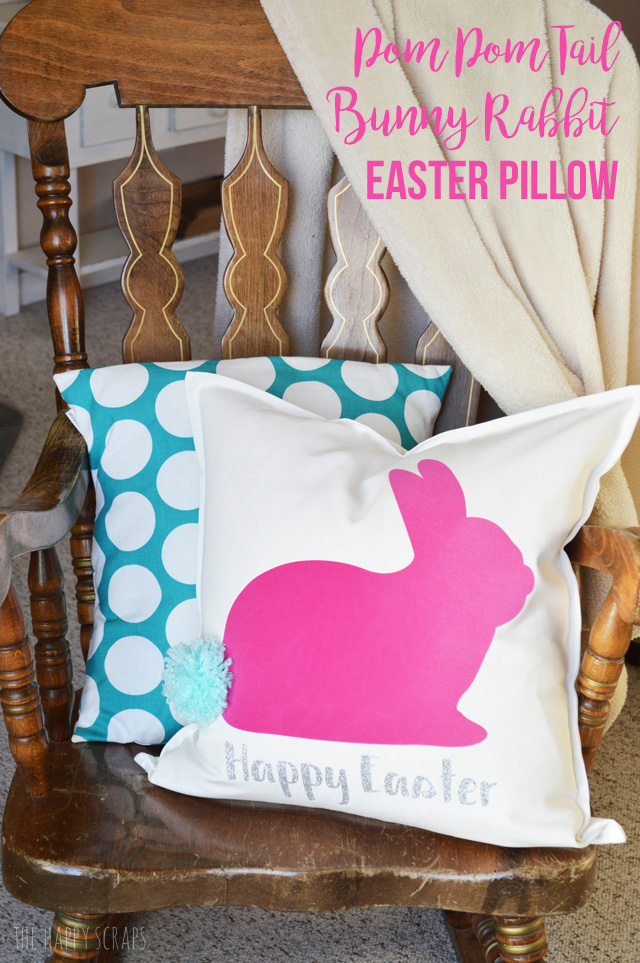
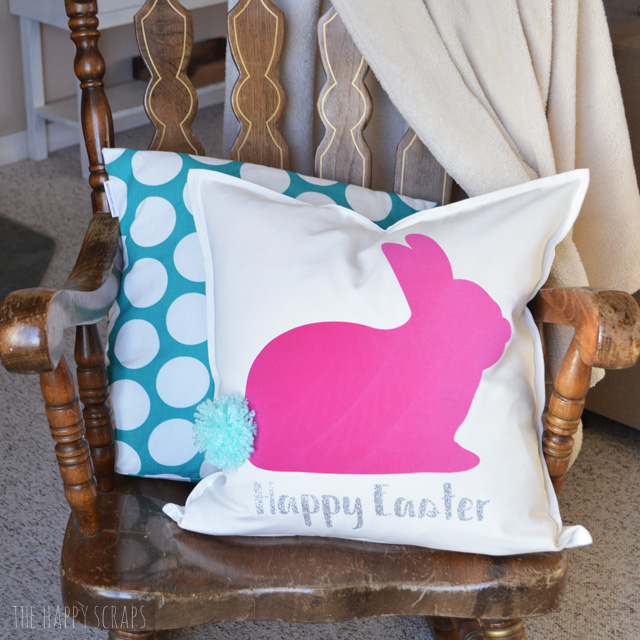
It’s really not a secret that I’ve been enjoying making pillows for different holidays lately. I’ve shared several over the last few months. One of my favorite parts about making these pillows for different holidays is that I can just pull the pillow cover off when the holiday is done and put the pillow cover in the box with the rest of my decor, then I can use the pillow insert for the next holiday. It works out great! A couple of weeks ago, I had the idea to create this Pom Pom Tail Bunny Rabbit Easter Pillow. I thought it would be so fun to cut out a cute bunny then add the puffy tail. It turned out way better than I thought! Today I’m sharing it with you, along with the tutorial so you can make your own.
This post contains affiliate links.
Pom Pom Tail Bunny Rabbit Easter Pillow Supplies:
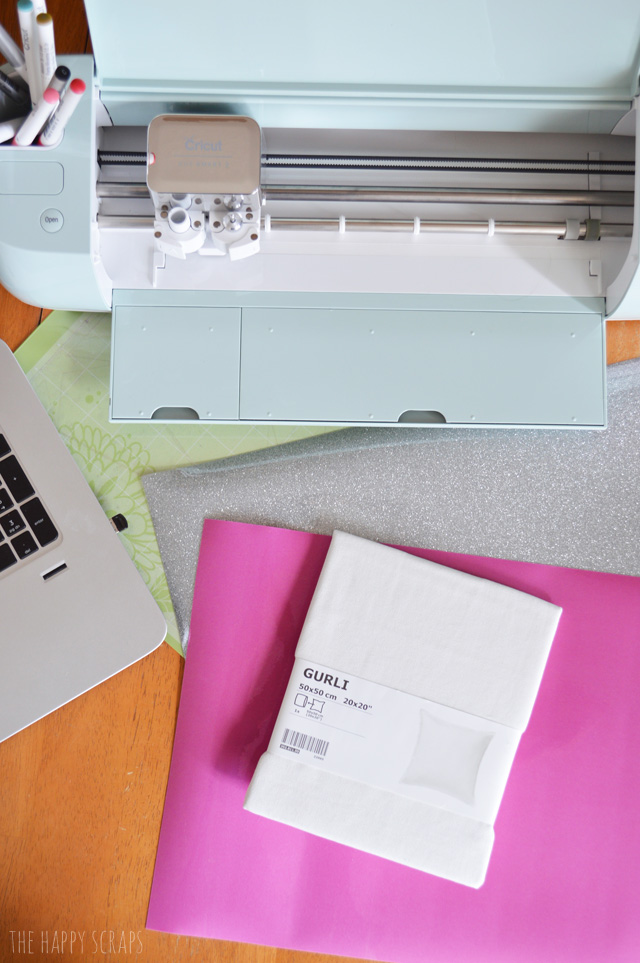
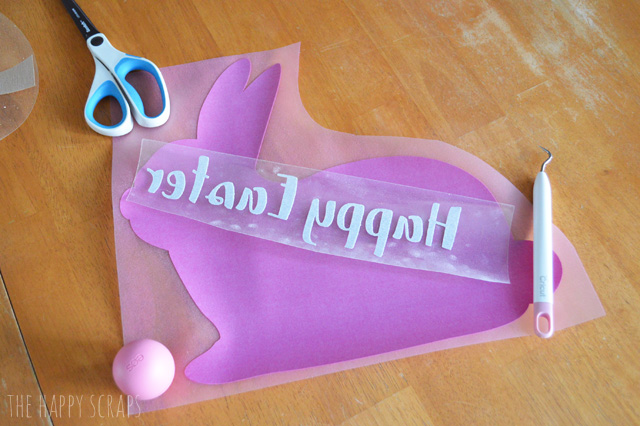
Once you have your supplies gathered, you’ll need to cut out your iron-on vinyl pieces. Place the iron-on vinyl, shiny side down, onto your mat, and cut your design. Make sure when you cut that you “mirror image” so that your words turn out right.

Weed your images.
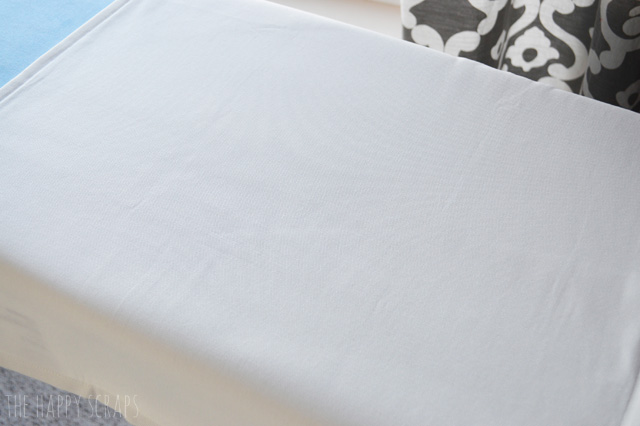
Iron your pillow cover if it needs it.
Place your bunny and Happy Easter onto your pillow cover where you want them. Iron them on, following the directions that they come with.

Once you’ve got the bunny and words ironed on, you are ready to add the tail.

Make yourself a cute pom pom, get a large needle, and attach it to the pillow over the tail.

Isn’t it so cute and fluffy?!
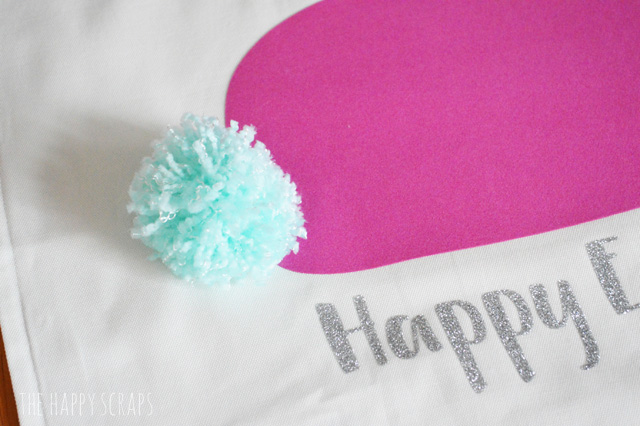
I thought the light minty color of the tail was a great contrast to the rest of the pillow.

Fill up your pillow with a pillow form, and you are all set. Now you just need to get out the rest of your Easter decorations. 🙂
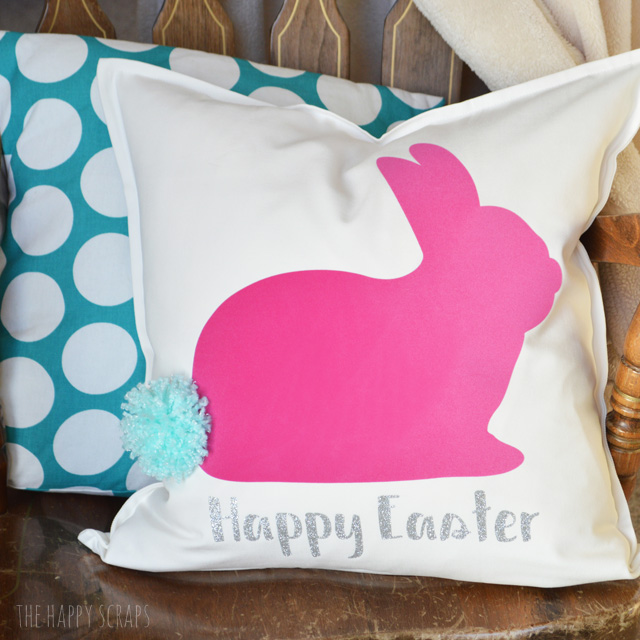
I think the tail is the perfect finishing touch, don’t you?
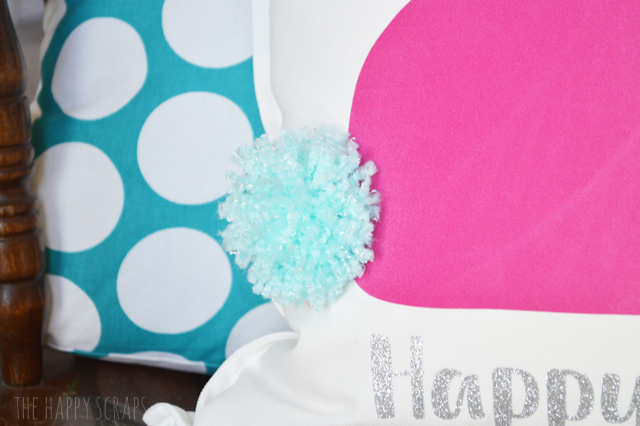
And of course the sparkly glitter vinyl adds a nice touch too. I love glitter iron-on vinyl. It’s my favorite!
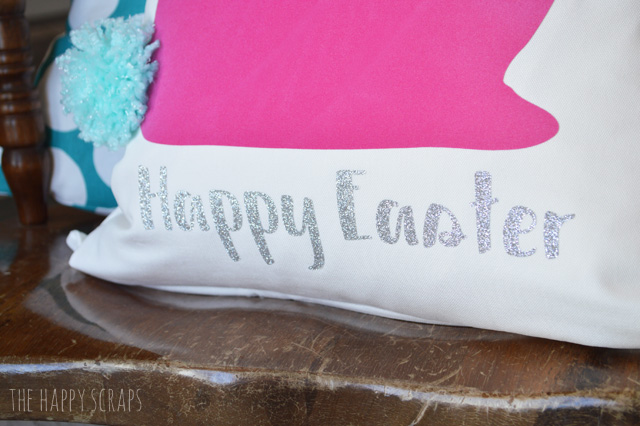
Grab your supplies and get this pillow made so you can enjoy it this Easter!
If you liked this project, you might also like these:


Leave a Reply