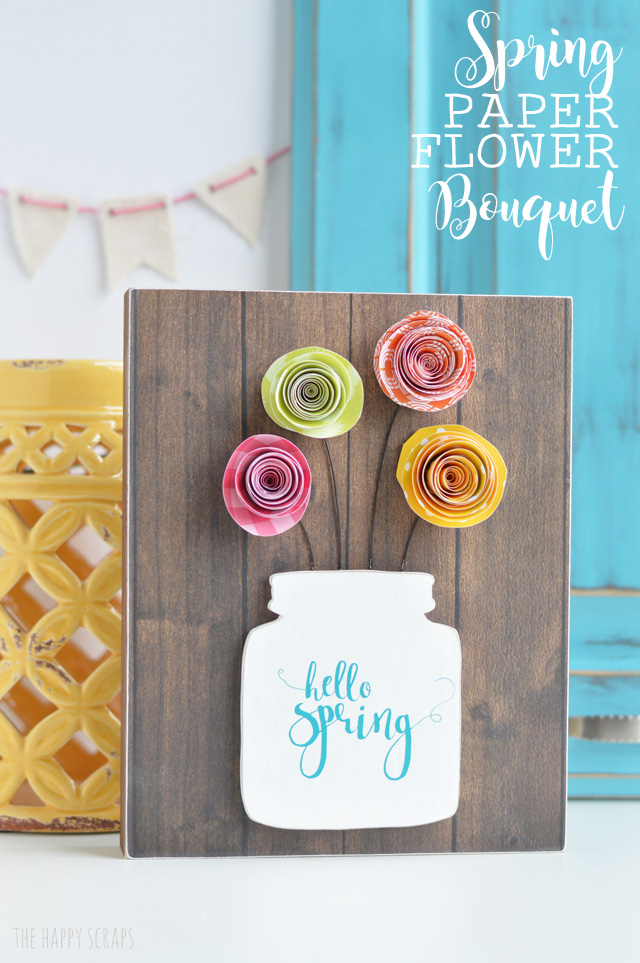
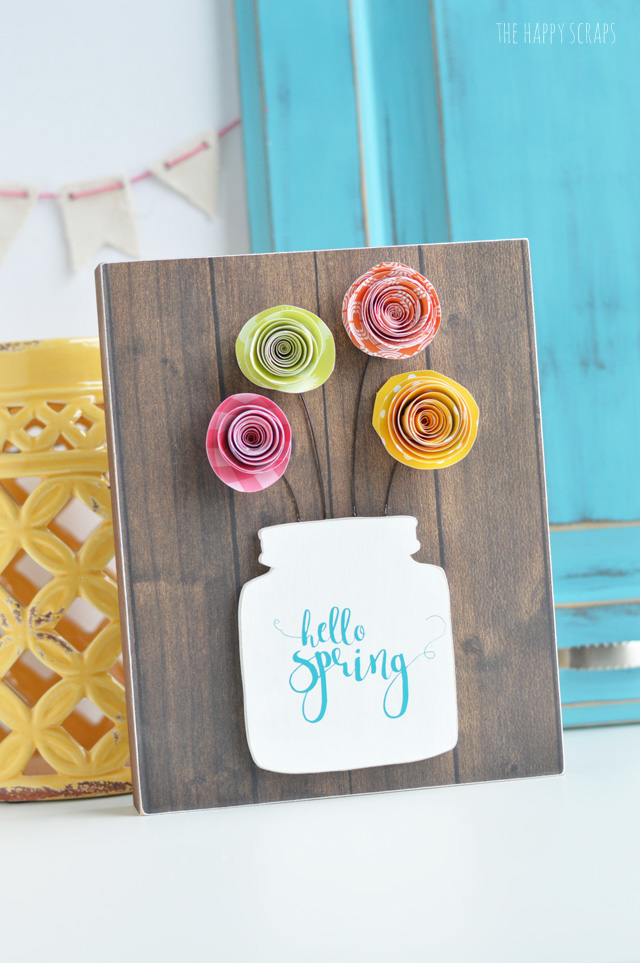
Is anyone else excited that it’s Spring? I am so excited about it, and then things like snow happen! Yesterday it started snowing. We had the biggest and fluffiest snowflakes that I’ve in quite some time. They didn’t stick to the ground at all, which I was grateful for, but it did snow. That’s what Spring is in Utah. Last week we were in the mid 70’s, it was such beautiful weather, then it snowed yesterday, and today we are supposed to be in the 60’s. It’s crazy, but I love it! I can’t help but think of flowers this time of year. I get so excited about the tulips coming up. I am so excited that the previous owners of our home planted tulips. I planted some more, but I’m not sure if they’ll survive or not. Last year, after seeing this cute project from Flamingo Toes, I thought up this idea for these pretty + simple spring flowers, but I never got it made. I’ve had this cute little jar cut out since last year, and then it just sat. I’m so glad I was able to finally get this Spring Paper Flower Bouquet put together. Plus, it’s a bouquet that won’t wilt or die. 😉
This post contains affiliate links.
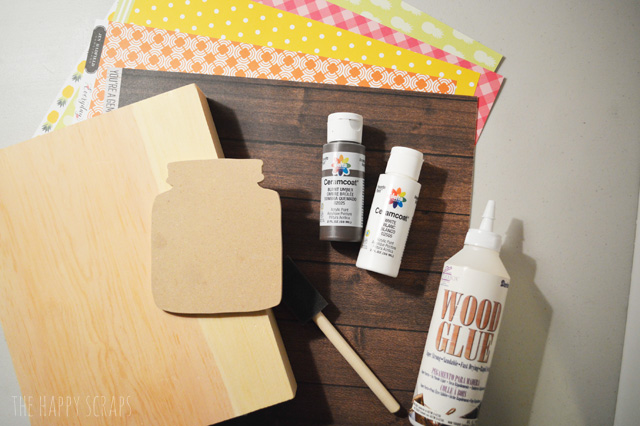
Spring Paper Flower Bouquet Supplies:
- 8 x 10 Wood Block
- Mason Jar Wood Cutout
- Wood Grain Paper
- Spring Colored Paper
- Brown & White Paint
- Scissors
- Wood Glue
- Paint Brush
- Wire
- Vinyl (in color of choice)
- Cricut Explore Air 2
- Hot Glue Gun
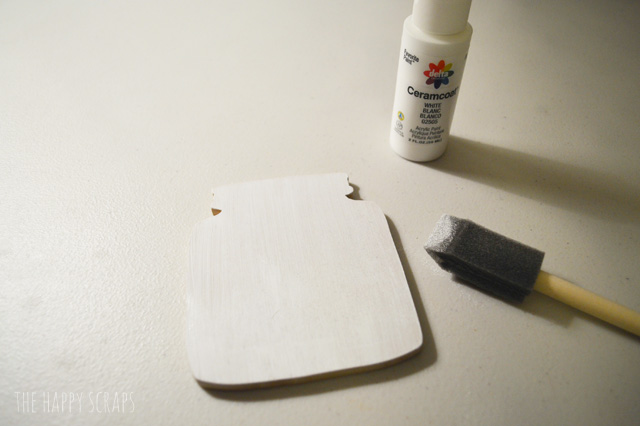
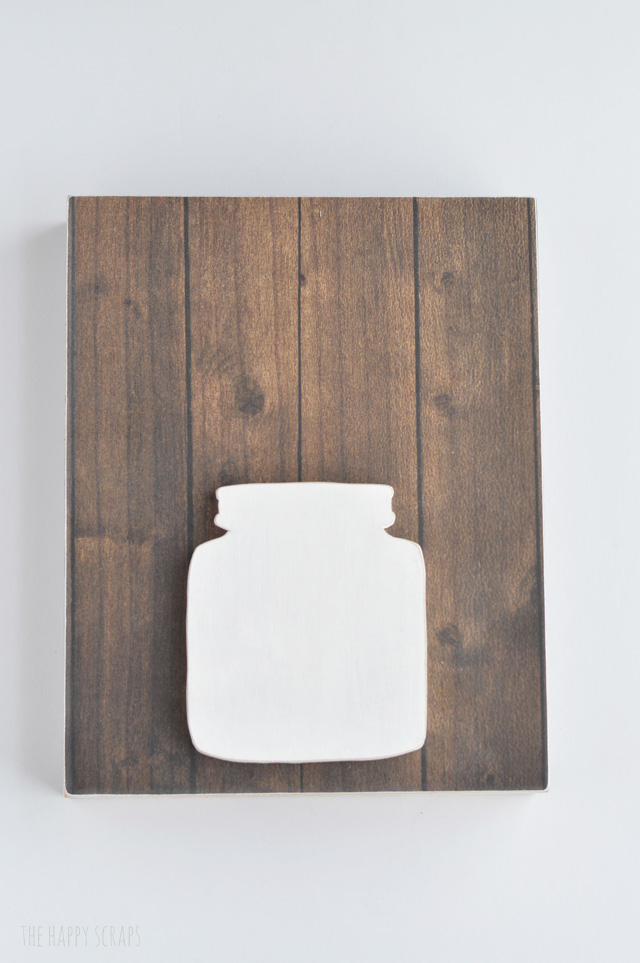
To make this jar, I used my Cricut and cardstock to cut out a cute mason jar. I traced it onto some MDF, and then used my scroll saw to cut it out. Once I had it cut, I painted it white. I also painted the sides of the wood blog to be brown, matching the wood grain paper.
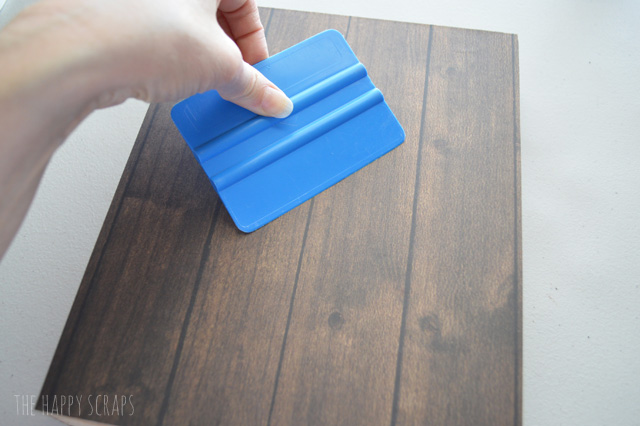
I trimmed my paper to fit my board and then put some wood glue onto the surface of my wood block. I used a paint brush to smooth it out and cover all of the wood.
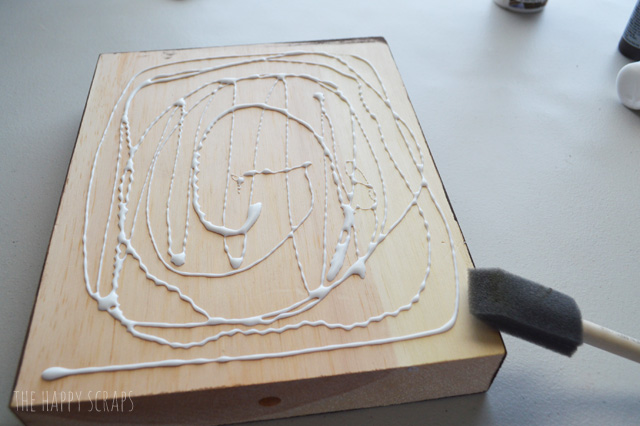
I placed my paper over the top of the wood glue, and smoothed it out using a vinyl squeegee.
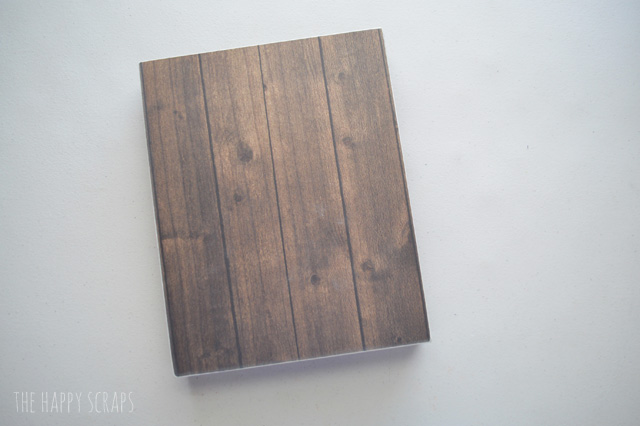
Once my paper was on my block, and the glue was dry, I used some sand paper to lightly distress the edges of the block and paper.
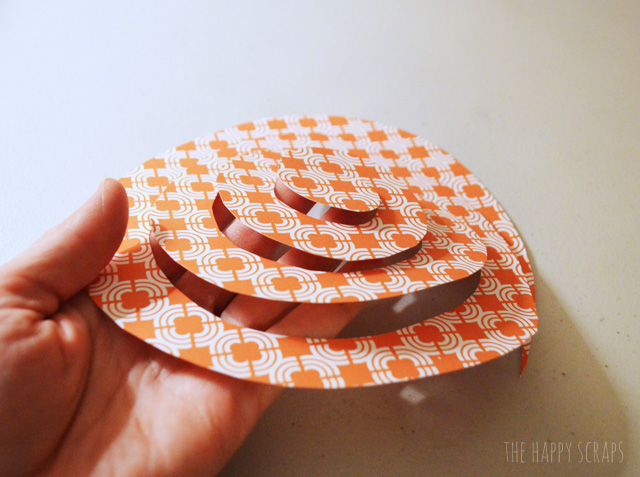
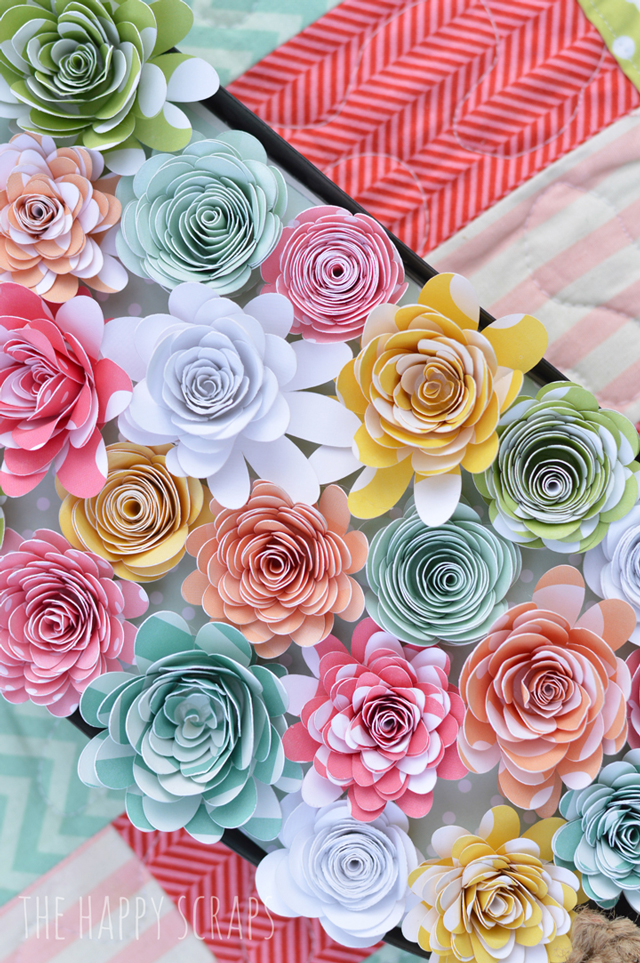
I pulled out my patterned colored papers, and I hand cut a spiral circle. This is easy to cut by hand, but you could also use your Cricut Explore Air to cut them. I’ve done it both ways, for this project I wanted the imperfect flower look, so I hand cut them. To learn how to roll these flowers, check out my Spring Paper Flower Centerpiece. I used the Cricut to cut those flowers. If you’re looking for more fun paper flowers, check out my DIY Paper Flower Bouquet.
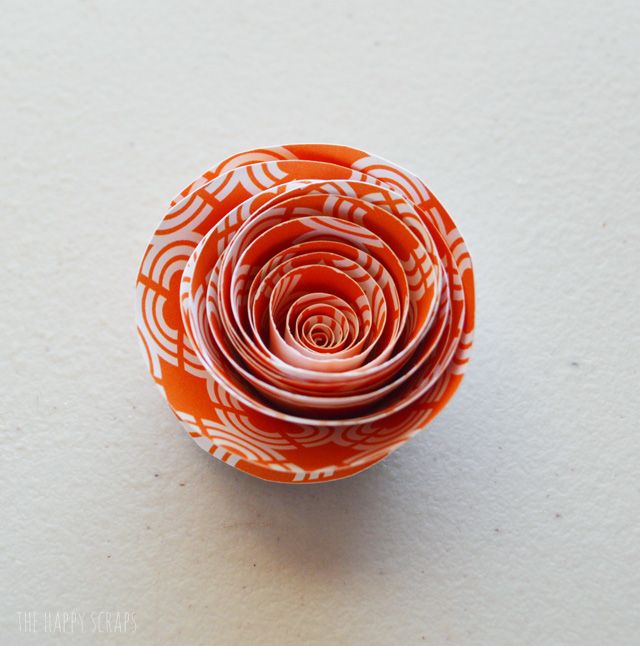
Roll your flowers up and secure them with hot glue.
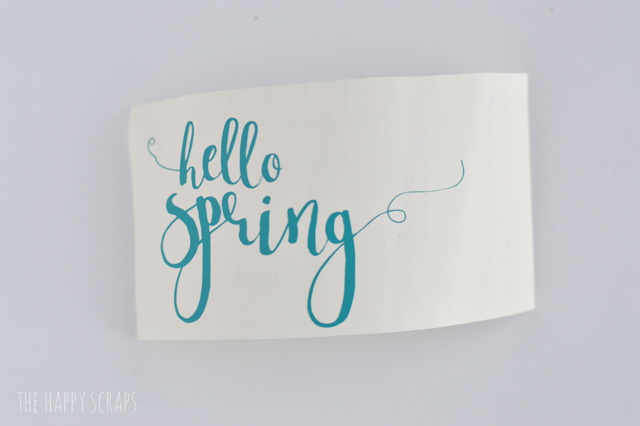
Using vinyl and your Cricut, cut out this Hello Spring.
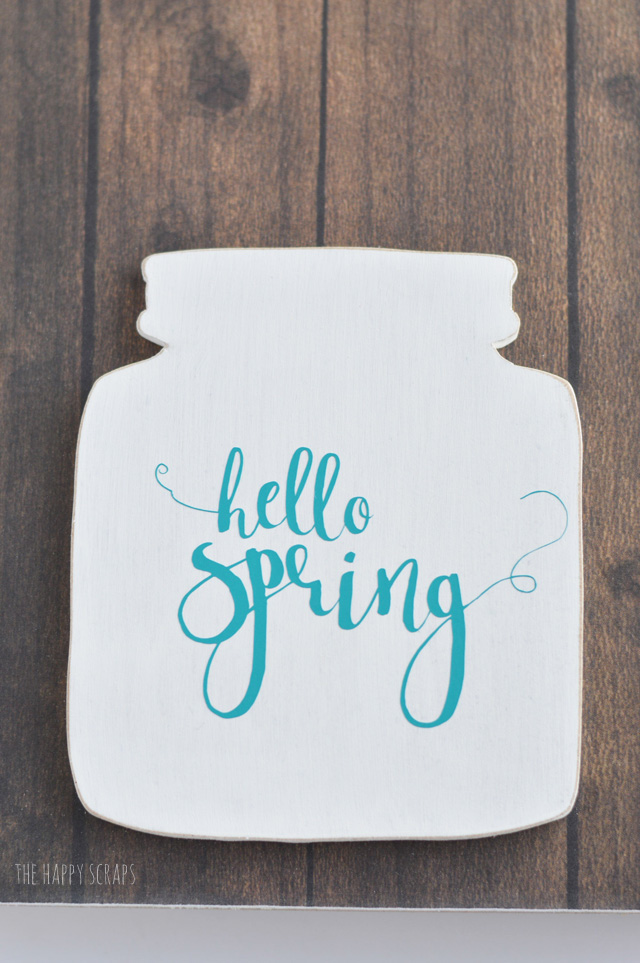
Using your wood glue, attach the mason jar to the front of your wood block.
Add your vinyl to the front of the jar.
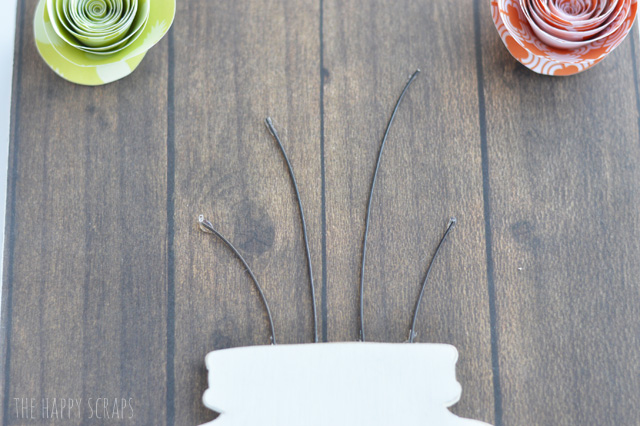
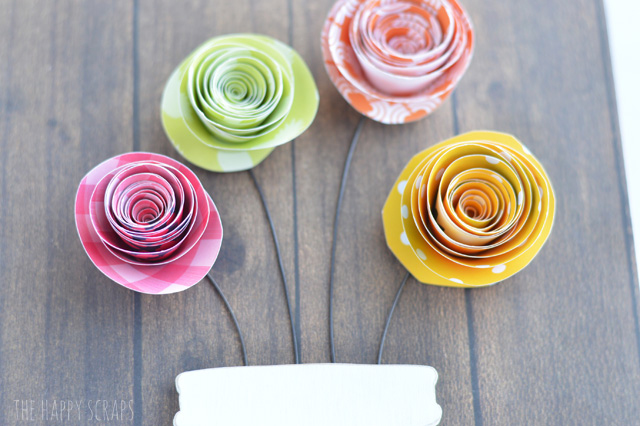
Place your pretty rolled paper flowers onto your wood block, arranging them how you’d like them.

Cut and shape some wire pieces to be the length you need for your flowers. Attach them to your wood block. I just used hot glue to attach them. I used a teeny tiny bit at the bottom, since the glue shows there, and then at the top I added a little more, since the flowers would be covering the glue there.
Once my wire stems were in place, I used hot glue to attach the flowers.
I adore the way this project turned out. For something that’s been rolling around in my head for nearly a year, I think it turned out better now, than if I would have got it made last year.

I love the look of rolled paper flowers. They are so fun to look in the middle of, and they are the perfect kind of flower for this project.
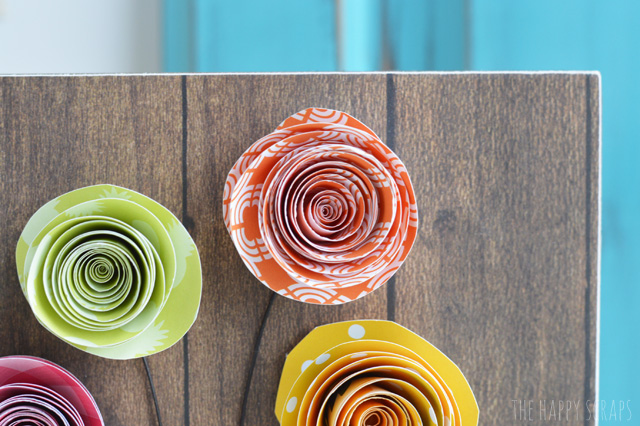
Aren’t they fun?!

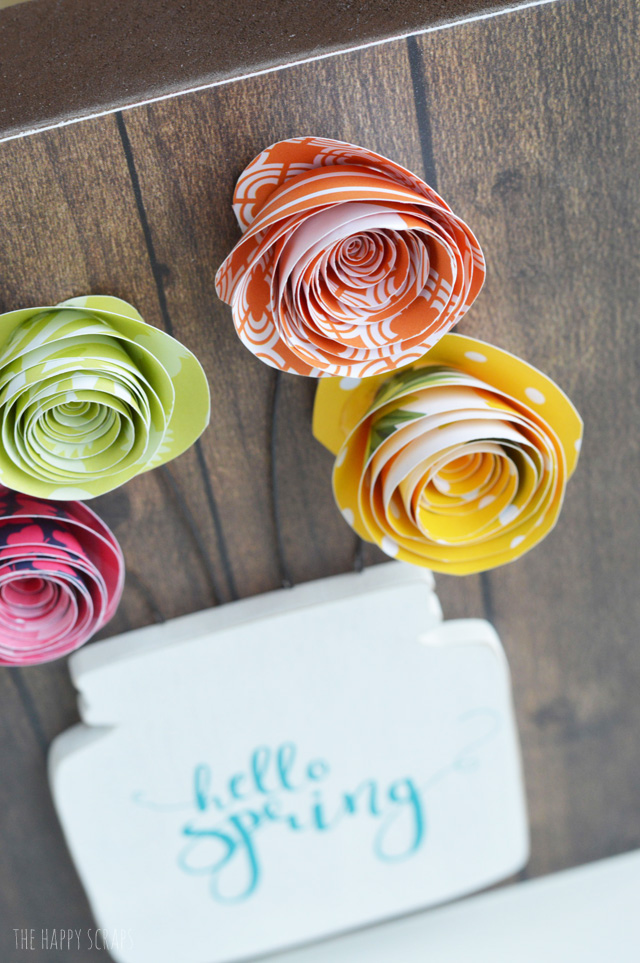
This vinyl turned out amazing too. I love the skinny little tails on the letters. If you’re interested, I used a font called Bristol Font. It’s a favorite of mine. I also used it on this pillow.

I love having bright pops of color in my home, and I’m so excited to have this Spring Paper Flower Bouquet piece finished and on display. Where would you put this in your home?
If you enjoyed this project, you might also like these.

Vellum Flower Spring Centerpiece

Paper Flower Spring Centerpiece

Leave a Reply