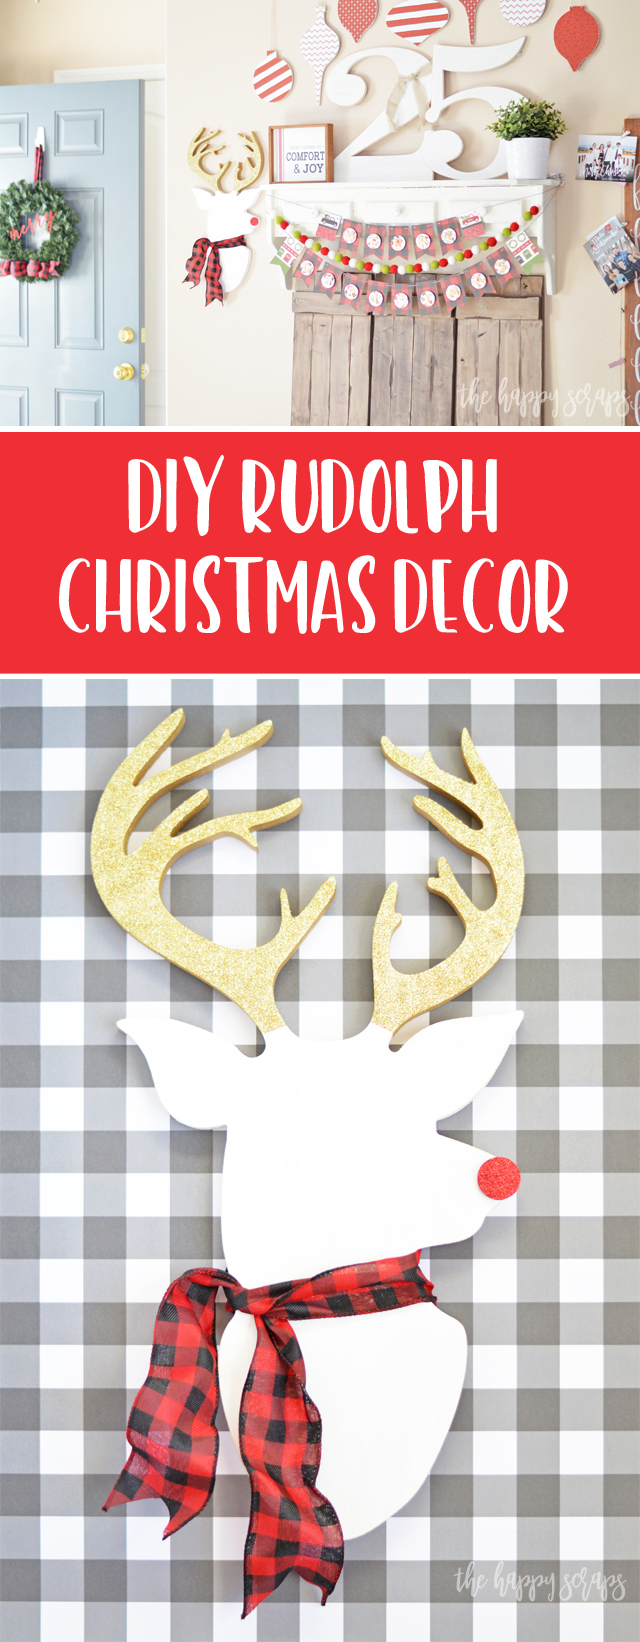
It’s been a minute since I’ve shared a wood crafting project around here, and after I got finished with this fun DIY Rudolph Christmas Decor yesterday, I decided that I need to share more! I love working with wood, and I just don’t do it as often as I used to. One of my favorite parts about this project is the glitter! It’s so fun to add pops of glitter to projects. I know everyone doesn’t feel that way about glitter, but I’ve always managed to not cover the entire room in glitter when I use it, so I enjoy it. Anyway, today I’m sharing this fun DIY Rudolph Christmas Decor tutorial with you, along with some peeks at my holiday living room decor. If you want to see more of my decor, the best place to see it, is probably instagram. I don’t always get everything shared over here. 🙂
This DIY Rudolph Christmas Decor post contains affiliate links. If you click on an affiliate link and purchase something, you won’t pay anything extra, but it will help support this blog. All ideas and opinions are my own.
DIY Rudolph Christmas Decor Supplies:
- Reindeer Cutout (this is the shop I got it from)
- White, Gold, & Red Paint
- Gold & Red Glitter
- Wood Glue
- Paint Brushes
- Painters Tape
- Ribbon (optional)
- Sealer Spray

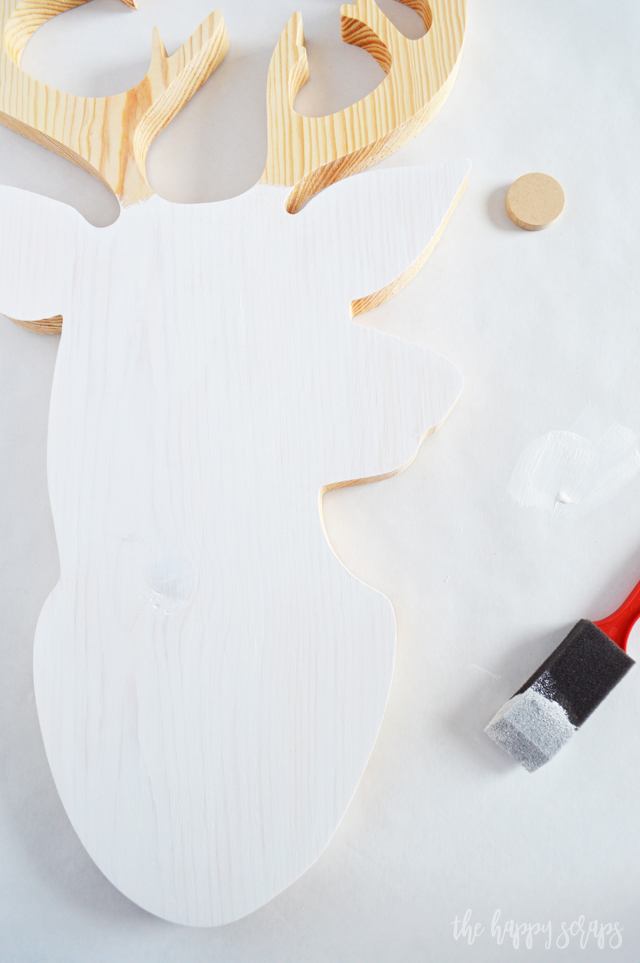
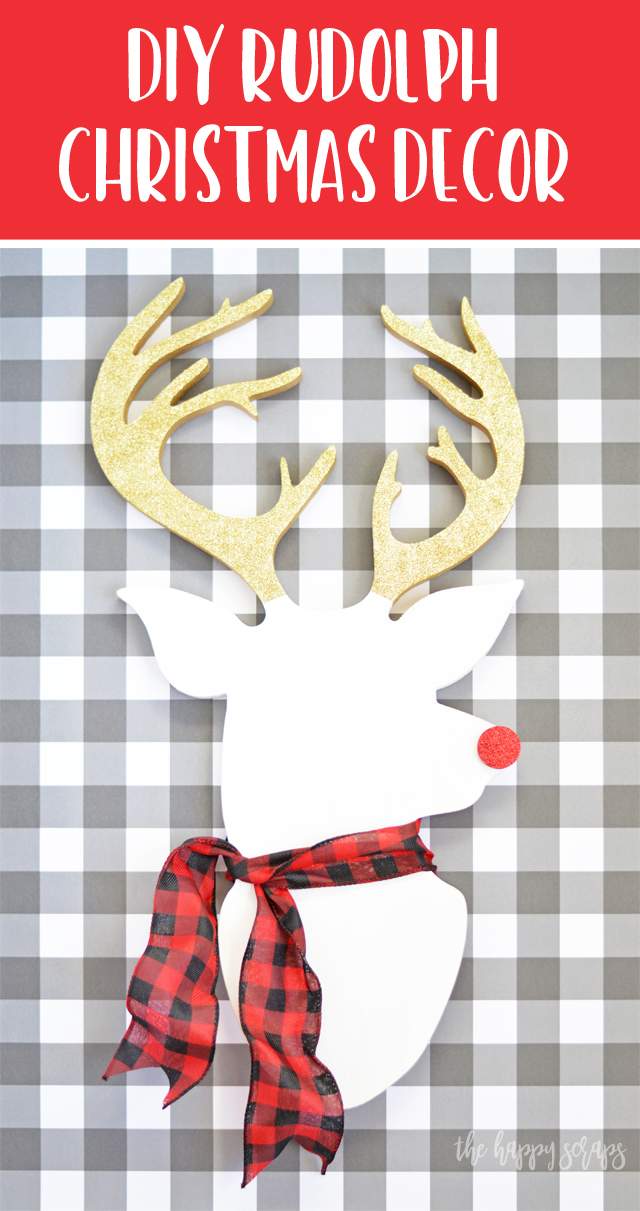
After I lightly sanded the edges of my reindeer, I painted the body part white.
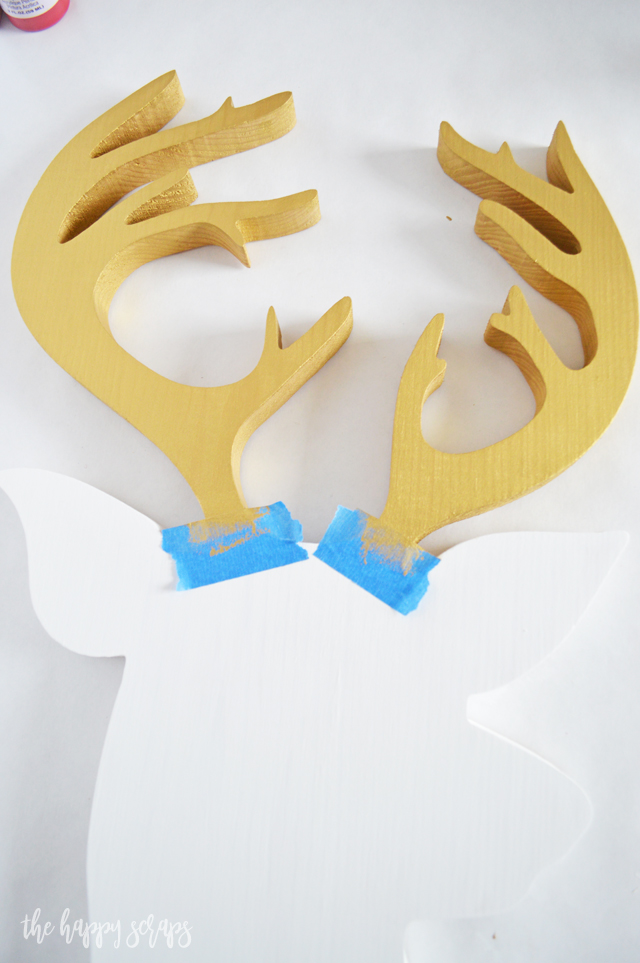
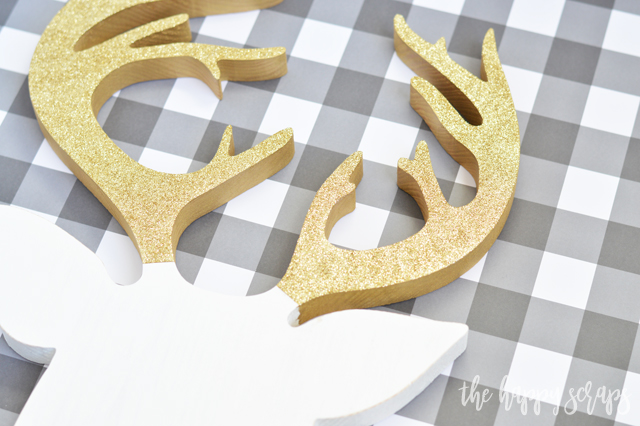
I added painter’s tape to create a clean line for the antlers and then painted them gold.
Once the gold paint was dry, I used my wood glue to put a coating of it over the antlers (mod podge would work for this as well), and while it was still wet, I sprinkled the glitter onto it. I like to put folded paper under where I use the glitter, and once I’m done, I can use it kind of like a funnel to put the extra glitter back in the bottle. I use at least two sheets of the folded paper so I can do this a couple of times to clean up the extra, and not be left with a glittery mess.

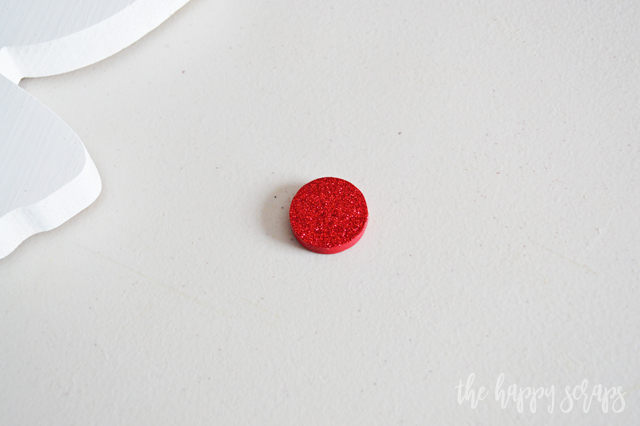
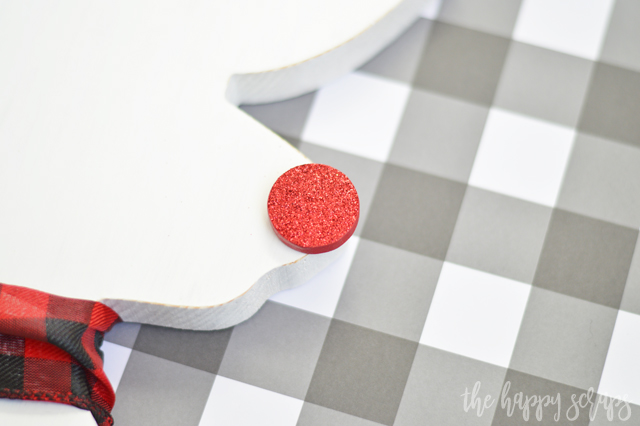
I also painted the nose red and glittered it the same way that I glittered the antlers.
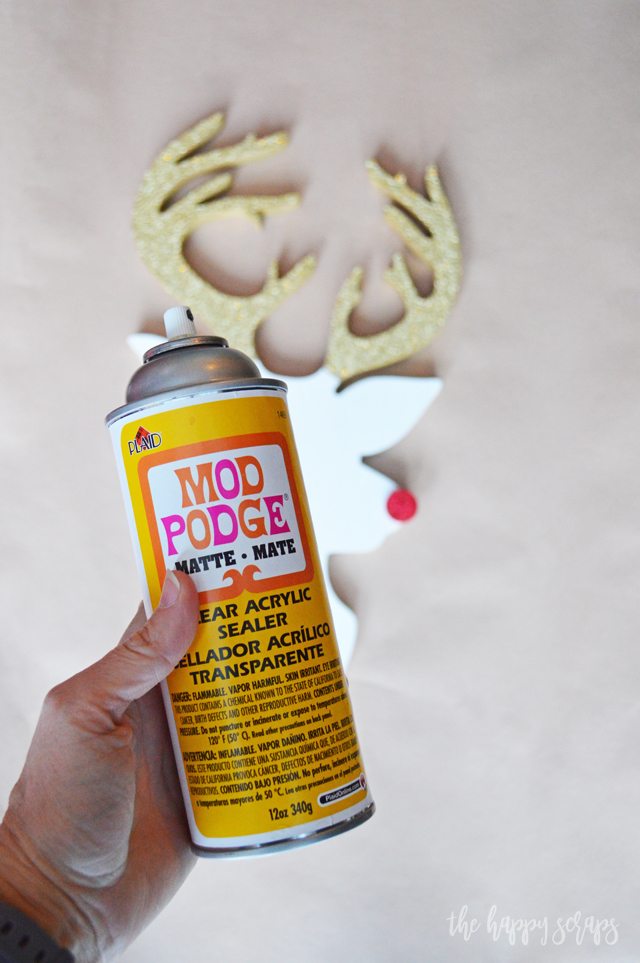
Once everything was dry and the glitter was in place, I used my Mod Podge Sealer Spray to keep the glitter in place, and seal the painted areas.
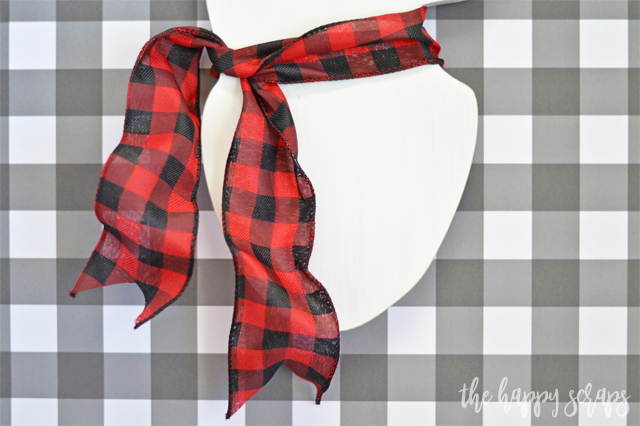
Then I added the ribbon. This was a total last minute thing. I wasn’t planning on it, but once I finished, I thought, I wonder what some ribbon would look like on there, and I liked it, so I added it. Doesn’t it look cute?!
The glittered red nose is the perfect finishing touch, right? You could skip it all together, but I like what it adds!
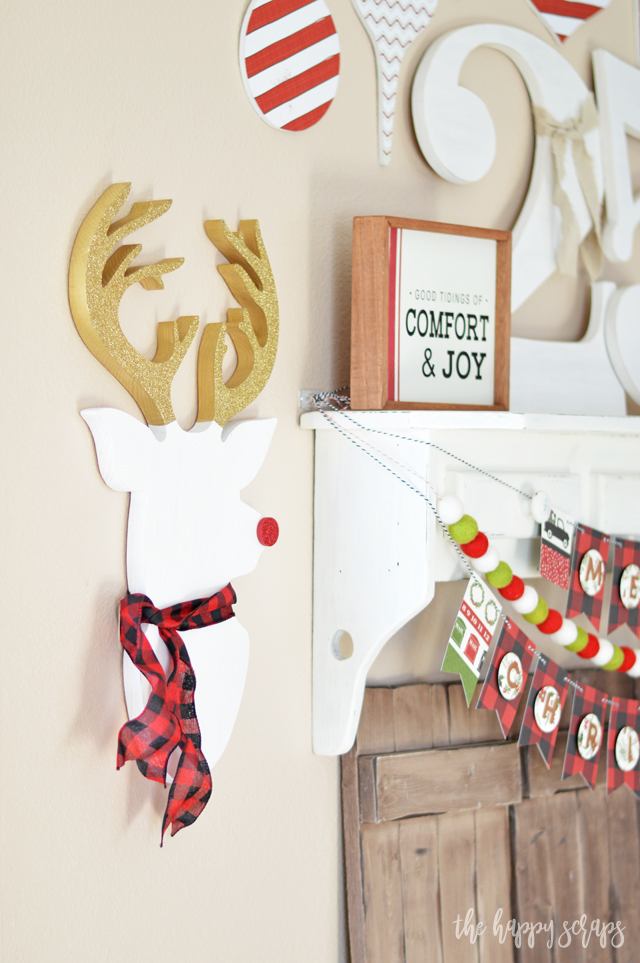
What is it about glitter than can take everything up a notch?! The gold paint was pretty on these, but once the glitter was added! I love the sparkle it brings!
There are so many things you could do with a deer cut out like this. You could add a vinyl saying to it, similar to this one, and it would be so cute, even with the glitter!

I added it to the wall next to my shelf and table that I always like to decorate. I thought it was the perfect spot for it!
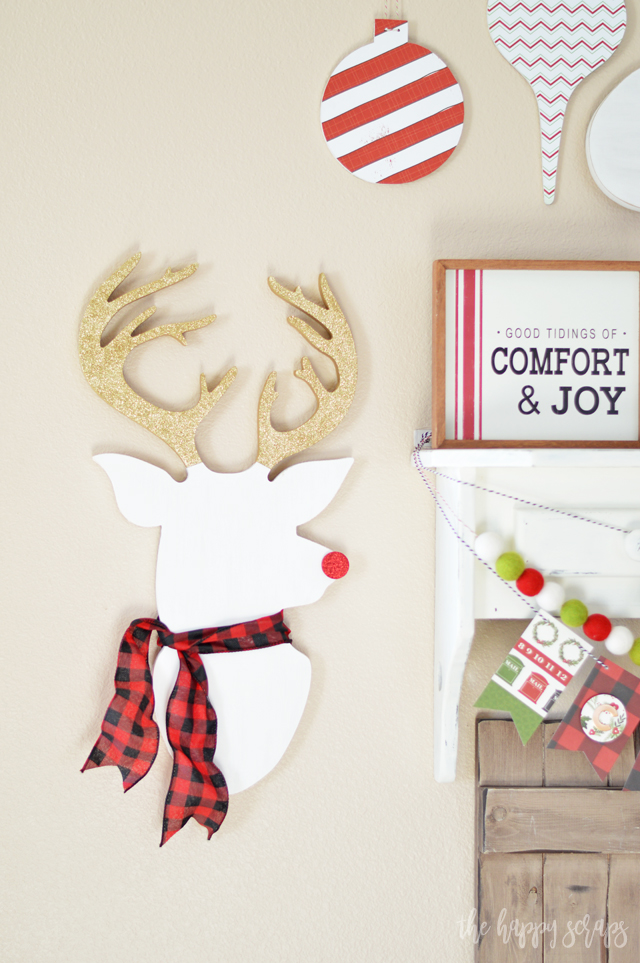
Doesn’t it just fit in so well?! I feel like it adds some balance to having the Christmas Card Holder on the other side.
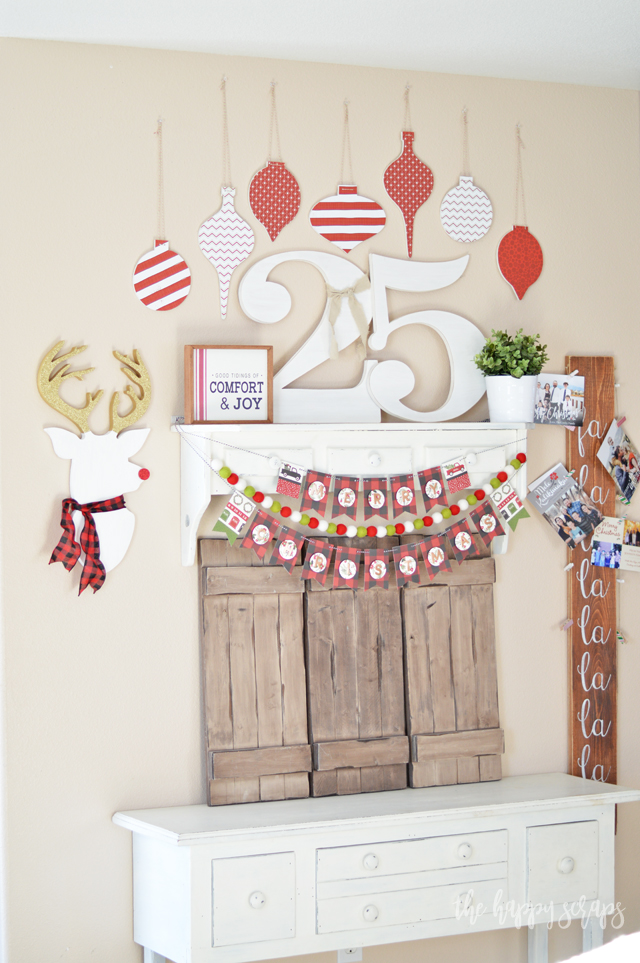
Also, I love the dimension that it has. It’s not just flat on the wall, but it’s light enough that I was able to use a Command Strip to hang it.
It seems like every year when I pull out the Christmas decor, I always change things up! This year I added this DIY Rudolph Christmas Decor, a new wreath for my front door (tutorial saved in my Insta Stories), some ornaments, and added some new buffalo check ribbon to my Christmas tree. I love it all, too!

Do you like to make new decor for all the holidays every year too? I like to, but I don’t always do it. I’m so glad I got this DIY Rudolph Christmas Decor finished this year though, it’s one of my favorite projects!
If you’re looking for more fun Christmas decor, then be sure to check out my other fun projects here.

Leave a Reply