Do you have a new Cricut machine and you’re wondering how to cut vinyl with it? I’ve been using a Cricut machine for more than 10 years now, and I’ve loved every bit of it. I started out using the original Cricut, the one with the 6″ x 12″ mat. I loved that Cricut (I actually still have it, but haven’t used it in YEARS!) and used it so much! I loved to use it to cut different things out for scrapbook pages that I was working on. I remember about a year after I got my Cricut, I cut one of my first vinyl designs. Each letter was separate and I didn’t kiss cut the design (only going through the vinyl layer, and not through the backing), I had to link the cursive letters together by placing them onto the exposed transfer tape, and peel the backing off the backs of each letter. Oh boy, that almost made me never want to cut vinyl again! I’m so glad I didn’t give up on it though. The Cricut has come a long way since then and so have the tools that you can get to go along with it. Cutting vinyl is one of my favorite things to do now. Today, I want to share with you How to Cut a Vinyl Decal with the Cricut. It really is SO easy!
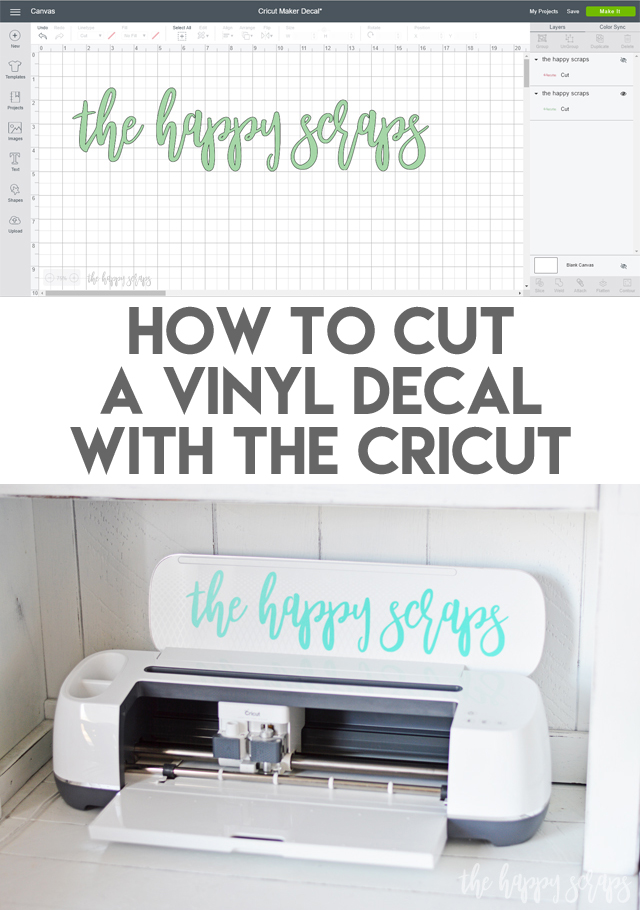
This How to Cut a Vinyl Decal with the Cricut post contains affiliate links. If you click on an affiliate link and purchase something, you won’t pay anything extra, but it will help support this blog. All ideas and opinions are my own.
How to Cut a Vinyl Decal with the Cricut
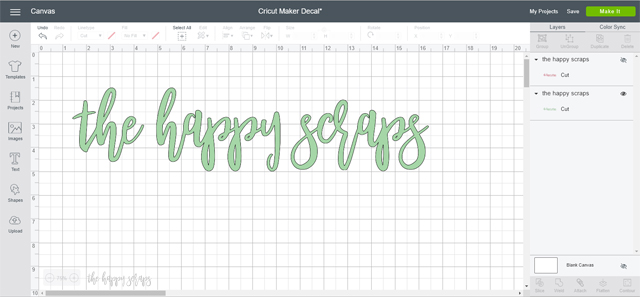
One of the amazing things about using the Cricut Maker or Cricut Explore machines is that you get to use Cricut Design Space! With this, you’re able to use fonts on your computer for designs, you can design your own cut files and upload them, you can upload purchased designs, or you can find lots of designs right in Design Space to use. If you have Cricut Access, there are literally thousands of designs and hundreds of different fonts to use. To show you How to Cut a Vinyl Decal with the Cricut, I’m using a design I created in Photoshop Elements and uploaded into Design Space. Once I had my design uploaded, I sized it to what I needed and clicked “Make it”.
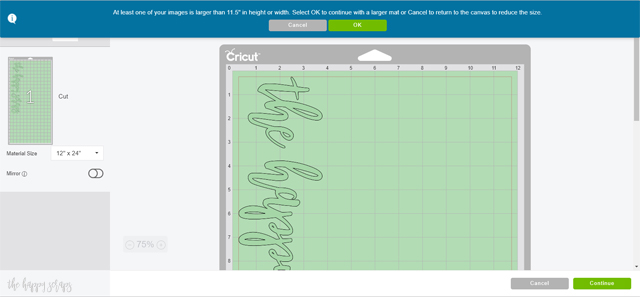
A warning popped up letting me know that the design is larger than 11.5″ in height. Just click ok if you get that, make sure that your vinyl is large enough for what you’re cutting, and make sure you have a 12″ x 24″ mat.
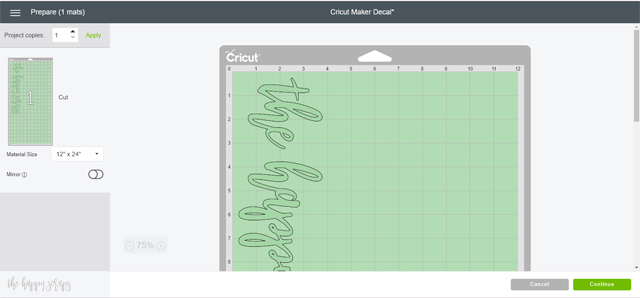
The warning will go away, and then you are ready to press “Continue”.
Cutting Adhesive Vinyl
Apply your vinyl to your mat and you’ll be ready to start cutting. One thing about vinyl. I’ve used some awesome vinyl and not so great vinyl over all the years that I’ve been using it. I like to stick to using brands that I know work well. I’ve always had good luck with everything I’ve purchased from Expressions Vinyl. Cricut has good vinyl as well. Personally, I prefer paper transfer tape, but have also used ultra clear. If the transfer tape is going to be on the vinyl for longer than a few minutes, I would for sure use the paper transfer tape.
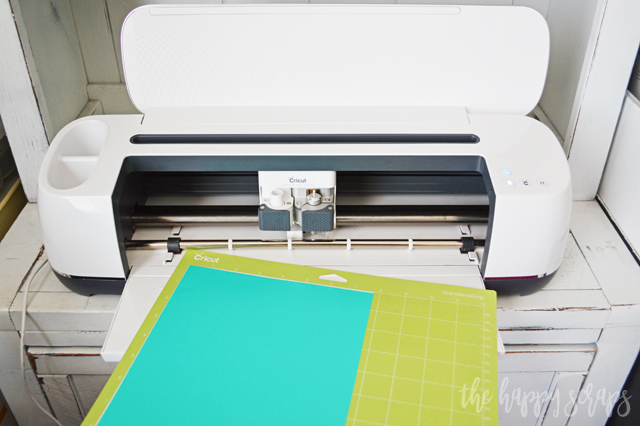
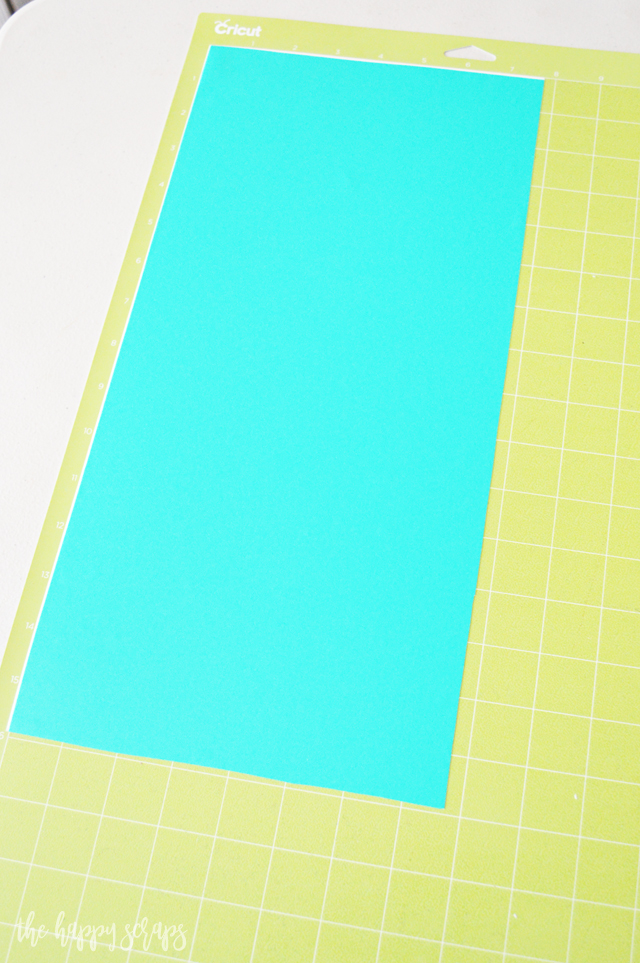
You can either trim your vinyl to the size that you need before you place it on the mat, or you can cover the whole mat with vinyl and trim the extra pieces off after. I do both, it just depends on if I have pre-cut pieces, or if I’m cutting a piece of vinyl off of a roll.
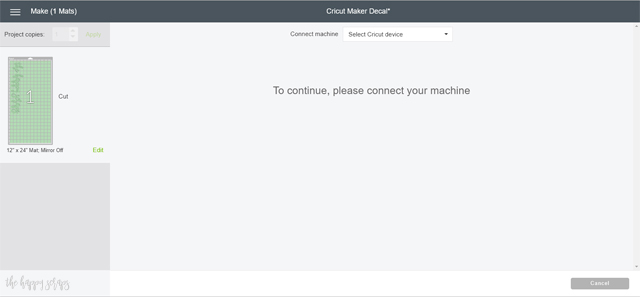
Once you press “continue” you’ll be prompted to choose your machine.
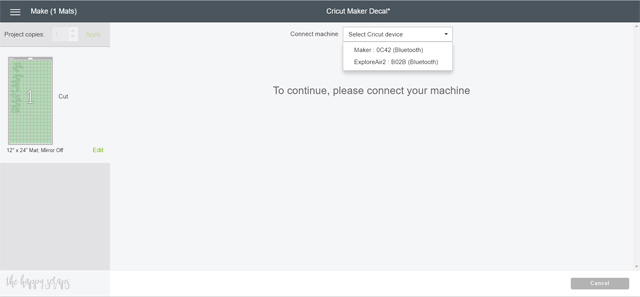
Since I have two machines connected to my computer, I selected the Cricut Maker.
Next, you’ll be prompted to select the material you’re cutting. If you’re using a Cricut Explore (One, Air, Air 2) you’ll turn the dial on the machine to vinyl.
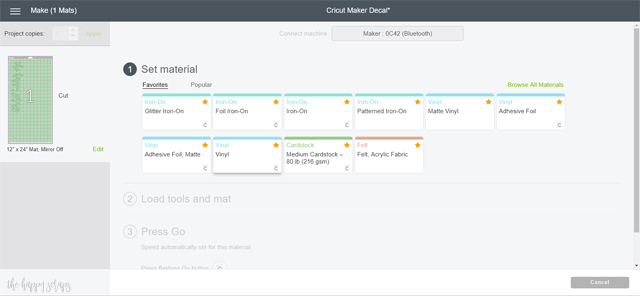
Once “Vinyl” is selected, you’ll be prompted to load your mat.
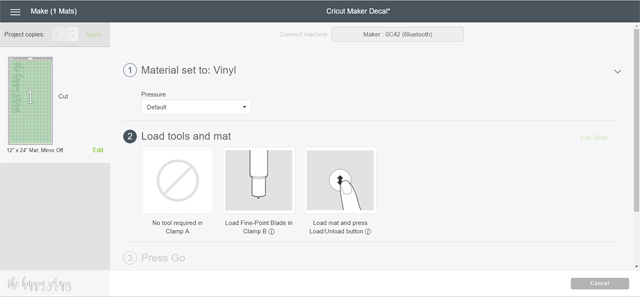
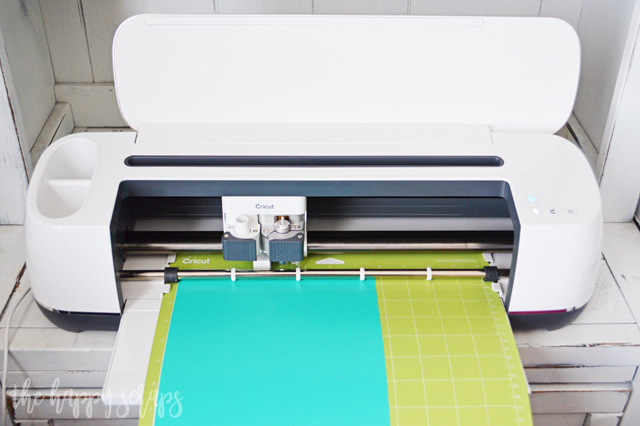
Load it in the machine by pressing the arrow button, then press the Cricut button, once it starts blinking, to start cutting.
When your vinyl decal is all done cutting, weed the design. Weeding is when you take all of the vinyl you don’t need off of the backing. If I was going to use this as a stencil, I would have weeded it the opposite way. This is my very favorite set of weeding tools!
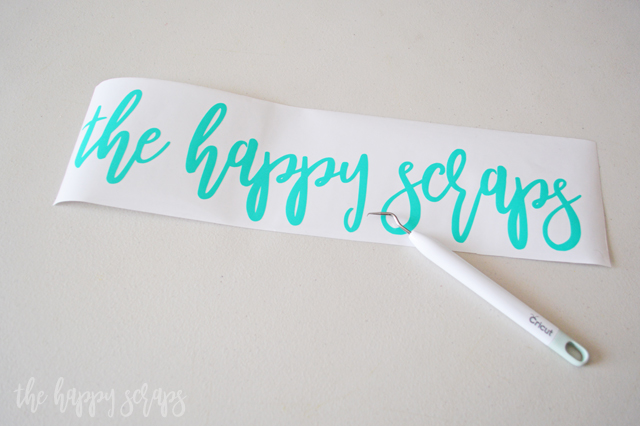
Once the design is weeded, you’ll apply transfer tape over the top. You can leave designs like this for a while, but if you are using ultra clear I wouldn’t recommend leaving it. I only use ultra clear transfer tape when I am going to be applying the design immediately.

Applying Adhesive Vinyl
When you’re ready to apply your vinyl, peel the backing off. I have better luck if I peel the back off, leaving the front flat. It is good practice to always pull at an angle as well. Sometimes the letters line up just right with the angle the backing is being pulled at, and the letters can lift off of the transfer tape. Go slowly.
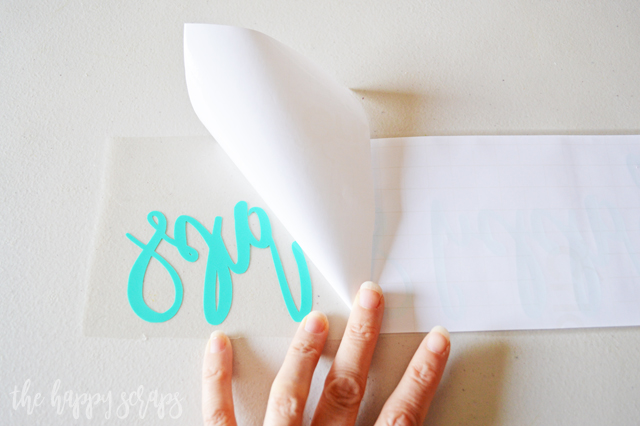
You’ll have your design on the transfer tape and ready to be applied.
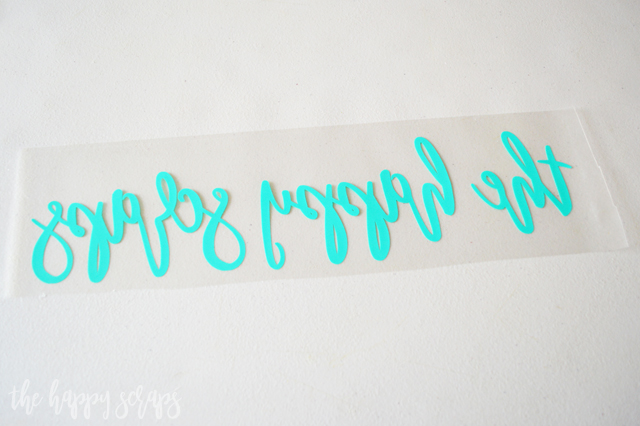
Place your design where you want it. Use a vinyl applicator to smooth it all out well.

After smoothing it out well, peel your transfer tape off. Pulling the transfer tape off at an angle is always a good idea as well, for the same reasons I mentioned above.

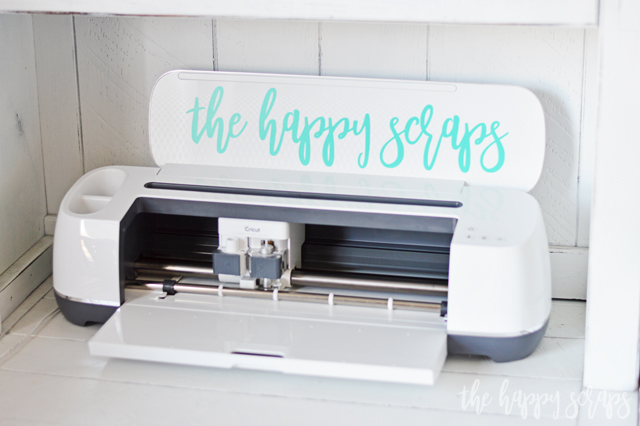
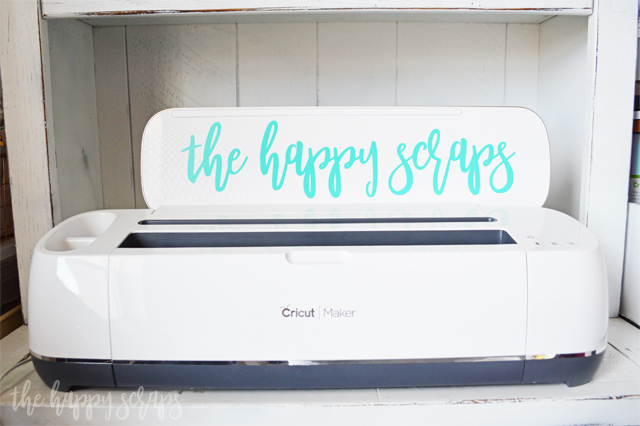
Since I wanted to put something on my Cricut machines, that is what I used this decal for. You can use vinyl for so many things! You can put it directly on walls, you can put it on tumblers, you can use it on signs, and you can use it as a stencil to paint signs! The possibilities are endless! Check out my vinyl gallery for more project ideas too. Now that you know How to Cut a Vinyl Decal with the Cricut, nothing will be safe. 😉
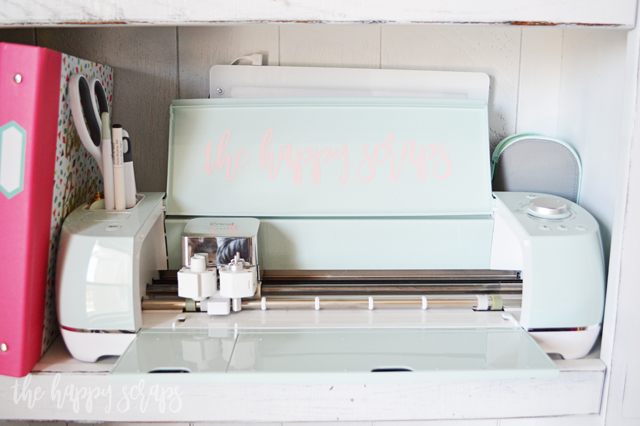
I even added a light pink decal to my Cricut Explore Air 2 machine!
Knowing How to Cut a Vinyl Decal with the Cricut is good to know. It is so fun being able to add vinyl to so many things and I love how versatile vinyl can be!

If you’ve enjoyed learning How to Cut a Vinyl Decal with the Cricut, please let me know what other tutorials would you like to see using the Cricut? I love sharing these kinds of tips. While most of these things are pretty easy for me because I’ve been using the Cricut machines for 10+ years, I know not everyone has and there are things that you’d like to know how to do too. I’d be happy to share, so just leave me a comment letting me know what tutorials you’d like to see!

Leave a Reply