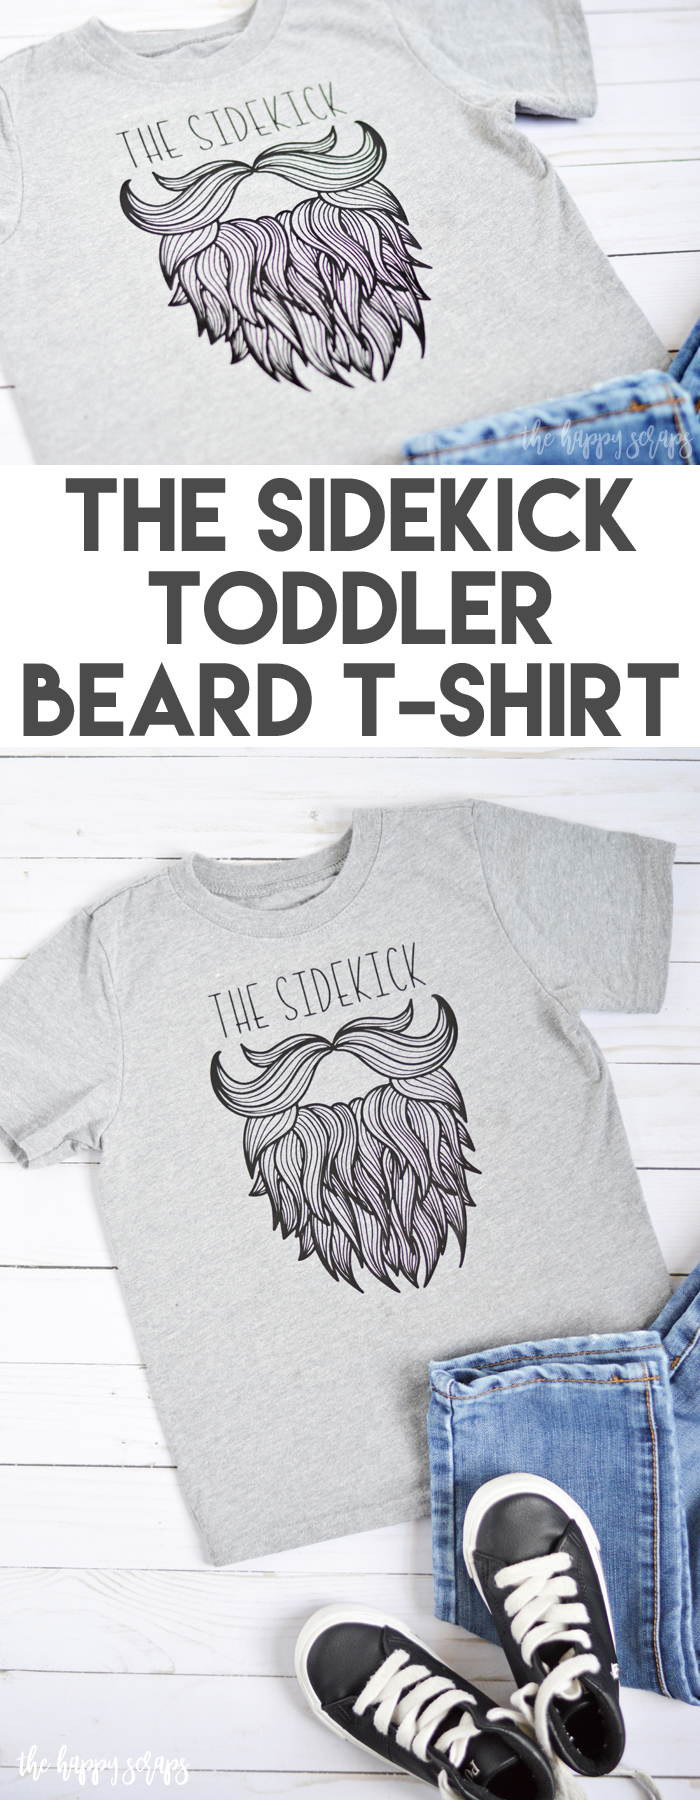
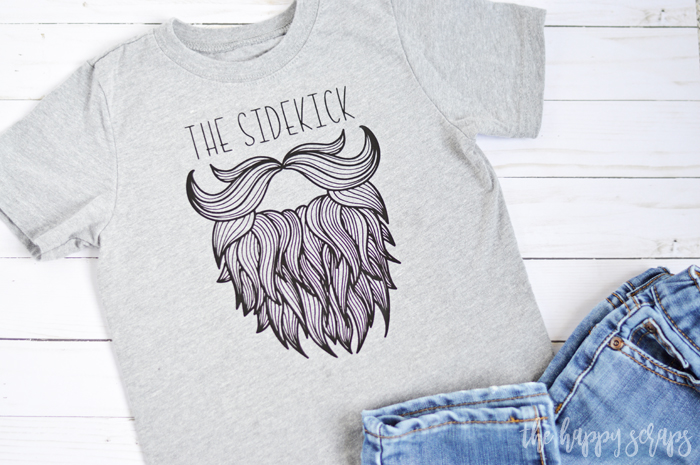
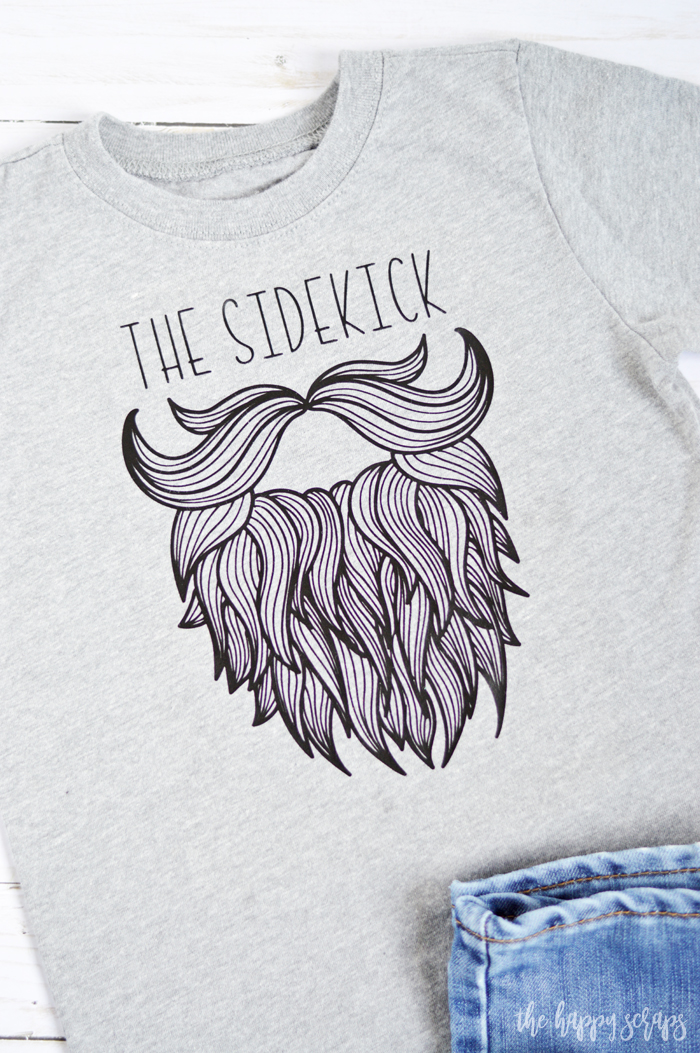
If you’ve been around The Happy Scraps for a while, then you might know that I’m the mom of five boys. I’ve talked about it a little bit before, but I don’t think it is something that I mention all that often. Boys are so much fun! They are busy and active and keep me going and I wouldn’t have it any other way. Another thing that I don’t think I’ve ever shared about is that my husband has had a beard for the last several years (see photo below). He has shaved it off a time or two, but it is pretty rare to see him without a beard. I decided that I wanted to make my littlest boy this fun The Sidekick, Toddler Beard T-Shirt. I adore the way this shirt turned out, and I love the comments and looks that my husband and little guy get when it is worn. It is pretty fun!
Here is my husband and little guy. You can see my husbands beard here and how long it is. When I found this beard design in Cricut Design Space, I just knew I had to use it for something, so I decided to create this The Sidekick, Toddler Beard T-Shirt. Didn’t it turn out so perfectly?!

This The Sidekick, Toddler Beard T-Shirt post contains affiliate links. If you click on an affiliate link and purchase something, you won’t pay anything extra, but it will help support this blog. All ideas and opinions are my own.
The Sidekick, Toddler Beard T-Shirt Supplies:
- Cricut Maker or Cricut Explore Air 2
- Cricut EasyPress 2 (small size)
- Cricut EasyPress Mat
- Black Easyweed HTV
- Weeding Tools
- Children’s T-Shirt (I found mine at Hobby Lobby)
- Design Space Cut File (designs are included with Cricut Access)

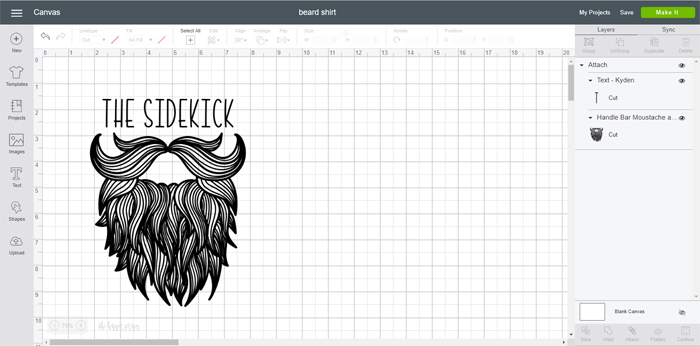
If you are using the design I share above, then you’re ready to cut! In Design Space, click “Make It”. Make sure to mirror your image! Check out these tips for cutting HTV if you have more questions.
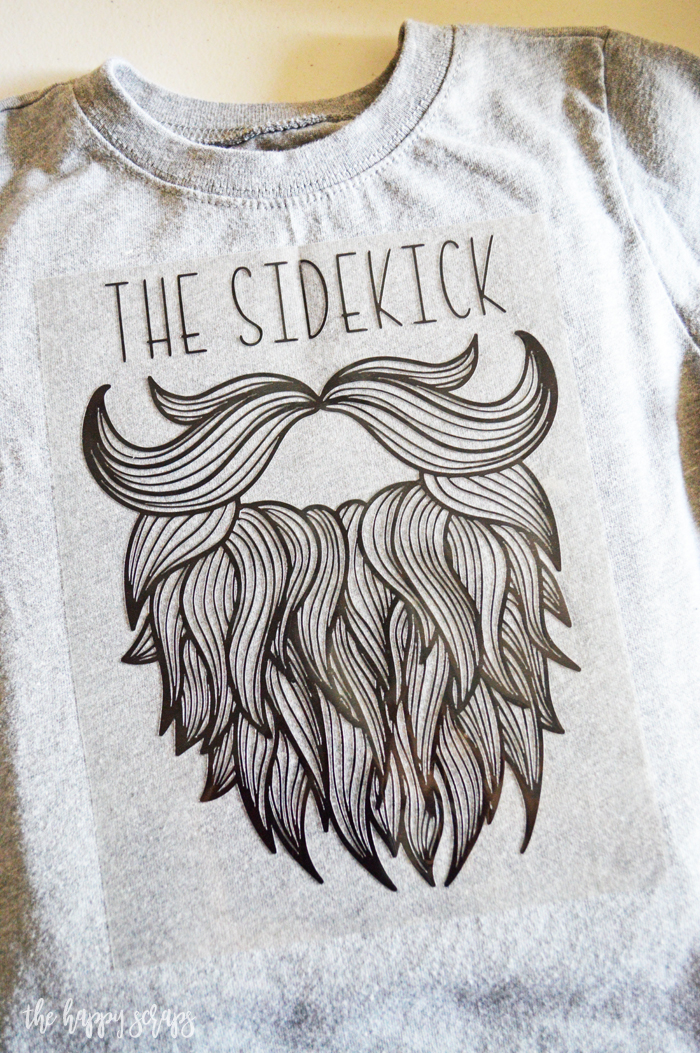
Once the design is all cut, weed the unneeded pieces of the design. This design does have a lot of detail, but it actually weeded pretty easily and didn’t take near as long as I thought it would.

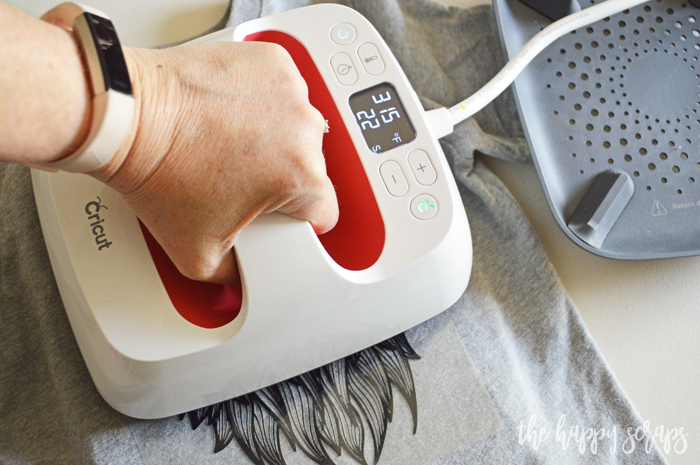
Place your shirt onto the EasyPress Mat, then place the decal onto the front of your shirt where you want it.
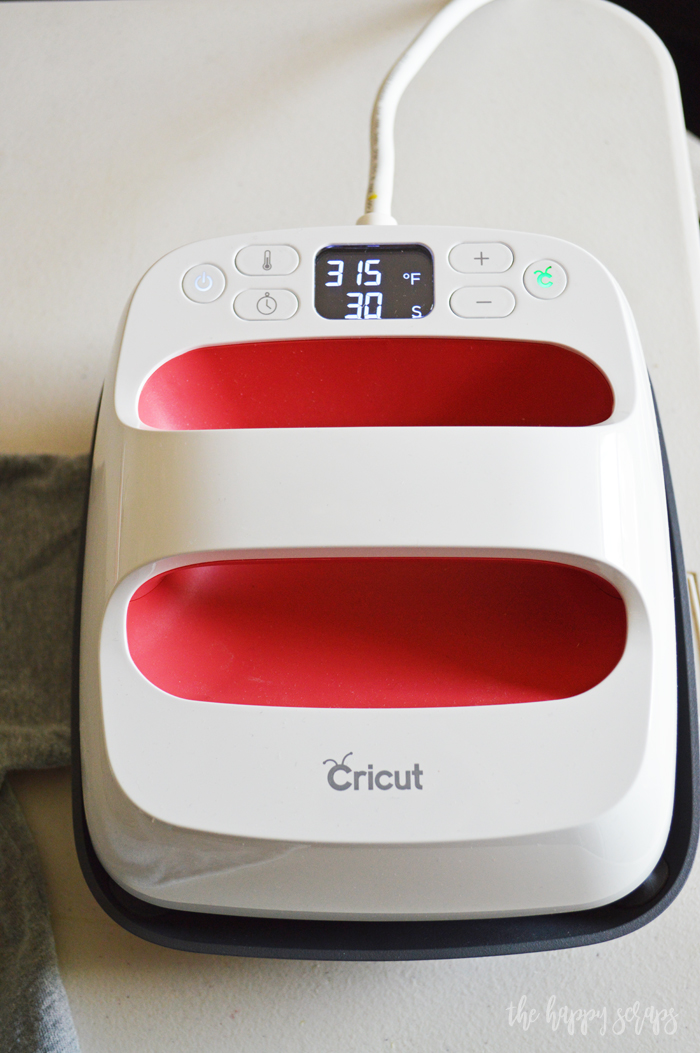
Turn on the EasyPress and set it to the recommended settings for the fabric and material you’re using.
Once it is ready, press your design while applying slight pressure.
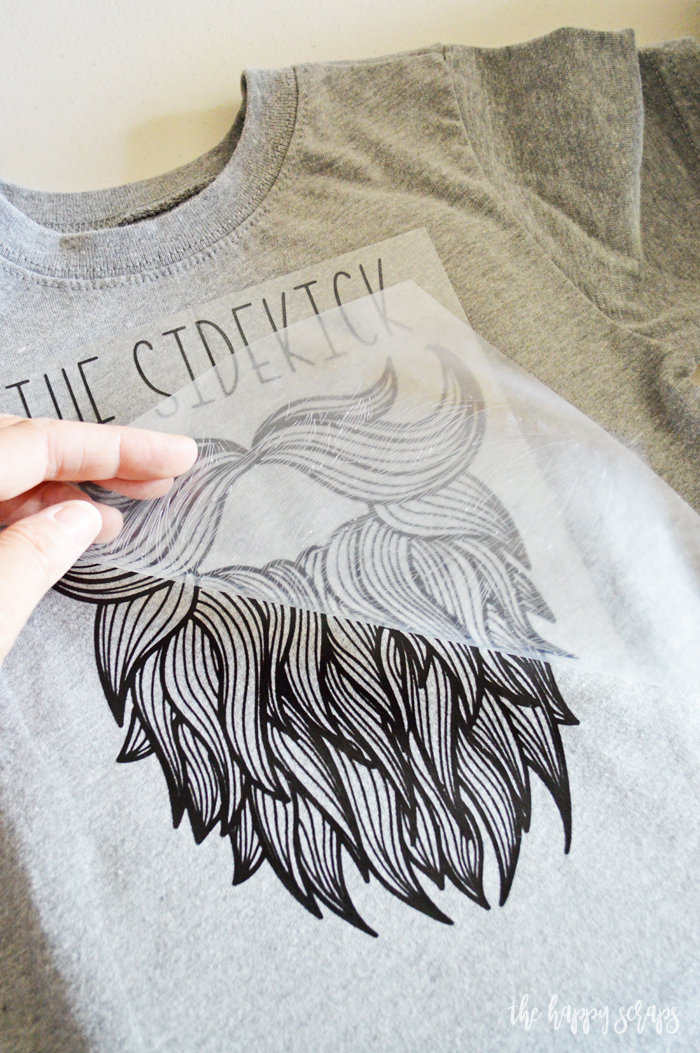
After the entire design has been pressed, peel the carrier sheet. Because of the type of fabric and HTV I was using, it was recommended to warm peel. I also pressed the back for 15 seconds.
I’m not sure who in our home is the most excited about this shirt. Me, my son, or my husband! 😉 We all love it! My little guy is really starting to get a great stash of shirts that I’ve made using the Cricut. You can see some of them here on the blog, but I have more coming up to share with you.
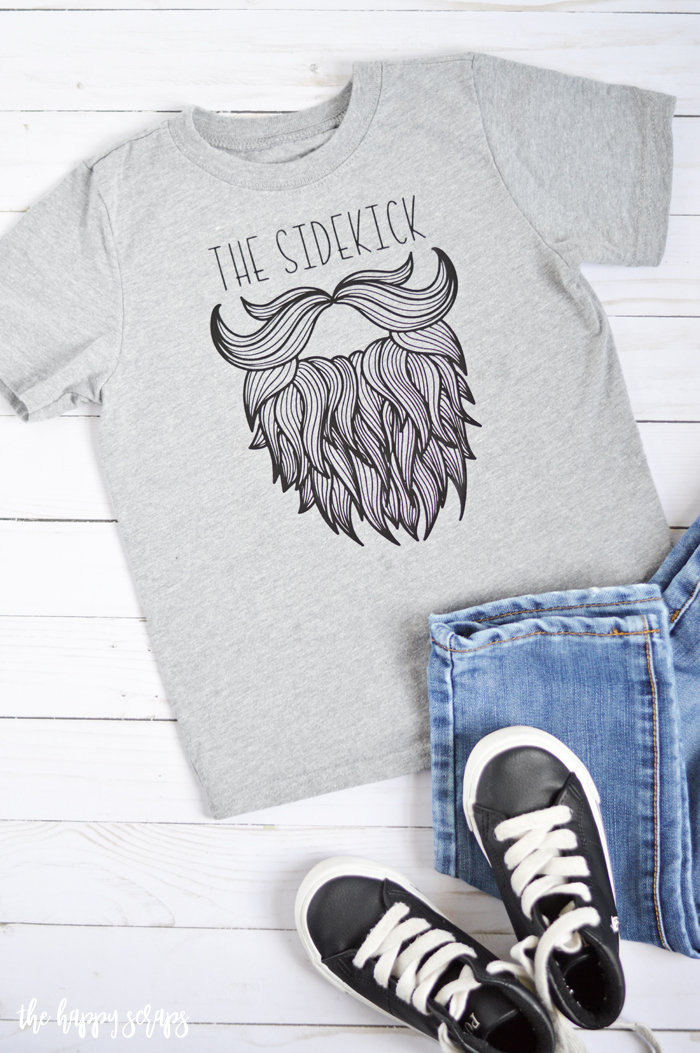
After washing this shirt already a few times, I will say that I’m super impressed with the way this design is staying. I was a little worried because of the thin lines in this design. It is on this shirt so perfectly, and there are no signs of it going anywhere!
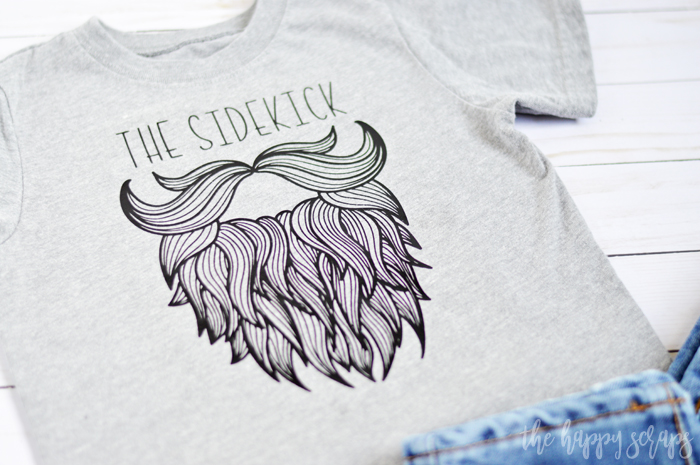
Isn’t this Toddler Beard T-Shirt so perfect to go along with my husbands beard though?
Do you know someone who would love to wear this shirt?
If you’re looking for more fun projects to make using your Cricut, be sure to check out my Cricut Gallery.

Leave a Reply