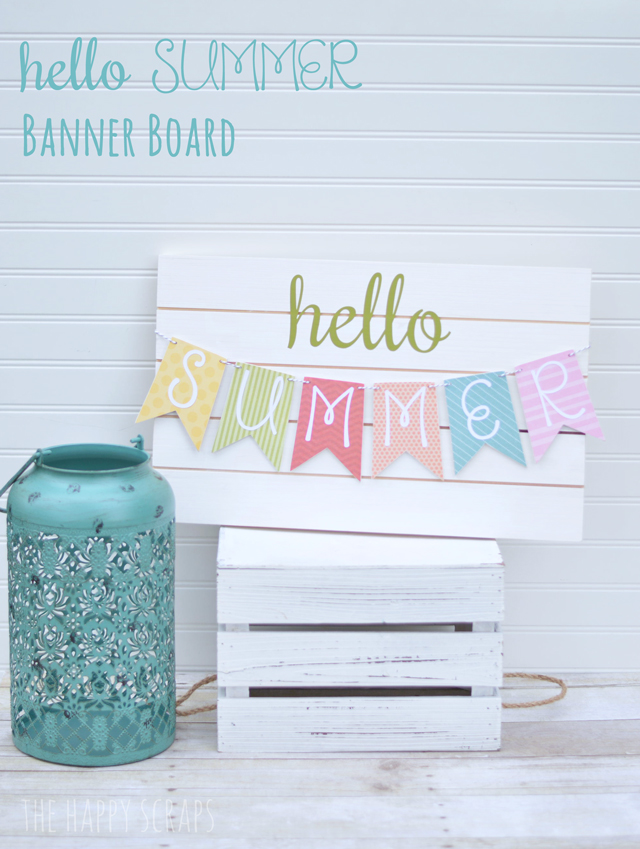
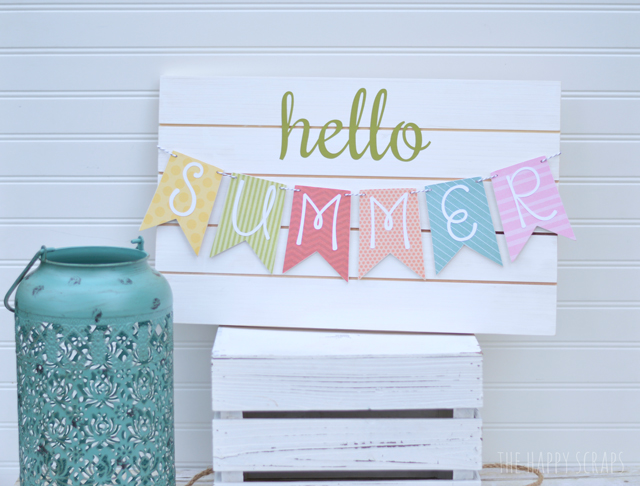
Every time we start into a new season (except winter), I think to myself, this is my favorite. Spring, Summer, and Fall, I love them. I don’t mind Winter, it just seems to last longer than I’d like, and Spring, Summer, and Fall don’t last long enough! I do, however, enjoy making new decorations for all of the seasons and holidays that go along with them. I just end up with way too many deocrations to store each year. 🙂 At least my husband is patient with it all! Today I’m sharing this fun Hello Summer Banner Board with you. It is the perfect thing to put on your mantel, shelves, tables, etc. to brighten your home, or to welcome any guests into your home this summer.
This post may contain affiliate links. All opinions expressed are 100% my own.
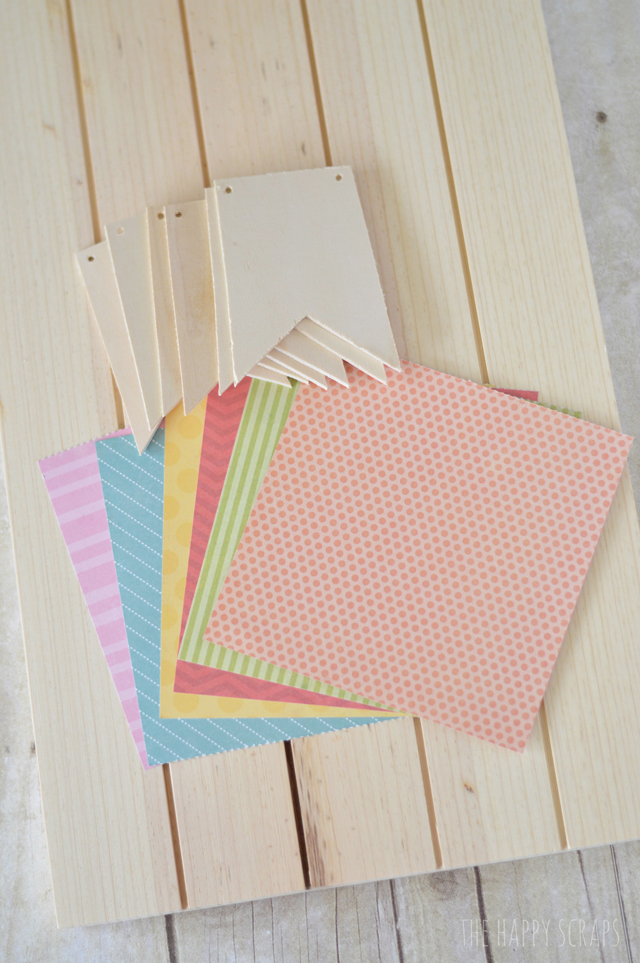
Want to make your own, I’ll show you how! Start by collecting the supplies that you’ll need.
You’ll need:
- wood banner pieces
- wood board with slats cut into it
- fun, bright colored paper
- wood glue
- paint brushes
- paint
- sandpaper
- Cricut Explore machine (optional)
- SUMMER letters (cut with the Cricut)
- hello vinyl (cut with the Cricut)
- gray baker’s twine
 Using your sandpaper, sand all your wood. If you have banner pieces made from poplar wood (like mine), they sand really easy. Some wood, depending on the type may not need sanding. The board doesn’t have to be perfect when it is sanded. When you are done sanding, set the banner pieces aside while you work on the board. Paint the face of your board what ever color you’d like to. I painted mine white, because I like the fresh look of it. I didn’t paint the sides or back at all. Distress your board slightly, by sanding it lightly, once the paint is dry.
 One thing that is nice about using small, thin banner pieces, is that there is no need to paint them. Of course you can if you’d like to. But I think the look of the raw edge is fun. Trace banner pieces onto your paper. I like to write what color I trace onto the paper. It makes it easier to match up the paper once it is cut.
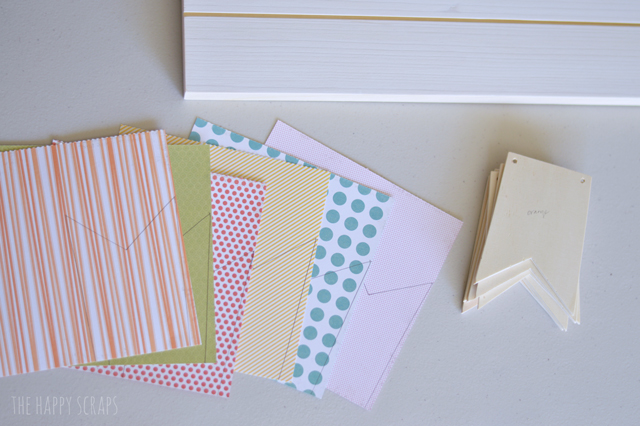 Go ahead and cut out your banner paper pieces. Using wood glue, put some on your wood, spread it around with a paint brush, then line up your paper and stick it down. To get it to stick really well, use a vinyl squeegee, credit card, or something similar to smooth out the paper.
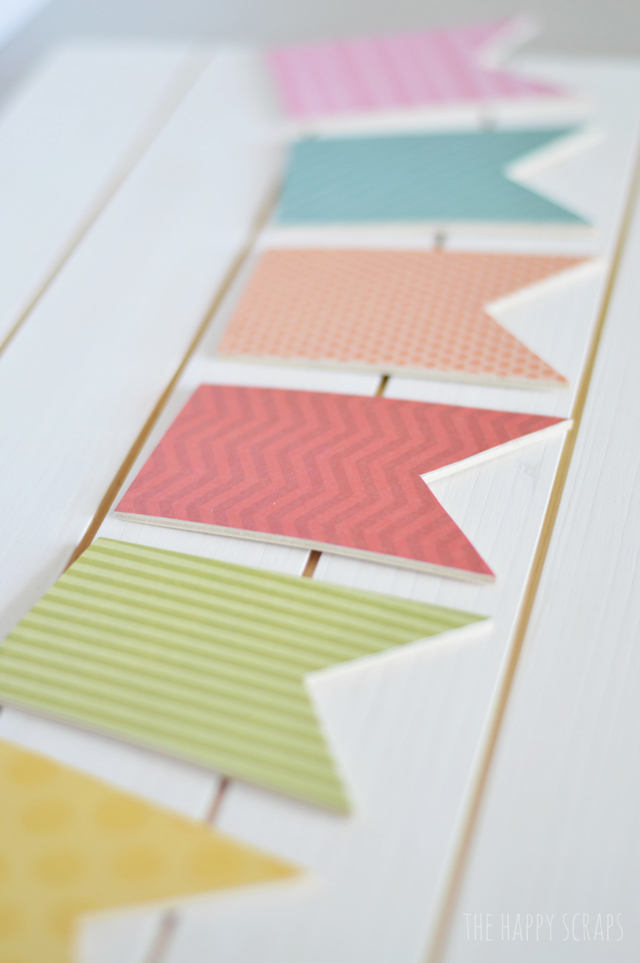
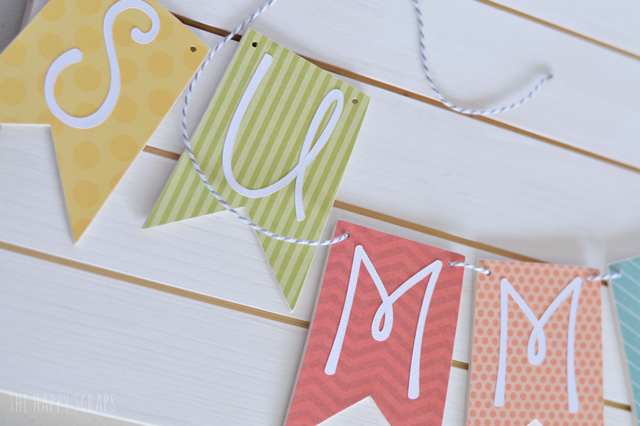
 Once you have all your papers glued onto the banner pieces, lay them out to decide what order you’d like them in.
 Use your Cricut to cut out your SUMMER letters. You could also use large letter stickers for this project if you don’t have a Cricut. Once my letters were cut, I used an Elmer’s glue pen. It worked like a charm! If you glue many small/thin things, you need to get one of these!
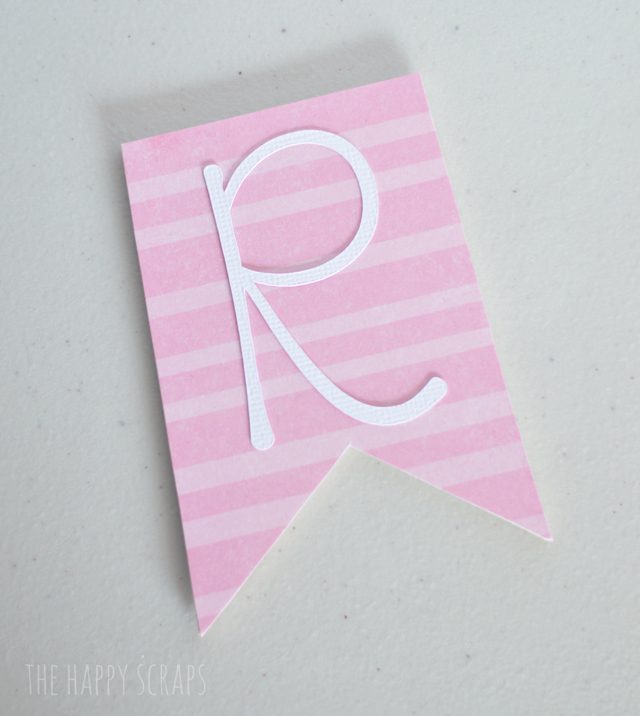 My banner pieces had holes drilled in them before I papered them, so I just used a paper piercer to punch my holes. Then I just threaded twine through them.
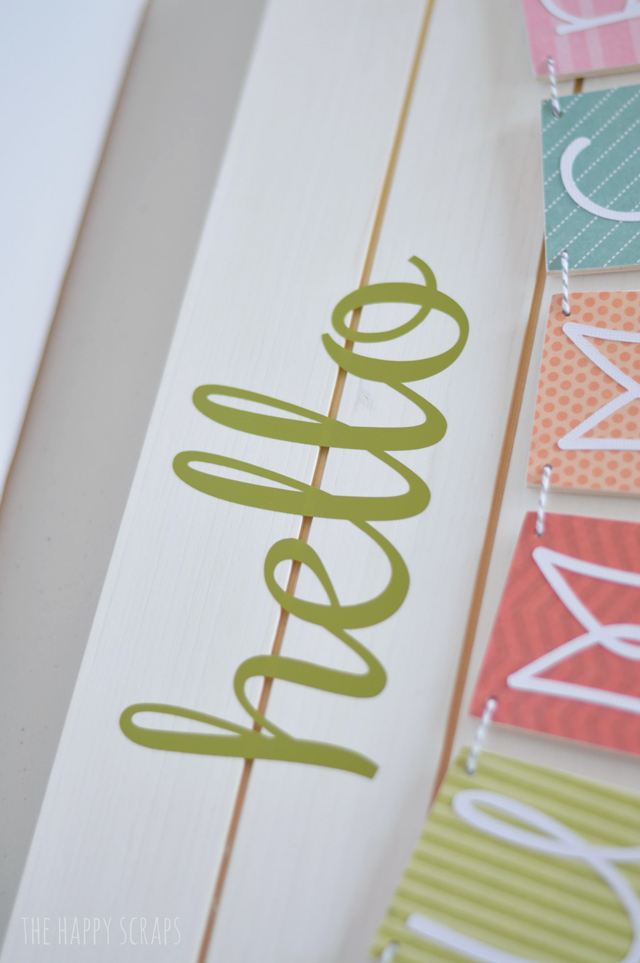
 Using my Cricut Explore machine, I cut the vinyl “hello.” I figured out where I wanted it, and placed on the board.
 Attache the banner to your board. I used a little bit of masking tape and just taped the baker’s twine to the back.
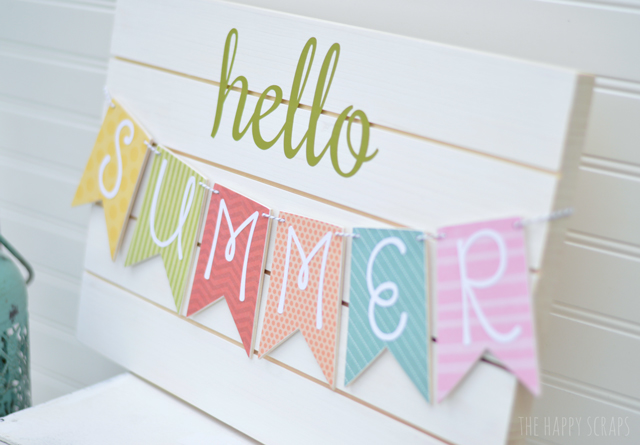
It’s all done, set it on your mantel, shelf, table, etc. and enjoy it!
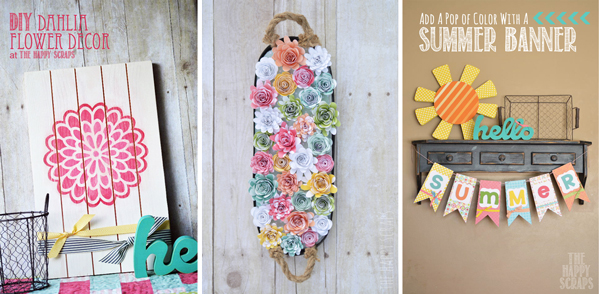
 If you like this project, you may also like this Dahlia Flower Decor, Paper Flower Centerpiece, and Summer Banner.
What is your favorite thing about Summertime?

Leave a Reply