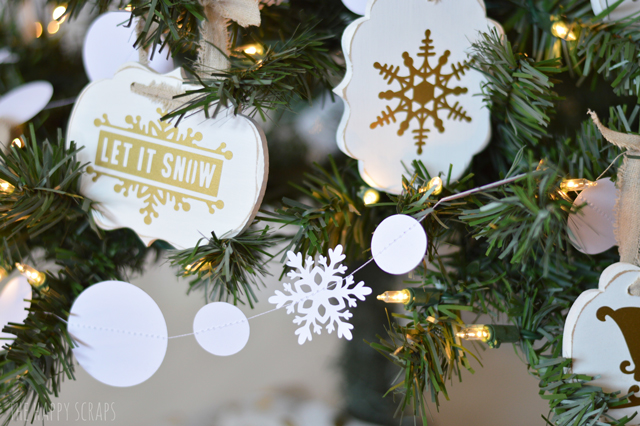
Earlier this week, I shared my Dreamy White Holiday Tree (PIN it HERE) with my DIY Christmas Ornaments and Snowball & Snowflake Garland. Today, I’m showing you how to make your own Snowball & Snowflake Garland. You won’t believe how simple this is to make!
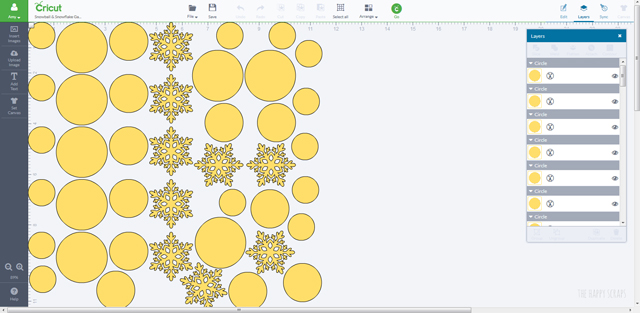
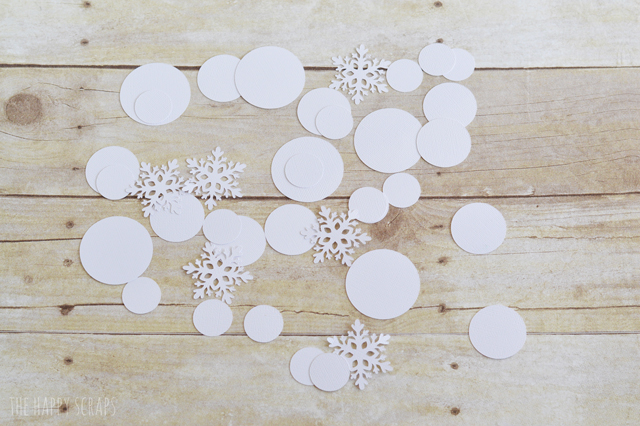
In Cricut Design Space, I found a circle for the snowballs, and then I sized it to three different sizes. I also found a snowflake to use. To get the most out of my sheet of paper, I copied and pasted my shapes several times, and put them in about a 12×12 space. Then I attached them together, so they would cut that way. Using my Cricut Explore, I cut these out of some textured white cardstock.
Once I had them all cut out, I had to decide how I wanted them sewn together.
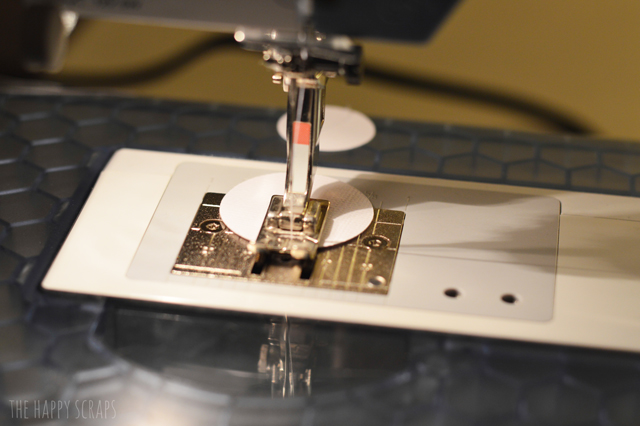
I had a few extra of the smaller two circles, so I tired to do 3-4 circles, different sizes and then a snowflake. When sewing these together, you can leave a little bit of space between each one, sometimes though, my sewing machine doesn’t like that too much. Also, lengthen your stitch a little bit. It helps it go faster, and there is no need for the stitches to be small.
Once you are finished sewing, you are ready to put them on your tree. I put mine on before I put all the ornaments on, but it adds so much to the tree to have the Snowball & Snowflake Garland on it.
So, if you are getting ready to decorate your tree soon, I hope you’ll take sometime to make some fun new decorations!
If you liked this post you might also like this Let it Snow banner.
Disclosure: This post contains affiliate links. I love sharing products that I love and personally use with my readers. If you make a purchase through one my affiliate links, it does not cost you anything extra, but it helps to keep The Happy Scraps going.


Leave a Reply