It is so fun having a new home to decorate! While I kept most of the gallery wall the same as I had it before we moved, I added a few more things to the wall since I have more space to fill now. 🙂 The other day I was browsing on Pinterest and came across this sign that I loved. It inspired me to make something similar and add it to my gallery wall in my living room. So I got to work creating my own sign. Today I’m sharing this Cowley Sign Tutorial with you. Plus, you get a little sneak peek of my updated gallery wall. (Full post coming next week!)

This post contains affiliate links.
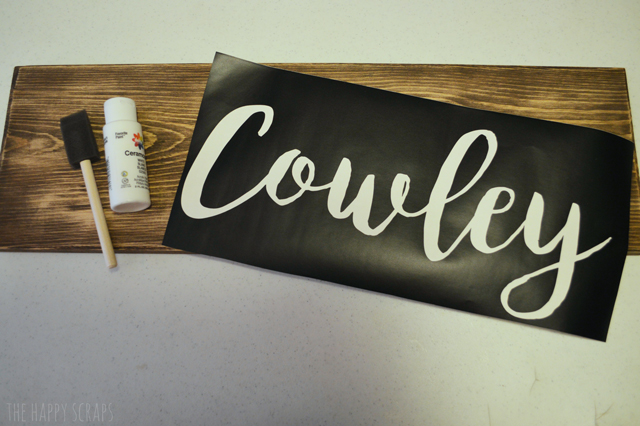
Supplies:
- Board
- Paint
- Paint Brush
- Vinyl
- Cricut Explore Machine
On my Happy Decor Board project I did last year, I stained this board, and my Happy Decor Board wasn’t holding up well, so I decided to use the board and make my sign. I cut out our last name with vinyl using my Cricut Machine.
I placed transfer tape over the top of the vinyl.
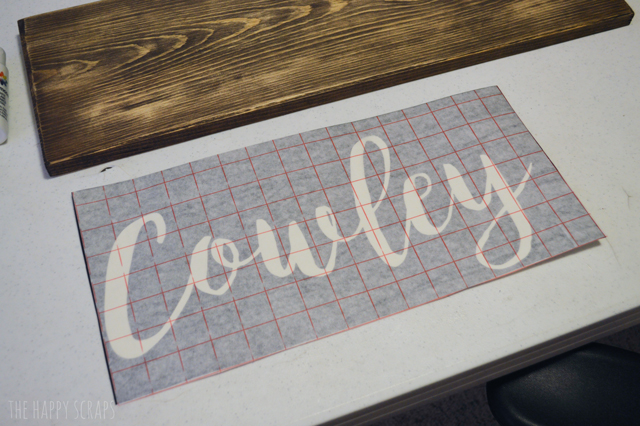
Then I applied it to the board.
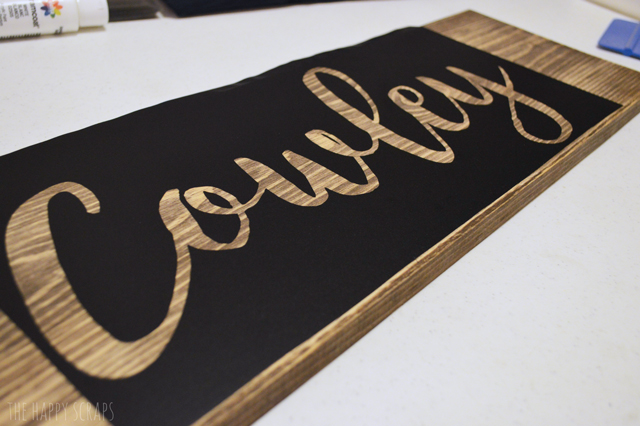
I used white paint on the sign, carefully painting it, trying to keep the paint from bleeding under the vinyl.
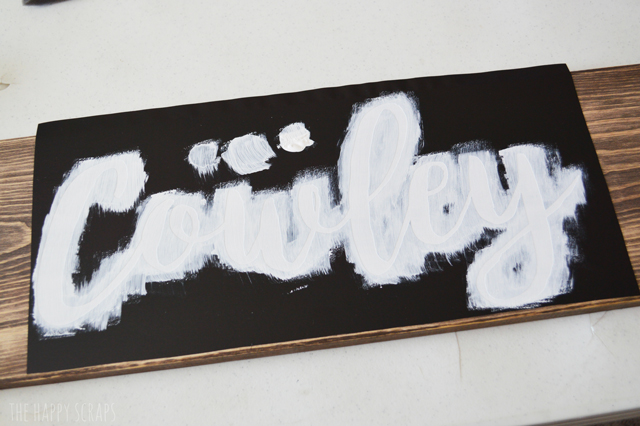
I peeled up the vinyl, and I was so pleased with the way it turned out. It didn’t bleed at all!
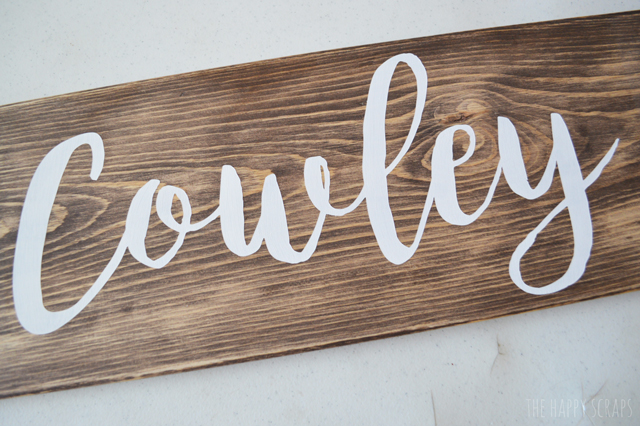
I got it hung up on the wall, and I absolutely love what it adds to the gallery wall.
I can’t wait to show you the whole gallery wall. Watch for that next week!

Leave a Reply