Have you ever used iron-on vinyl? It’s pretty much magical, and every time I use it I’m reminded that I love it and that I want to put iron-on vinyl on everything! Seriously, I love this stuff! I’ve used it on shirts, bags, holiday pillows & a pillow for my bed, and other fun things, and they always turn out great! Today, as part of a Fall Challenge with Cricut, I’m sharing this fun DIY Halloween Pillow.

This post contains affiliate links. I only share products that personal use and love.
DIY Halloween Pillow Supplies:
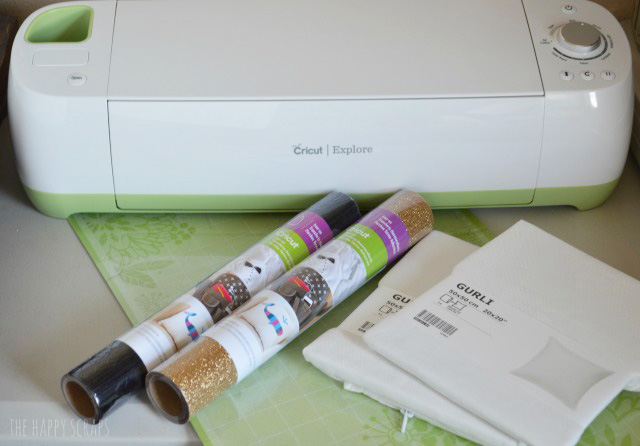
- Cricut Explore Machine
- Cricut Iron-On Vinyl – Black
- Cricut Iron-On Vinyl – Gold Glitter
- Cricut Tools
- 12 x 24 Cricut Mat
- Pillow Covers
- Iron
Start out by designing your project in Cricut Design Space.
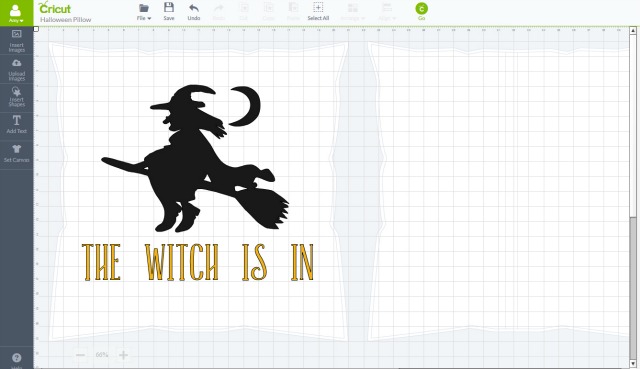
Place your iron-on vinyl on your mat. Make sure you read the instructions and put it on the mat the correct way, so you cut it from the correct side. Click “GO” on the computer, and follow the prompts on the screen for cutting your image. Make sure you check the box “MIRROR IMAGE FOR IRON-ON”. I’ve cut a few projects and realized after they were cut that I forgot to mirror the image, and you don’t want to waste iron-on vinyl!

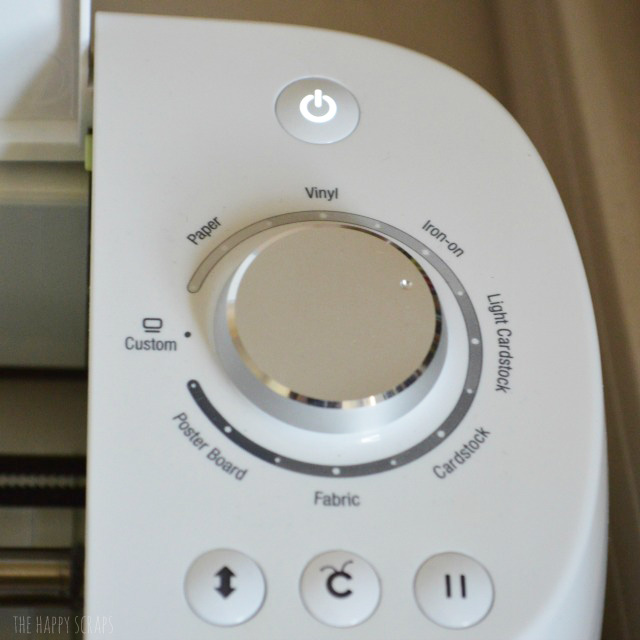
Set the cut dial on your machine to “Iron-on”. Because I was cutting glitter vinyl as well as regular, I set mine to “Iron-on +”.
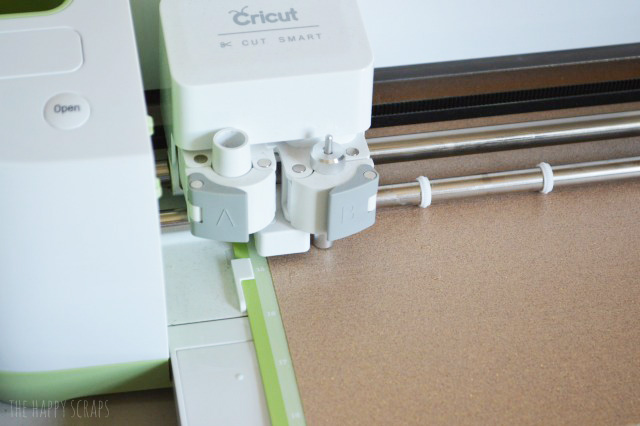
Load your mat and cut your images.
Once your images are cut, you’ll need to weed them. The weeding tool is amazing for this!
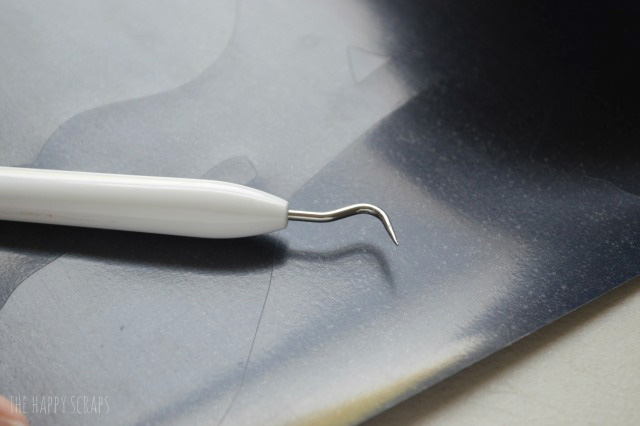
Take all the negative space off so you are left with just your image. It will be reversed from what you designed.
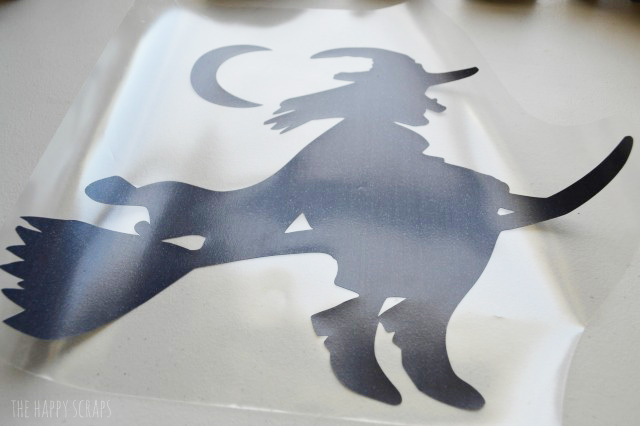
Place your images onto your pillow.

Lay a towel over your iron-on vinyl and iron it. Follow the instructions included with your iron-on vinyl.

Once it’s all ironed on to your pillow, you’ll pull off the plastic from the top.
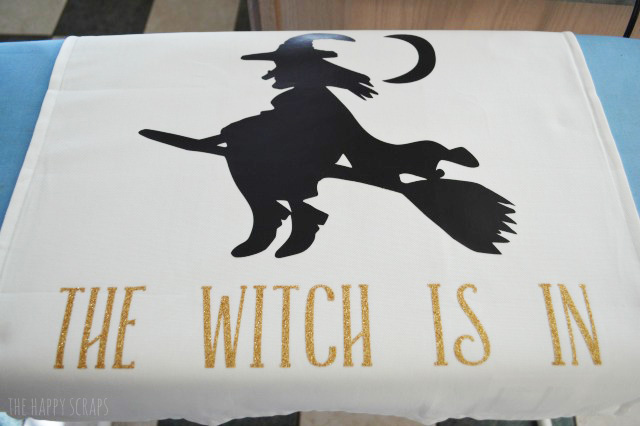
Use a pillow form to fill up your pillow and set it out for Halloween!
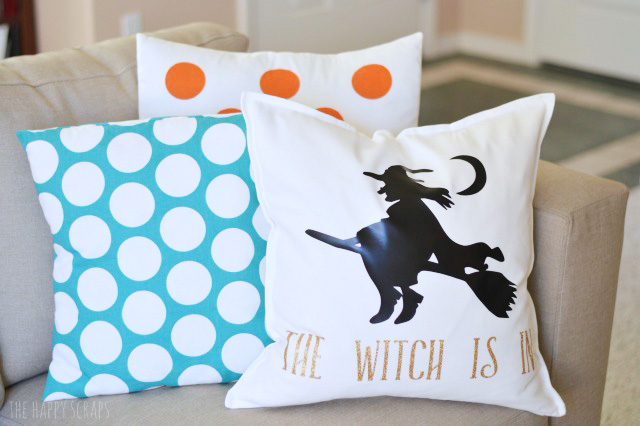
Glitter vinyl is my favorite! I love the sparkle and there is no mess to clean up with this glitter!
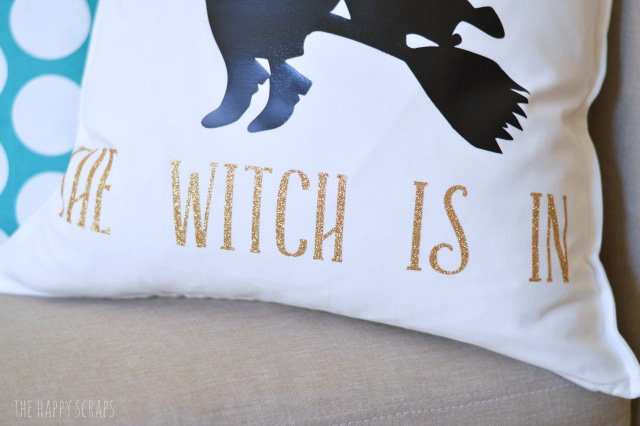
I thought this witch pillow was pretty fitting for me, because some days, in a house full of boys, I can get a little witchy…and not just at Halloween time. 😉 I also love that it matches the sign I made to go with my Black & White Halloween Decor.

So tell me, what would you put on your Halloween pillow? I’d love to hear!
Check out some of the other fun projects from bloggers and enter a fun giveaway below!
I’m excited to join 22 super talented bloggers for the Fall Cricut Challenge. Check out what these talented ladies created below and enter to win a HUGE box of supplies from Cricut!
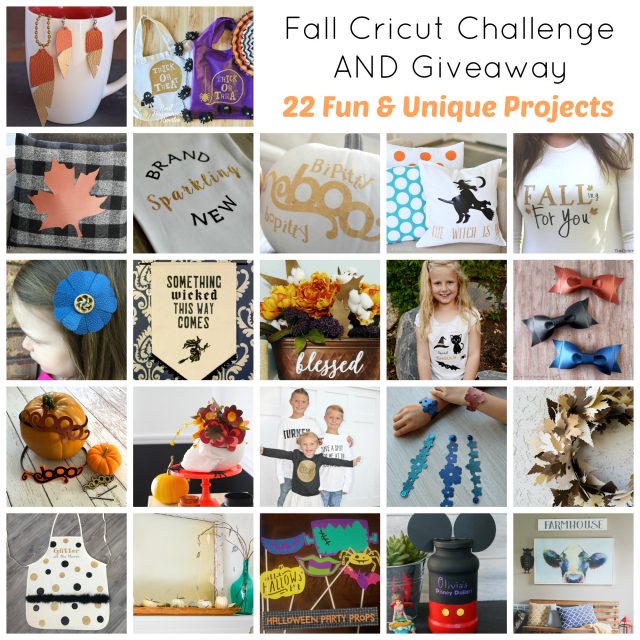
DIY Faux Leather Jewelry from It Happens In A Blink
DIY Trick or Treat Bags from Housewives of Riverton
Easy Triangle Garland from Our Thirfty Ideas
Halloween Skull Leggings from 7Alive
Fall No Sew Buffalo Check Pillow from Lydi Out Loud
Brand Sparkling New Onesie from Tastefully Frugal
Cinderella Pumpkins from Auntie Tay
DIY Halloween Pillow from The Happy Scraps
Falling For You Shirt from The Quiet Grove
Faux Leather Flower Clips from 5 Little Monsters
Something Wicked This Way Comes Banner from Albion Gould
Blessed Flower Arrangement from Crafting In The Rain
Squad Ghouls Halloween T-Shirt from Housewife Eclectic
DIY Leather Bows from Artsy-Fartsy Mama
BOO Halloween Headbands from RaeGun Ramblings
DIY Flower Skull From Cloudy Day Gray
Kids Thanksgiving Graphic T-Shirts from Over The Big Moon
Faux Leather Floral Cuffs from Hello Creative Family
Fall Paper Leaf Wreath from Frenchie Wraps
Glitter Apron from Midge and Madge
DIY Fall Mantel from Major Hoff Takes A Wife
Halloween Party Props from Nite Owl Creates
Disney Savings Jar from Inspiration Made Simple
DIY Farmhouse Sign from A Southern Mother
Want to make one (or all) of these projects? We’ve teamed up with Cricut to help with that! Enter through the widget below to win a HUGE box full of supplies including: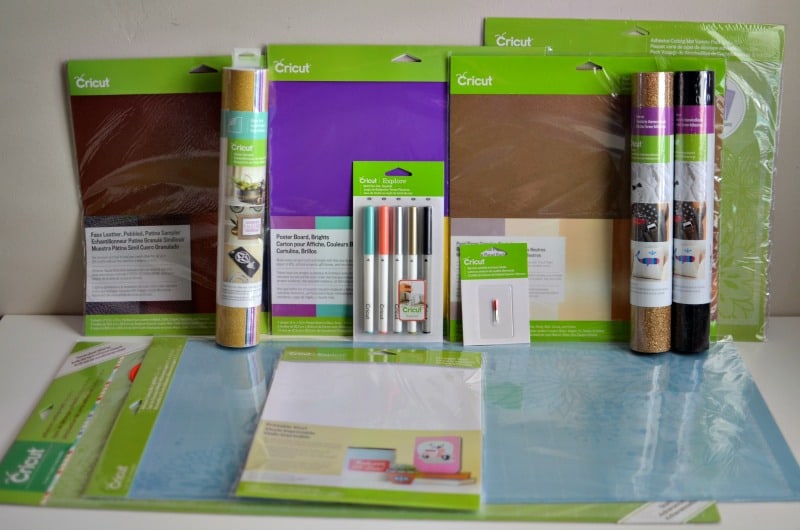
Variety 3 Pack of Cutting Mats
Patina Pebbled Faux Leather Sampler
Giveaway is open to residents of US and Canada ages 18+. Giveaway ends on 10/21/2016 at Midnight MST. Winner will be notified within 24 hours and has 24 hours to respond.

Leave a Reply