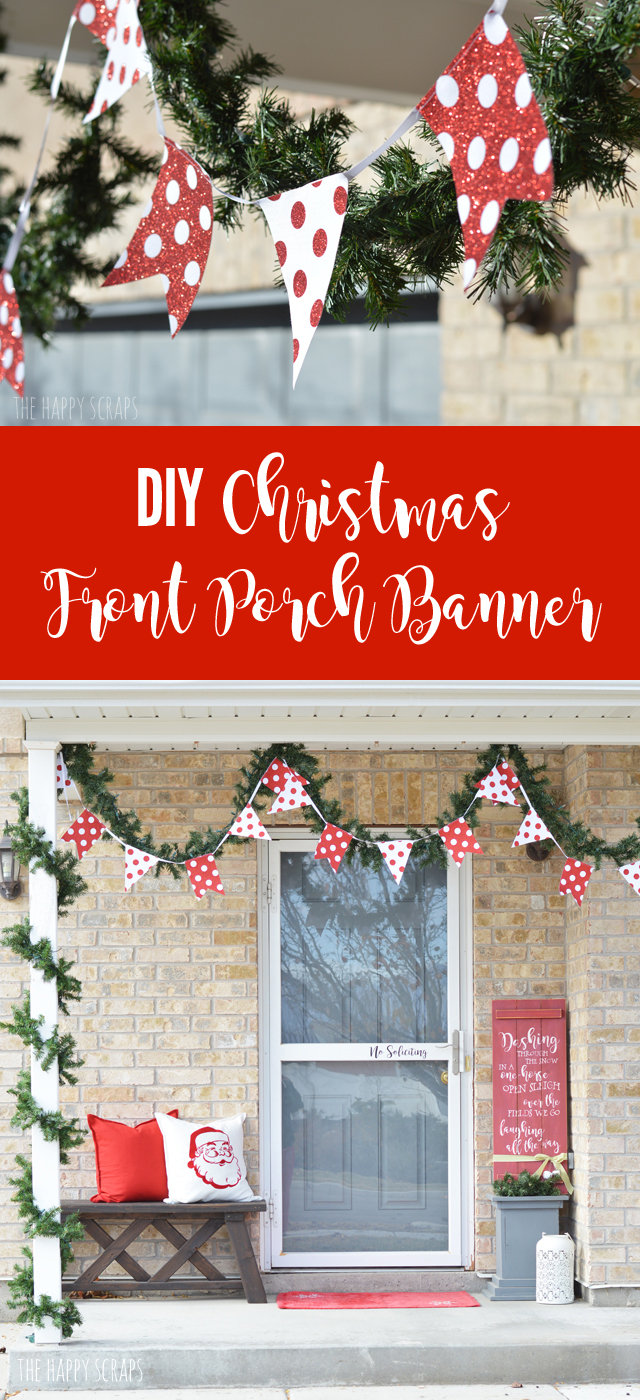
You guys! I love polka dots, like really love them. I turn to them time and time again when I’m creating. There is just something about them. When I started thinking about making this DIY Christmas Front Porch Banner I knew it needed polka dots. My original plan was to just use glittered polka dots on the banner, but as I was working on it, it evolved a but and I couldn’t be happier with the way it turned out. Today, I’m sharing the full tutorial with you, so you can make your own just like this at home.
This post contains affiliate links. This is a sponsored post written by me on behalf of Cricut.
All ideas and opinions are my own.
DIY Christmas Front Porch Banner Supplies:
- Cricut Maker Machine
- Cricut EasyPress
- Cricut Glitter Iron-on Vinyl in Red
- 12 x 24 StandardGrip Mat
- 12 x 24 FabricGrip Mat
- Duck Cloth
- Ribbon
- Sewing Machine
- Design Space Cut File
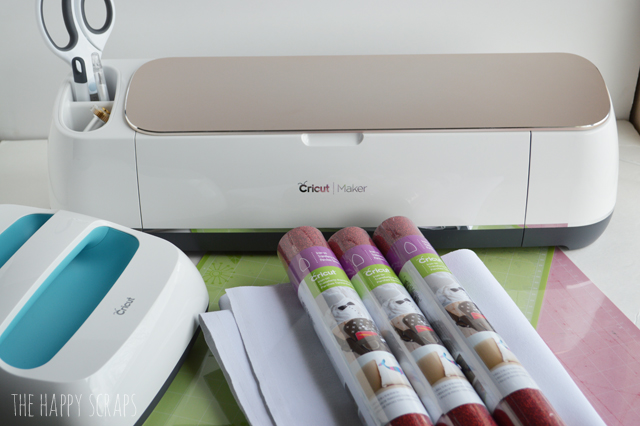
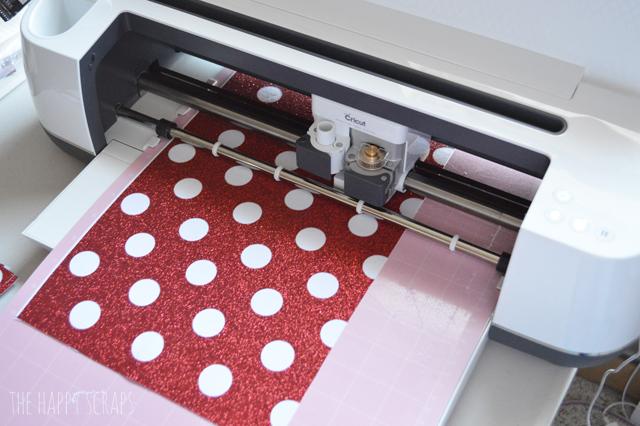
Open the cut file and turn the white parts of the cut file off by clicking the eye next to them. Then cut your polka dots from the red glitter iron on vinyl. You’ll need two sheets of these.
Once you have your polka dots all cut, weed your vinyl, very carefully. You’ll want to save the part that you are weeding! 🙂 Now you’re ready to iron it onto your fabric.
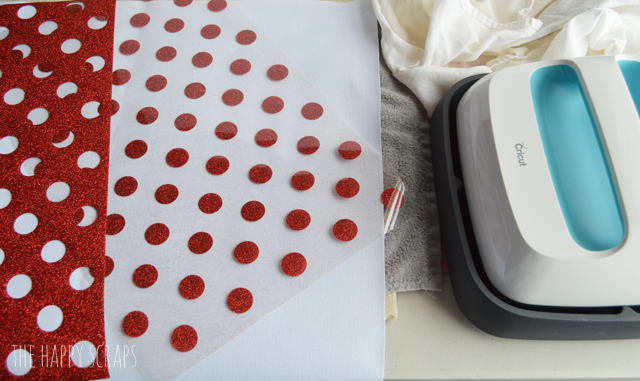
Place your polka dots onto the fabric. Set your EasyPress to the right setting for the fabric and iron on vinyl you are using.
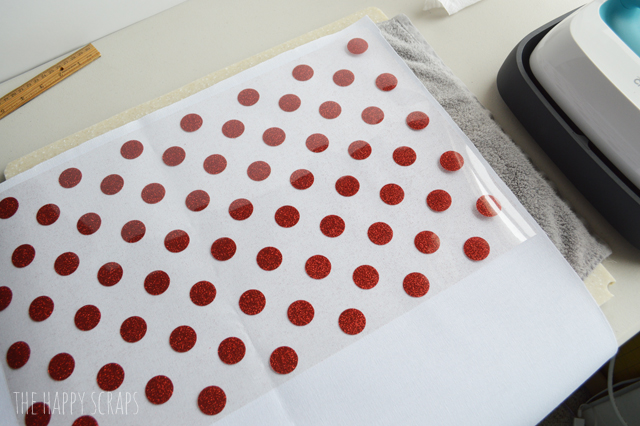
Cover it with a cloth and then start pressing it!

Once you have the first sheet of polka dots on your fabric, then line up your second sheet. I was careful to line mine up so all the polka dots were spaced evenly. Then press this sheet of dots. (Note: You may want to keep your carrier sheets after pressing the polka dots, to use for the other part. I didn’t do this, so I’m not sure how well it would work.)

Once you have it all pressed and the carrier sheets are off, you should have a nice large section of glitter polka dotted fabric.
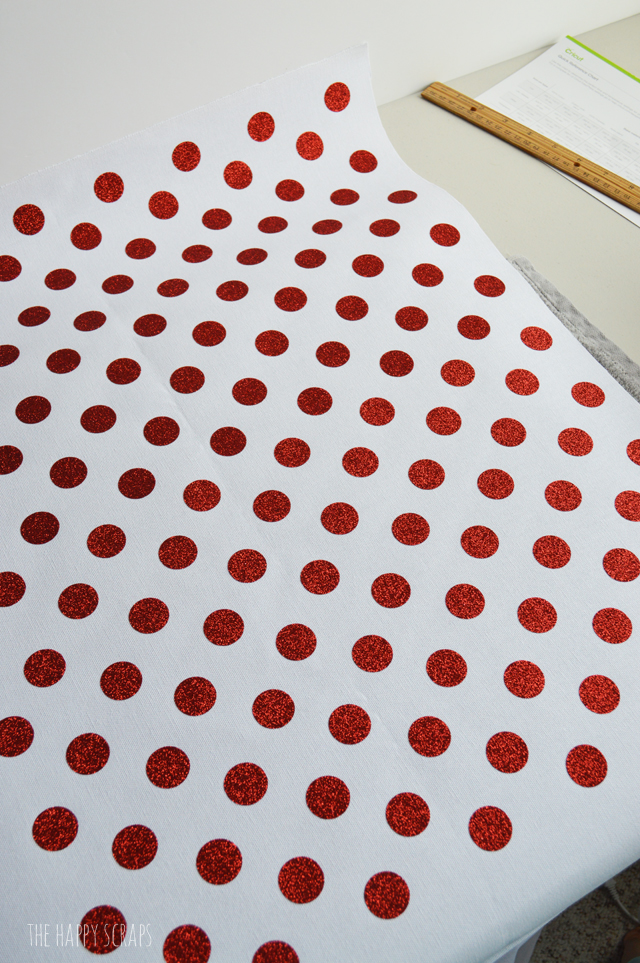
Next, place your weeded sheet from the polka dots onto your fabric. Smooth it out well. If you still have the carrier sheet from the polka dots, you could try using that. I’m not sure if it would work or not. This method worked fine for me. Cover it with a cloth and press it.
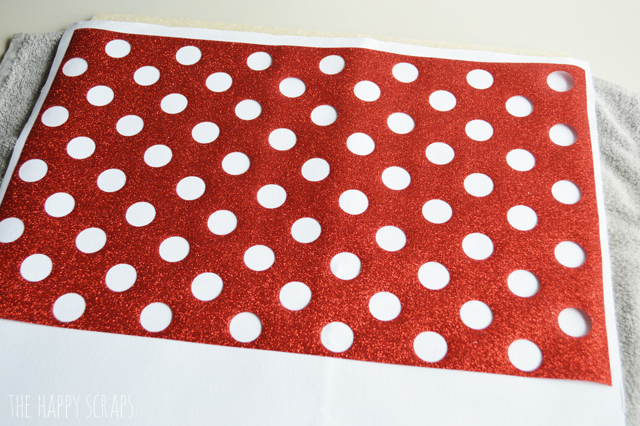
I did notice after I got done that I had a few spots like this on the iron on glitter. This is because it was not on the carrier sheet. For this project it was ok, and doesn’t show on the banner at all.
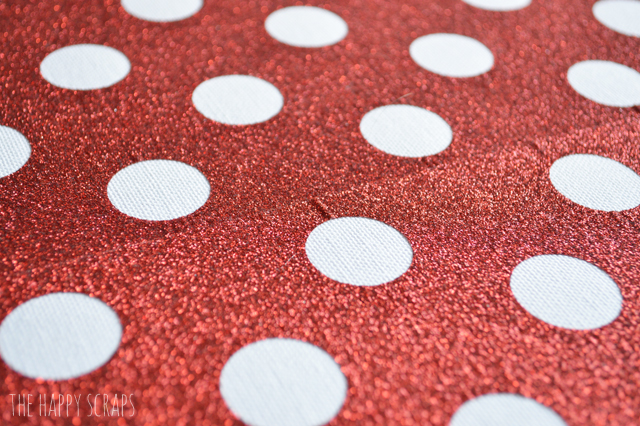
Now, in Design Space, turn the polka dots off and turn on the white banner pieces. Trim your fabric to be 7.5″ wide by 19″ long. I was able to get three pieces out of the fabric that I had ironed the glitter on to.

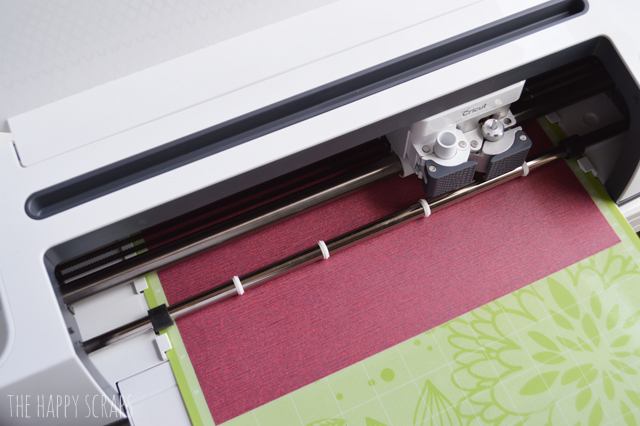
For the fabric with just the dots on it, place the dots face down. Install the rotary blade and then cut your fabric. I used the Duck Cloth setting and then changed the pressure to more. I did have to double cut it. Once the first cut was done, I just pressed the go button on the machine again, WITHOUT unloading the mat. That is how you double cut. The rotary blade cut this fabric like butter! I couldn’t believe how crisp and clean the cuts were!
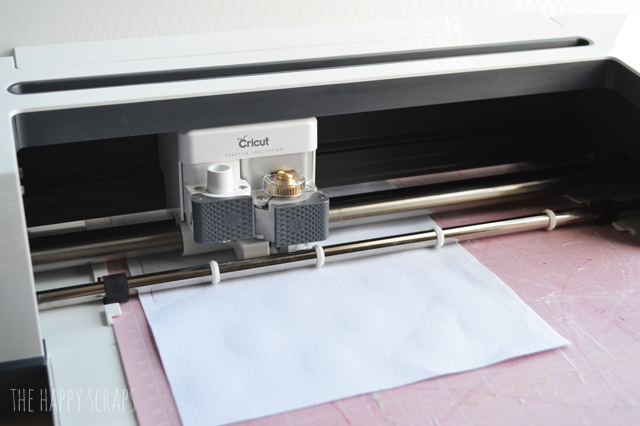
Once it was cut twice, I pulled the pieces right off the mat.
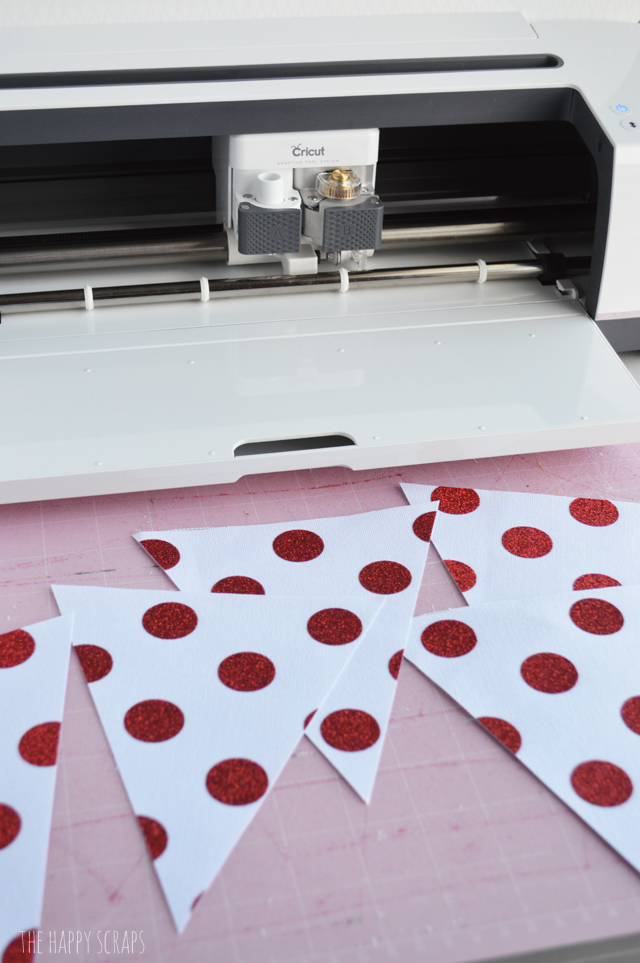
For the piece that had the weeded part of the polka dots, I had to place it with the vinyl up. It wouldn’t stick to the fabric mat. I used the denim setting for this one and only had to cut it once.
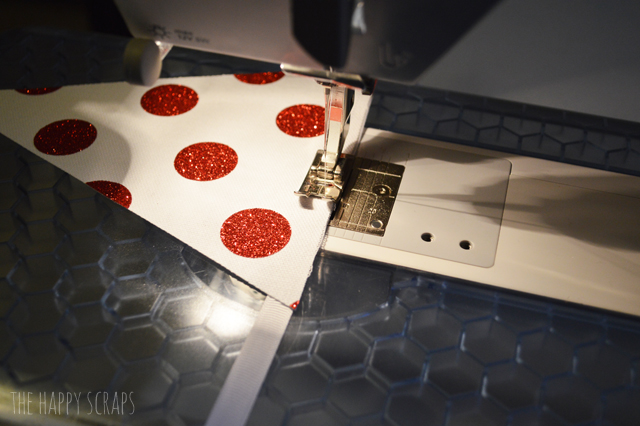
Once I had all my pieces cut, I started stitching it onto the ribbon.
I was so excited to see how it was looking when I got done.
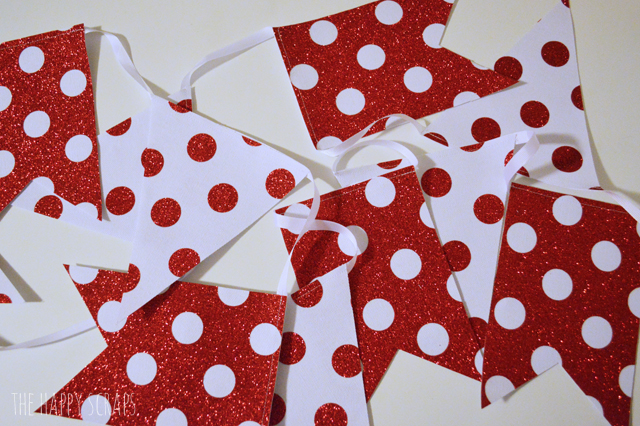
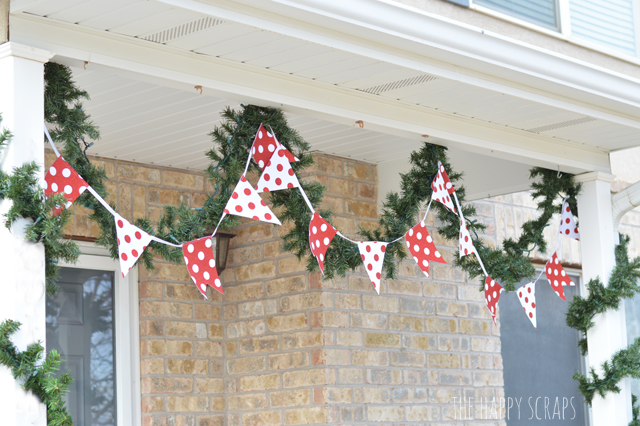
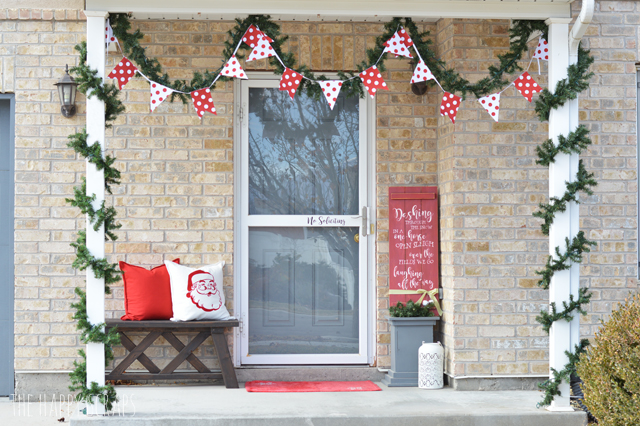
I got my DIY Christmas Front Porch Banner put up on my porch, and I really like the way it looks, although, I just might have to use it on my Christmas tree that is primarily red and white. We’ll see once I get all the Christmas decor out! Aren’t the polka dots fun?! I’m so glad that I kept the weeded part and used it, because I love what the different pieces add to the banner. I think it’s a lot more fun this way than if it would have just been the white with red polka dots.
I added a couple of pillows to the bench.

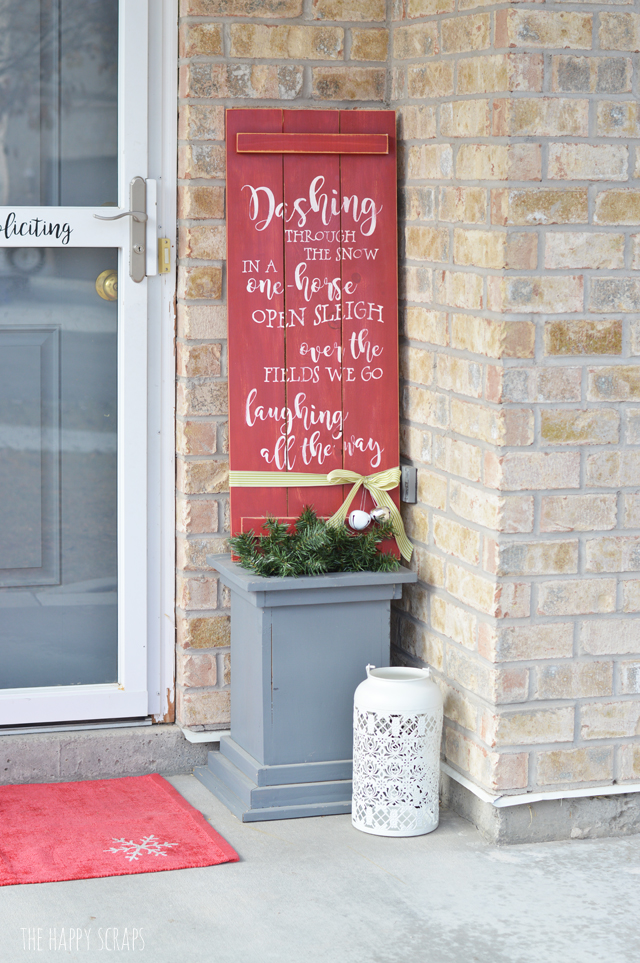
And got out my Front Porch Christmas Sign that I made last year.
I’m pretty excited with the way it all came together. It will really look finished up once it snows, but that can wait a few weeks still. 😉
Look how shiny and fun the glitter is!
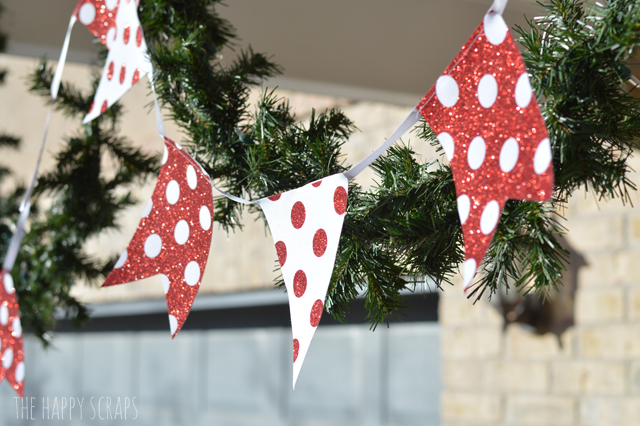
I put all this up to take pictures of, and then put my Thanksgiving porch back together, but really, this is getting me more and more excited for Christmas! Just a few more weeks and I can get all the decor out!
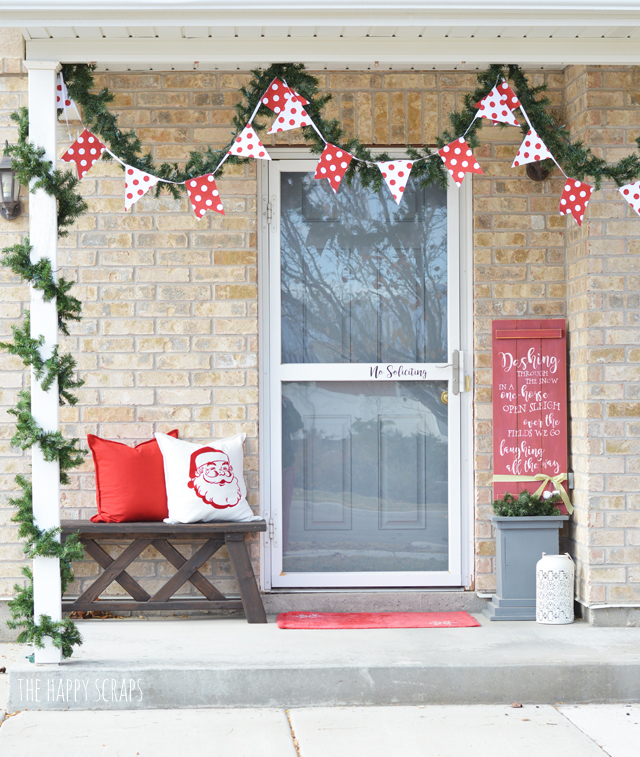
Are you getting excited to decorate for Christmas? Will you be making yourself a DIY Christmas Front Porch Banner to add to your decor?
Who’d like to win some fun goodies? Enter below!
a Rafflecopter giveaway
This is a sponsored conversation written by me on behalf of Cricut. The opinions and text are all mine.

Leave a Reply